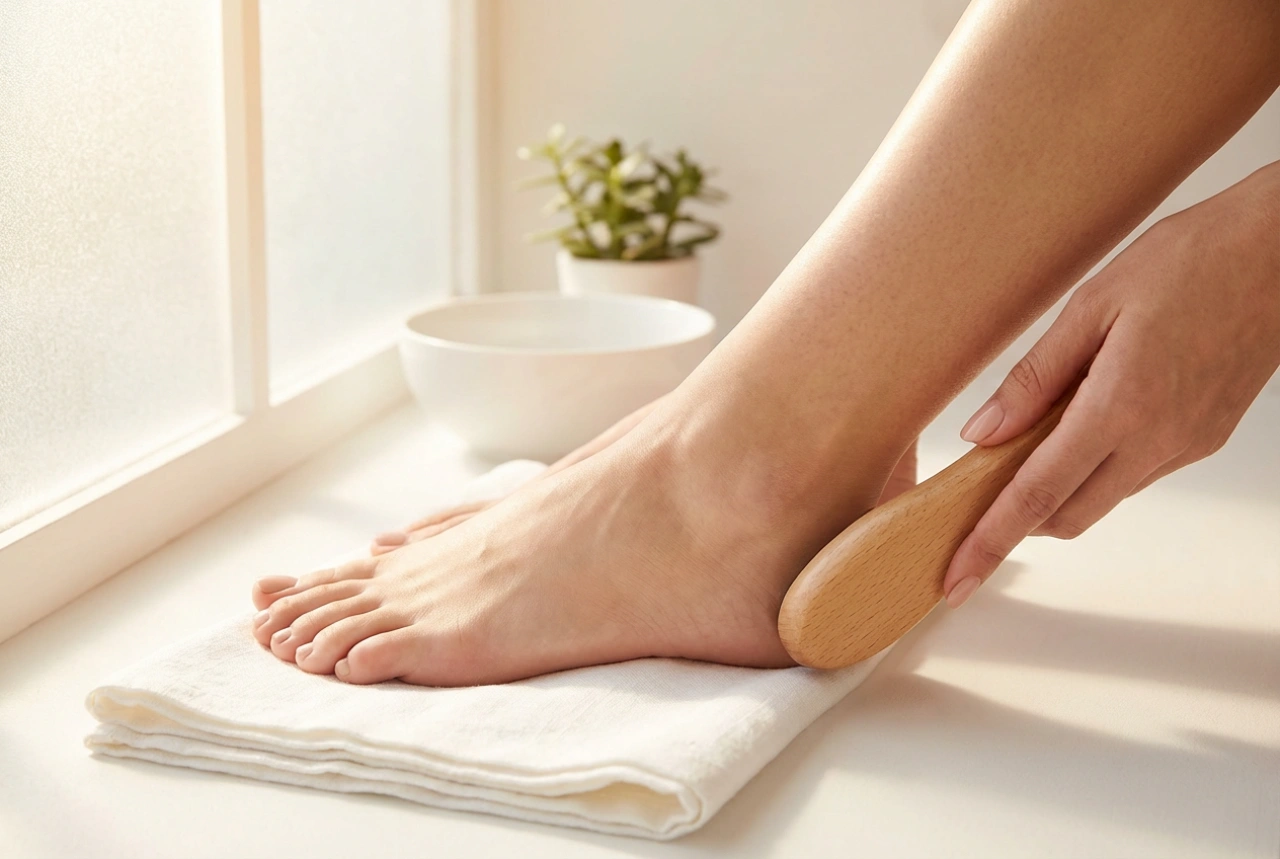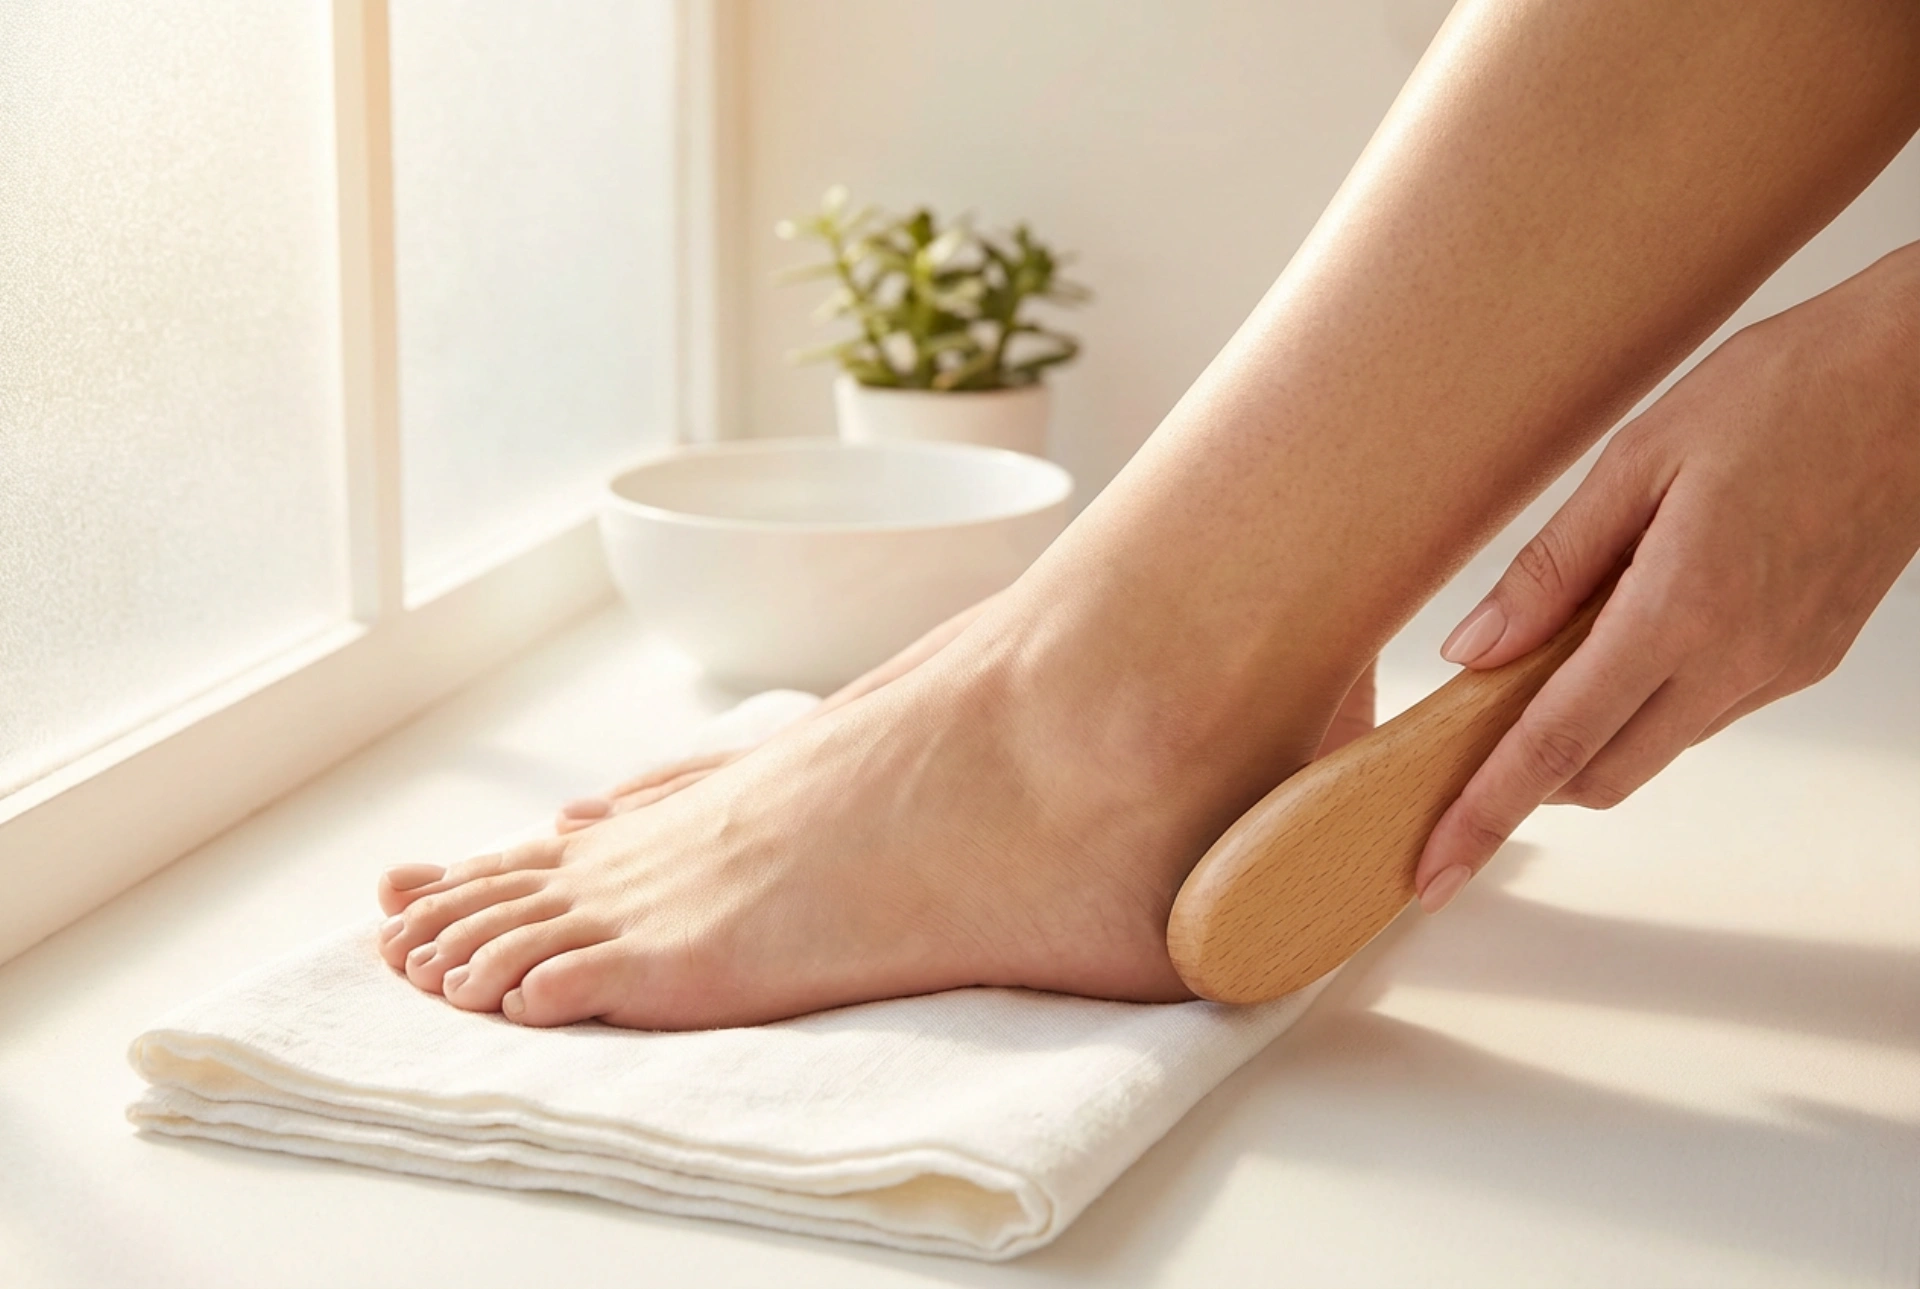


When dressing up for a special evening, every detail of your look plays a part in creating a cohesive, elegant impression. A flawless glitter pedicure, catching the soft, diffused light as your feet rest on luxurious satin, acts as the ultimate evening accessory. Sparkling toes peeking out from elegant open-toe heels or sophisticated sandals add a touch of glamour that complements your overall attire. However, working with glitter polish can be challenging. Achieving a perfectly dense, even distribution of sparkle without a textured, bumpy finish requires specific techniques. From preparing the nail plate to applying and securing the final shimmer, here is a practical guide to creating an immaculate, long-lasting evening pedicure.
Preparing the Nail Plate for a Smooth Finish
The key to an even and luminous glitter coverage lies in the preparation of the natural nail. Because glitter particles reflect light from multiple angles, any ridges, bumps, or unevenness on the nail surface will be magnified once the sparkling lacquer is applied. Starting with a perfectly smooth canvas ensures that the glitter lays flat and reflects light uniformly.
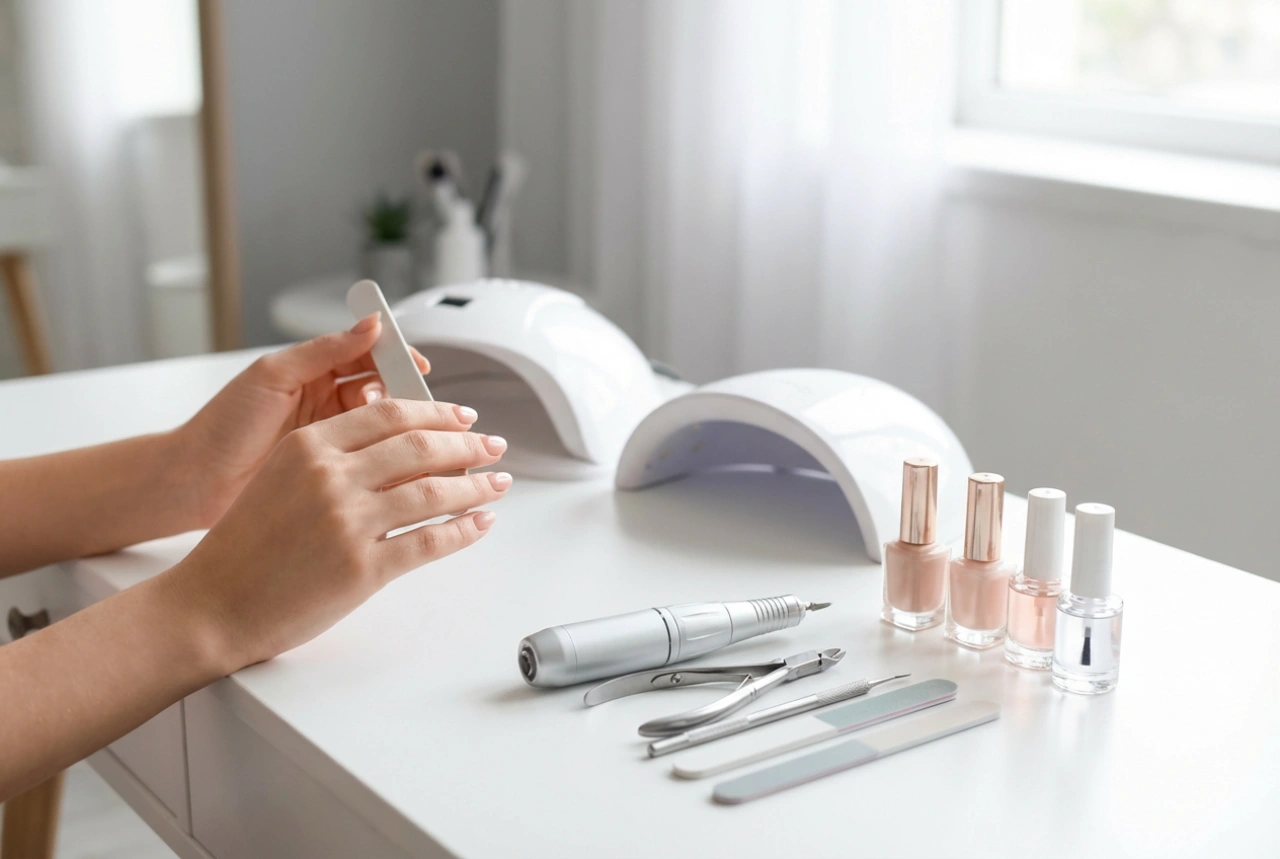
Begin by gently shaping the toenails with a fine-grit file, keeping the edges slightly rounded to prevent them from catching on fine fabrics. Next, use a soft buffing block to gently smooth out the surface of the nail plate. This step should be done with care to avoid thinning the nail, focusing only on removing dry skin build-up and minor ridges. Once the surface is smooth, gently push back the cuticles using a wooden manicure stick. It is crucial to thoroughly cleanse the nail plate with a dehydrating prep solution or a gentle rubbing alcohol to remove any residual oils, dust, or moisture. This step is vital for ensuring the base coat adheres perfectly, which directly prevents the heavy glitter layers from peeling off prematurely.
The Art of Even Glitter Application
One of the most common issues with glitter polish is patchy coverage, where some areas are packed with sparkle while others remain bare and watery. To overcome this, beauty enthusiasts and professional manicurists rely on specific application techniques that optimise density and distribution.
The Sponge Method for Maximum Density
If you desire a fully opaque, solid glitter effect, the sponge technique is highly effective. Instead of painting the polish directly onto the nail with a brush, you apply a small amount of the glitter lacquer onto a clean, wedge-shaped cosmetic sponge. The sponge naturally absorbs the excess clear liquid solvent of the polish, leaving a highly concentrated layer of glitter on its surface. You then gently pat the sponge onto the prepped nail, transferring a dense, even layer of sparkle in just one or two light taps. This method prevents the build-up of thick, slow-drying layers of polish, resulting in a flatter, smoother finish.
The Layering Technique for Subtle Shimmer
For those who prefer a delicate, scattered sparkle that allows a base colour to show through, the traditional layering technique is ideal. Start by applying a thin coat of a coordinating solid colour, such as a deep plum, classic nude, or elegant black. Once this layer is dry, apply the glitter polish in very thin, sweeping motions. To prevent clumping, use the tip of the brush to gently push individual glitter pieces into any bare spots before the polish begins to set. Always allow each thin layer to dry completely before applying the next to avoid creating a thick, vulnerable gel-like layer that easily chips.
Securing and Protecting the Evening Pedicure
Glitter polish naturally has a rough, textured surface once it dries. If left unprotected, the sharp edges of the glitter particles can snag on delicate evening gowns, stockings, or satin bedding. Furthermore, unprotected glitter tends to flake off quickly. Securing your pedicure with the correct top coat is essential for both comfort and longevity.
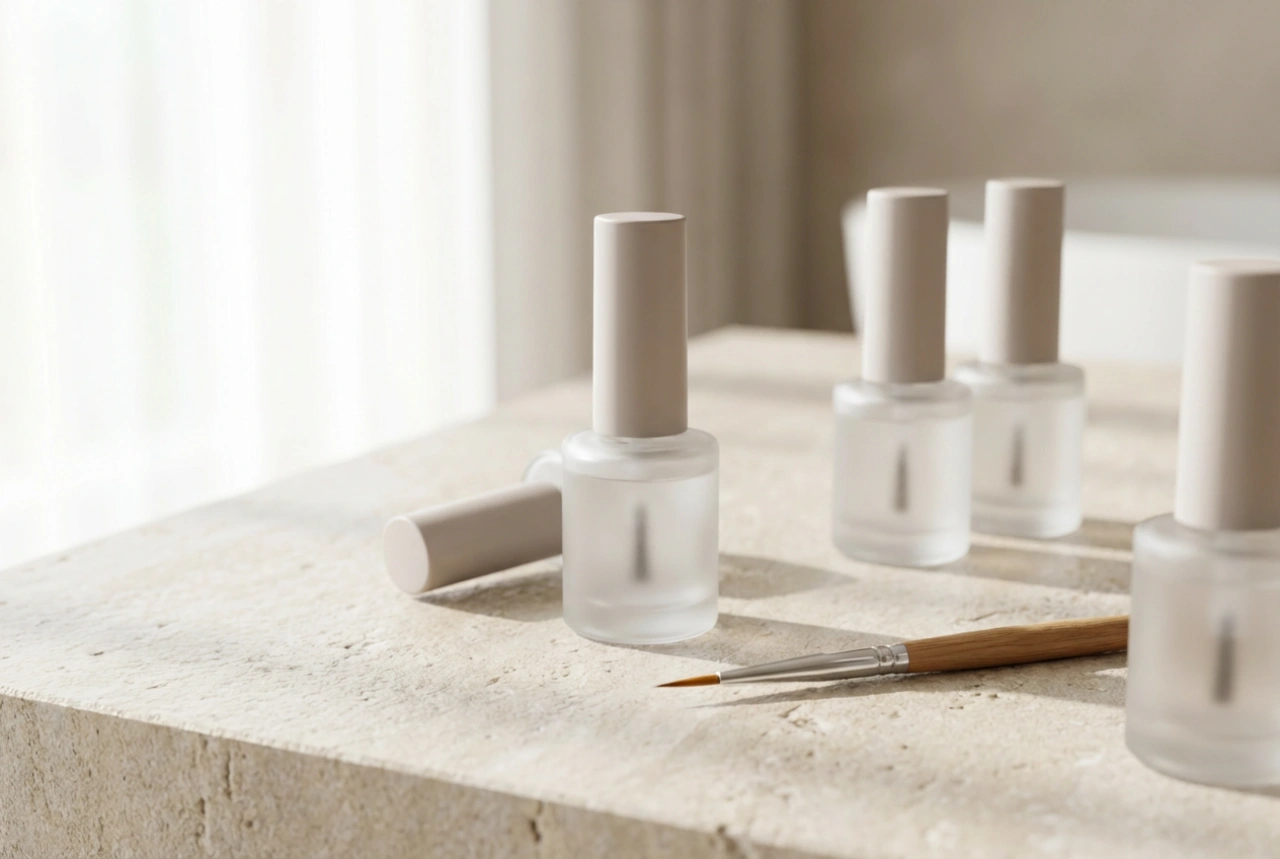
To achieve a glass-like, smooth surface, you will need a thick, self-levelling top coat. In many cases, applying a single layer of top coat is not enough, as the glitter will absorb some of the liquid as it cures. Applying two thin coats of top coat, waiting a few minutes between each, will envelop the glitter particles completely. This creates a smooth protective shield over the design. Additionally, make sure to seal the free edge of each toenail by running the top coat brush horizontally along the very tip. This technique, known as capping, prevents lifting and moisture from getting underneath the polish, ensuring your pedicure remains pristine long after the evening event has ended.
Gentle and Safe Removal Practices
While glitter pedicures are exceptionally durable, removing them can be a tedious process that tempts many to scrape or peel the polish off. Peeling off glitter polish damages the top layers of the natural nail plate, leaving it weak, thin, and prone to splitting. Safe removal requires patience and the correct technique.
To remove the polish gently, soak small pieces of cotton pads in a reliable nail polish remover. Place the soaked cotton pads directly onto each toenail, ensuring complete coverage. Wrap each toe in a small piece of aluminium foil to lock in the moisture and prevent the remover from evaporating. Leave the wraps on for approximately five to ten minutes. This allows the solvent to thoroughly dissolve the base coat and loosen the glitter particles. When you slide the foil wraps off with gentle pressure, the glitter should slide away easily without the need for harsh scraping or filing. Finish by applying a nourishing nail oil to restore hydration to the nail plate and surrounding skin.