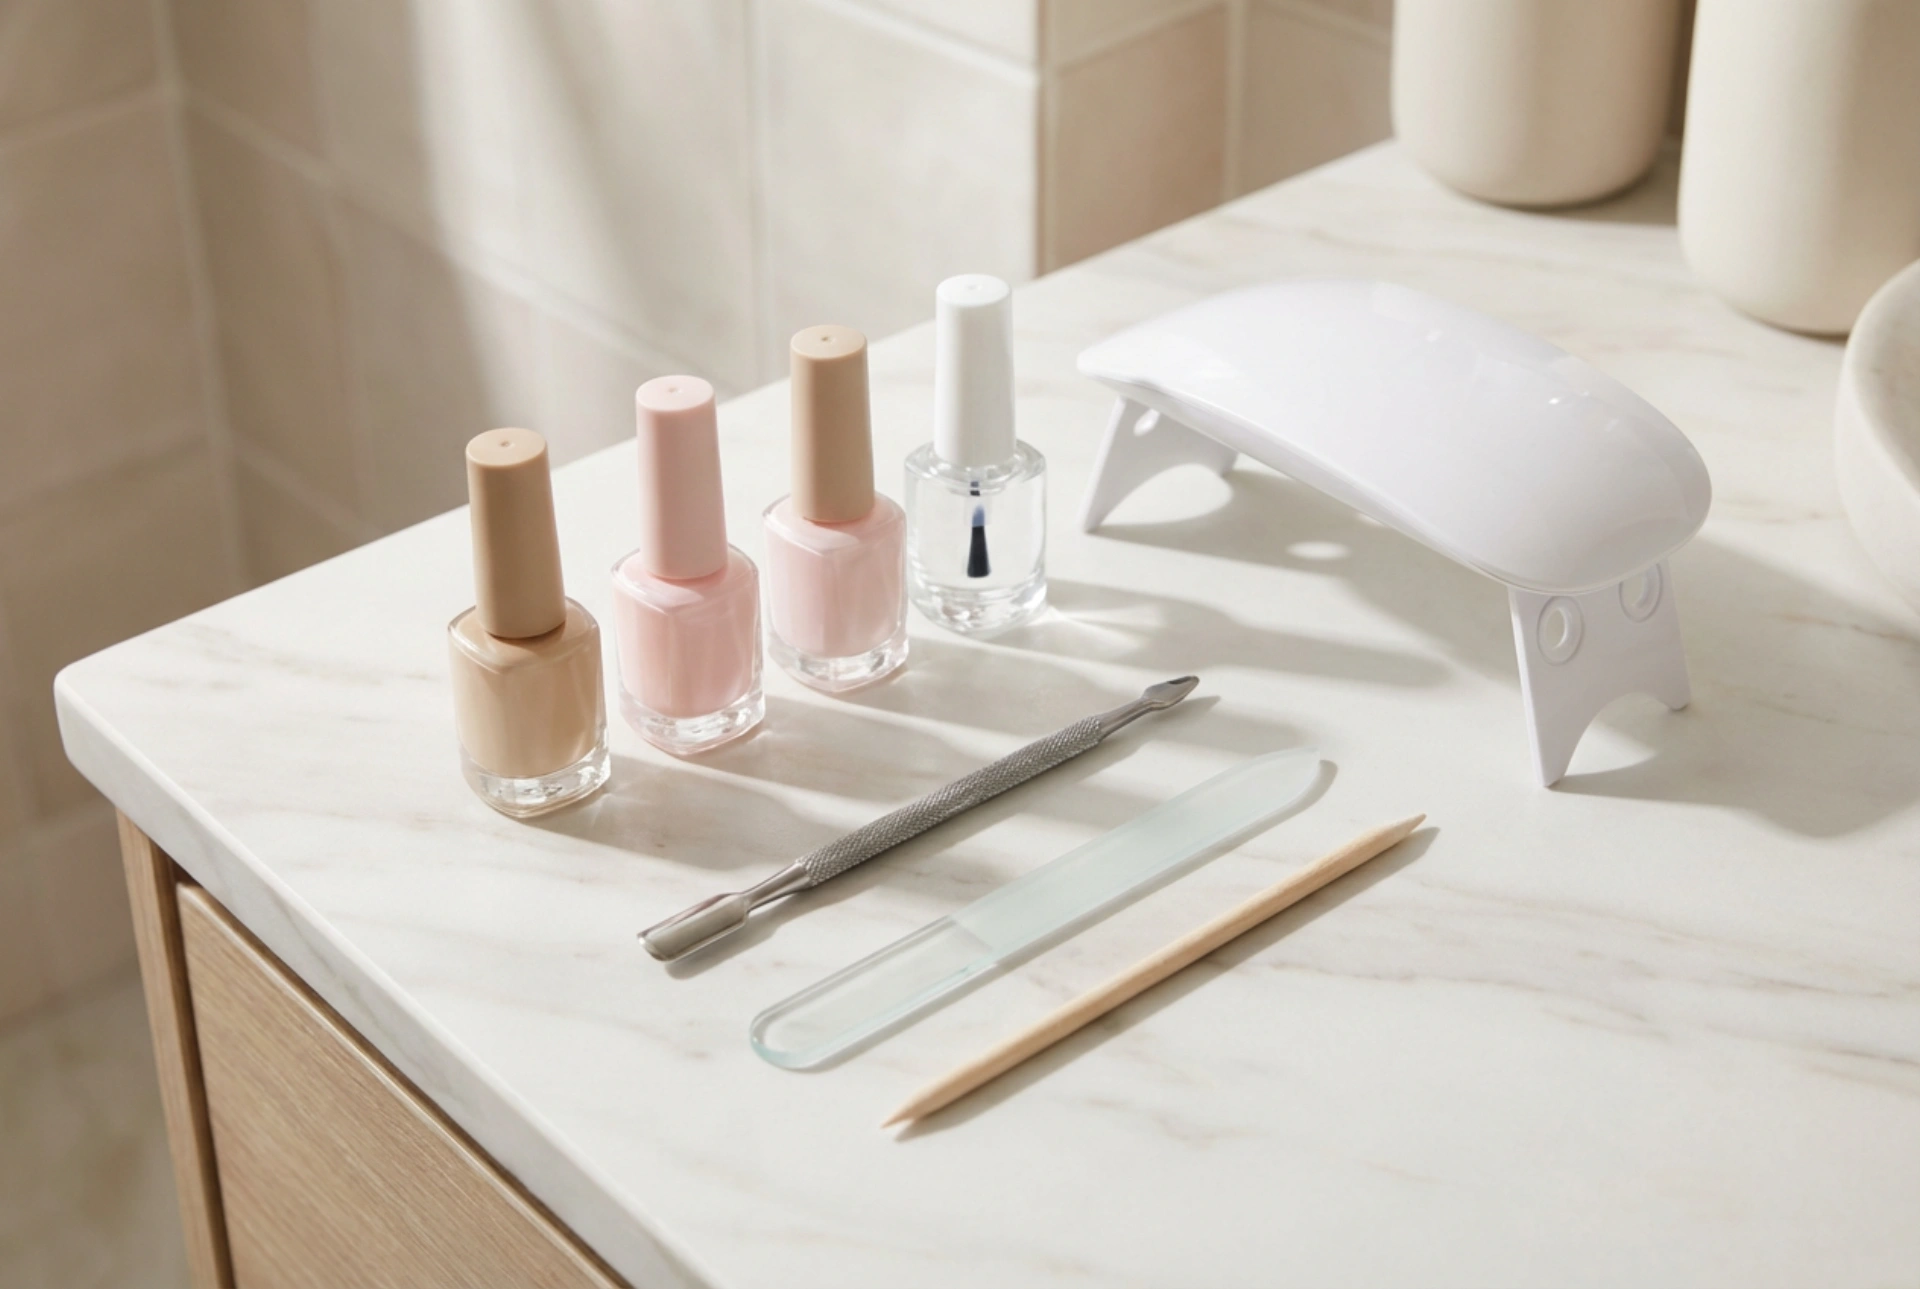


Creating a beautiful, salon-quality manicure at home has never been easier or more accessible. Setting up a dedicated space with a pristine arrangement of essential tools on a minimalist surface brings a sense of calm and excitement to your beauty routine. With a compact UV or LED lamp, a selection of classic shades, and the right preparation accessories, you can transform your nails into a durable work of art. Understanding what goes into a gel nail starter kit and mastering the fundamental techniques is the first step towards achieving a flawless, long-lasting manicure from the comfort of your own home.
Essential Components of a Gel Nail Starter Kit
Before beginning your gel nail journey, it is important to understand the role of each tool and product in your kit. A basic setup contains everything you need to prep, apply, and cure the gel system effectively. Here are the core items to look for:
- UV or LED Lamp: The heart of any gel manicure. This device emits light at specific wavelengths to cure and harden the liquid gel into a durable layer. Compact designs are perfect for home use.
- Base Coat and Top Coat: These two bottles are vital. The base coat creates a strong bond between the natural nail and the colour gel, preventing staining and lifting. The top coat seals the manicure, providing a high-gloss or matte finish and protecting against chips.
- Gel Polishes: Formulated differently from traditional nail varnishes, these polishes remain liquid until exposed to the curing lamp, allowing plenty of time for precise application.
- Nail Prep and Shaping Tools: A fine-grit nail file for shaping the free edge, a soft buffer to remove natural oils from the nail plate, and a wooden cuticle stick to gently push back the cuticles.
- Nail Dehydrator or Cleanser: A solution used to remove any residual oils, dust, and moisture from the nail surface before application, ensuring maximum adhesion.
- Lint-Free Wipes: Essential for wiping away the tacky inhibition layer left after curing the top coat, without leaving fibers behind.
Step-by-Step Nail Preparation for Maximum Adhesion
The longevity of your gel styling depends heavily on how well you prepare your natural nails. Cutting corners during the preparation phase can lead to premature lifting or peeling. Follow these simple, safe steps to ready your nails:
Start by washing and drying your hands thoroughly. Use a wooden or gentle plastic cuticle stick to push back the cuticles gently. Avoid cutting them unless necessary, as they act as a natural barrier against debris. Next, use a file to shape your nails to your preferred length and style, whether rounded, oval, or square. Always file in one direction to prevent splitting.
Once shaped, take a high-grit buffer and lightly buff the surface of each nail. The goal is to remove the natural shine and create a slightly textured surface for the gel to grip onto, not to thin the nail plate. Finally, saturate a lint-free wipe with a dehydrating cleanser and thoroughly wipe each nail to remove dust and oils. Avoid touching your nails after this step to keep them completely clean.
Your First Gel Styling: Application and Curing
Now that your nails are prepped, it is time to apply the gel. The secret to a professional-looking finish lies in applying very thin, even layers. Thick layers can lead to improper curing, bubbling, and quick lifting.
Applying the Base Coat
Apply a very thin layer of the base coat to all five nails on one hand. Be sure to leave a tiny gap between the gel and your cuticles and side walls. Before placing your hand under the lamp, cap the free edge by running the brush lightly along the very tip of the nail. Cure the base coat under your UV or LED lamp according to the manufacturer's recommended time, usually 30 to 60 seconds.
Adding Colour Layers
Apply your chosen gel colour in thin, even strokes. It is normal for the first coat to look slightly sheer or streaky. Cap the free edge as you did with the base coat. Cure this layer under the lamp. Repeat with a second thin coat of colour to build up full opacity, and cure once more. Always ensure any accidental smudges on your skin are wiped away before curing.
Sealing with the Top Coat
To lock in your colour and add a beautiful shine, apply a layer of top coat. Ensure you cover the entire coloured area and cap the free edge once again. Cure under the lamp for the final time. If your top coat leaves a sticky residue, soak a lint-free wipe with cleanser and gently wipe the surface to reveal a smooth, glassy finish.
Post-Manicure Care and Maintenance
Caring for your freshly styled nails immediately after application helps maintain their beauty and supports overall nail health. Apply a drop of nourishing cuticle oil to the skin surrounding each nail and gently massage it in. This restores moisture lost during the dehydration and curing process.
To keep your manicure looking pristine, wear protective gloves when doing household chores, such as washing up or cleaning with household detergents. This simple habit prevents premature wear and keeps the gloss intact. Avoid using your nails as tools to open cans or peel labels, as this can break the seal at the tips and lead to lifting.




