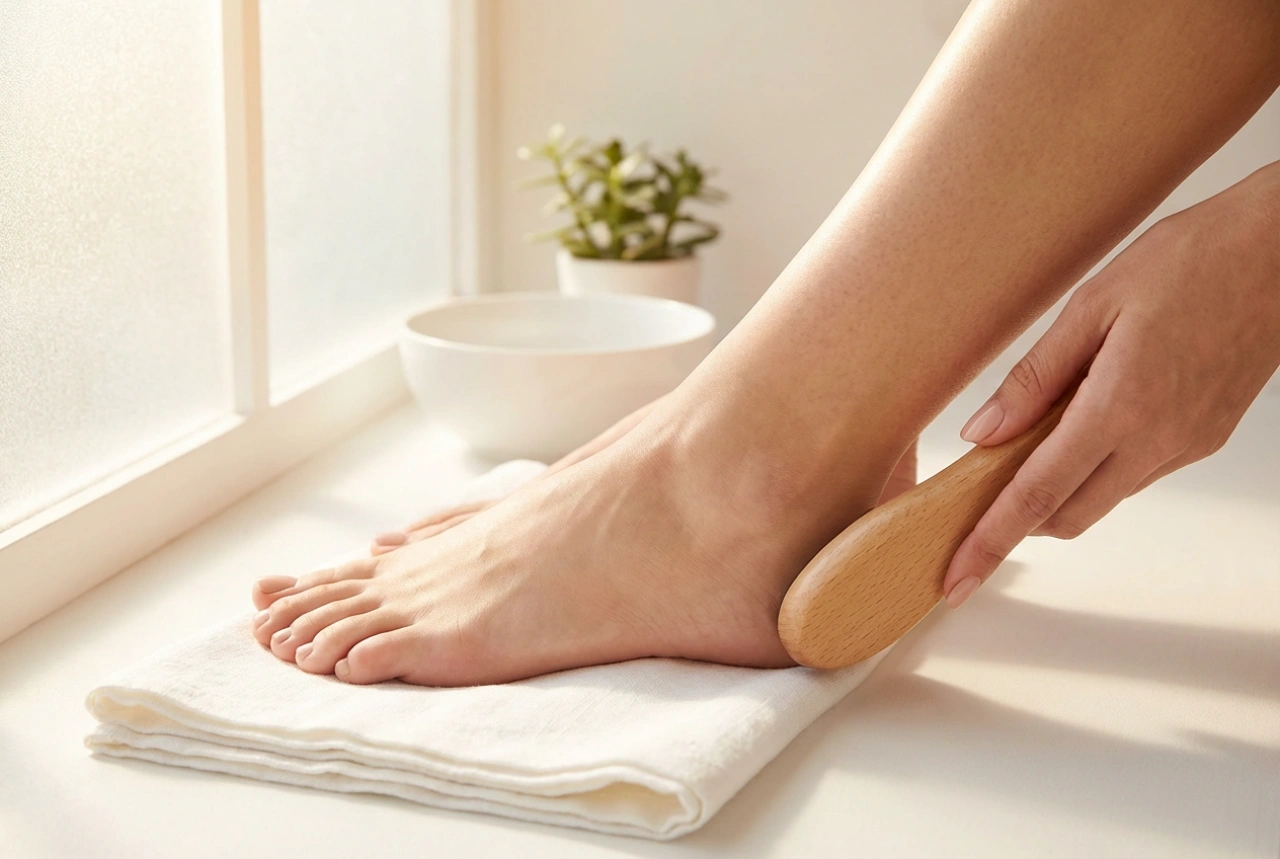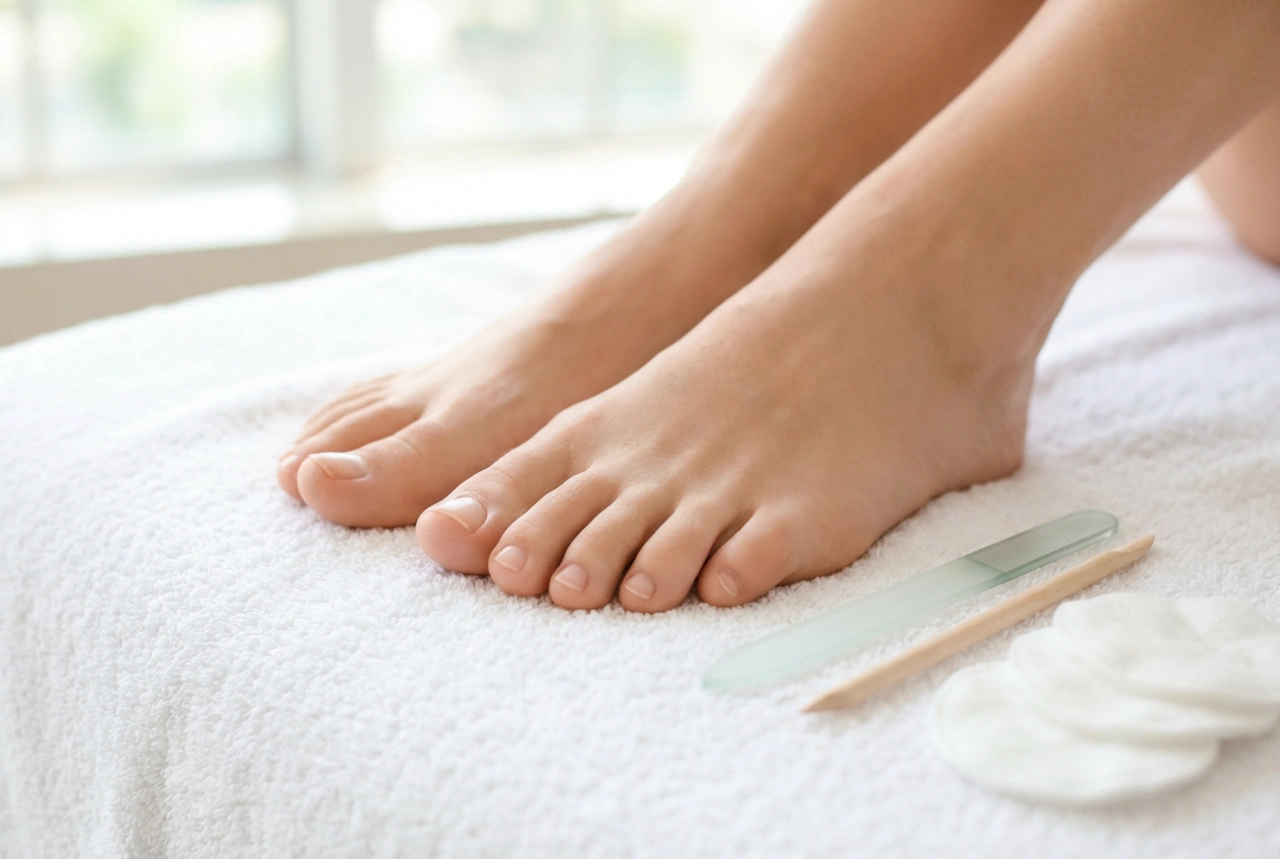


Beautifully manicured feet resting on a soft, light-coloured fabric under gentle, natural light represent the epitome of refined grooming. The classic French pedicure remains one of the most elegant nail designs, characterised by its clean appearance, neutral base, and crisp white tips. While it may look simple, achieving a flawless finish requires attention to detail, from selecting the right shades to mastering the perfect smile line. With a few practical tips, this timeless look can be easily created and maintained in the comfort of your own home.
Selecting the Perfect Shades for a Natural Finish
The foundation of an elegant French pedicure is the base colour. Traditionally, semi-transparent shades are used to mimic the natural healthy hue of the nail plate. Soft pastel pinks, delicate milky whites, and warm peach tones are excellent choices. The key is to select a shade that harmonises with your skin tone. For fair skin, cool pinks work beautifully, whereas warm beige or soft apricot tones complement deeper skin tones. The base should be sheer enough to let the natural nail structure peek through, yet opaque enough to even out the tone of the nail plate, ensuring a neat and polished appearance.
Mastering the Precision of the Smile Line
The defining feature of any French pedicure is the smile line, which is the white curve painted at the free edge of the toenail. Unlike manicures, where the white tip can be relatively thick, a pedicure requires a delicate, thin line to look balanced and elegant. To paint a precise smile line at home, there are several reliable techniques:
- Fine Detail Brush: Using a thin, long-bristled nail art brush allows for ultimate control. Simply dip the brush in white polish and paint a gentle curve from one side of the nail to the other.
- Guide Strips: For beginners, adhesive stencils or guide strips provide a clean, sharp edge. Ensure the base colour is completely dry before applying the strips to avoid peeling.
- The Sweep Method: Using the polish bottle brush, gently glide across the tip of the nail, correcting any minor mistakes afterward with a small brush dipped in gentle nail polish remover.
The Importance of Sealing with a High-Gloss Top Coat
A French pedicure is incomplete without a luminous, glossy finish. A high-quality top coat does more than just add shine; it acts as a protective shield. Toenails are subject to constant friction from socks and shoes, making a durable top coat essential for preventing premature chips and wear. Applying a generous layer of top coat helps to blend the transition between the white tip and the neutral base colour, creating a smooth, professional-looking surface. For the best results, always seal the free edge of the nail by running the top coat brush along the very tip to extend the life of your design.
Essential Steps for Long-Lasting Results
Preparing the nail plate is crucial for ensuring the longevity of your French pedicure. Always start by thoroughly cleaning and dehydrating the nail plate to remove any natural oils or residues. Apply a thin layer of base coat to protect the natural nail from staining and to improve the adhesion of subsequent layers. After applying the base colour and painting the smile line, allow each layer a few moments to settle before applying the final top coat. Regular moisturising of the cuticles and feet will also help maintain the overall elegant and healthy appearance of your feet.