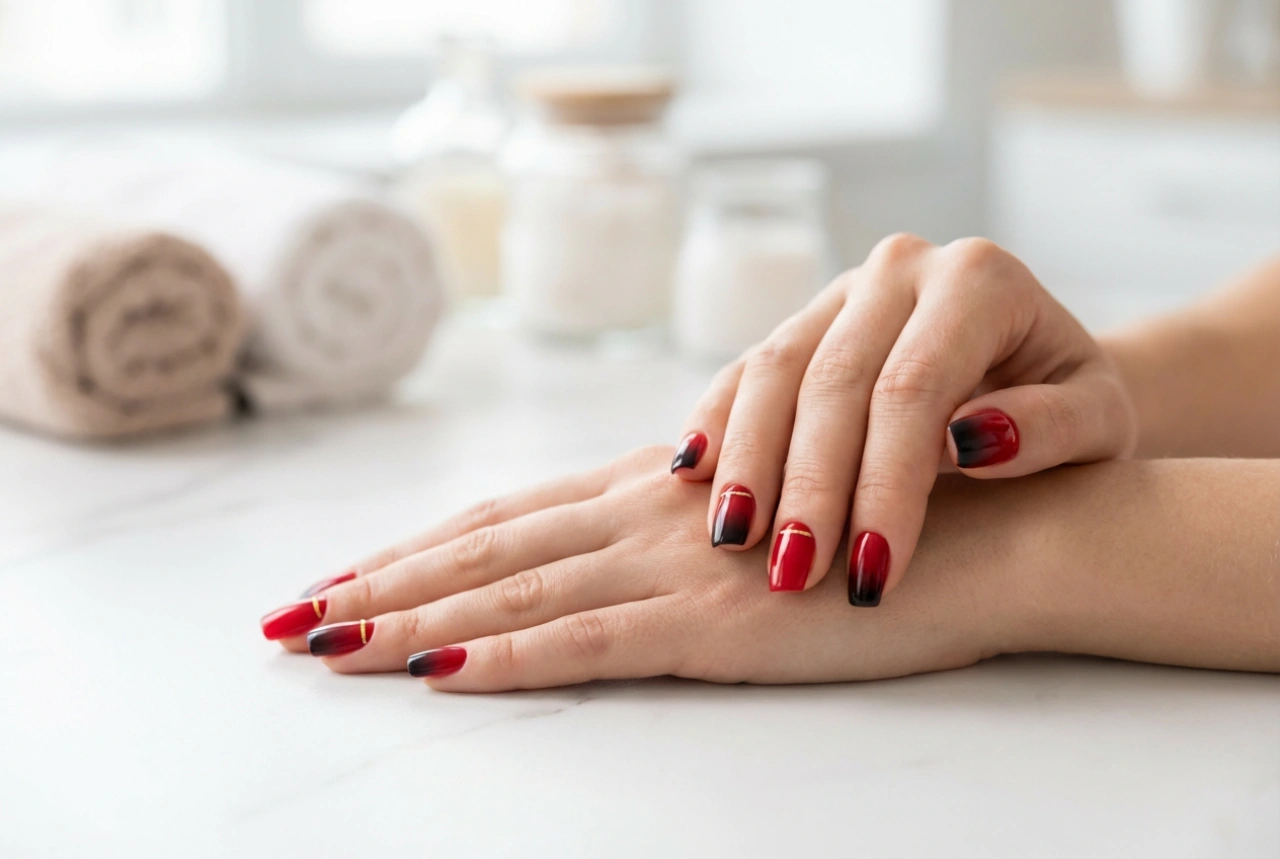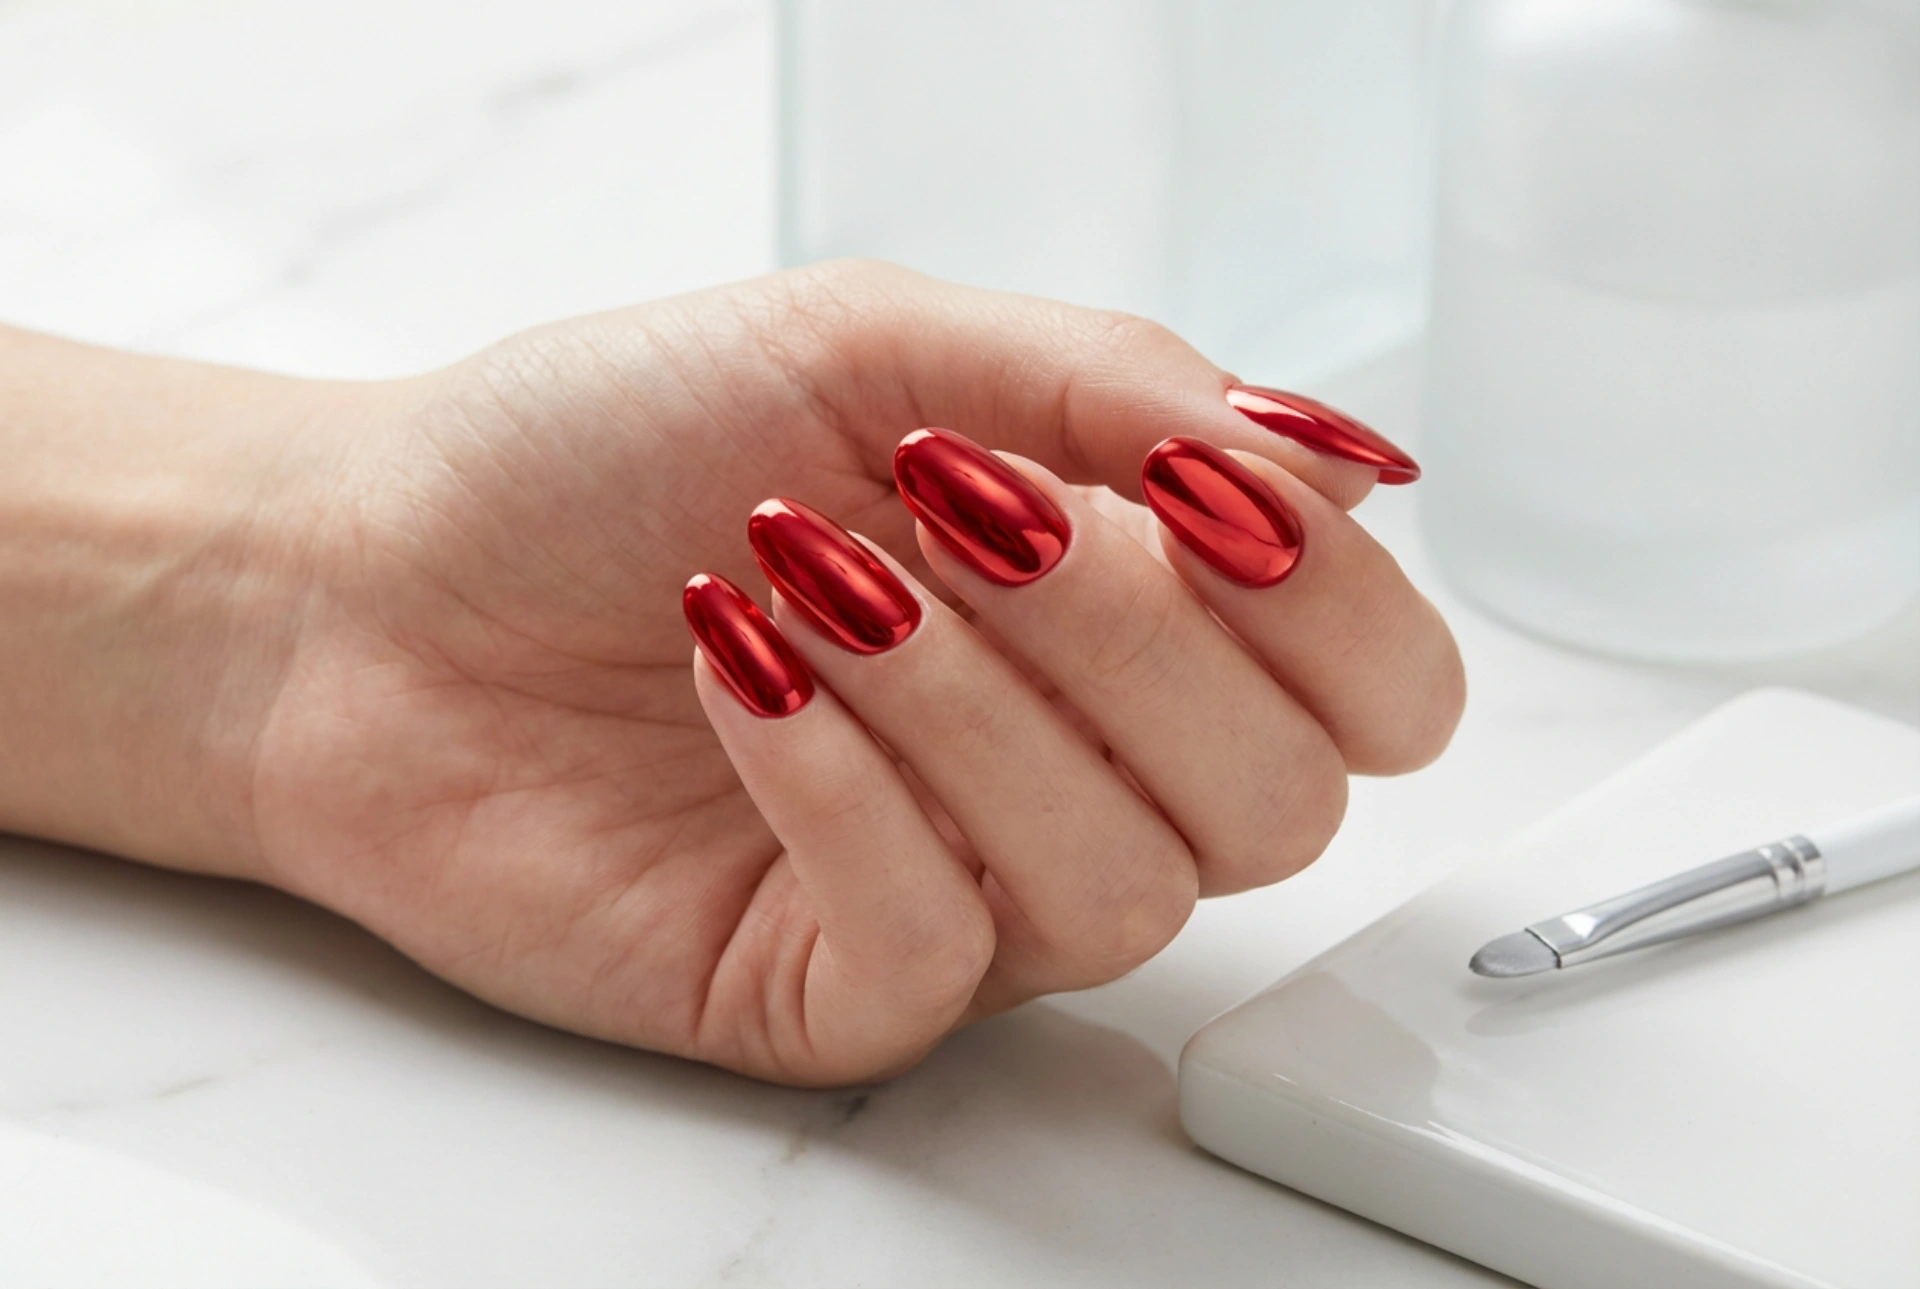


The allure of a vibrant, high-shine red manicure is timeless, but the modern mirror effect takes this classic look to a whole new level of sophistication. Capturing soft natural light on a flawless, reflective surface, red chrome nails exude elegance and confidence. Achieving this striking metallic finish at home might seem challenging, but with the right tools and a precise approach, you can easily replicate this polished look. This guide explains how to prepare your nails, apply the powder evenly, and seal the stunning chrome effect for a long-lasting finish.
The Foundation: Why Nail Preparation is Crucial for Chrome
Unlike standard cream polishes, chrome and mirror powders are highly reflective. This means they act like a magnifying glass for any imperfections on the nail surface. A tiny bump, a ridge, or a speck of dust that would normally go unnoticed will become highly visible once the chrome layer is applied. Therefore, the secret to an even mirror effect lies in meticulous preparation.
Begin by shaping your nails to your desired length. A classic oval or a sleek squoval shape works wonderfully with the bold nature of red chrome. Gently push back your cuticles using a wooden stick or a dedicated cuticle pusher, ensuring there is no excess skin left on the nail plate. Next, use a fine-grit buffer to smooth out the surface of each nail. This step is essential to remove natural ridges and create a completely flat canvas. Once buffed, thoroughly cleanse the nails with a lint-free wipe soaked in a gentle dehydrating solution to remove any oils, dust, or moisture.
Choosing and Applying the Perfect Base Colour
The final shade of your red mirror nails depends heavily on the base colour you choose to apply underneath the chrome powder. Chrome powders are semi-translucent, meaning they rely on the background shade to create depth and tone. You have a few options to customise your look:
- A Classic Red Base: Applying a rich red polish underneath creates a bright, fiery, and vibrant red chrome effect that catches the light beautifully.
- A Black Base: Using a solid black base coat before rubbing in the red chrome powder results in a deeper, more dramatic, and vampy ruby-red mirror finish.
- A Nude or Pink Base: This option yields a softer, more subtle rose-gold or metallic pinkish-red sheen, perfect for those who prefer a delicate shimmer.
Once you have selected your base colour, apply it in thin, even layers. If you are using gel polish, cure each layer thoroughly according to the instructions. If you prefer traditional nail polish, ensure each coat is completely dry before moving on to the next step, as any dampness will cause the powder to clump and ruin the smooth finish.
The Art of Rubbing: Applying the Chrome Powder
The magic of the mirror manicure lies in the application of the fine chrome pigment. To achieve a true mirror-like reflection rather than a glittery shimmer, you must use a no-wipe top coat as the receiving layer. Apply a thin, even coat of a glossy, no-wipe top coat over your base colour and cure it. The curing time is critical here; over-curing will make the surface too hard for the powder to adhere to, while under-curing will make it too sticky, leading to a dull, grainy texture.
Once cured, immediately take a small amount of the red chrome powder using a soft silicone applicator or a sponge eyeshadow brush. Gently press the powder onto the centre of the nail, then use smooth, circular buffing motions to spread it towards the edges and tip. As you rub, you will see the powdery particles transform into a seamless, liquid-like metallic sheet. Apply gentle pressure to polish the surface until it becomes highly reflective. After achieving the desired mirror effect, use a very soft, fluffy cosmetic brush to gently dust away any excess loose powder from the skin and around the cuticles.
Sealing the Chrome for Long-Lasting Wear
One of the most common issues with home chrome manicures is chipping or the loss of the mirror shine after a few days. Because chrome powder is made of tiny metallic particles, it does not naturally bond with the top coat in the same way regular polish does. Proper sealing is essential to protect your hard work.
To seal the chrome without dulling its shine, apply a thin layer of a clear base coat or a specially designed water-based top coat directly over the burnished powder. This acts as a protective barrier, preventing the final top coat from dissolving or shifting the metallic particles. Once this barrier layer is dry or cured, apply a generous layer of a high-shine, durable top coat, making sure to carefully cap the free edge of each nail. Capping the tip seals the edges completely, preventing water and air from getting underneath and causing the chrome layer to lift or peel.
Troubleshooting Common Chrome Mistakes
If your first attempt does not turn out perfectly smooth, do not worry. Achieving a flawless mirror finish requires a bit of practice. If the powder looks patchy or refuses to stick, you may have over-cured your top coat, leaving the surface too slick. Next time, try reducing the curing time by a few seconds. If the finish looks sparkly and glittery instead of like a smooth mirror, the top coat might have been under-cured, or you may need to buff the powder with slightly more pressure to merge the particles together. With patience and attention to detail, you will soon master the art of the perfect red chrome manicure at home.