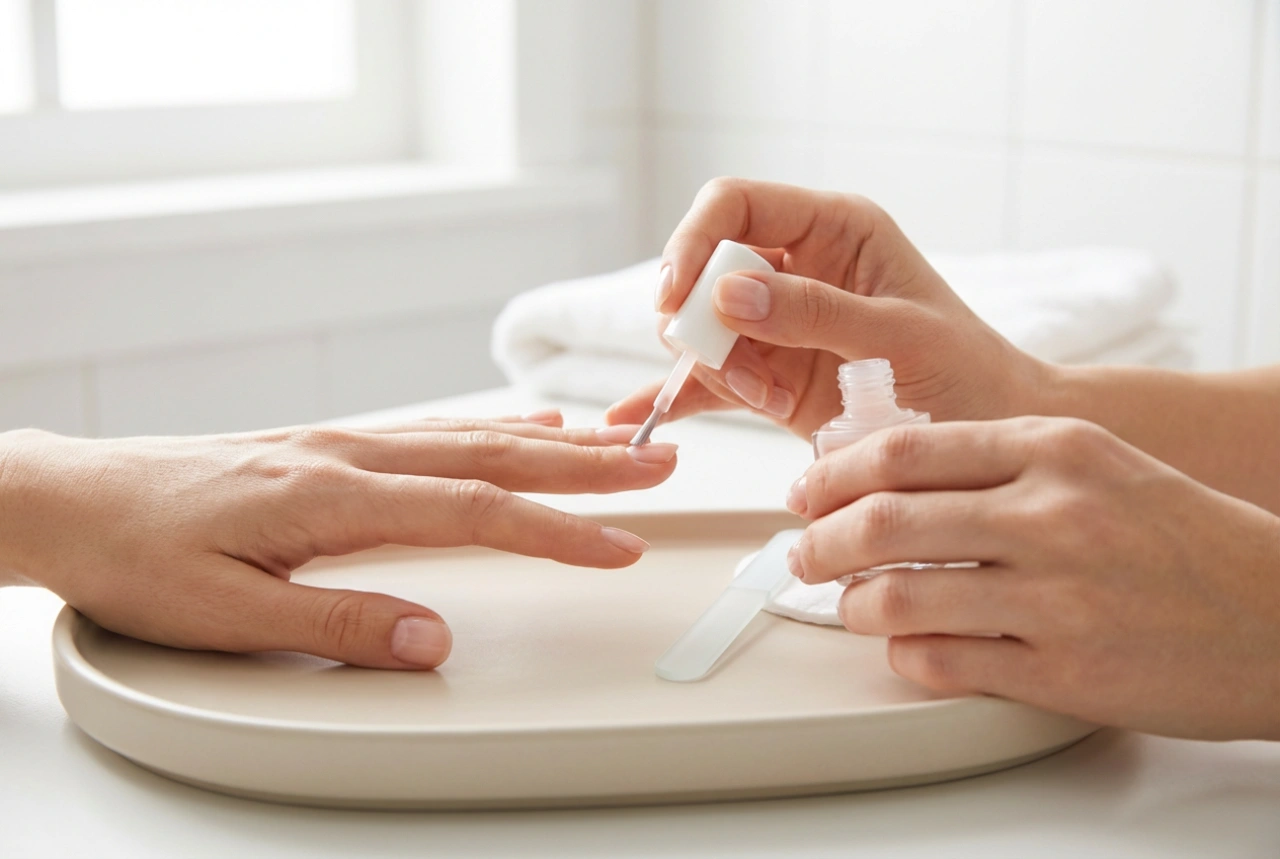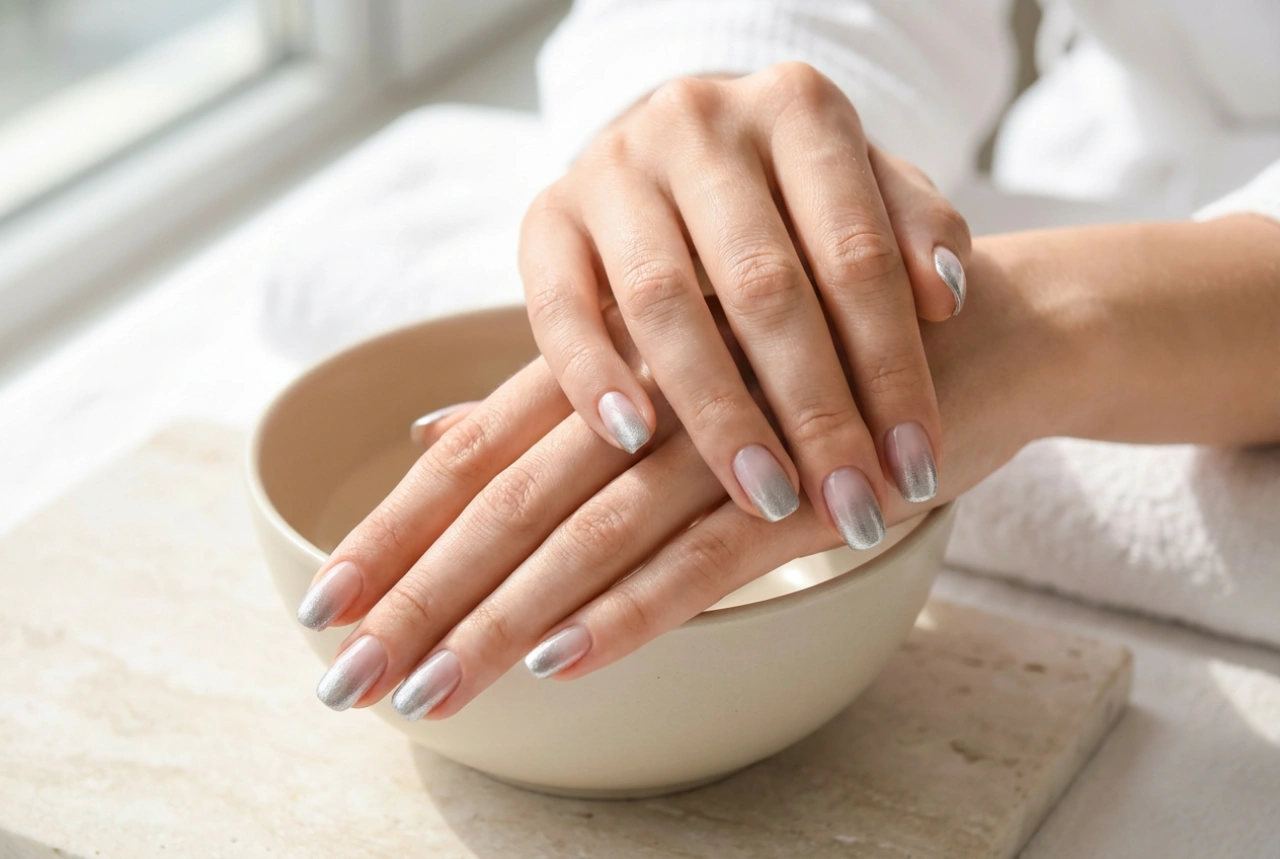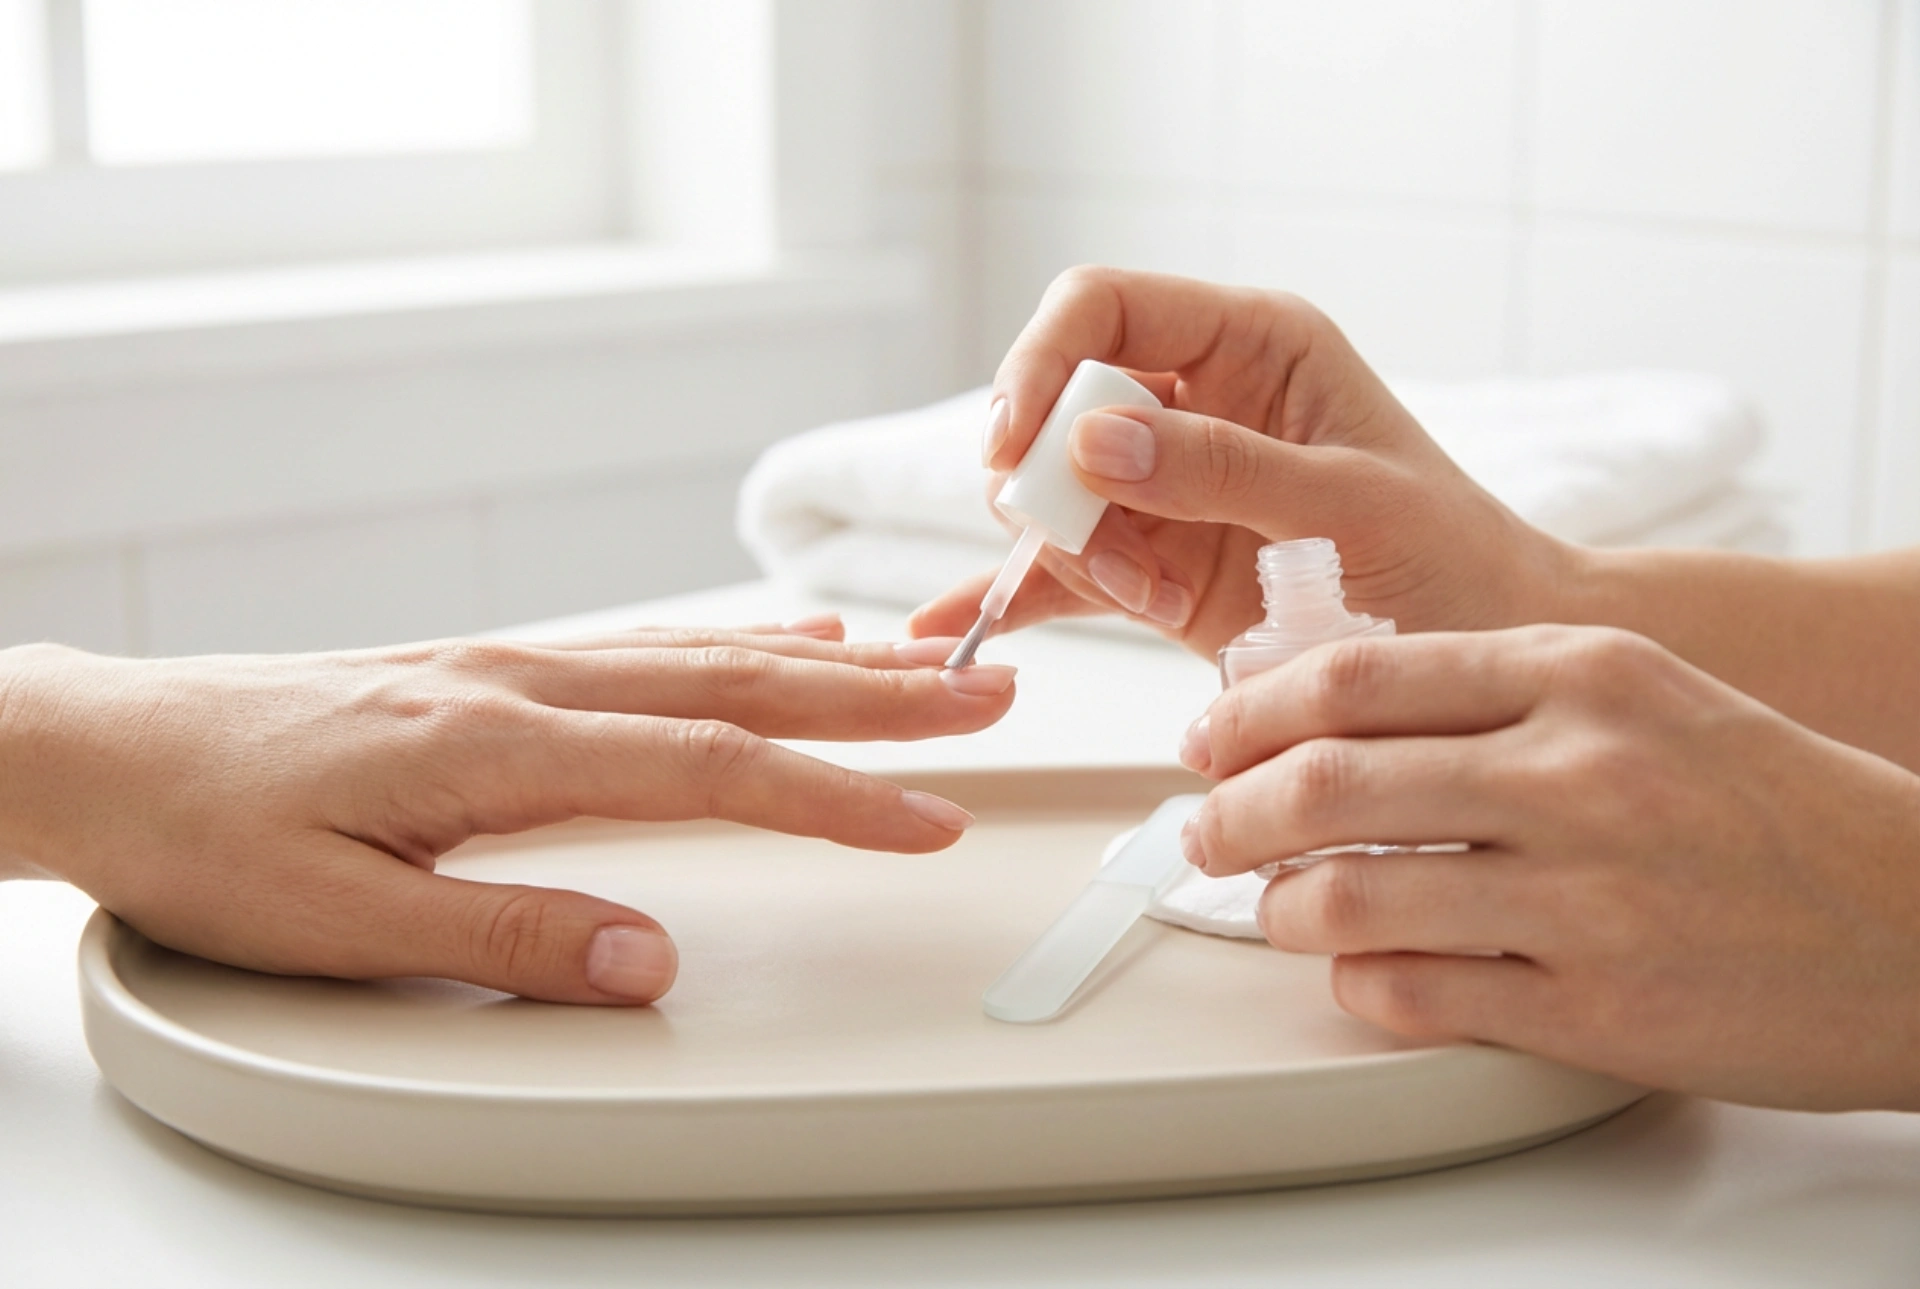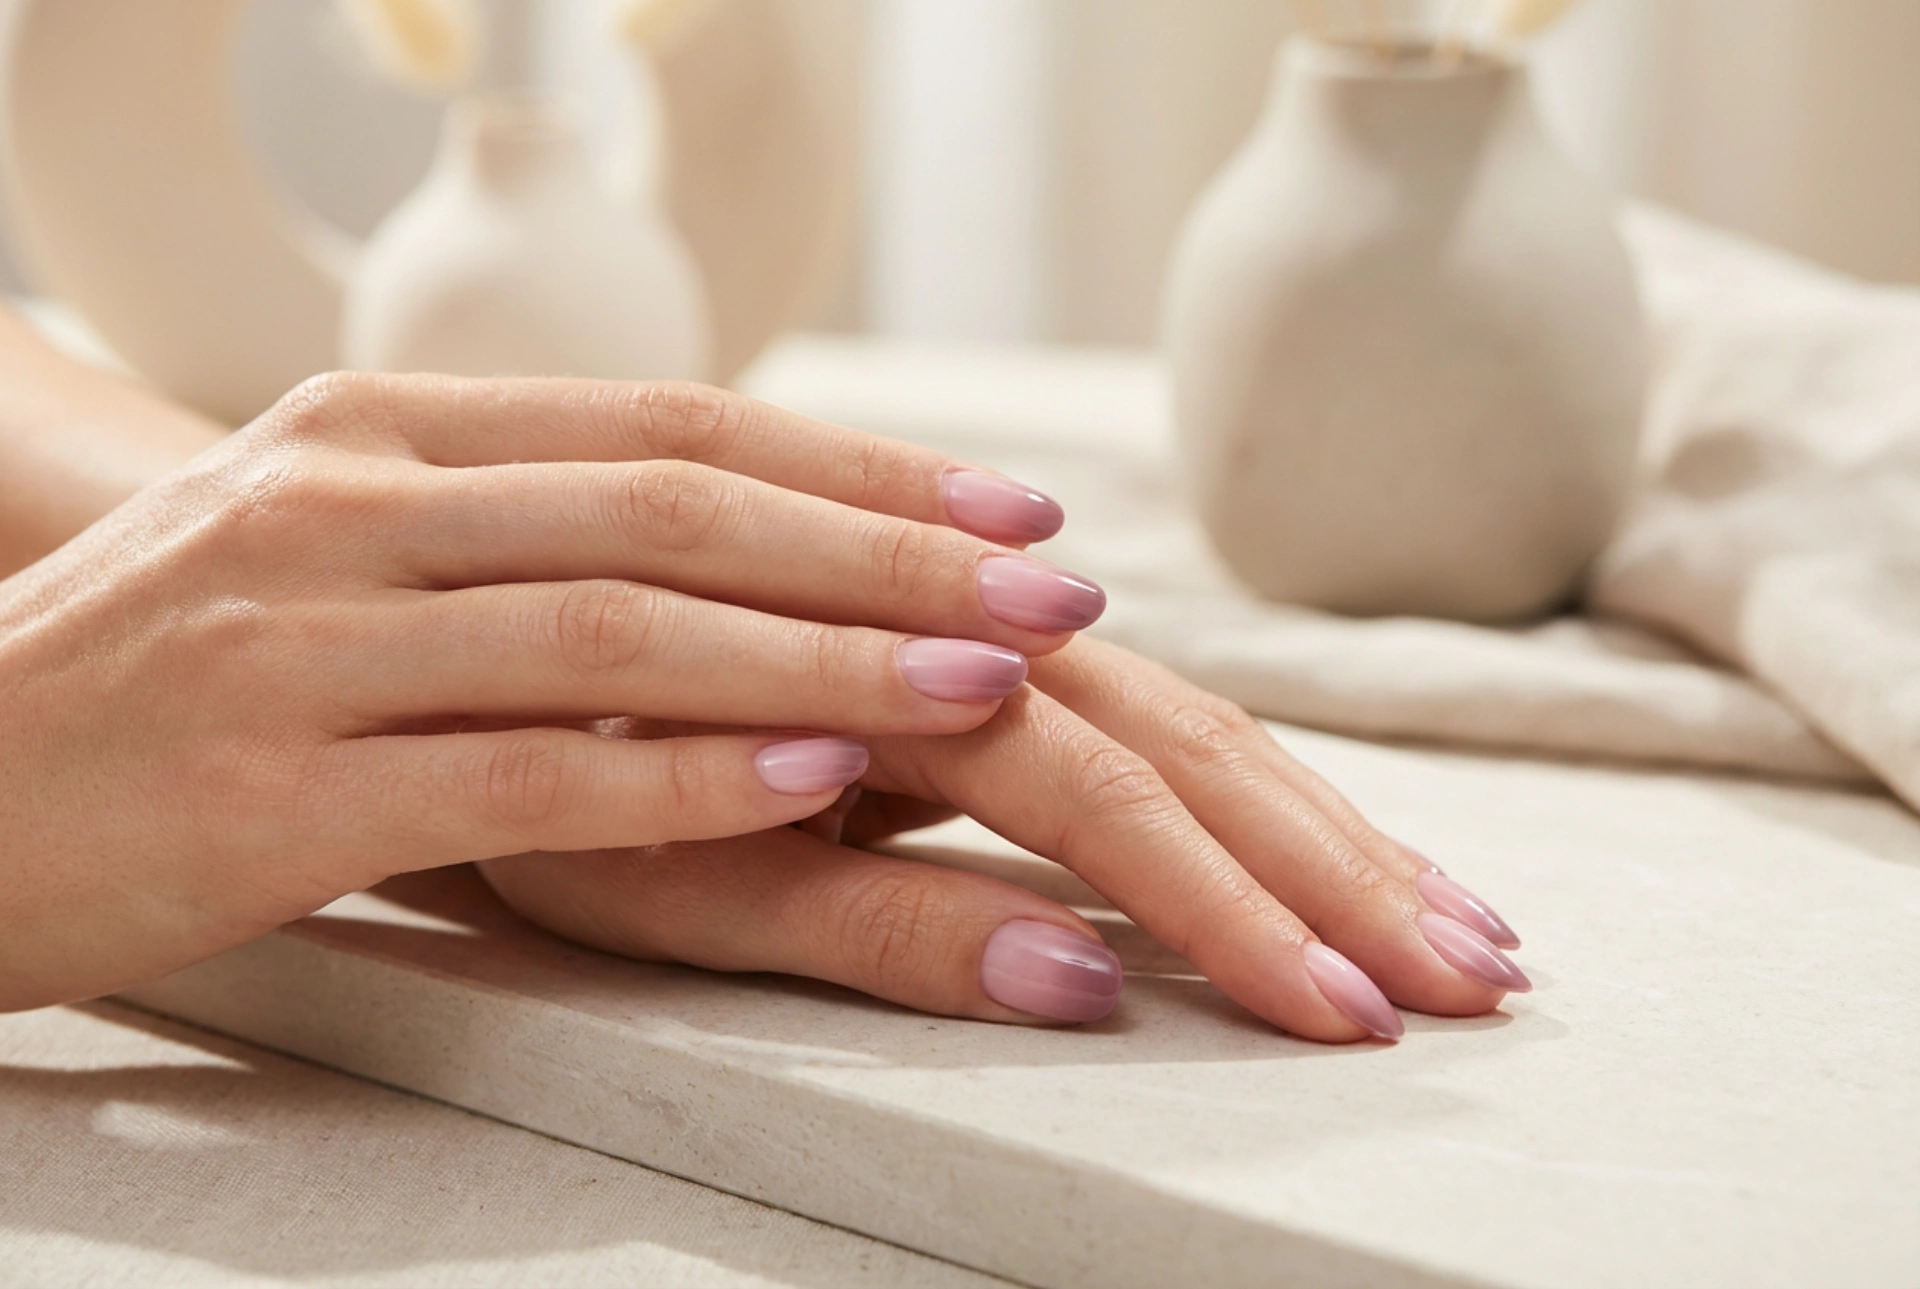


An elegant ombre gel manicure, featuring a seamless colour gradient that transitions beautifully from a soft pastel to a deeper complementary shade, is one of the most sophisticated styles in modern nail design. The impeccable glossy finish captured under warm, natural light highlights the fluid shift between hues, making it a popular choice for both everyday elegance and special occasions. While achieving a flawless blend may seem challenging, mastering the techniques of shading with gel polishes is entirely possible at home. By understanding the properties of gel products and using the right tools, you can create a professional-looking gradient that lasts for weeks.
The Philosophy of Shading with Gel Polish
The ombre effect, characterised by a gradual blending of one colour into another, requires a smooth transition where the boundary between shades becomes invisible. Gel polishes are uniquely suited for this technique due to their self-levelling properties and the fact that they do not air-dry. Unlike traditional nail lacquers, gel formulas remain wet until cured under a lamp, giving you ample time to work on the blending process and perfect the transition. This flexibility allows both beginners and experienced nail enthusiasts to experiment with various shading methods without the rush of drying products. Selecting highly pigmented gel polishes that share a similar viscosity is key to achieving a seamless blend, as consistency plays a crucial role in how easily the pigments merge.
The Sponge Method: Seamless and Soft Transitions
One of the most popular and accessible techniques for creating an ombre manicure is the sponge method. This approach uses a fine-pored cosmetic sponge to gently dab and blend the colours together. To begin, apply your lighter background shade over the cured base coat and cure it. Next, apply the two chosen gel polish colours side by side on a clean, non-absorbent palette, slightly overlapping them in the middle. Use a toothpick to gently mix the boundary line where the colours meet. Press the sponge into the polish and then lightly tap it onto the nail, moving it slightly up and down to diffuse the line. Alternatively, you can apply stripes of gel polish directly onto the sponge and press it onto the nail plate. To avoid creating unwanted air bubbles, make sure to use very light tapping motions and choose a sponge with the smallest pores possible. Repeat the process in thin layers, curing each layer, until the desired colour intensity is achieved.
The Brush Technique: Precision and Artistic Control
For those who prefer a more precise and cleaner application without the texture that sponges can sometimes leave behind, the brush technique is an excellent alternative. This method relies on a dedicated ombre brush, which typically features bristles of varying lengths or a feathered edge designed specifically for blending. After preparing the nail and applying the base, paint one half of the nail with the first colour and the other half with the second colour. With the ombre brush held almost flat against the nail plate, use gentle, horizontal zig-zag or vertical sweeping motions along the boundary line to pull the pigments into each other. Clean the brush on a lint-free wipe frequently during the process to keep the transition clean. This technique requires a light touch to ensure that you do not scrape the polish off the nail but rather blend the surface layer. Cure the layer once you are satisfied with the gradient, and repeat for a second coat to build depth.
Key Tips for a Flawless Ombre Finish
To elevate your home manicure and ensure your ombre design looks as polished as possible, several practical tips should be kept in mind:
- Use thin layers: Applying thick coats of gel polish to speed up the blending process will only lead to wrinkling during curing or an uneven surface. Multiple thin, blended layers will always yield a superior, more durable result.
- Protect the surrounding skin: The sponge method can be messy. Applying a peel-off skin barrier or liquid latex around the nail fold before you start will make cleanup effortless and keep your cuticles clean.
- Select complementary shades: When starting out, choose colours that naturally blend well together, such as pastel pink and lavender, or nude and soft peach. Highly contrasting colours, like black and white, require more advanced blending skills to avoid a muddy middle zone.
- Apply a high-quality top coat: The final step is crucial. A glossy top coat not only seals and protects your design but also works to further smooth out any minor imperfections or textured areas left by the blending process, creating a perfectly flat, glass-like surface.
Maintaining the Beauty of Your Gel Manicure
Achieving a beautiful ombre design is only half the battle; maintaining its glossy, flawless appearance requires proper aftercare. To keep the skin around your nails looking as neat as the gradient itself, regularly apply a nourishing cuticle oil. This keeps the skin hydrated and prevents dry hangnails from distracting from your manicure. When performing household chores or working with cleaning agents, always wear protective gloves to shield your gel polish from harsh chemicals that could dull its shine. With the right technique and a little patience, your hand-crafted ombre manicure will remain a stunning, durable accessory that showcases your creativity.