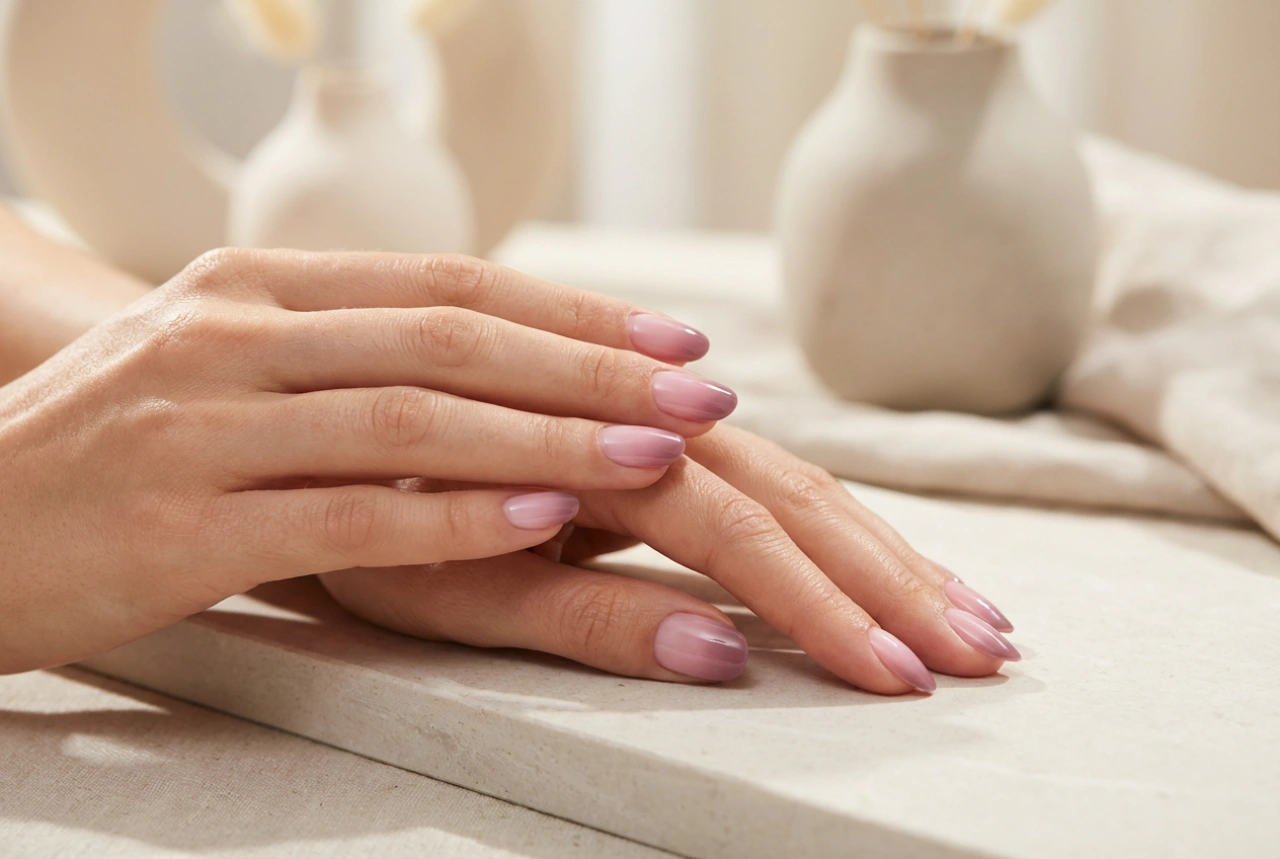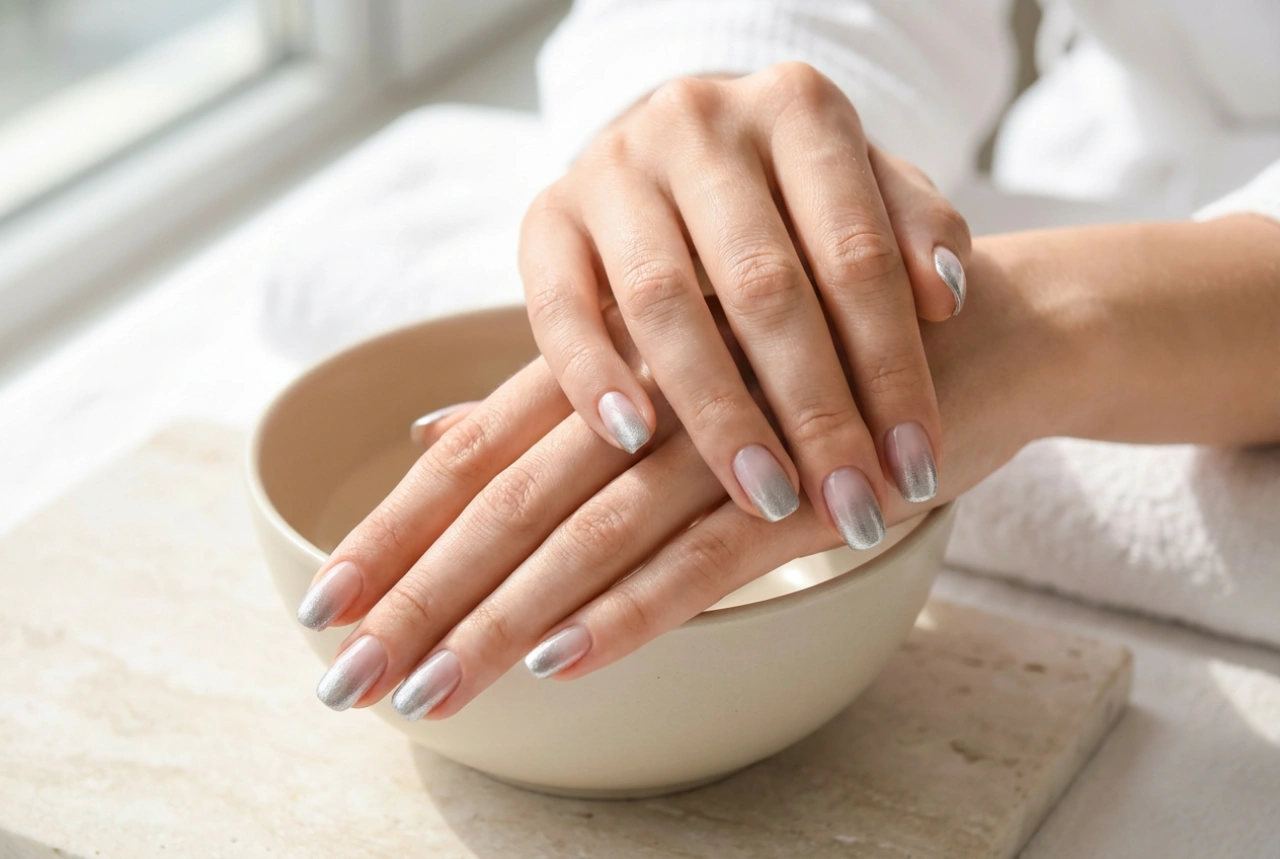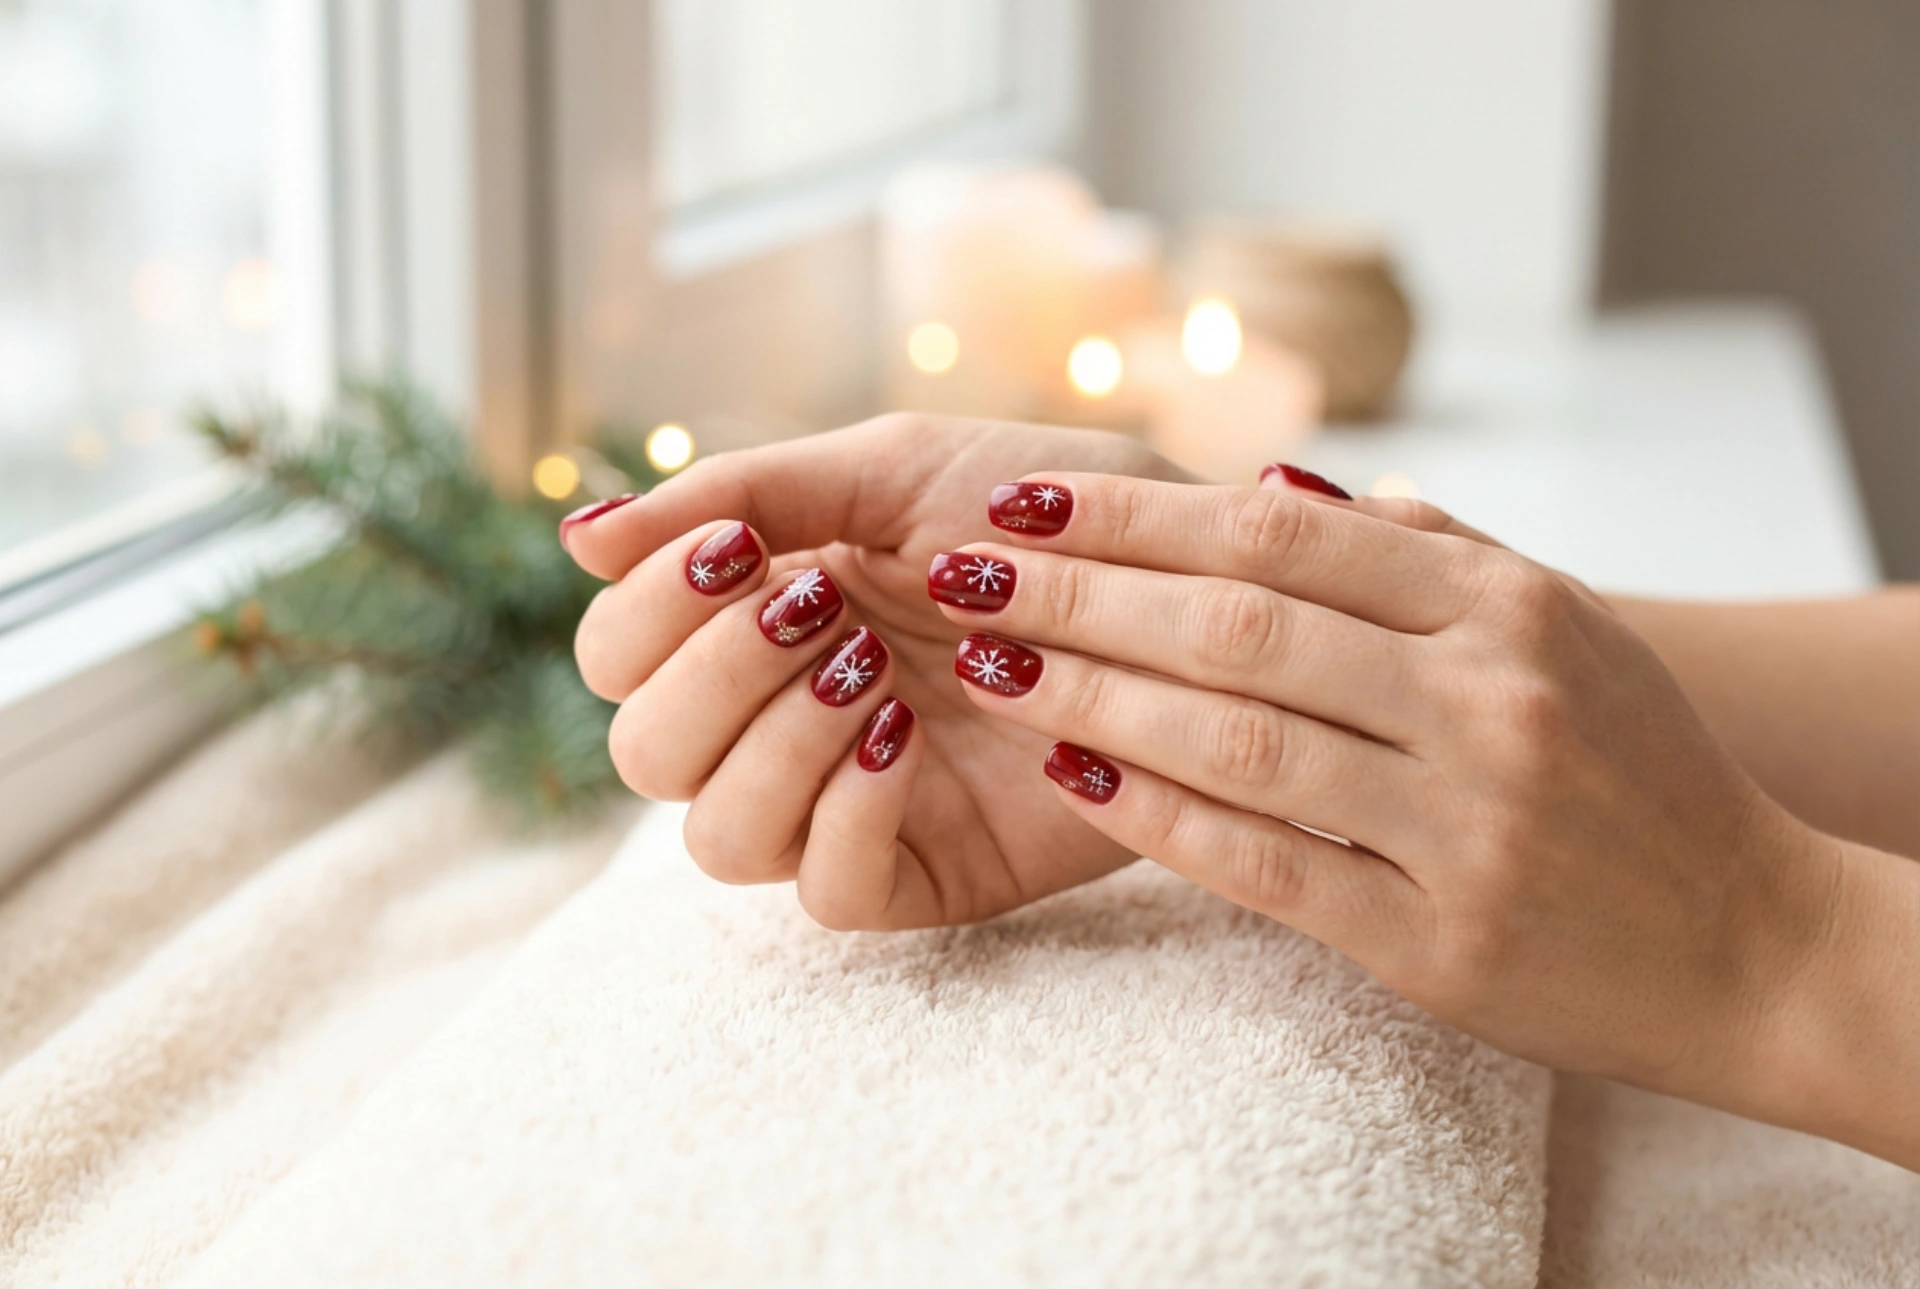


Beautifully manicured hands reflecting a cosy, joyful holiday atmosphere are a timeless winter tradition. Elegant red nails decorated with delicate Christmas motifs such as tiny snowflakes or subtle glitter bring a touch of festive magic to everyday styling. The warm, diffused winter light captures the gloss and depth of classic red, making it the perfect seasonal statement. Creating this look at home is not only a creative way to prepare for the holidays but also a relaxing self-care ritual that adds a chic, festive touch to your overall style. With a few simple steps, you can achieve a professional-looking manicure that enhances the natural beauty of your hands.
Classic Red as the Perfect Canvas for Holiday Designs
Red has always been the ultimate symbol of sophistication and holiday cheer. From deep burgundy to bright crimson, this colour family offers a wide range of shades to suit every skin tone. When planning your festive manicure, choosing the right shade of red is the first step towards a stunning result. Cooler, blue-toned reds provide a striking contrast against pale winter skin, while warmer, orange-toned reds offer a vibrant, modern aesthetic. Using red as your primary canvas allows any decorative elements, such as delicate white patterns or golden glitter, to stand out elegantly without overpowering the design.
Essential Tools for Home Nail Art
To successfully paint detailed Christmas motifs at home, having the right tools is essential. You do not need professional-grade salon equipment; simple, accessible alternatives work beautifully for everyday beauty enthusiasts. A fine-tipped nail art brush or even a wooden toothpick can serve as a precision tool for drawing fine lines. A dotting tool, which can be easily replicated using the round head of a sewing pin inserted into a pencil eraser, is perfect for creating small, uniform dots. Additionally, keeping a small brush dipped in nail polish remover nearby allows you to clean up any minor imperfections quickly and maintain a neat, clean finish.
Step-by-Step: Subtle Christmas Motifs on Red Nails
Step 1: Preparation and Base Coat
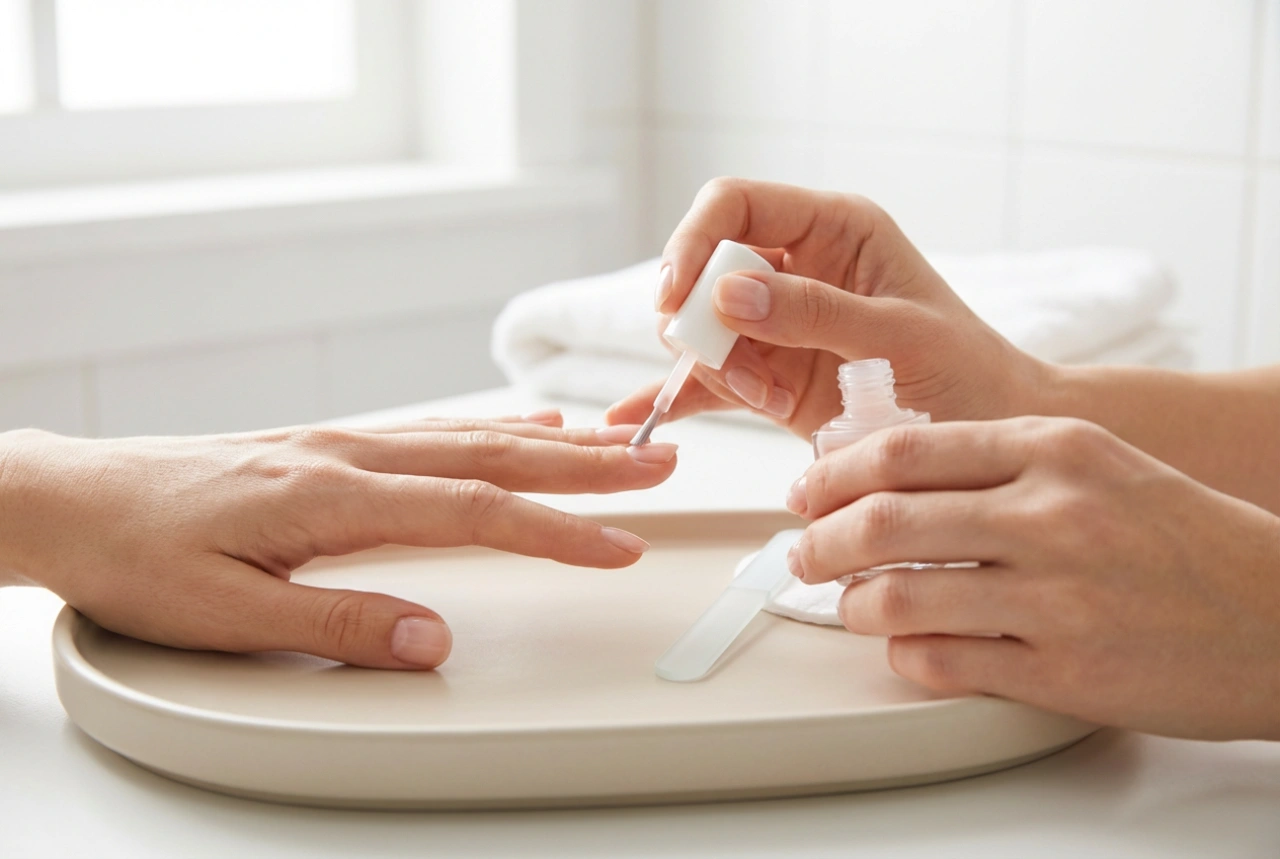
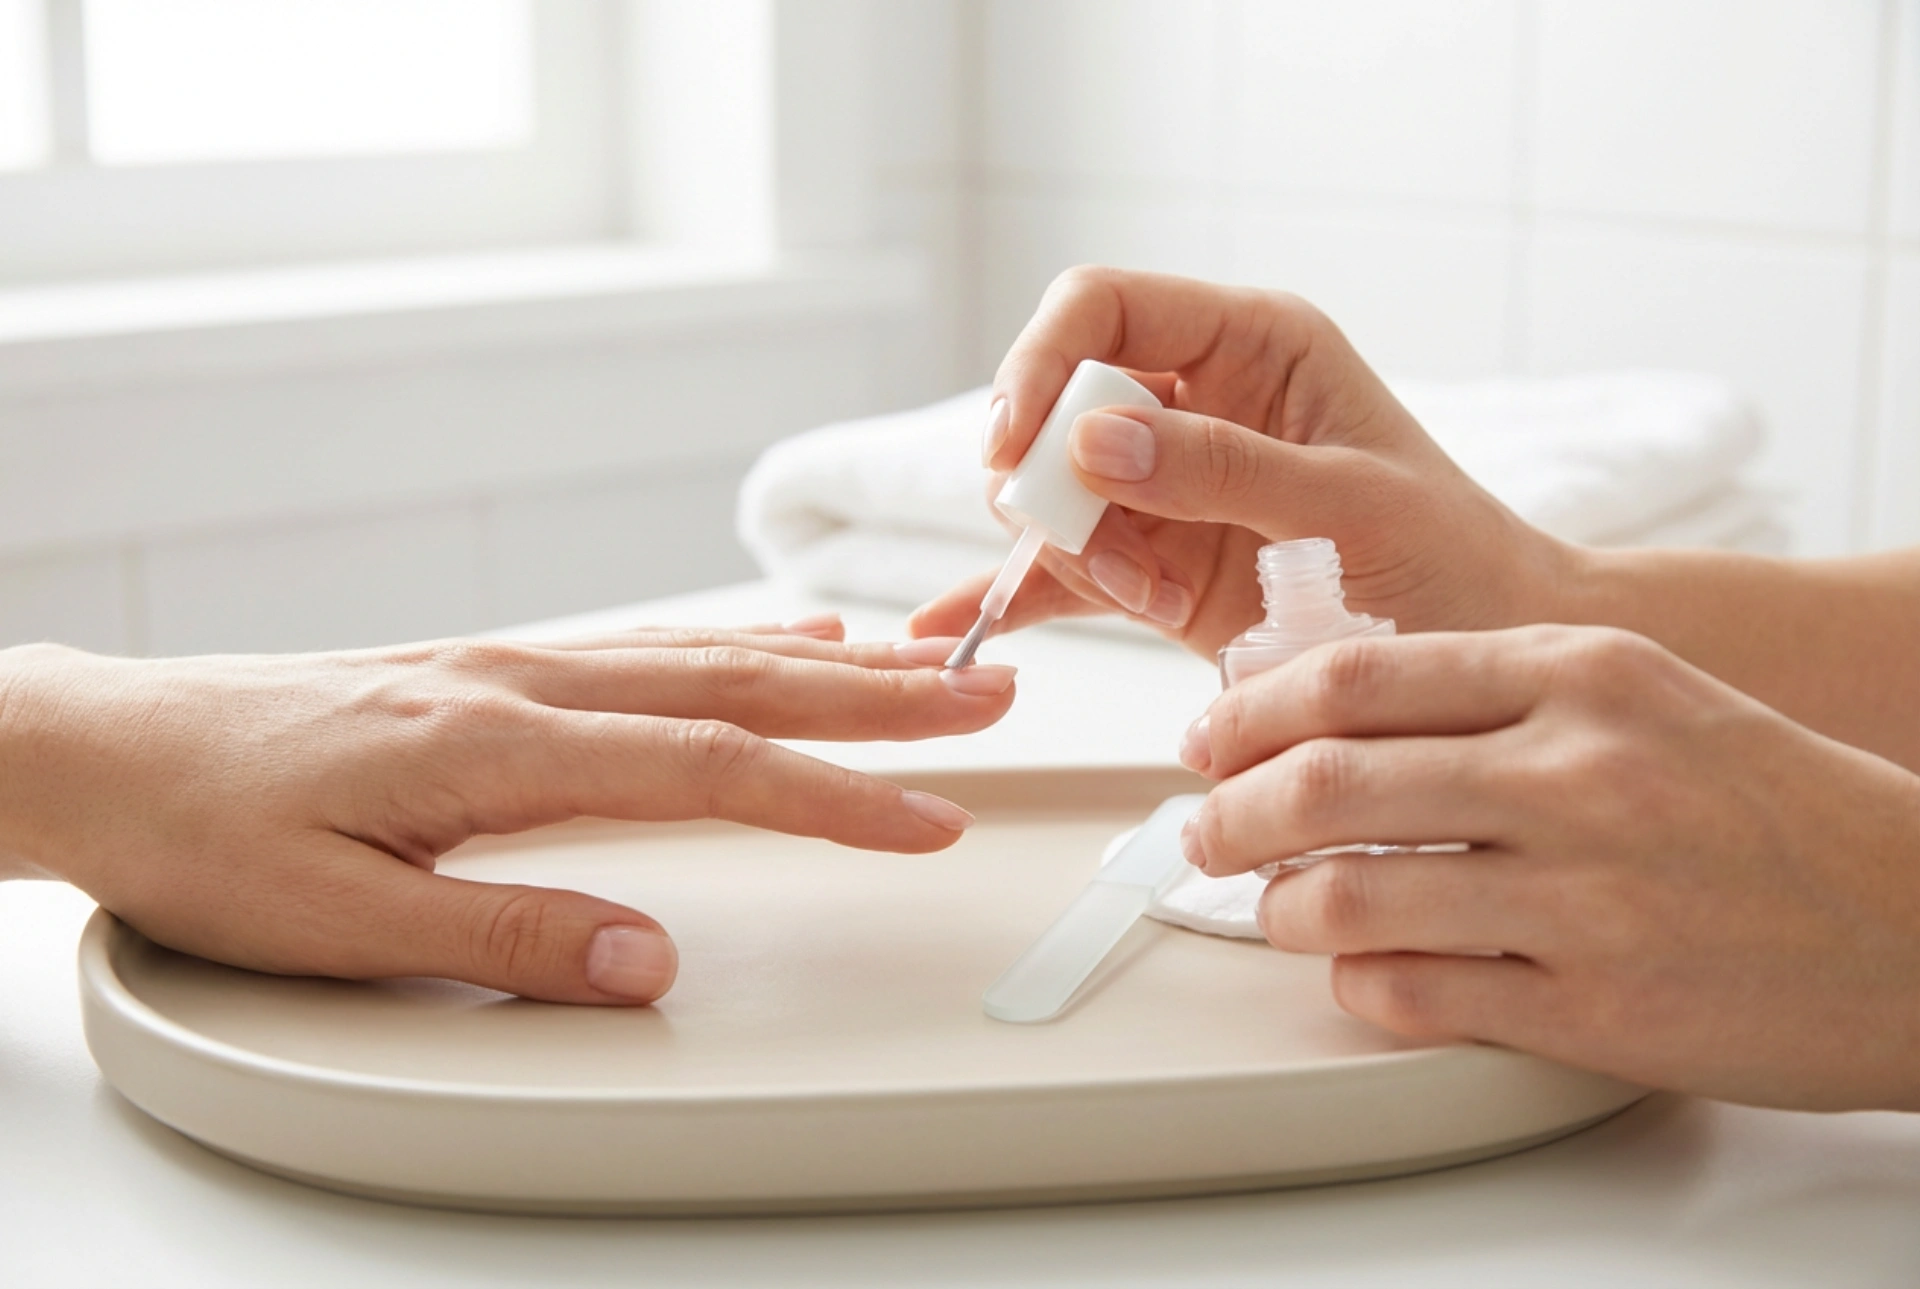
A flawless manicure always begins with thorough preparation. Start by gently filing your nails into your preferred shape, such as a classic oval or a modern soft square. Push back the cuticles gently using a wooden stick. Once the nails are clean and free of natural oils, apply a thin layer of protective base coat. This step is crucial as it prevents the vibrant red pigment from staining your natural nail plate and provides a smooth surface for the colour polish to adhere to.
Step 2: Applying the Perfect Red
Apply your chosen red polish in thin, even coats. It is always better to apply two thin coats rather than one thick layer, as thin layers dry much faster and are far less prone to bubbling or smudging. Start painting from the centre of the nail, moving from the cuticle to the free edge, and then fill in the sides. Allow the first coat to dry completely for a few minutes before applying the second coat to ensure a rich, opaque finish.
Step 3: Creating Festive Motifs
Once the red base is touch-dry, you can begin adding your festive designs. To create a delicate snowflake, dip your fine brush or toothpick into a white nail polish. Draw a small cross in the centre of the nail, then add diagonal lines between the main branches. Finish by placing tiny dots at the ends of each branch using your dotting tool. If you prefer a simpler yet equally festive option, apply a delicate gradient of fine gold or silver glitter starting from the base of the nail and fading towards the middle, evoking the look of falling winter snow.
Step 4: Sealing the Design with a Top Coat
After your creative designs have dried completely, seal your manicure with a high-quality, glossy top coat. The top coat protects the delicate nail art from chipping, smooths out any unevenness created by the layers of polish, and gives your nails a professional, high-shine finish. Be sure to swipe the top coat brush along the very edge of each nail to cap it, which significantly extends the life of your holiday manicure.
How to Ensure Your Festive Manicure Lasts Longer
To keep your festive nails looking pristine throughout the holiday preparations, safe hand-care habits are key. Always wear protective gloves when doing household chores or washing dishes to shield your nails from water and household cleaning agents. Additionally, applying a nourishing cuticle oil daily keeps the skin around your nails hydrated and prevents unsightly peeling, maintaining that fresh, elegant look for days.