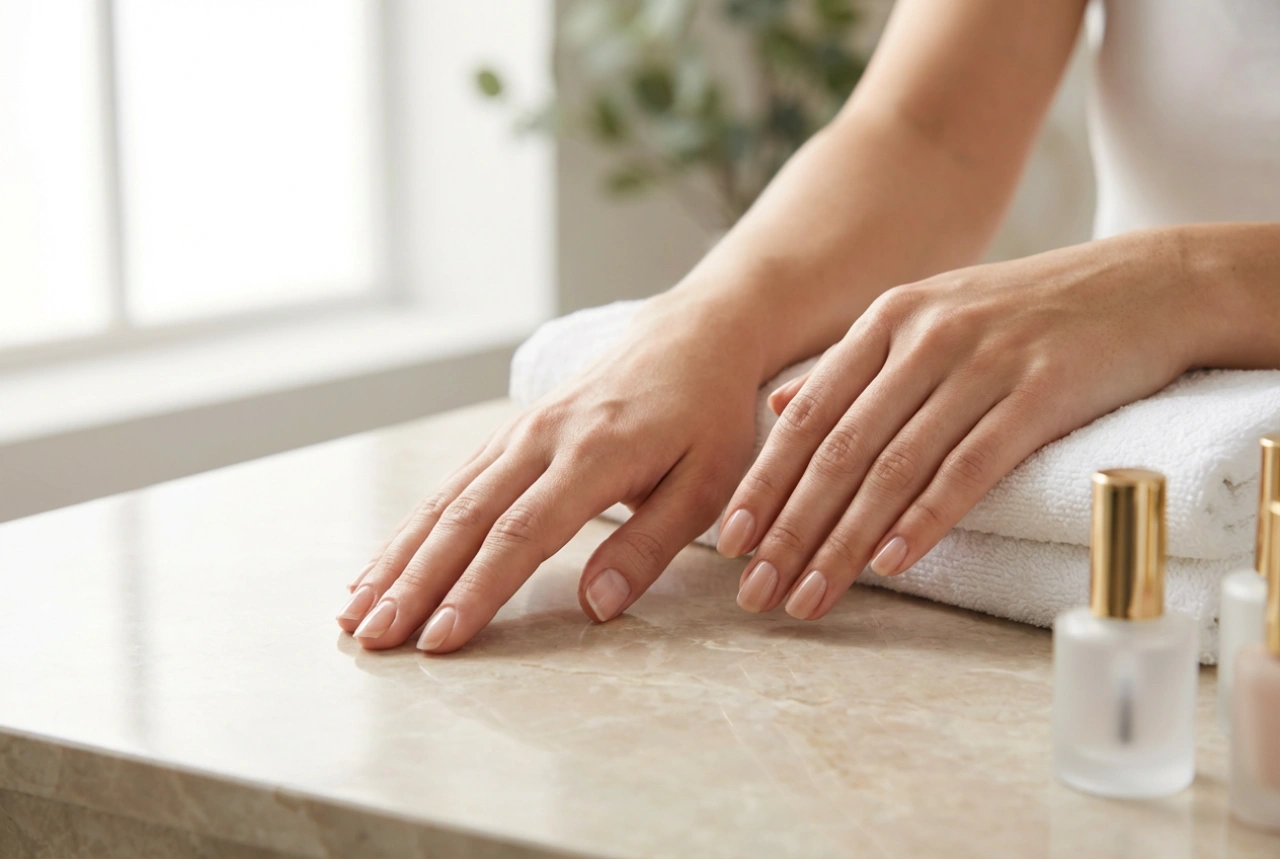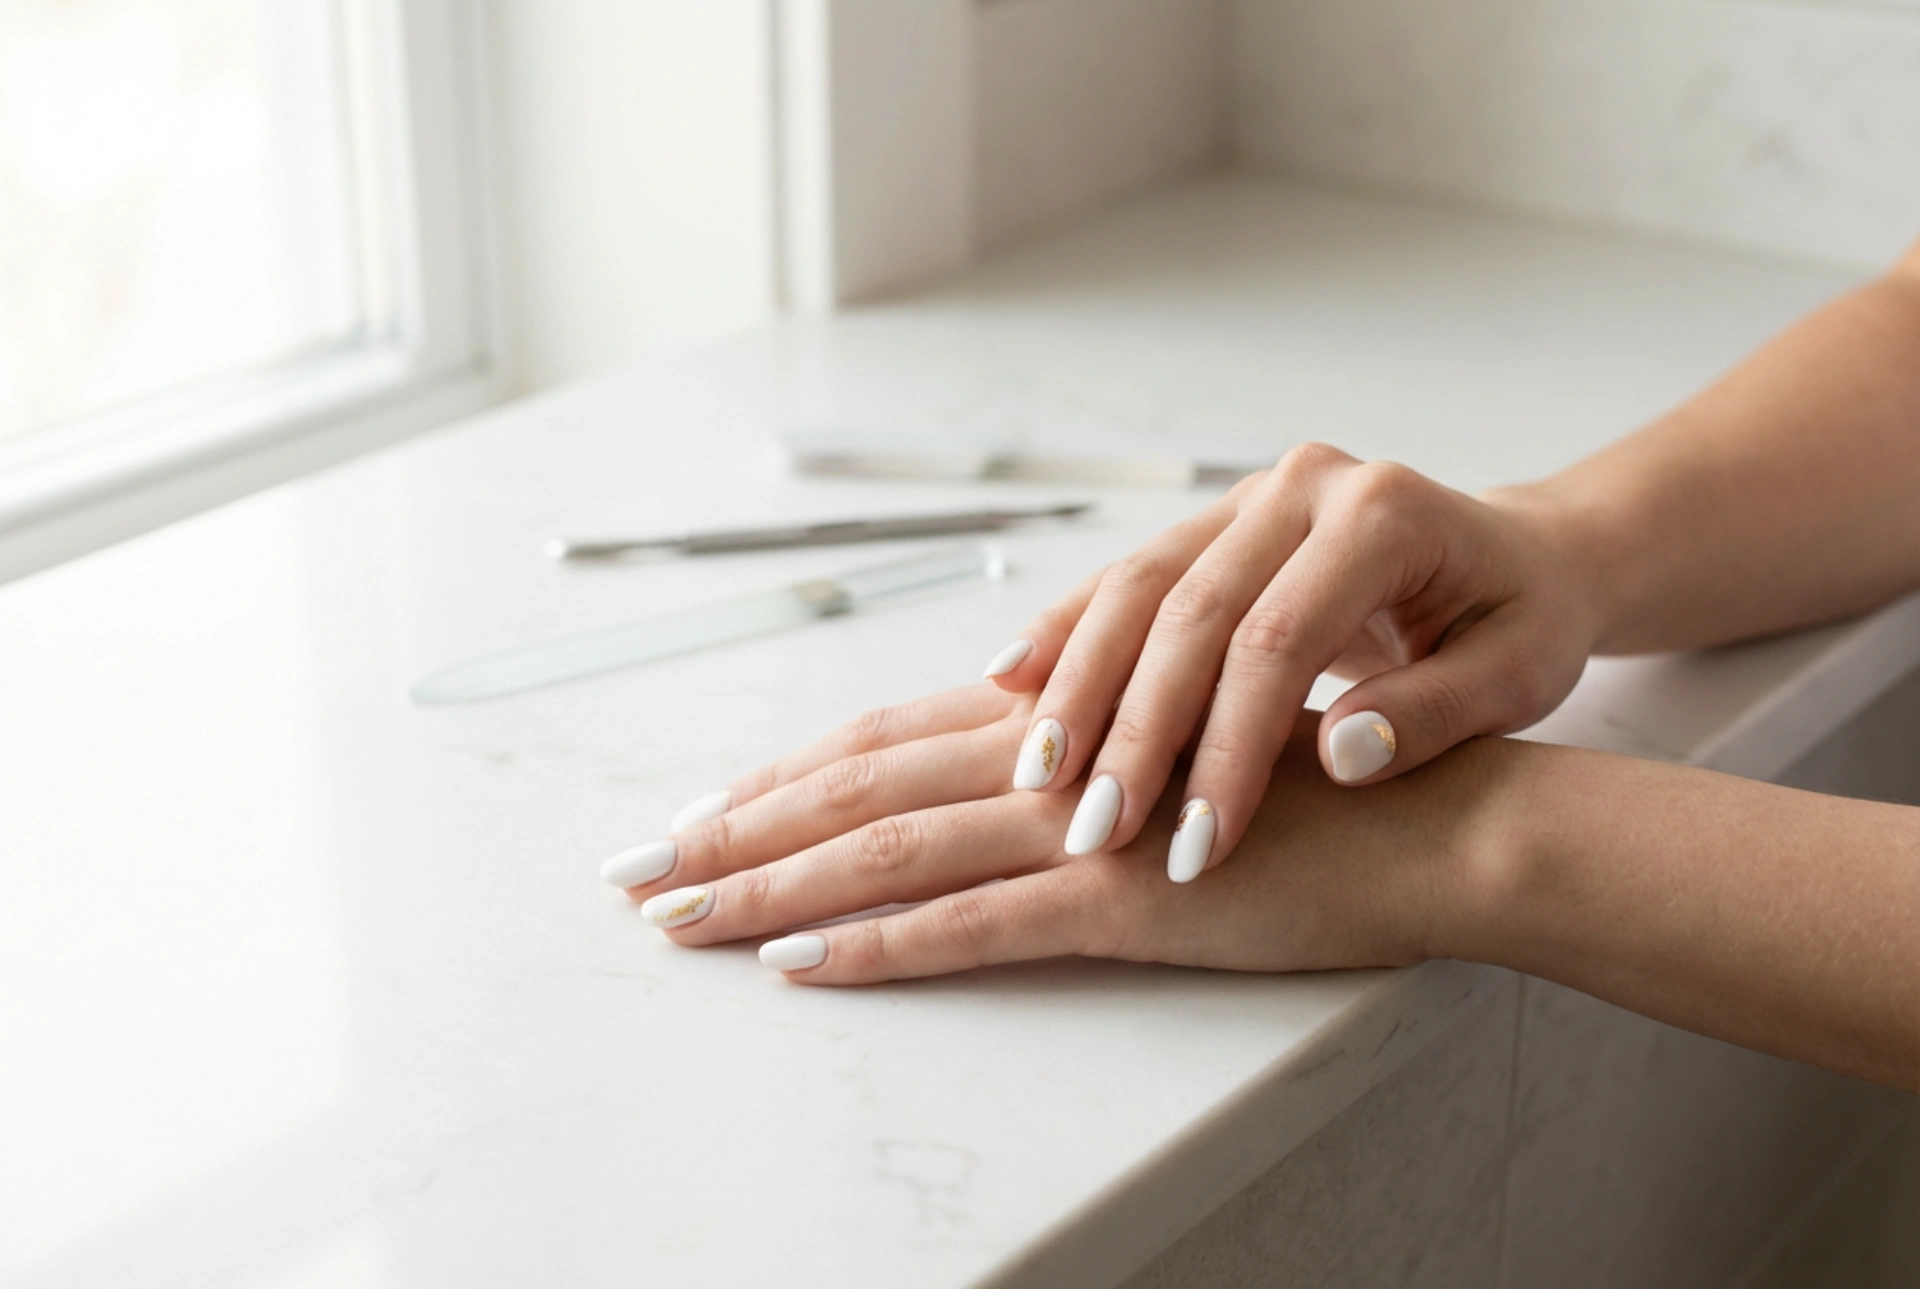


Elegant hands with pristine white manicured nails, subtly adorned with delicate gold foil accents, represent the pinnacle of modern, minimalist beauty. This classic yet striking colour combination offers a sophisticated aesthetic that suits both everyday wear and special occasions. Achieving this clean look requires precision, particularly when it comes to applying and securing the metallic accents. In this guide, we will explore the essential techniques for incorporating gold transfer foil into your white manicure, ensuring a flawless finish that lasts.
Choosing the Perfect White Base
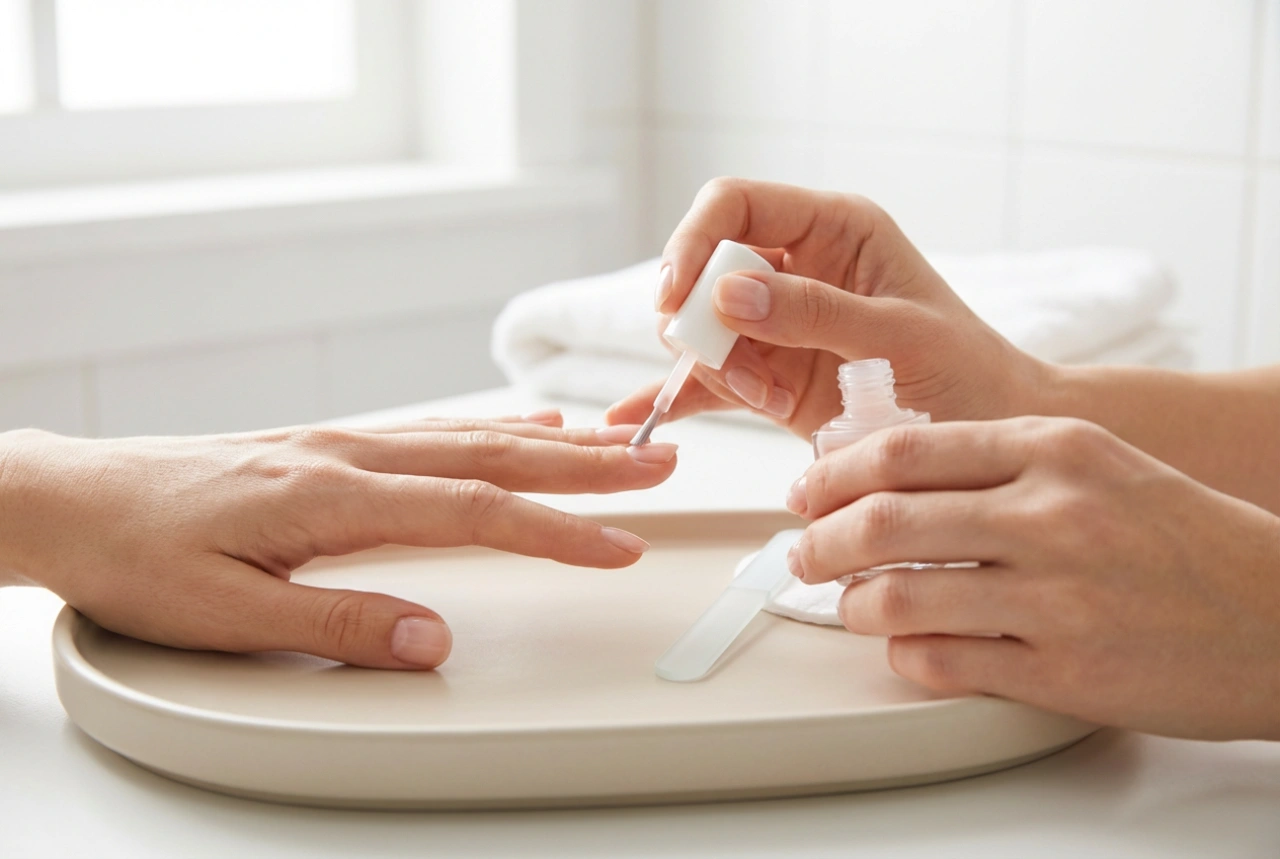
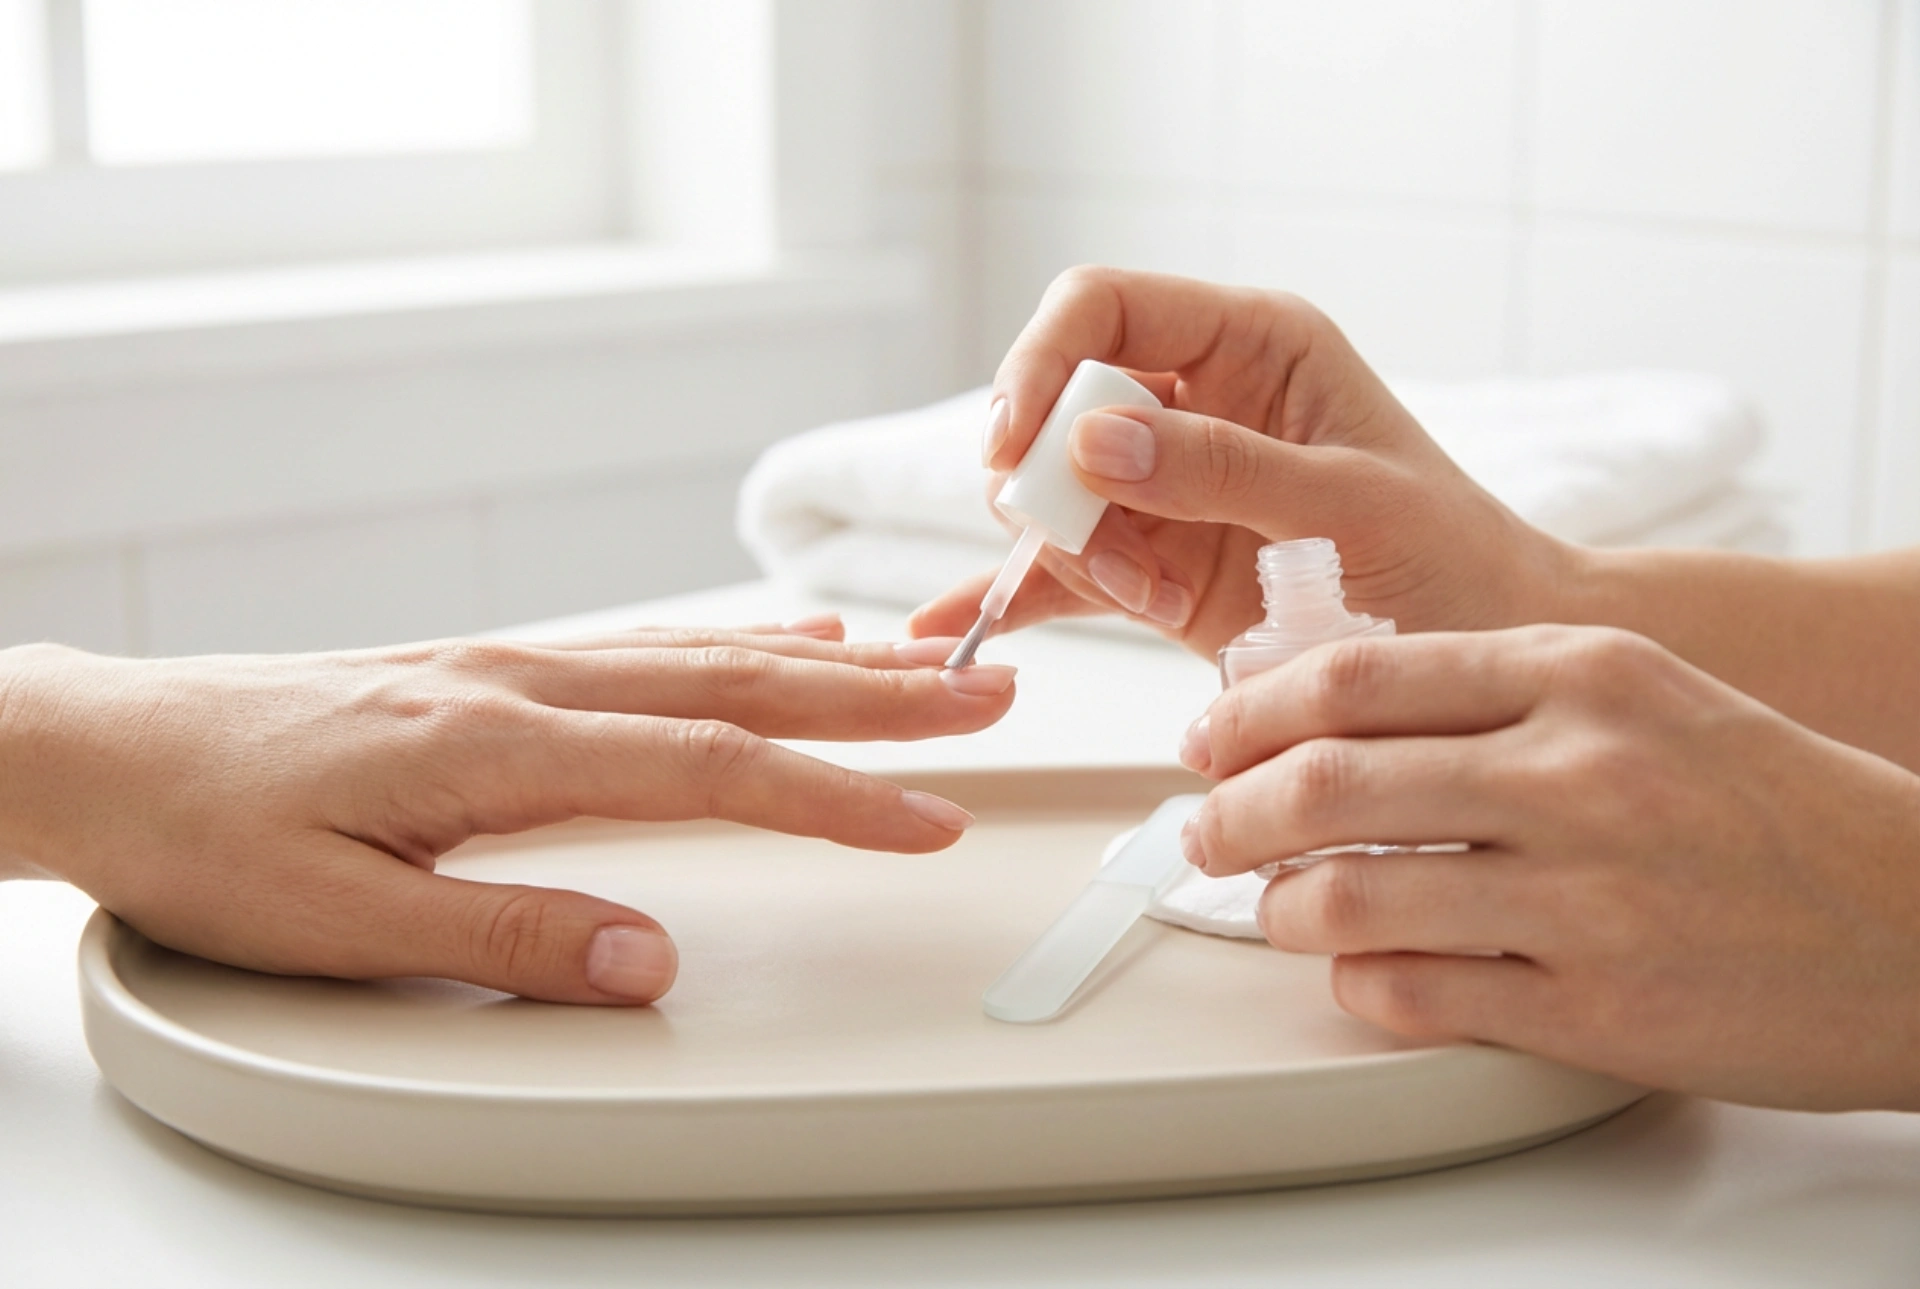
The foundation of this elegant design lies in the quality of your white polish. White can be one of the most challenging colours to apply evenly, as it is prone to streaking. To achieve a solid, opaque canvas for your gold foil, it is vital to prepare the nail plate thoroughly. Start by gently buffing the surface and applying a high-quality base coat to smooth out any ridges.
When applying the white polish, opt for thin, even layers. Two to three thin coats are far superior to one thick layer, which may fail to cure properly or lead to bubbling. Allow each layer to dry completely before proceeding. A pristine, streak-free white background is essential, as the contrast will highlight the bright, reflective properties of the gold foil.
Techniques for Applying Gold Foil
Gold transfer foil is a versatile nail art material that can be applied in various ways, depending on the desired effect. Whether you prefer a subtle, speckled look or bold, metallic patches, the application method determines the final texture.
The Tacky Layer Method
One of the easiest ways to apply gold foil is by utilising the natural sticky or tacky residue left behind after curing certain types of polish. Once your white base coat has cured or dried to a slightly tacky state, gently press a small piece of gold foil onto the nail with the shiny side facing up. Press firmly using a silicone tool or your fingertip, then quickly peel the foil backing away. The gold will adhere only to the sticky areas, creating an organic, abstract pattern.
Using Dedicated Foil Adhesive
For more precise placement or larger metallic designs, using a dedicated foil adhesive is highly recommended. Apply a thin layer of the adhesive over the white polish in the specific areas where you want the gold to stick. The adhesive will initially appear milky but will turn completely clear once dry. Once it is fully transparent and tacky, press the foil firmly onto the design, smooth it out, and pull the backing sheet away in one swift motion.
Artistic Placement Ideas
The beauty of combining white and gold lies in its versatility. Depending on your personal style, you can adapt the placement of the foil to create different visual effects:
- Minimalist Flecks: Apply tiny, random dots of gold foil near the cuticle or along one side of the nail for a subtle, understated elegance.
- Diagonal Split: Divide the nail diagonally, keeping one half pure white and embellishing the other half with delicate gold foil textures.
- Abstract Brushstrokes: Combine dry-brush white strokes with gold accents for a modern, artistic gallery-like finish.
Securing and Protecting the Design
Gold foil is incredibly delicate and can easily rub off or lose its lustre if not properly sealed. Protecting your manicure requires a careful top-coat strategy to prevent the foil from crinkling or lifting at the edges.
To preserve the mirror-like shine of the gold, apply a generous layer of a gentle, solvent-free top coat first. Some standard top coats contain harsh solvents that can dull or dissolve the metallic finish of the foil. A water-based top coat or a specialised nail art sealer can be used as an intermediary layer. Once this layer is dry, finish with a durable, glossy top coat to seal the entire nail plate, paying extra attention to capping the free edge. This technique locks the design in place and ensures your elegant white and gold manicure remains pristine for days.
Daily Maintenance and Aftercare
To keep your white and gold manicure looking freshly done, simple daily care is essential. White polish can sometimes be susceptible to staining from household chores, cooking, or beauty products. Wearing protective gloves when cleaning or gardening is a simple way to preserve the clean, bright aesthetic.
Additionally, keeping your cuticles hydrated with a nourishing cuticle oil will enhance the overall appearance of your hands. Healthy skin and well-moisturised cuticles provide the perfect frame for your detailed nail art, keeping the focus on the refined contrast between the crisp white base and the shimmering gold accents.