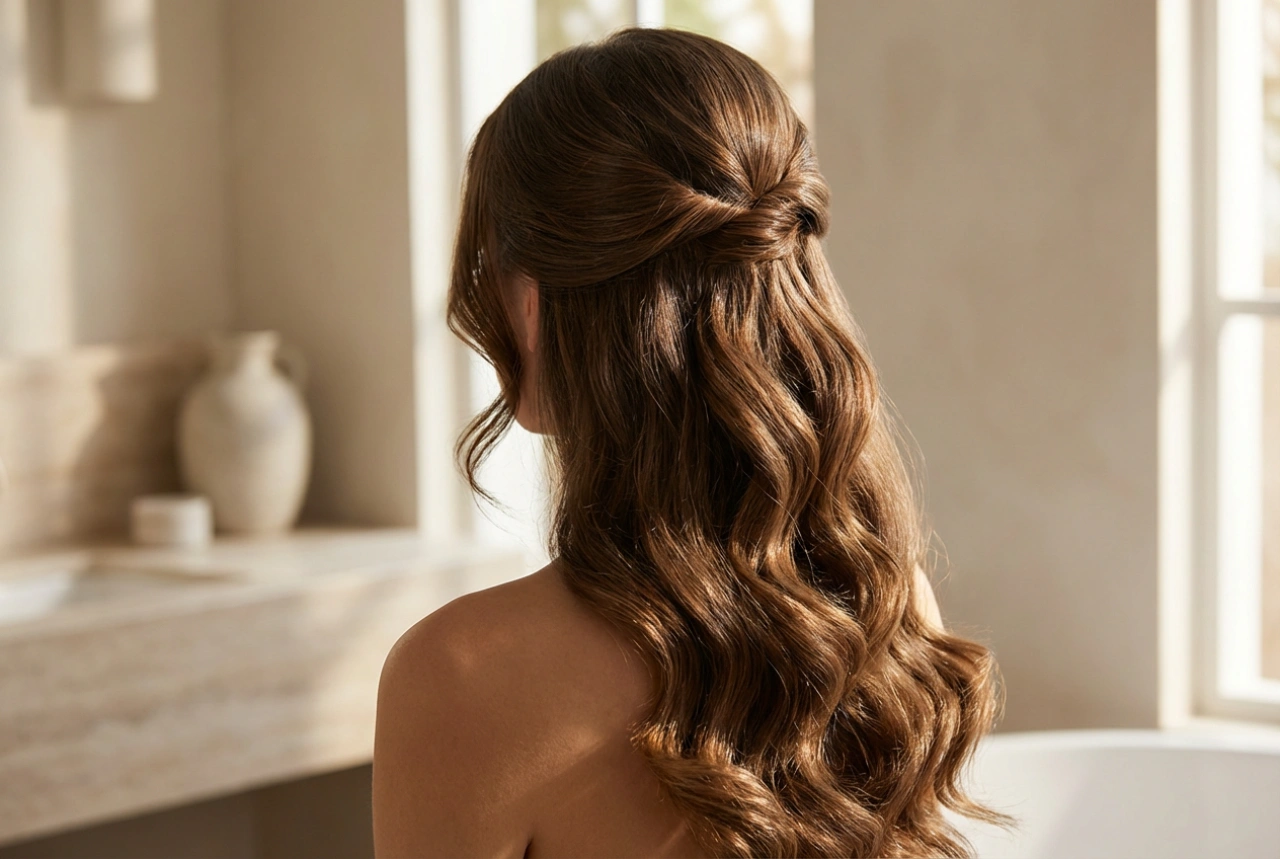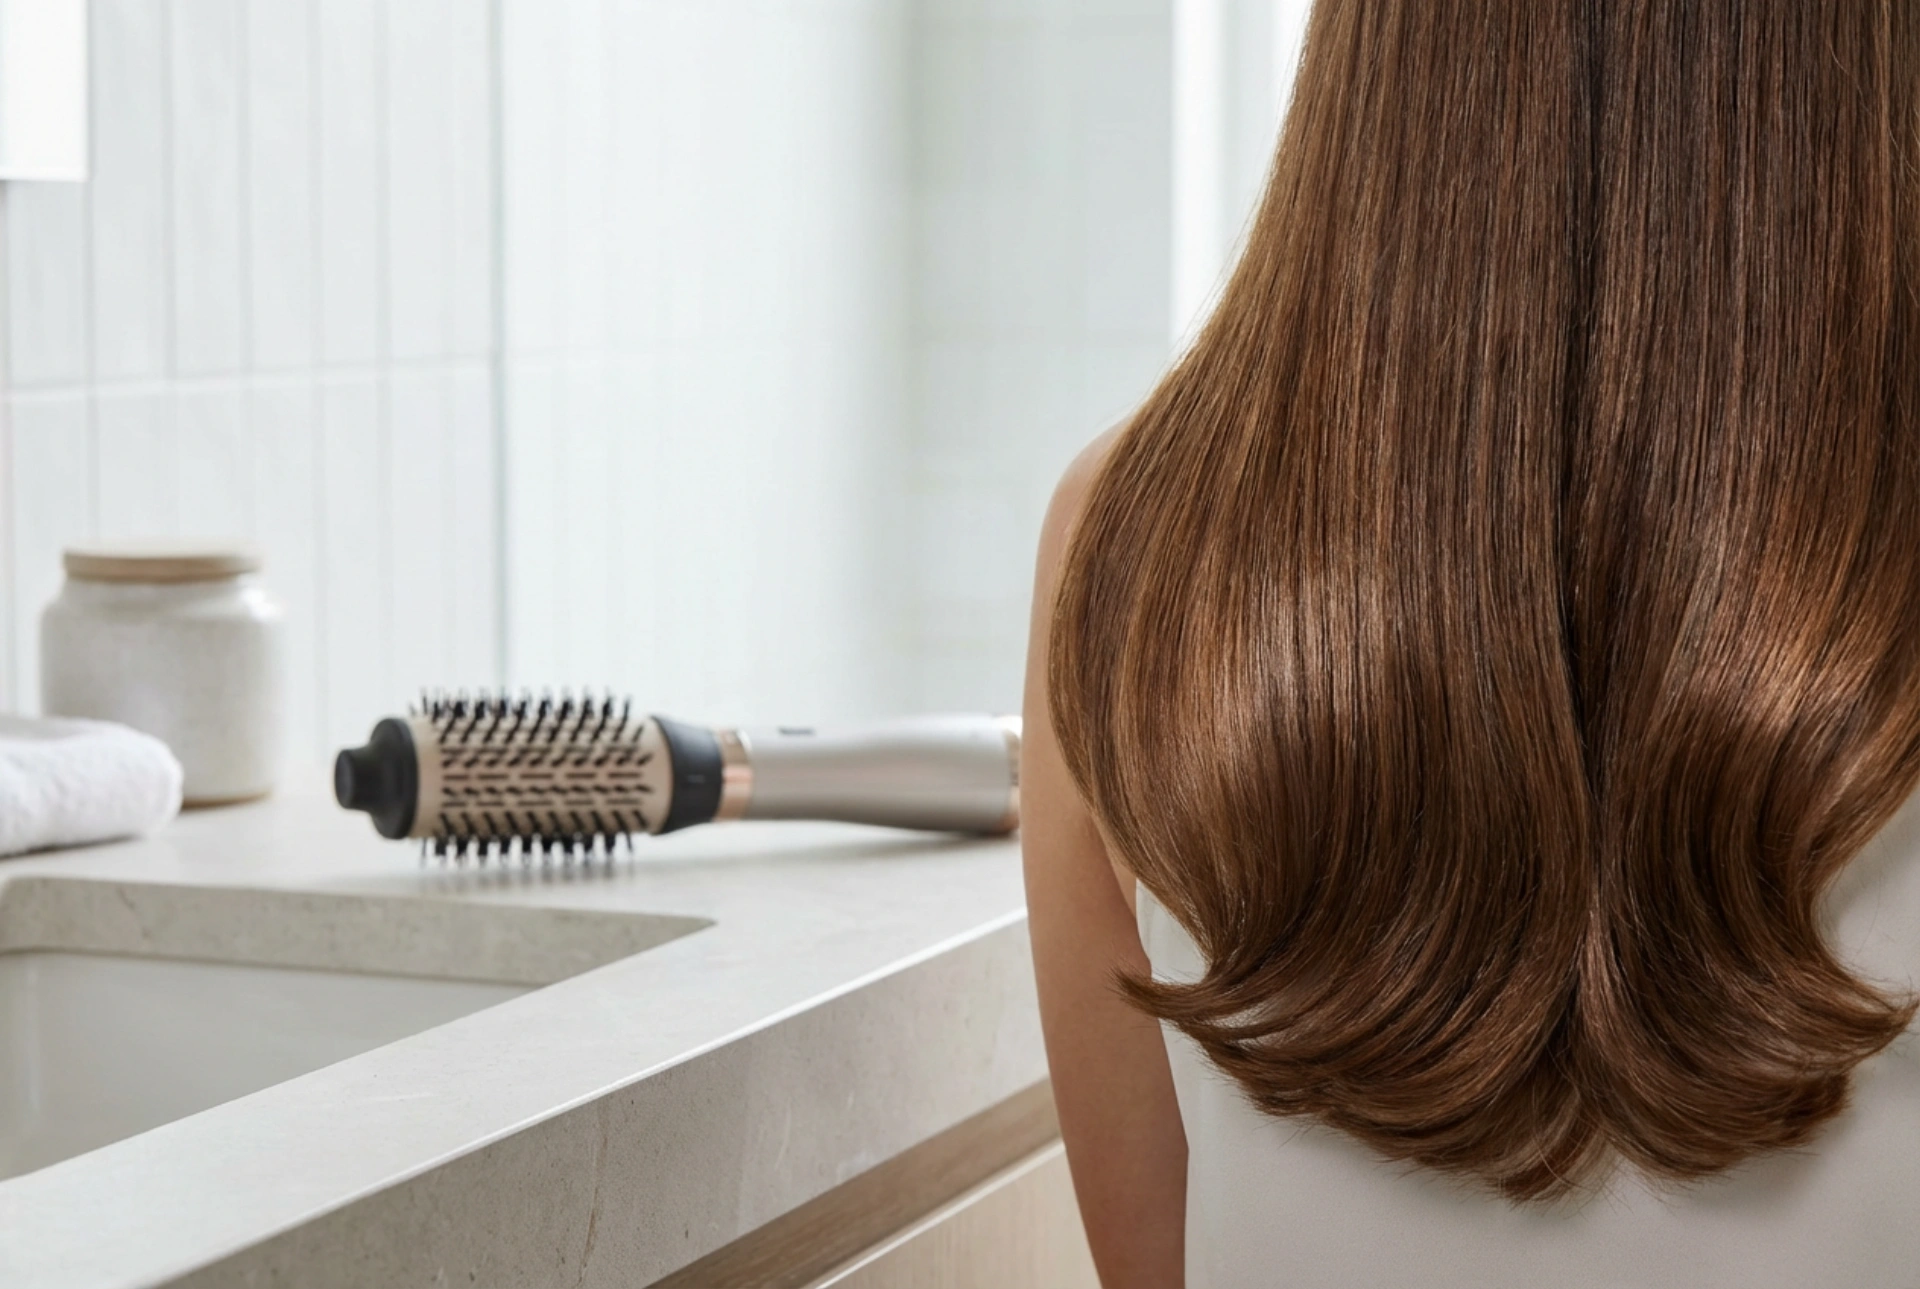


Achieving a polished, salon-quality finish at home can seem daunting, but with the right tool, it's entirely possible. A classic, elegant hairstyle featuring smooth lengths and gently curled-under ends exudes sophistication. This timeless look can be effortlessly created using a rotating hot air styler, a versatile device that dries and styles simultaneously, giving you a flawless blowout without needing a separate brush and hairdryer. This guide will walk you through using this innovative tool to get that perfect, glossy finish.
What is a Rotating Hot Air Styler with Ionisation?
Before diving into the technique, it's helpful to understand the tool. A rotating hot air styler is an electric hairbrush that blows heated air through its bristles, much like a hairdryer. Its key feature is the rotating barrel, which can spin in either direction at the touch of a button. This automates the wrist-twisting motion required for a traditional blowout, making it easier to create volume and shape. The addition of ionisation technology is a significant benefit. This function releases negative ions that neutralise the positive ions in dry or damaged hair. The result is a smoother hair cuticle, leading to reduced frizz, fewer flyaways, and a significant boost in shine.
Preparing Your Hair for Styling
Proper preparation is the foundation of any successful hairstyle and is crucial for protecting your hair from heat damage. Skipping these steps can lead to less-than-ideal results and compromise your hair's health.
Washing and Conditioning
Start with clean hair. Use a shampoo and conditioner suited to your hair type, preferably formulas that aim for smoothness and hydration. Thoroughly rinse out all product to avoid weighing your hair down. Gently squeeze out excess water with your hands before stepping out of the shower.
Towel-Drying and Pre-Drying
Using a microfibre towel or an old cotton t-shirt, gently pat and squeeze your hair to absorb most of the moisture. Avoid rubbing vigorously, as this can cause frizz and damage the hair cuticle. Your hot air styler is most effective and safest to use on hair that is about 80% dry. You can either let it air-dry for a while or use a regular hairdryer on a low heat setting, focusing on the roots, until it's just damp to the touch.
Sectioning and Applying Heat Protectant
This is a non-negotiable step. Spray a quality heat protectant evenly throughout your damp hair, from roots to ends. This creates a barrier between your hair and the heat, minimising potential damage. Afterwards, divide your hair into manageable sections using clips. Working section by section ensures that every part of your hair is styled evenly for a consistent, professional-looking result.
Step-by-Step Guide to Curled-Under Ends
With your hair prepped, you're ready to start styling. Patience and a steady hand are key to mastering the technique.
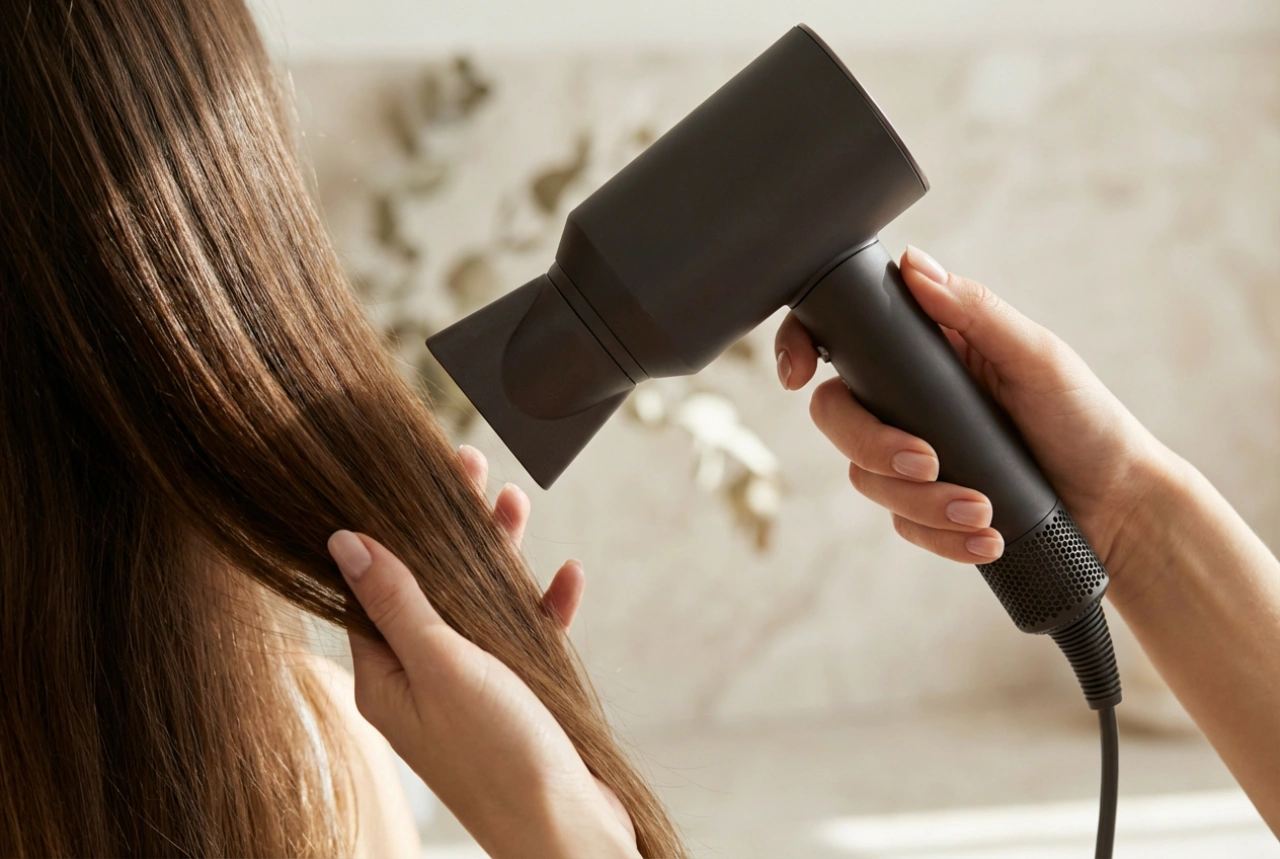
- Select the right settings on your styler. For fine or delicate hair, use a lower heat and speed setting. Thicker, coarser hair may require a higher setting.
- Begin with a bottom section of hair, about one to two inches wide. Place the brush barrel underneath the section, close to the roots.
- Turn the styler on. Hold it at the roots for a few seconds to create lift and volume before you start moving down the hair shaft.
- Slowly glide the brush down the length of your hair. The gentle tension from the bristles will help to smooth the cuticle.
- As you approach the ends, activate the rotation function, allowing the styler to wrap the last few inches of your hair around the barrel, rolling it inwards towards your neck or shoulders.
- Hold the styler in place for 5-10 seconds to allow the heat to set the curve.
- Many stylers have a 'cool shot' button. Press it for a few seconds before releasing the hair. This blast of cool air helps to lock the curl in place for a longer-lasting style.
- Gently release the styled section and move on to the next one, repeating the process until all your hair is styled.
Tips for a Flawless, Long-Lasting Finish
A few extra tricks can elevate your style from good to great. Keep these in mind as you work.
- Work Slowly: Rushing the process and using passes that are too quick will not give the hair enough time to heat, smooth, and set properly. Slow, deliberate movements are much more effective.
- Maintain Tension: For the smoothest results, ensure you are holding the hair taut as you glide the brush down. The styler's bristles will help, but guiding the section with your other hand can improve the result.
- Clean Your Tool: Hair products and loose strands can build up on the barrel and in the bristles. Clean your styler regularly according to the manufacturer's instructions to ensure it performs optimally and hygienically.
- Finishing Touches: Once your hair has cooled completely, you can add a finishing product. A light mist of flexible-hold hairspray will keep the style in place without making it stiff, while a small drop of shine serum smoothed over the surface will tame any remaining flyaways and enhance the glossy look.