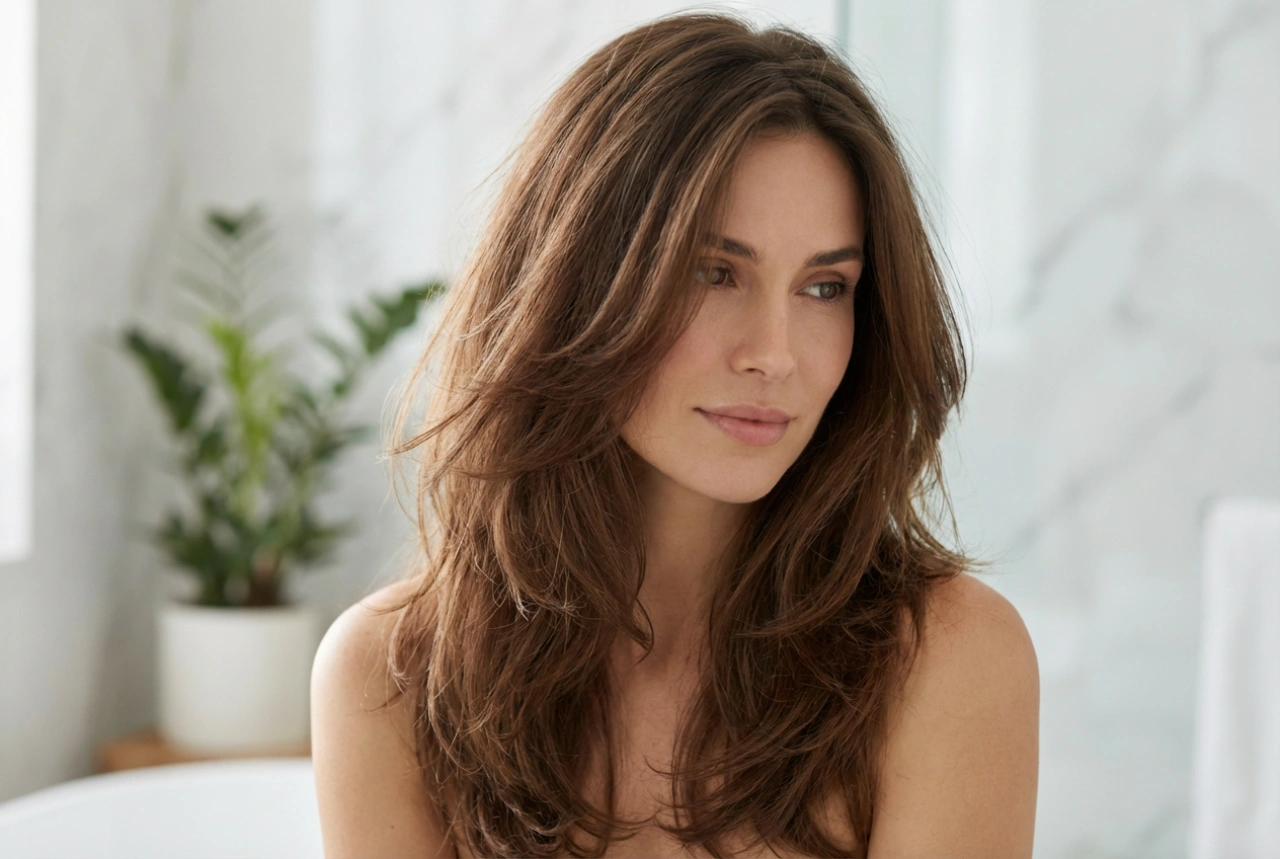


Creating beautiful, bouncy curls at home can transform your look, adding volume and elegance. While it may seem like a skill reserved for professionals, achieving stunning curls with tools like a curling wand is entirely possible with the right knowledge and preparation. The key to success lies not just in the technique, but also in protecting your hair from heat and understanding the small details that make a big difference. This guide will walk you through the process, from preparation to preservation, ensuring your homemade curls are both beautiful and healthy.
Preparing Your Hair for Styling
Proper preparation is the foundation of any lasting hairstyle. Before you even pick up a heated tool, a few simple steps can protect your hair and improve the final result. Skipping this stage is one of the most common reasons curls don't hold or hair becomes damaged.
Start with Clean, Dry Hair
For best results, it's generally recommended to work with hair that is completely dry. Styling damp hair with a hot tool can cause significant damage as the water inside the hair shaft turns to steam and expands. It is often best to wash your hair the day before styling, as the natural oils can provide a little more grip for the curls to hold. If you must wash it on the same day, ensure it is 100% dry before you begin. Use a volumising mousse or a light texturising spray on dry hair to give it more substance and hold.
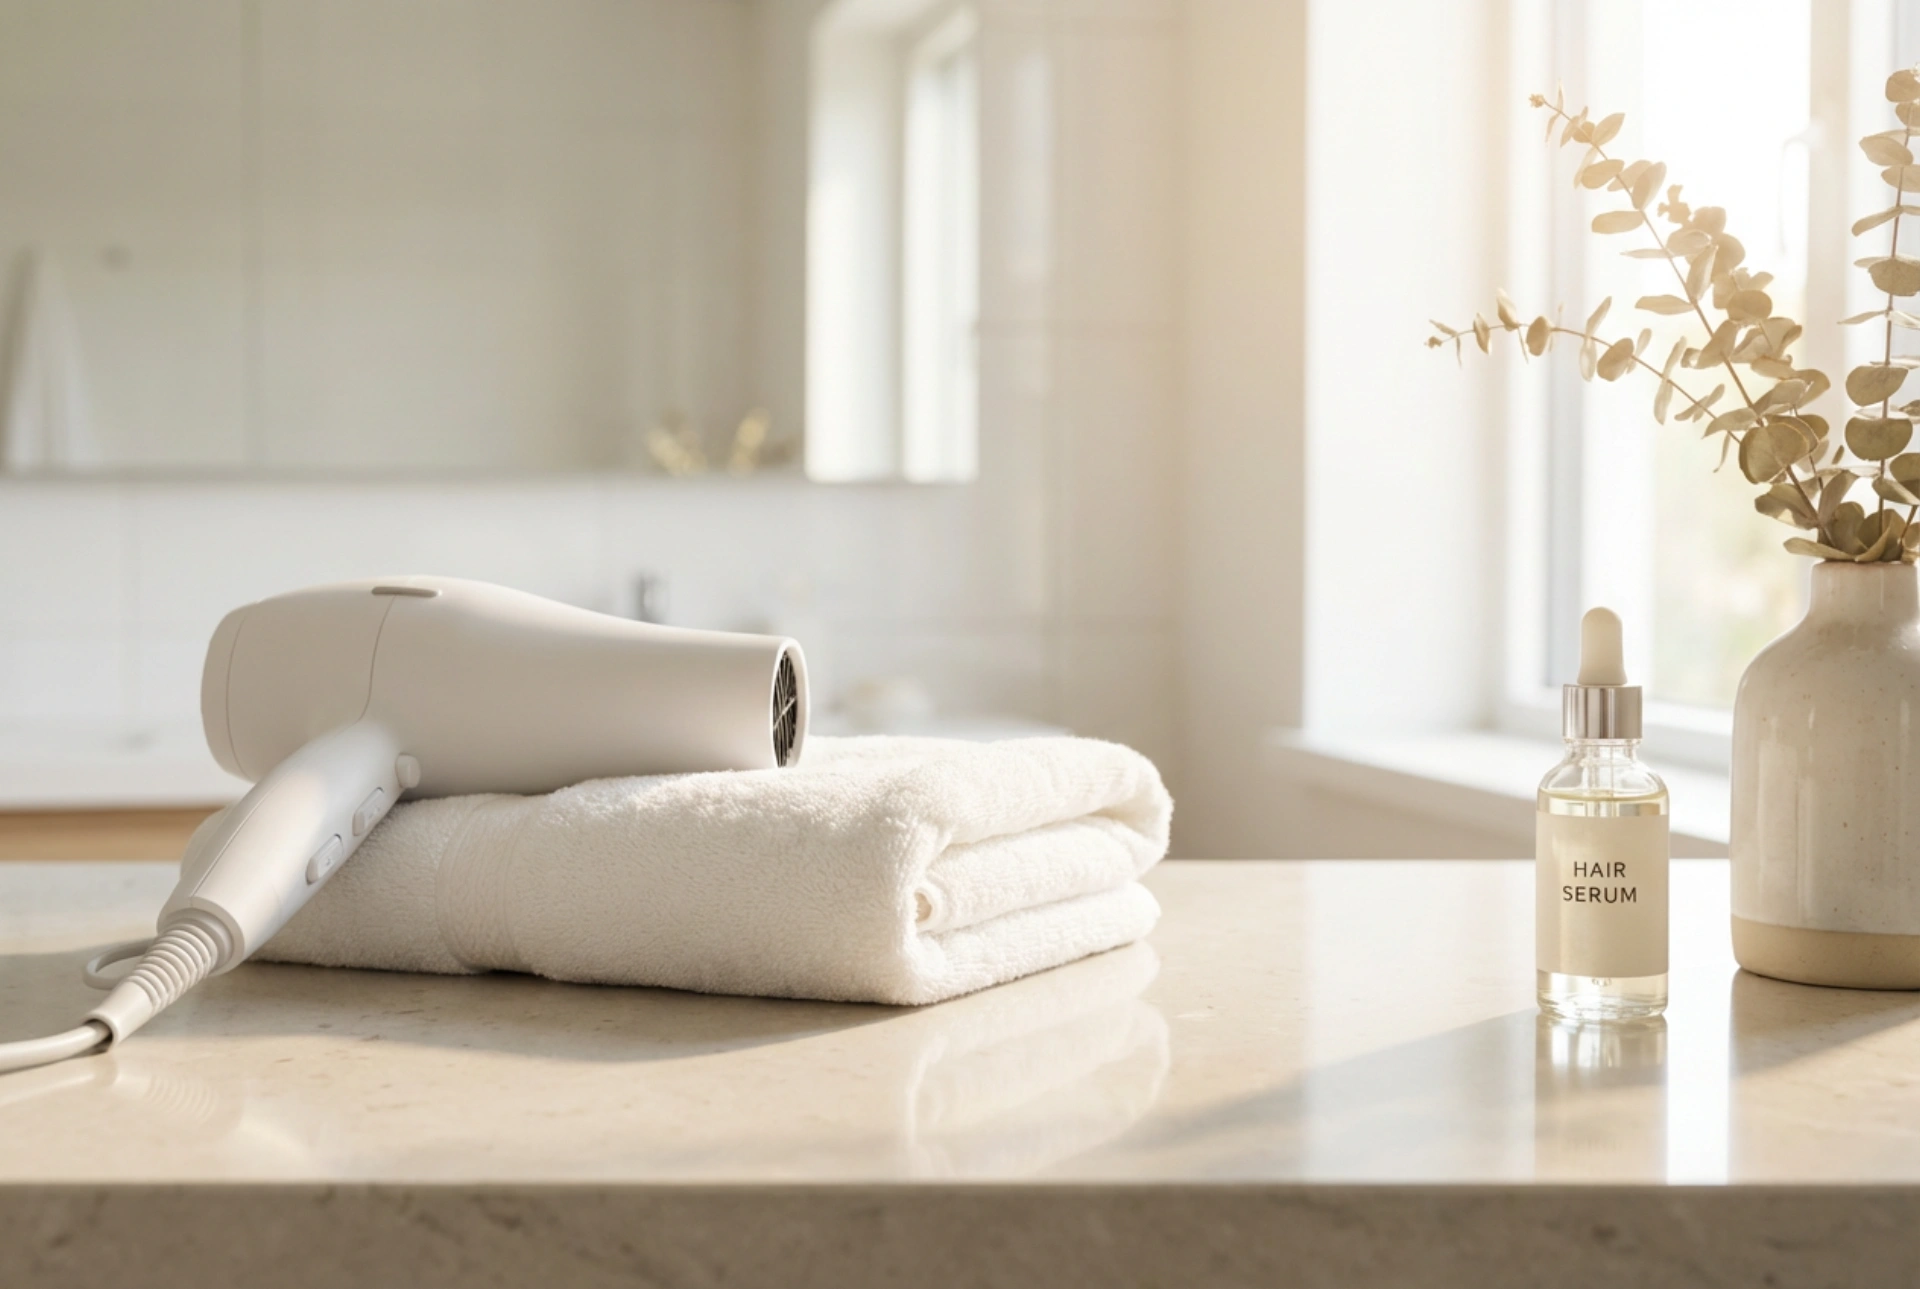
The Non-Negotiable Step: Heat Protection
Never apply heat to your hair without a protective barrier. A heat protectant spray creates a shield over the hair cuticle, minimising moisture loss and reducing the risk of damage from high temperatures. Apply it evenly throughout your hair, from roots to ends, and gently comb through to ensure every strand is coated. This is the single most important step in maintaining the health and integrity of your hair when using heated styling tools.
Choosing Your Curling Method
There are various ways to create curls at home, each offering a different type of finish. The method you choose will depend on the tools you have, the look you want to achieve, and how much time you have.
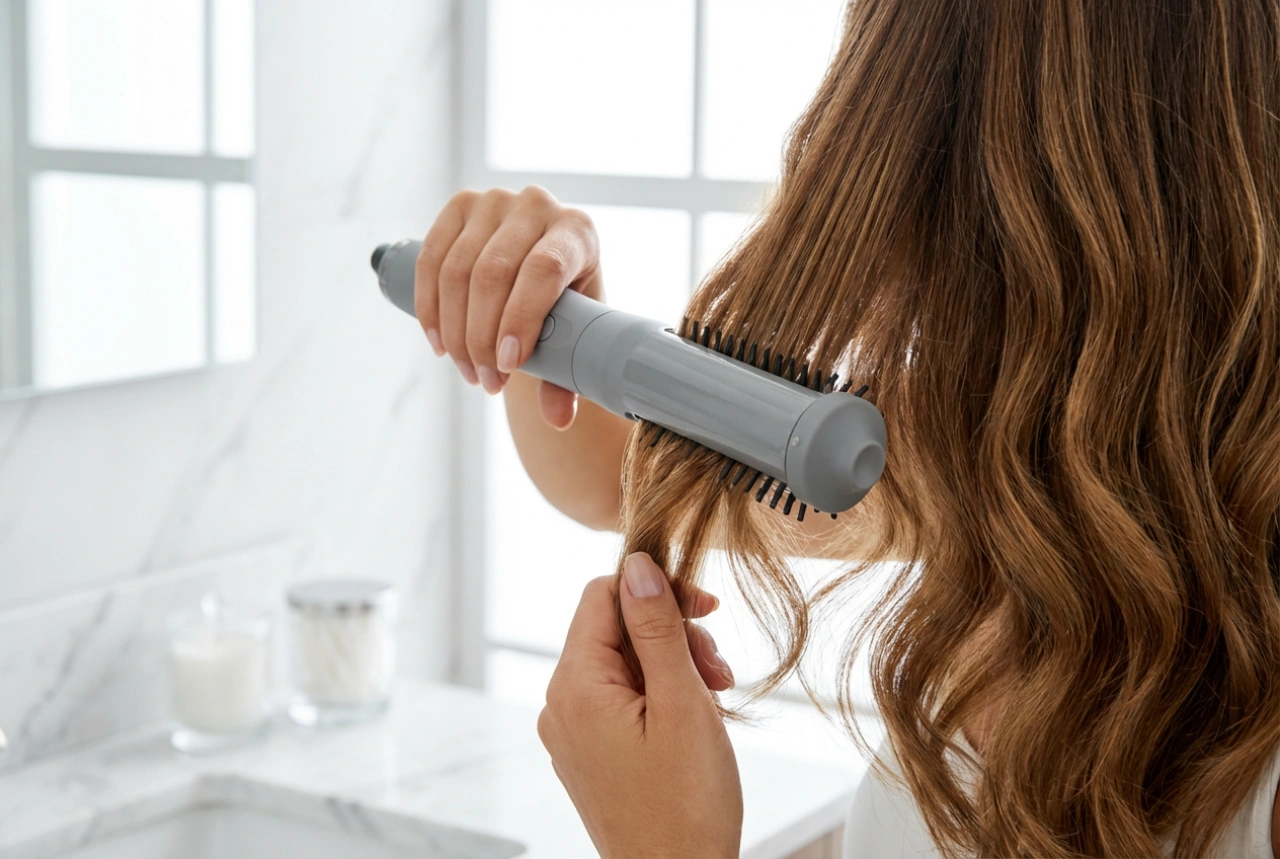
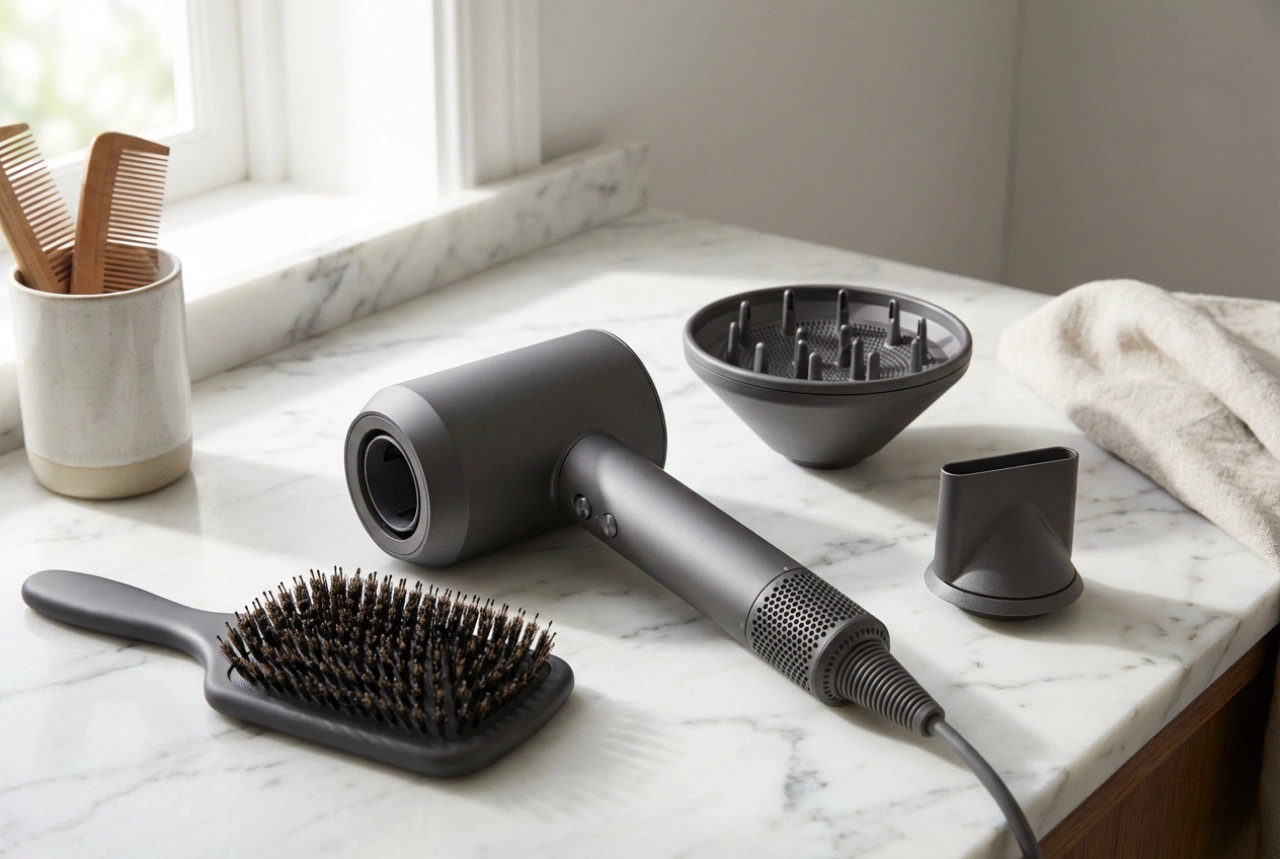
Using a Curling Wand or Tong
A curling wand (a barrel without a clamp) or a curling tong (with a clamp) is the most direct way to create defined curls. The size of the barrel determines the tightness of the curl; a smaller barrel creates tighter ringlets, while a larger barrel produces looser waves. Wands often give a more modern, natural-looking curl, while tongs can provide a more uniform, classic look. This method offers great control over the shape and direction of each curl.
Creating Curls with a Straightener
It might sound counterintuitive, but a hair straightener is a versatile tool that can also create beautiful, soft curls and waves. The technique involves clamping a section of hair near the root, rotating the straightener 180 degrees, and then gliding it down the hair shaft. This method requires some practice but can yield soft, beachy waves that look effortless.
Heat-Free Alternatives
If you want to avoid heat altogether, there are several effective methods. Overnight braids, for instance, will create a wavy texture by morning. Foam or fabric rollers can be used on slightly damp hair to create more defined curls without any heat. While these methods take longer and offer less precision, they are the gentlest option for your hair.
A Step-by-Step Guide to Perfect Curls
Once your hair is prepped and you've chosen your tool, follow these steps for a flawless finish. Consistency is key to achieving a cohesive style.
- Section Your Hair: Divide your hair into manageable sections. Clipping away the parts you aren't working on makes the process cleaner and ensures you don't miss any strands. A good starting point is to create a top and bottom section.
- Set the Right Temperature: Choose a heat setting appropriate for your hair type. Fine or colour-treated hair requires a lower temperature, while thick, coarse hair may need a higher setting. Always start lower and increase only if necessary.
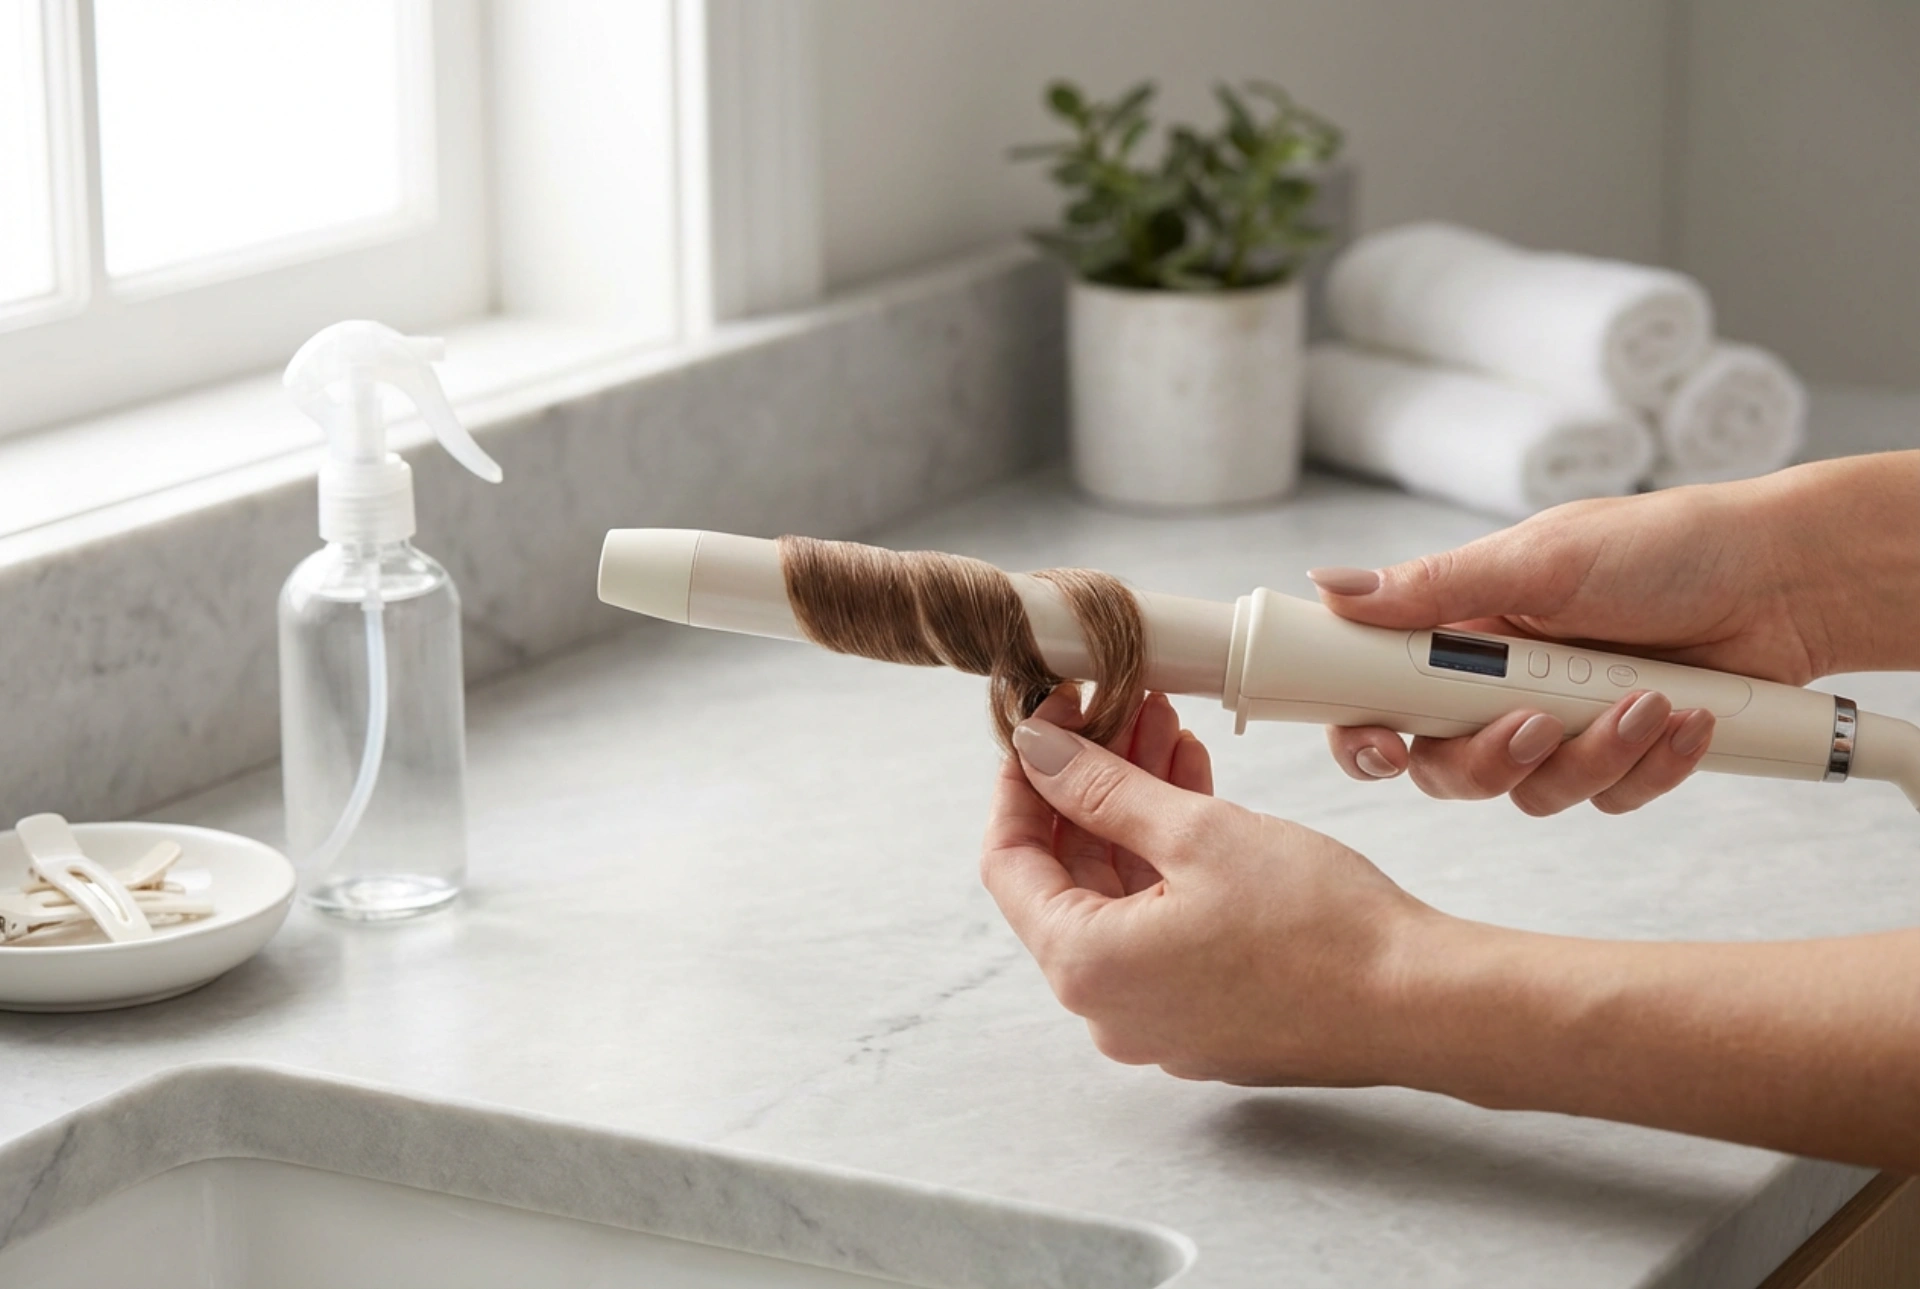
- Wrap and Hold: Take a small section of hair (about 1-2 inches wide). If using a wand, wrap it around the barrel, leaving the ends out for a more modern look. If using a tong, you can clamp the end and roll up. Hold for 5-10 seconds. Do not hold for too long to avoid heat damage.
- Release and Cool: Gently release the hair from the tool. For maximum longevity, catch the fresh curl in the palm of your hand and let it cool for a few seconds before letting it drop. You can also pin the curl to your head to let it set completely.
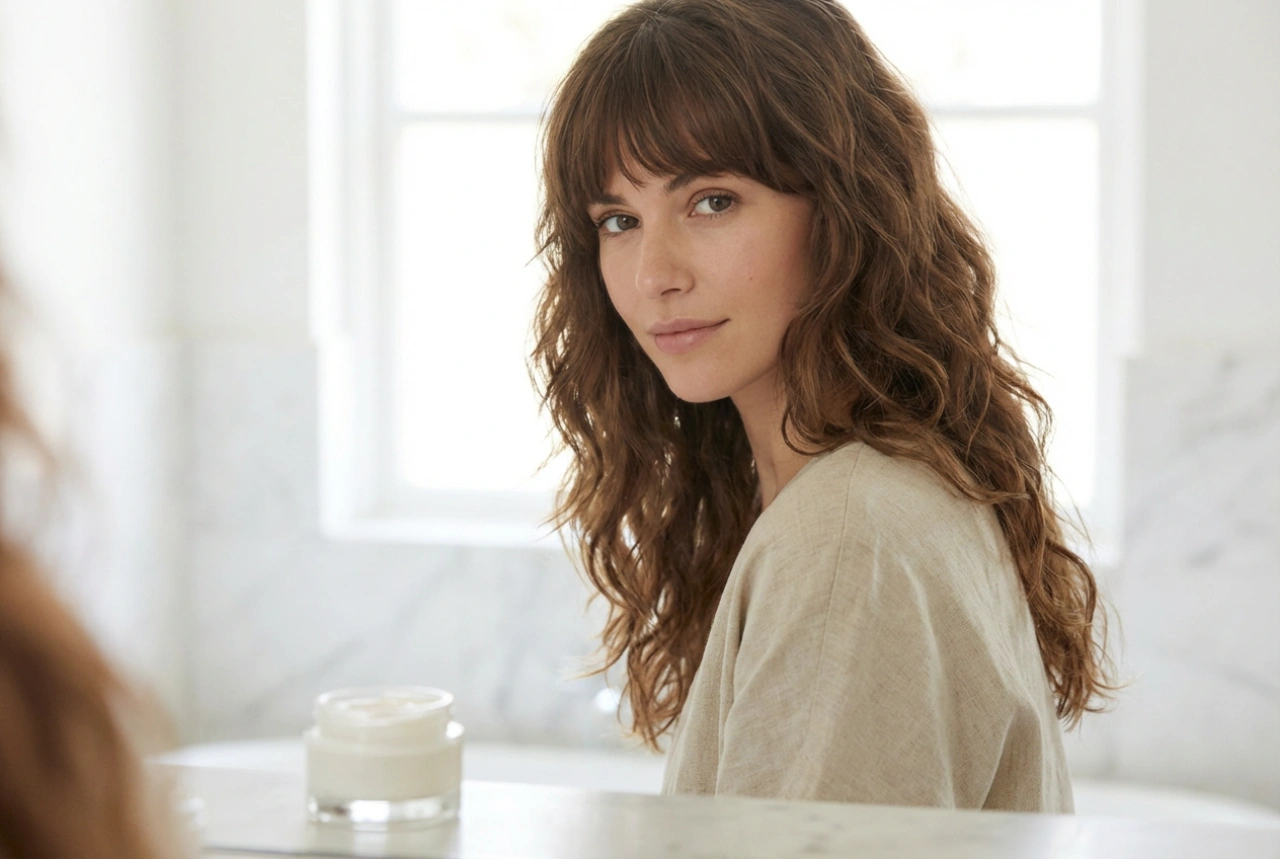
- Repeat and Finish: Continue this process around your entire head. For a more natural look, alternate the direction you wrap the hair around the barrel. Once all your hair is curled and completely cool, you can gently run your fingers through it to loosen the curls into soft waves. Finish with a light-hold hairspray to set your style without making it stiff.
Common Mistakes to Avoid
Even with the right tools, small errors can compromise your results. Be mindful of these common pitfalls.
- Using Too Much Heat: The highest setting is not always the best. Excessive heat damages hair and can even make curls fall faster.
- Styling Hair That Is Not Dry: As mentioned, this is a major cause of hair damage and will result in weak, undefined curls.
- Using Sections That Are Too Large: Trying to curl too much hair at once means the heat is not distributed evenly, leading to inconsistent results.
- Brushing Curls While Still Warm: Curls set as they cool. Brushing them out before they have cooled down will cause them to loosen and fall out almost immediately.
- Forgetting a Finishing Spray: A good, lightweight hairspray provides hold and helps your style withstand humidity and movement throughout the day.