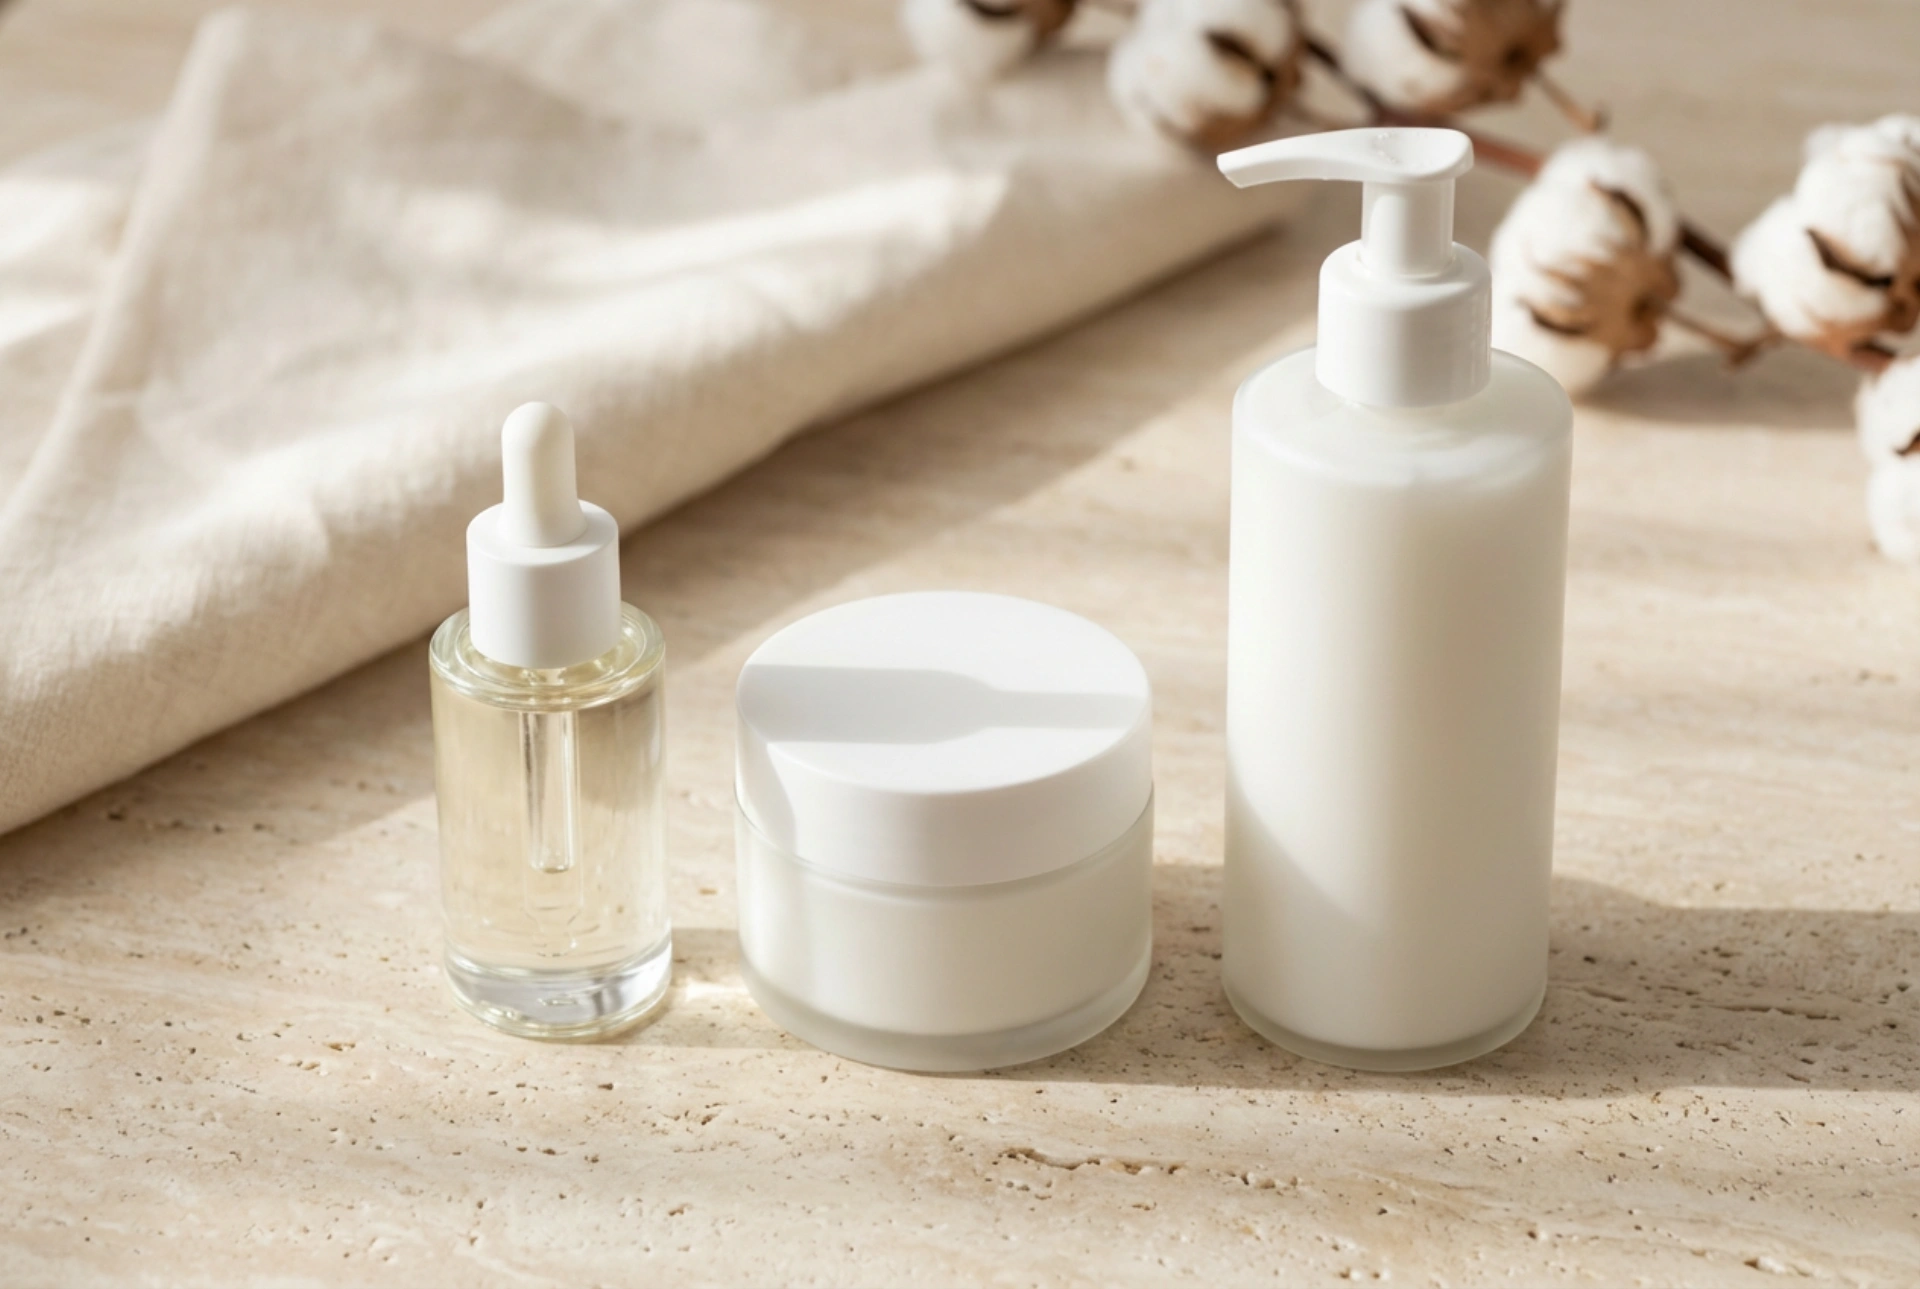


Achieving healthy, shiny hair often involves more than just a quick wash and condition. A structured routine can make all the difference, and one of the most effective techniques is the OMO method. This three-step process, which uses a specific sequence of conditioning and washing, is designed to provide deep nourishment and protection, particularly for hair that needs extra care. Inspired by the arrangement of hair care essentials, this guide will walk you through the OMO method, explaining how to perform each step correctly for the best results.
What is the OMO Hair Care Method?
OMO is an acronym derived from a Polish hair care approach: Odżywka (Conditioner) - Mycie (Wash) - Odżywka (Conditioner). The method inverts the typical washing order to protect hair from the potentially drying effects of cleansers. The core principle is to shield the vulnerable lengths and ends of your hair with a conditioning layer before shampooing, and then follow up with another conditioning step to seal in moisture and smoothness. This dual-conditioning process ensures that hair receives maximum hydration and nutrients while the scalp is cleansed effectively.
The Three Stages Explained
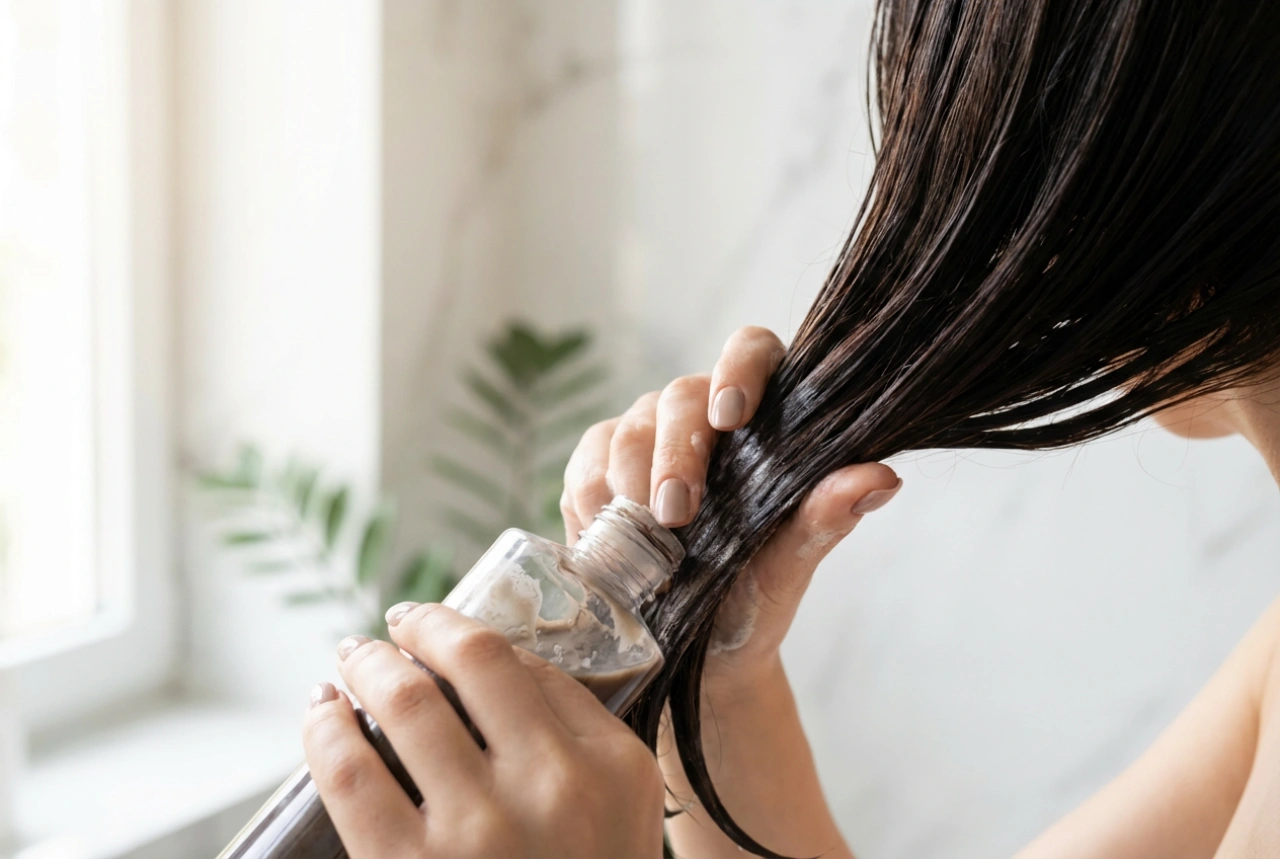
- O (Conditioner/Treatment): The first step involves applying a conditioning product to the hair *before* it comes into contact with shampoo. This is typically a rich, nourishing conditioner, a hair mask, or even a natural oil. Its purpose is to create a protective barrier on the hair shaft.
- M (Wash): This is the cleansing stage. Shampoo is applied primarily to the scalp to remove dirt, oil, and product build-up. The lather that rinses down the hair is sufficient to cleanse the lengths without stripping them, as they are already protected by the first conditioning layer.
- O (Conditioner): The final step is another application of conditioner after the shampoo and the first treatment have been thoroughly rinsed out. This second conditioner is often lighter and works to close the hair cuticles, lock in moisture, detangle, and add shine for a smooth finish.
A Step-by-Step Guide to the OMO Method
Implementing the OMO method is straightforward once you understand the sequence. Here’s how to incorporate it into your wash day routine for optimal results.
Step 1: The First 'O' - Apply a Protective Treatment
Begin with dry or slightly dampened hair. Choose a nourishing product for this first step—a thick conditioner or a deep-conditioning mask works well. Apply a generous amount of the product from the mid-lengths to the ends of your hair, focusing on the driest and most damaged areas. Avoid applying it directly to your scalp, as this can lead to greasiness and weigh down your roots. Let the product sit for a few minutes; 5-20 minutes is a good range, depending on your hair's needs and the product instructions.
Step 2: The 'M' - Cleanse Your Scalp
Without rinsing out the first conditioning treatment, step into the shower and wet your hair. Take a small amount of your usual shampoo and focus on massaging it directly into your scalp. Work up a gentle lather, concentrating on cleansing the root area. The key here is not to scrub the lengths and ends of your hair. As you rinse the shampoo from your scalp, the suds will run down the hair shaft, providing a mild cleansing action that is buffered by the conditioner already present. This prevents the ends from becoming dry and brittle.
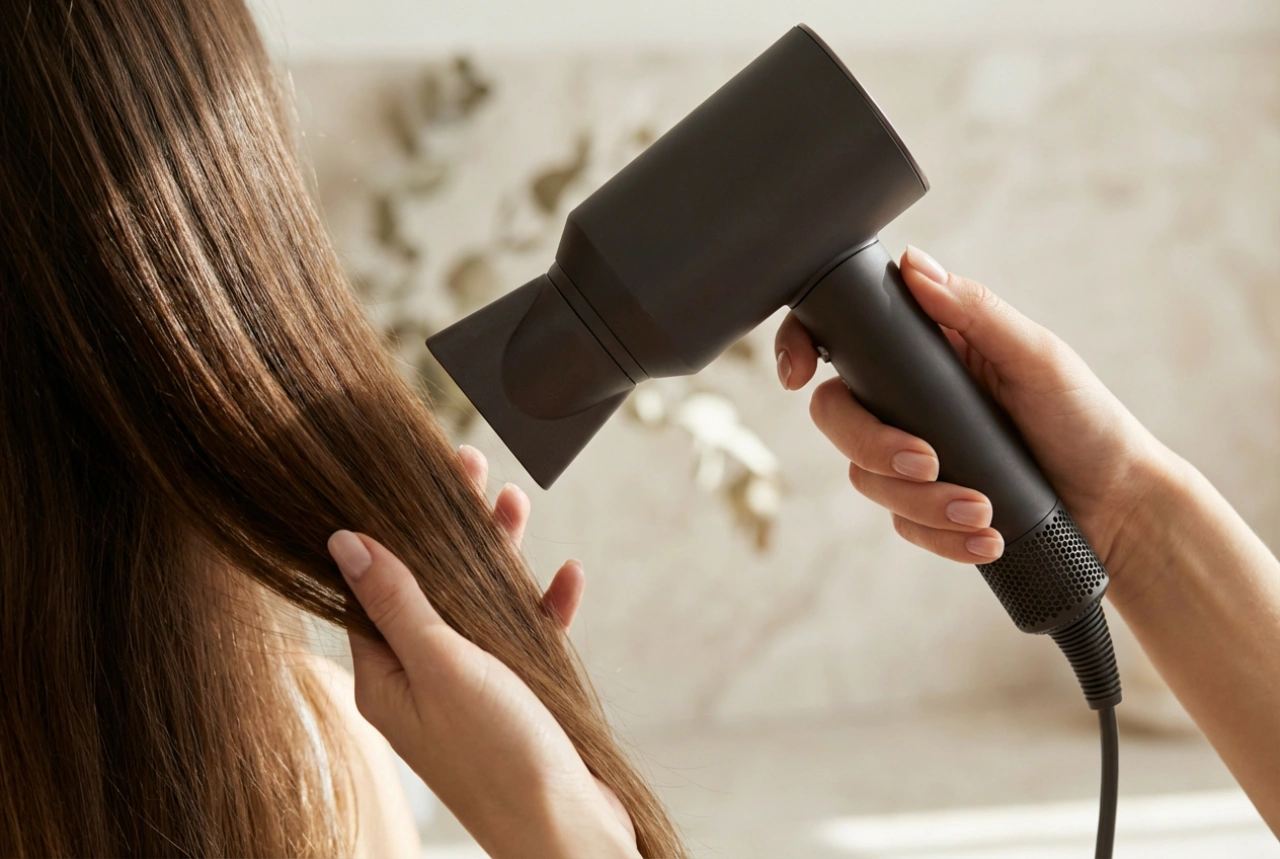
Step 3: The Second 'O' - Seal and Smooth
After you have thoroughly rinsed out both the shampoo and the first conditioning treatment, gently squeeze the excess water from your hair. Now, apply the second conditioner. You can use the same conditioner as in the first step or opt for a lighter one. This application should also be focused on the mid-lengths and ends. Its primary role is to seal the hair cuticle, which may have been lifted during washing. This final layer helps to detangle, reduce frizz, and leave the hair feeling silky and smooth. Leave it on for 1-3 minutes before giving your hair a final, thorough rinse with lukewarm or cool water to help close the cuticles completely.
Who Can Benefit Most from the OMO Method?
While any hair type can try the OMO method, it is particularly beneficial for certain hair textures and conditions. If your hair falls into one of the following categories, you are likely to see significant improvements:
- Dry or Damaged Hair: Hair that has been subjected to heat styling, chemical treatments, or environmental stressors will greatly benefit from the extra layer of protection and intense hydration.
- High Porosity Hair: This hair type has a raised cuticle structure, causing it to lose moisture quickly. The OMO method helps to fill in the gaps in the cuticle and seal it, improving moisture retention.
- Long Hair: The ends of long hair are older and more prone to dryness and split ends. OMO provides targeted protection for these fragile areas.
- Curly and Wavy Hair: Textured hair is often naturally drier than straight hair. This method helps to define curls and waves while combating frizz by providing sustained moisture.
Common Mistakes to Avoid
To get the most out of the OMO routine, be mindful of these common pitfalls:
- Using Products That Are Too Heavy: If you have fine hair, using two heavy, rich conditioners can weigh it down. In this case, use a lighter conditioner for one or both of the 'O' steps.
- Applying Conditioner to the Scalp: Consistently applying conditioner to the roots can lead to build-up and an oily scalp. Always focus applications on the lengths and ends.
- Over-Washing Your Lengths: Remember, the goal of the 'M' stage is to wash the scalp. Avoid vigorously scrubbing your ends with shampoo, as this negates the protective effect of the first conditioning step.
- Not Rinsing Thoroughly: Leaving product residue in your hair can make it feel heavy, dull, or greasy. Ensure you rinse completely after the 'M' stage and the final 'O' stage.
- Doing it Too Often: The OMO method is intensive. For most people, once or twice a week is sufficient. Listen to your hair; if it starts to feel over-moisturised or limp, scale back.
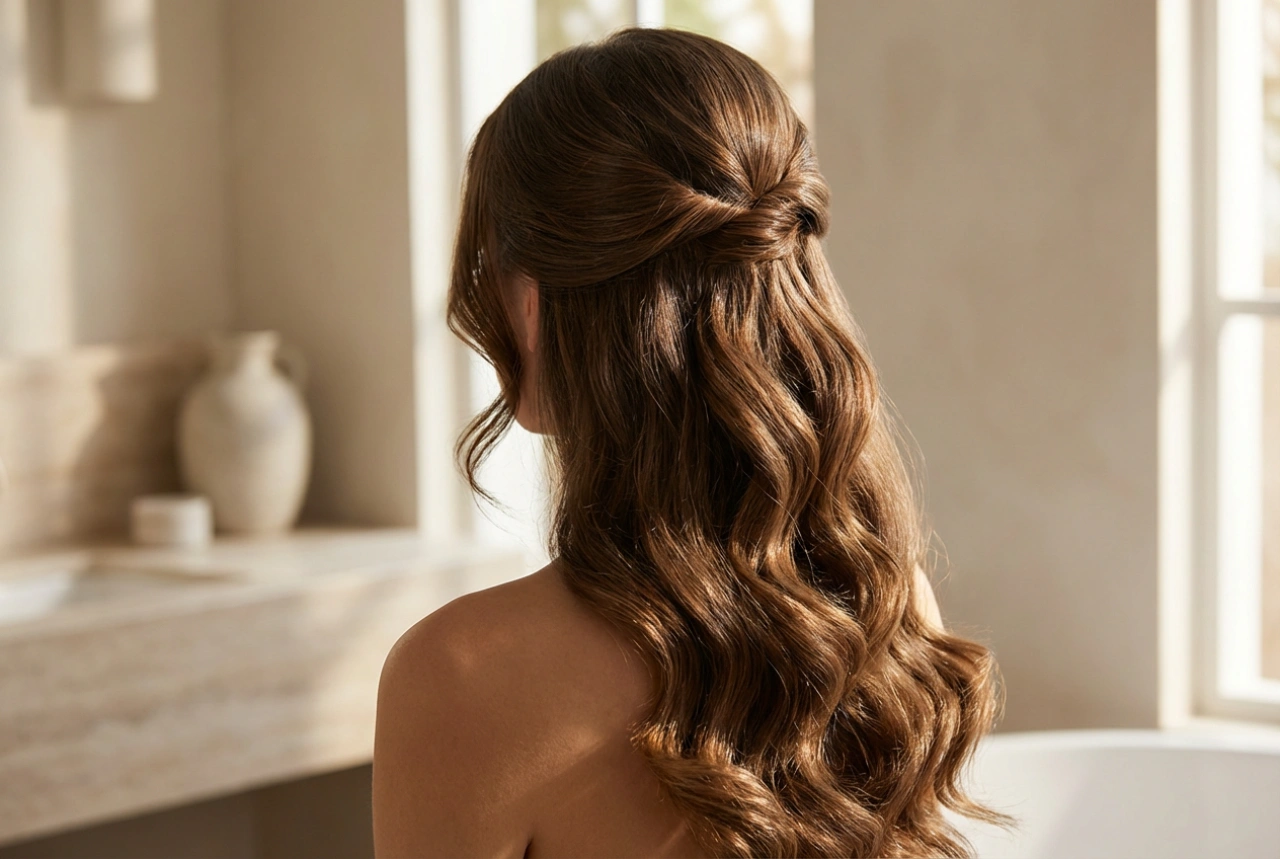
The OMO method is a simple yet powerful adjustment to a standard hair care routine that can revitalise dry, tired strands. By protecting your hair before you cleanse and locking in moisture afterwards, you give it the support it needs to look and feel its best. Experiment with different conditioning products to find the perfect combination for your unique hair needs.