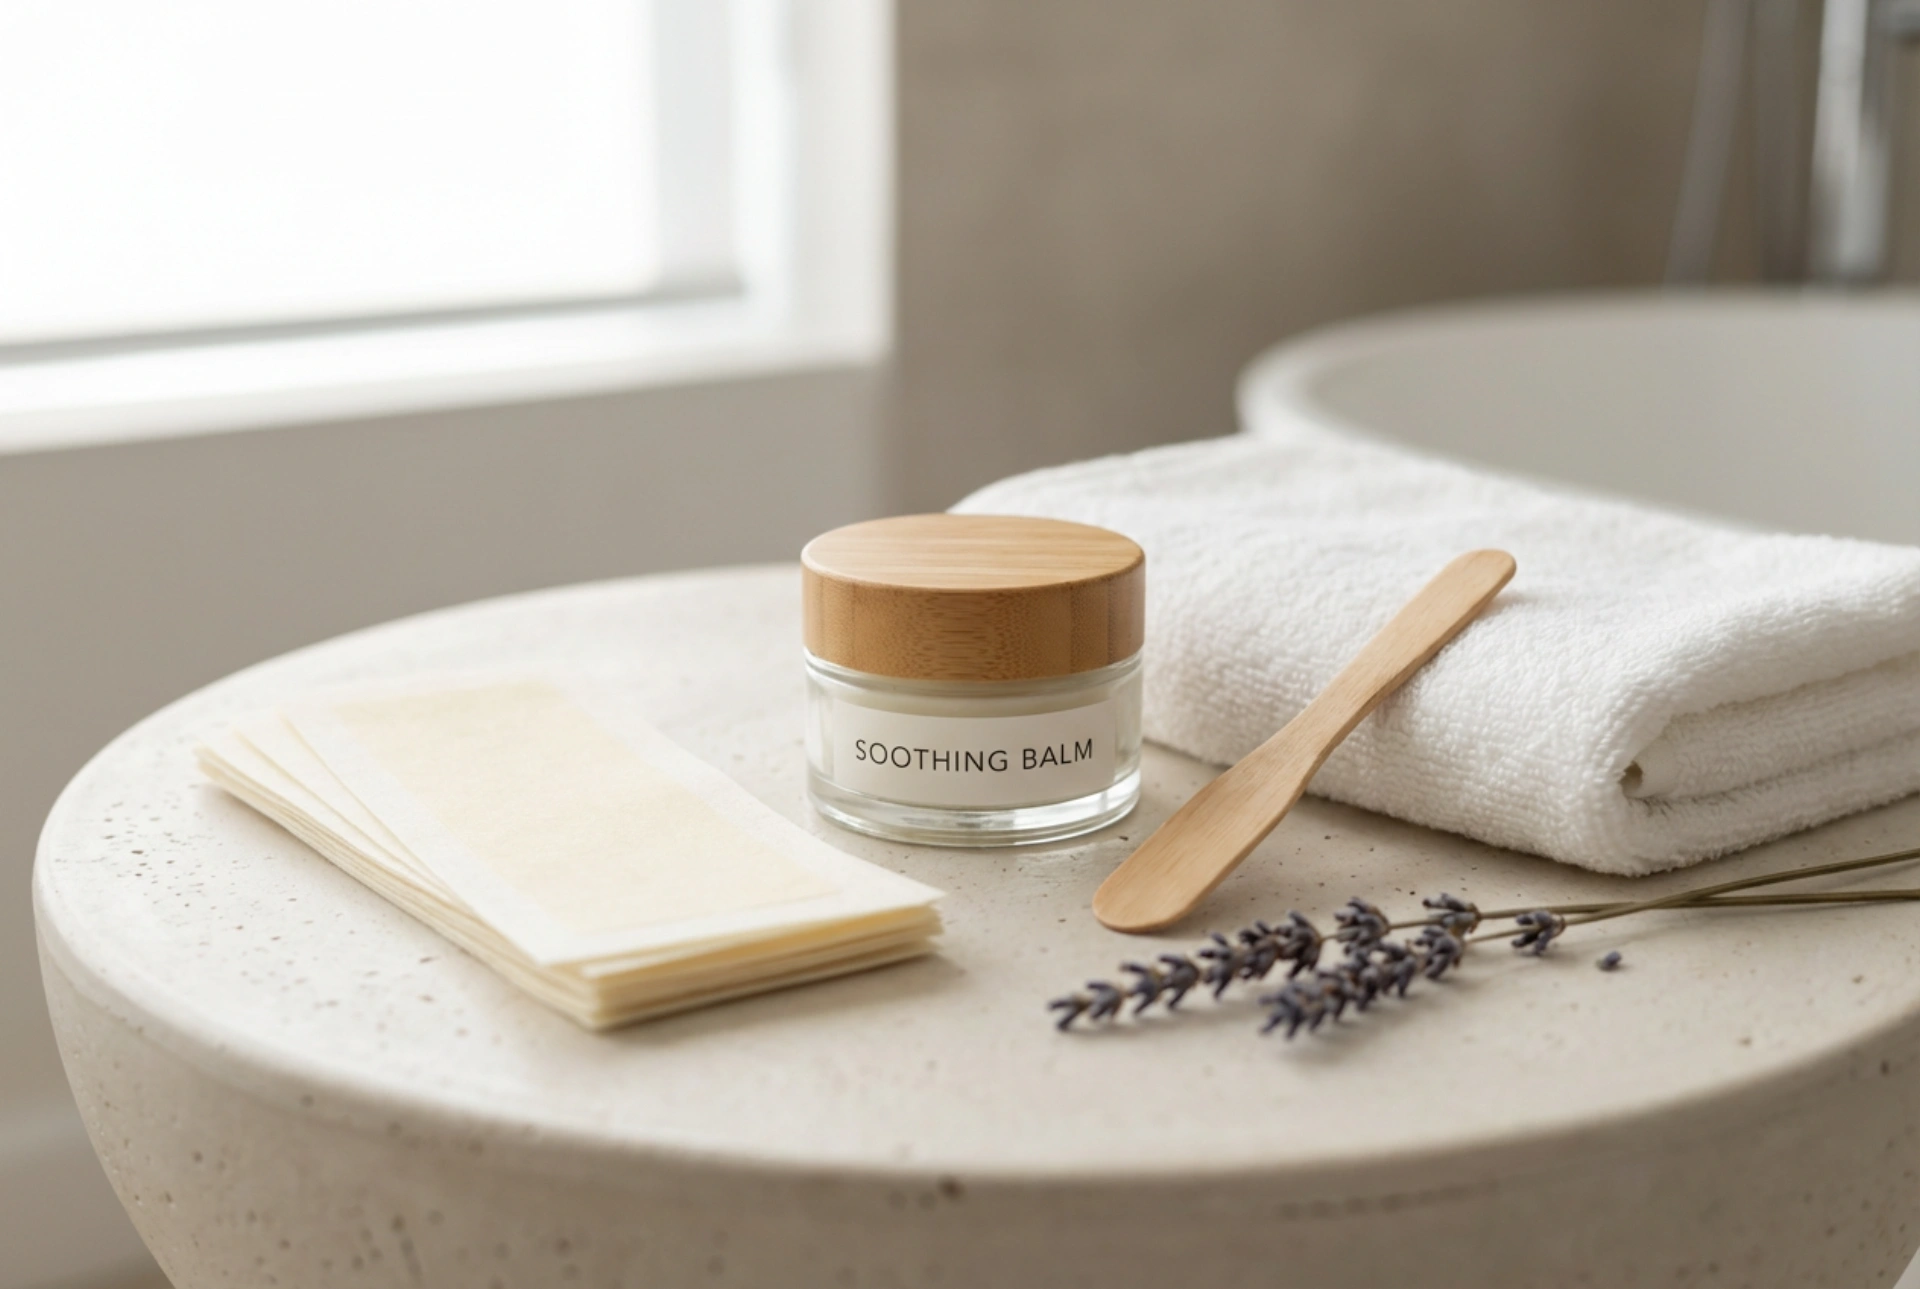


Achieving beautifully smooth skin on delicate facial areas is a common beauty goal. For many, at-home waxing offers a convenient and effective solution for managing unwanted hair on the upper lip. The key to a successful and comfortable experience lies not just in the removal itself, but in the complete process from preparation to aftercare. A thoughtful routine, as suggested by a clean setup with essential products, ensures the best possible results while caring for your skin.
Preparation is Paramount
Never apply wax to unprepared skin, as this can lead to irritation and less effective hair removal. A clean, dry canvas is essential. Follow these initial steps to set yourself up for success.
Cleanse and Dry
Start by thoroughly cleansing the upper lip area. Use a gentle, oil-free cleanser to remove any makeup, excess sebum, or daily grime. Pat the skin completely dry with a clean towel. Any moisture left on the skin will prevent the wax from adhering properly to the hair. For an extra measure, especially in a humid environment, you can apply a very light dusting of talc-free powder to the area. This helps to absorb any residual moisture and oil, ensuring the wax sticks only to the hair.
Perform a Patch Test
Before proceeding with the full area, especially if you are using a new product or waxing for the first time, it is vital to perform a patch test. Apply a small amount of wax to a discreet area of skin, like the inside of your wrist or jawline, and remove it as instructed. Wait 24 hours to ensure there is no adverse reaction. This simple step can prevent widespread irritation.
The Art of Application
The way you apply the wax is just as important as how you remove it. Precision and correct temperature are the cornerstones of a good application technique.
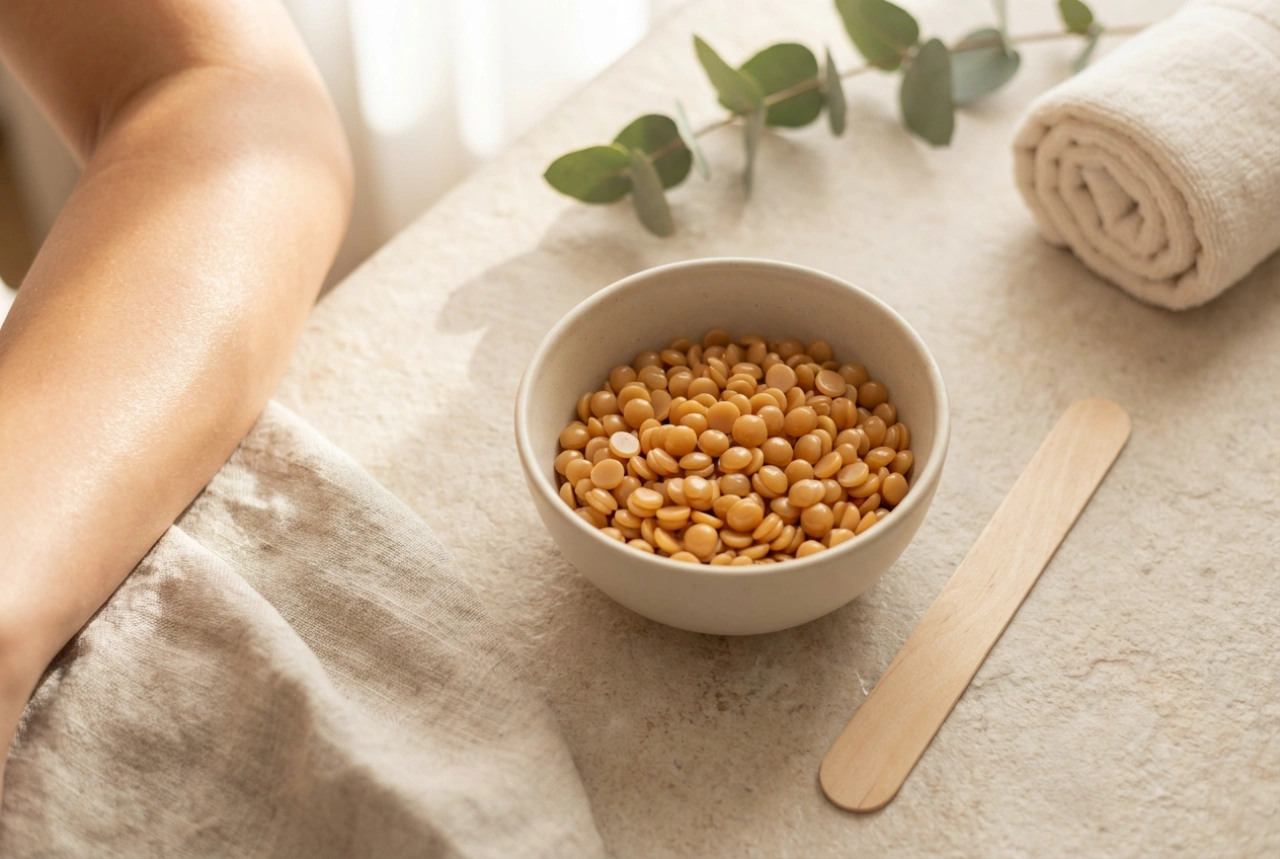
Heat to the Right Consistency
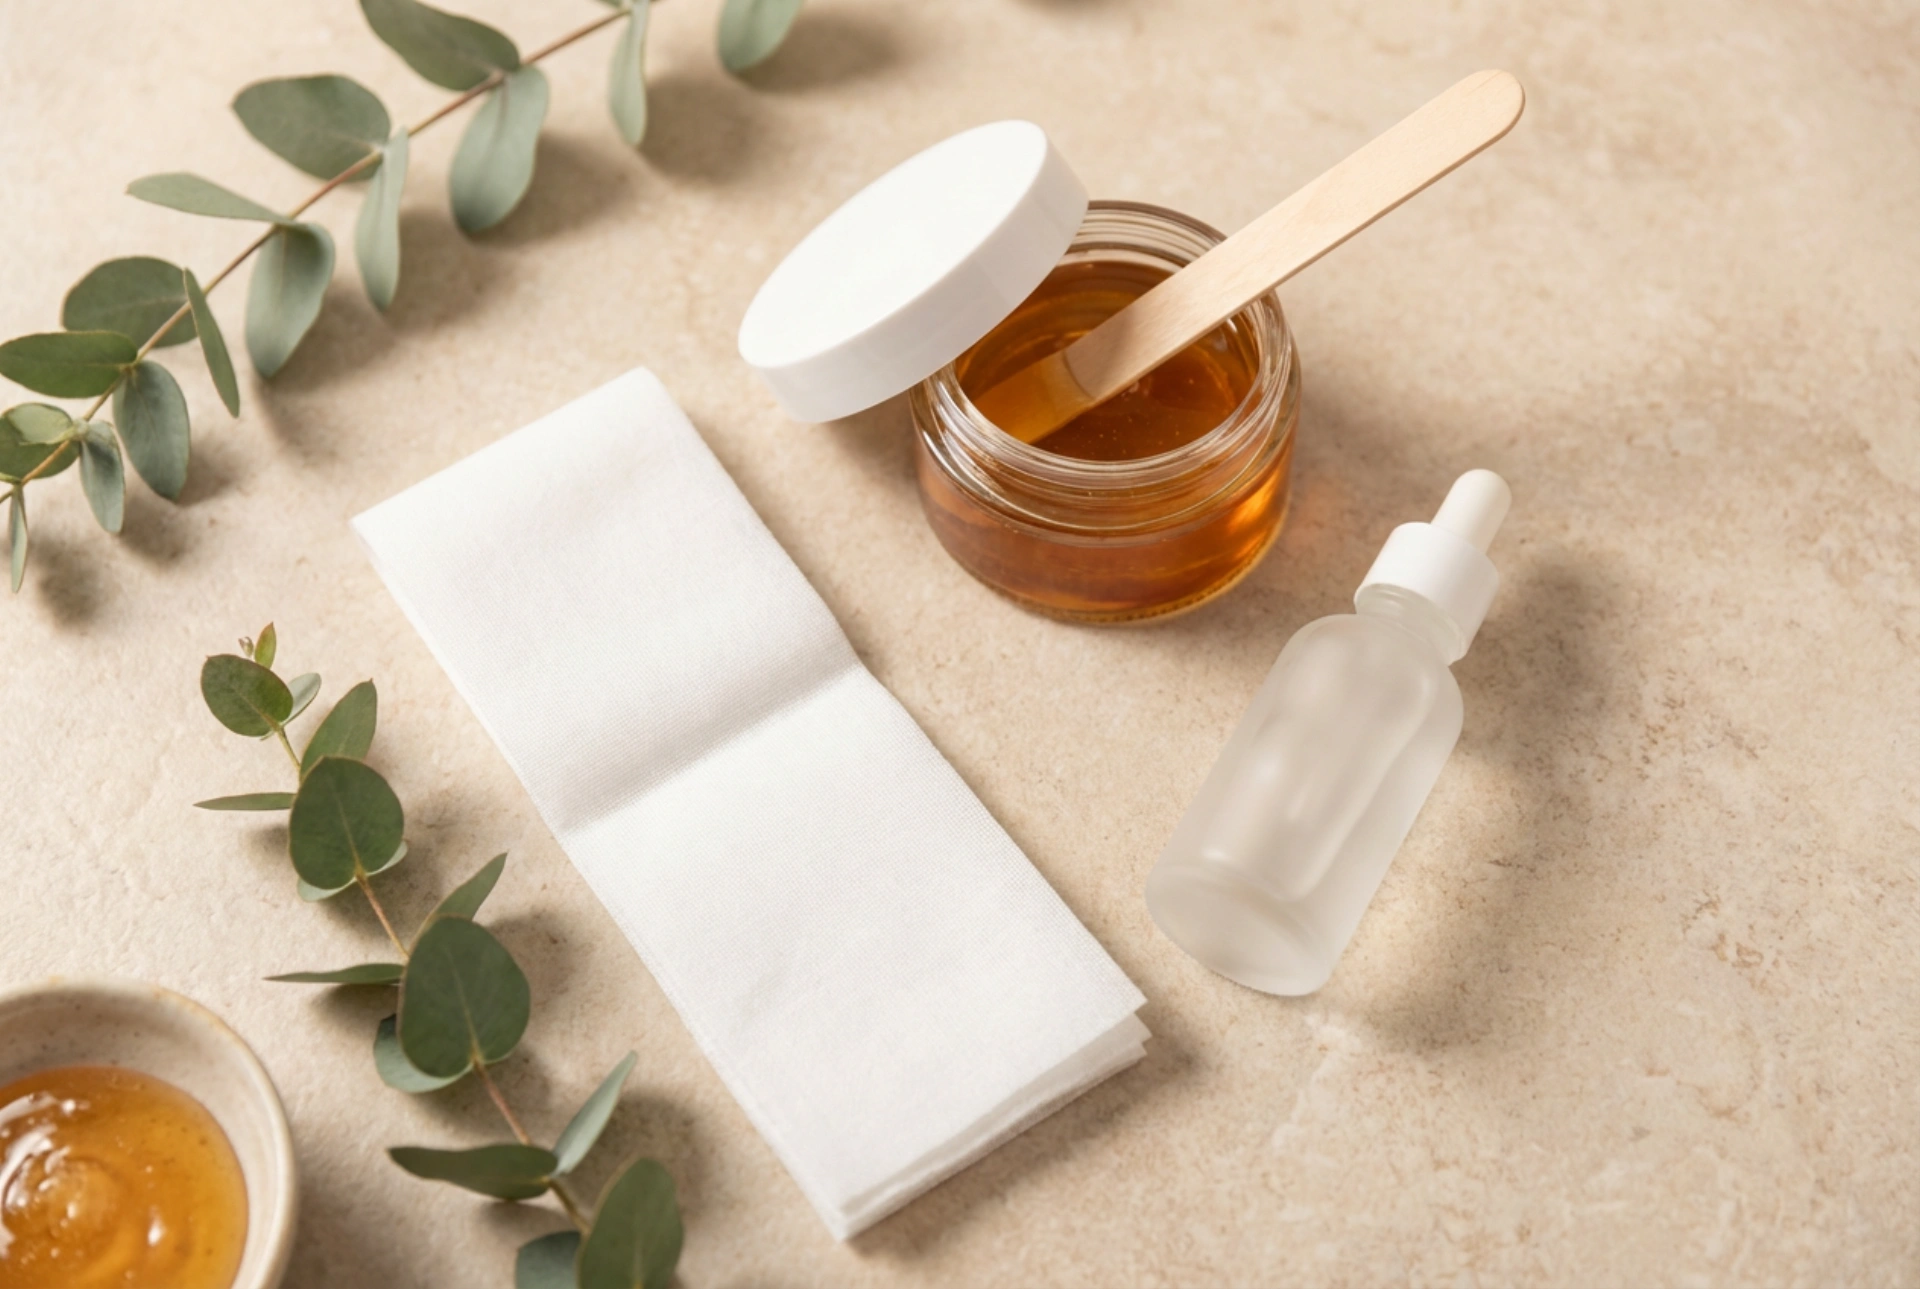
Whether you are using hard wax (which doesn't require strips) or soft wax (which does), you must heat it to the correct temperature. Follow the product's instructions carefully. The ideal consistency is similar to thick honey or treacle – warm and spreadable, but not dangerously hot or runny. Always test the temperature on the inside of your wrist before applying it to your face to prevent burns.
Apply with a Spatula
Using a clean applicator or spatula, scoop up a small amount of wax. For the upper lip, it's best to work in two sections – one for the left side and one for the right. Apply the wax in a thin, even layer, stroking it in the direction of the hair growth. This is typically from the centre of the lip outwards towards the corner of the mouth.
The Swift Removal Technique
The removal is the quickest part of the process, and a swift, confident motion is key to minimising discomfort and achieving a clean result.
Hold the Skin Taut
With one hand, use your fingers to stretch the skin of the area you are about to wax. Holding the skin taut is a non-negotiable step; it prevents the skin from being pulled along with the wax, which significantly reduces discomfort and the risk of bruising.
Pull Correctly
With your other hand, grip the end of the wax (if it's hard wax, you will have created a small lip or tab) or the fabric strip. In one quick, fluid motion, pull the wax off in the opposite direction of hair growth. Crucially, you must pull parallel to the skin, not upwards away from it. Pulling upwards can cause hair to break instead of being removed from the root and can be more traumatic for the skin. Immediately after pulling, you can place a hand firmly over the area for a few seconds to help soothe the initial sting.
Essential Post-Waxing Care
What you do after waxing is critical for keeping your skin calm, clear, and happy. The skin will be sensitive, so gentle care is required.
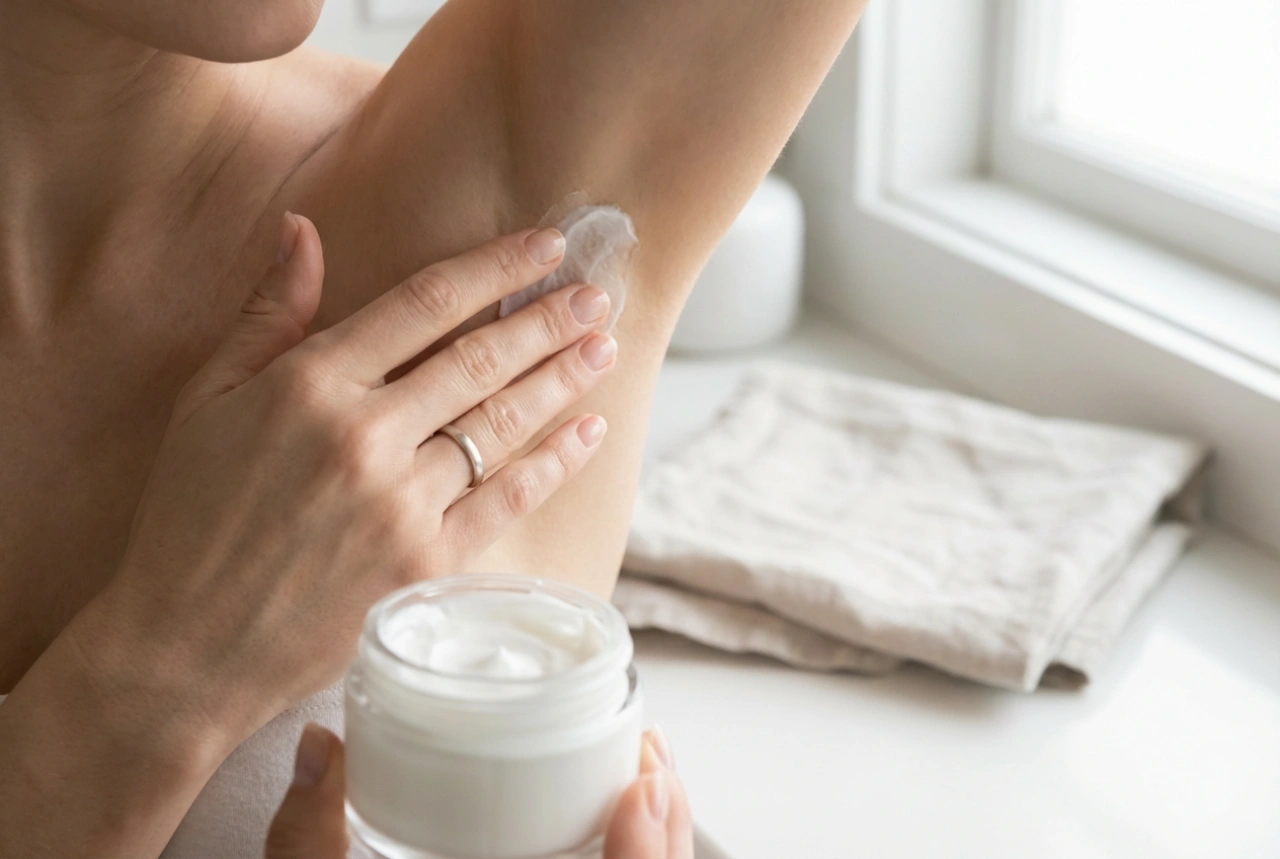
Clean and Soothe
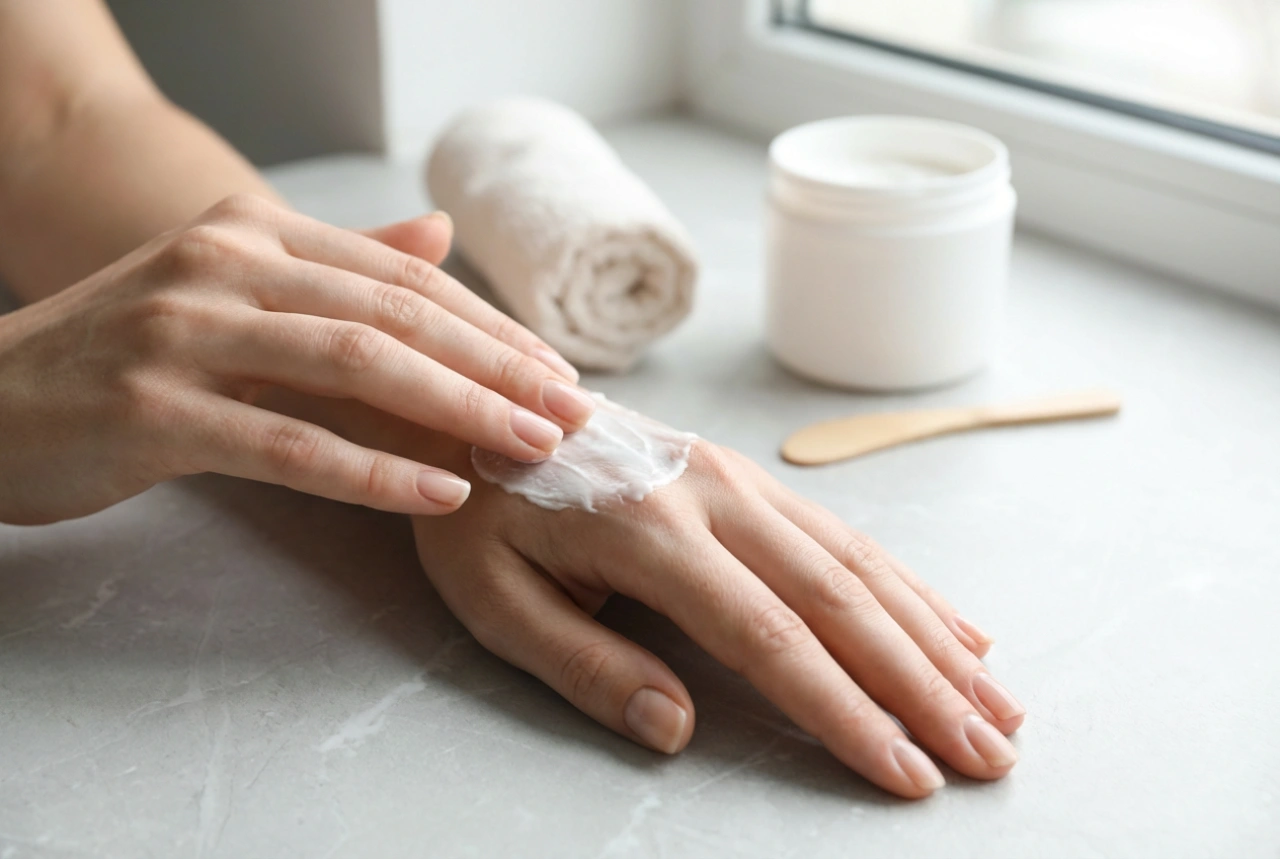
First, remove any sticky wax residue. Most kits come with a post-wax oil or wipe. If not, a small amount of a neutral oil (like almond or jojoba oil) on a cotton pad will work perfectly. Avoid trying to wash it off with water, which is ineffective on wax. Once the skin is clean, apply a soothing, alcohol-free product. Look for calming ingredients like aloe vera, chamomile, or calendula to help reduce redness and cool the skin.
What to Avoid for 24-48 Hours
To prevent irritation and bumps, you must protect the freshly waxed skin. For the next day or two, be sure to avoid the following:
- Hot baths, saunas, and steam rooms
- Sun exposure and tanning beds
- Chlorinated pools
- Heavily perfumed skincare products
- Applying thick makeup to the area
- Exfoliating scrubs or acids
By following these guidelines for preparation, application, and aftercare, you can turn at-home upper lip waxing into a simple, effective part of your beauty maintenance, resulting in smooth, hair-free skin with minimal fuss or irritation.