


A hair straightener is often seen as a one-trick tool, but its capabilities extend far beyond creating sleek, straight styles. With the right technique, this versatile device can be skilfully used to produce everything from soft, glossy waves to bouncy, defined curls. The key to achieving these beautiful styles without compromising the health of your hair lies in proper preparation and a gentle touch, especially when it comes to protecting the delicate ends of your hair.
Preparing Your Hair for Heat Styling
Before you even turn on your straightener, a few preparatory steps are essential to ensure a smooth styling process and protect your hair from heat damage. Skipping this stage can lead to less effective results and potential harm to your hair strands.
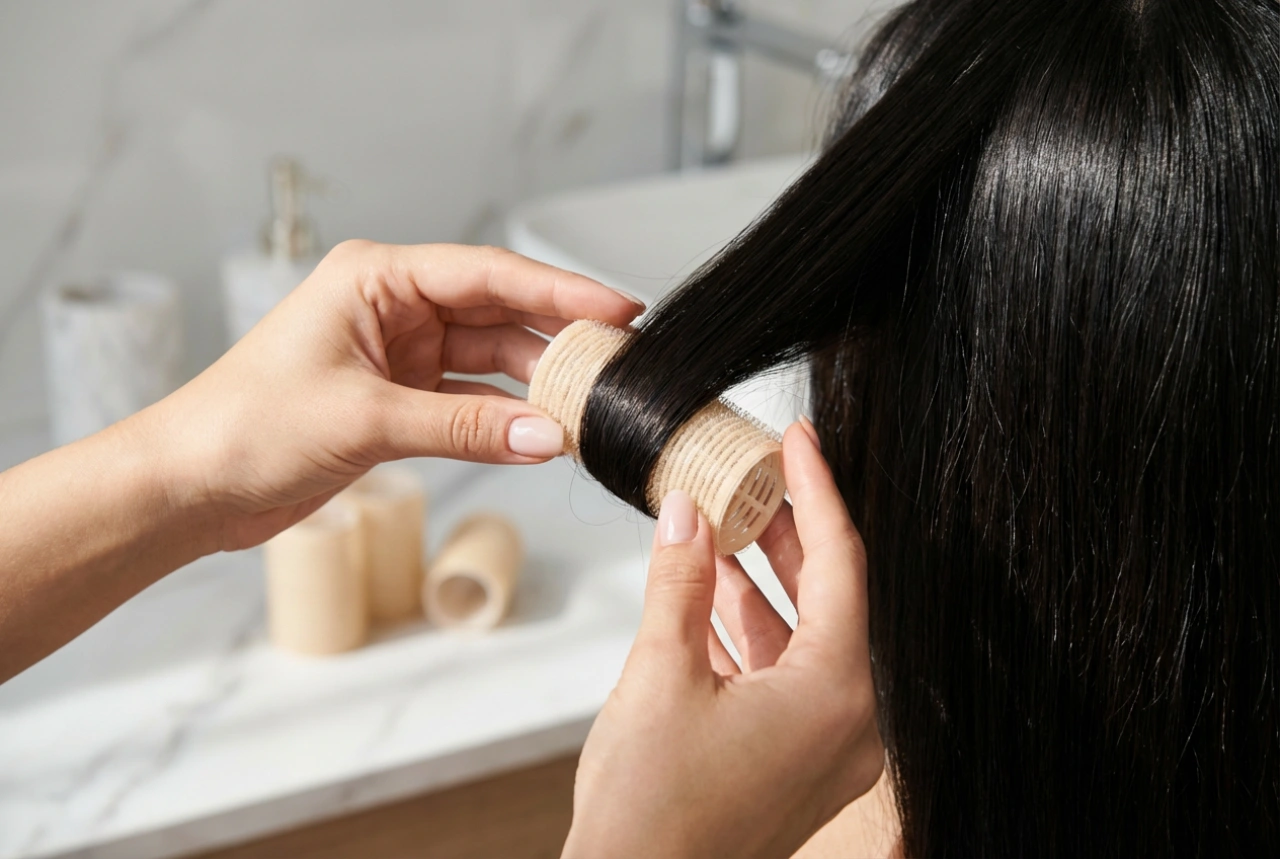
Start with Dry, Detangled Hair
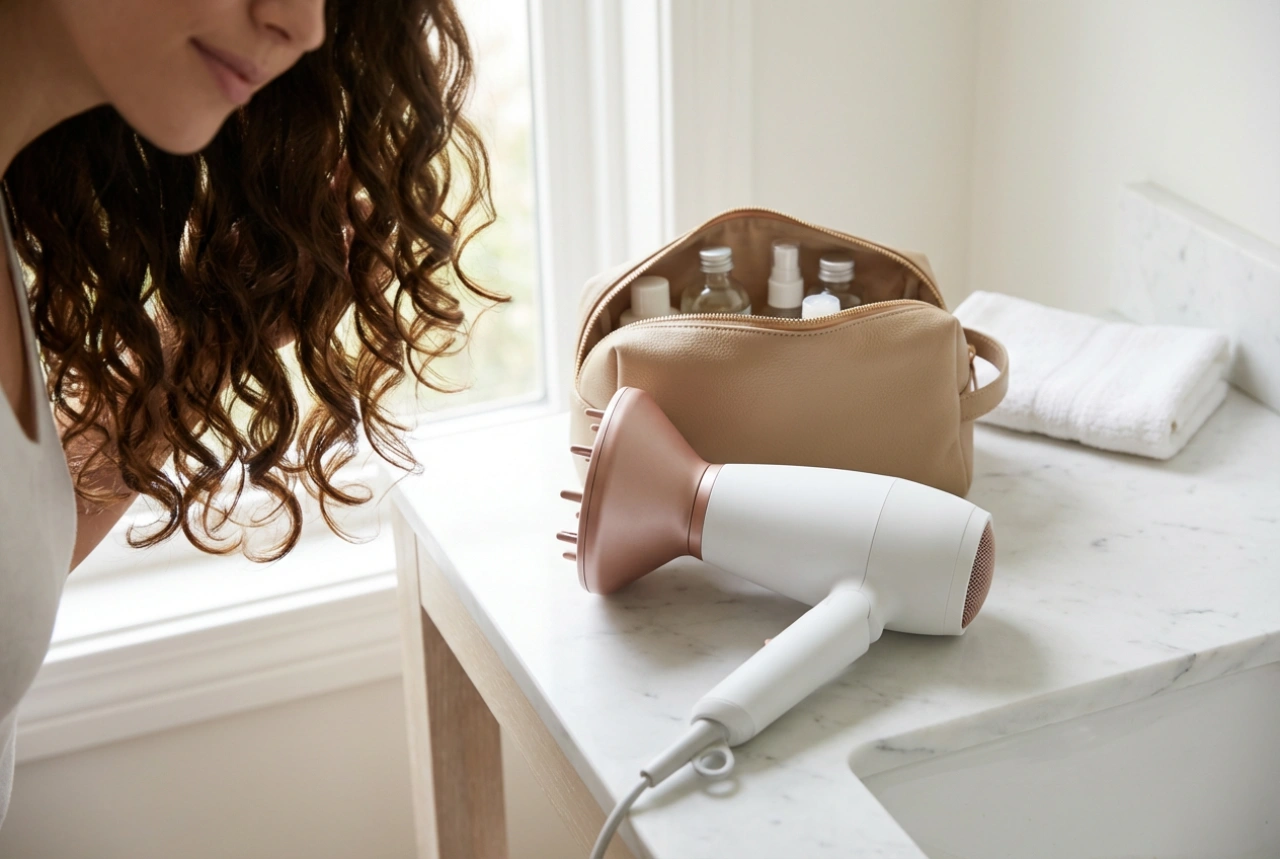
Always begin with hair that is 100% dry. Applying high heat to damp or wet hair can cause the water within the hair shaft to boil, leading to significant damage. Take the time to blow-dry your hair thoroughly or let it air-dry completely. Afterwards, brush through your hair to remove any knots or tangles. A smooth canvas allows the straightener to glide effortlessly, creating a more uniform and polished curl.
Apply a Heat Protectant
This is a non-negotiable step in any heat styling routine. Heat protectant products create a barrier between your hair and the hot plates of the straightener, reducing moisture loss and minimising damage to the hair's cuticle. Spray or apply the product evenly from roots to ends, paying extra attention to the more fragile tips.
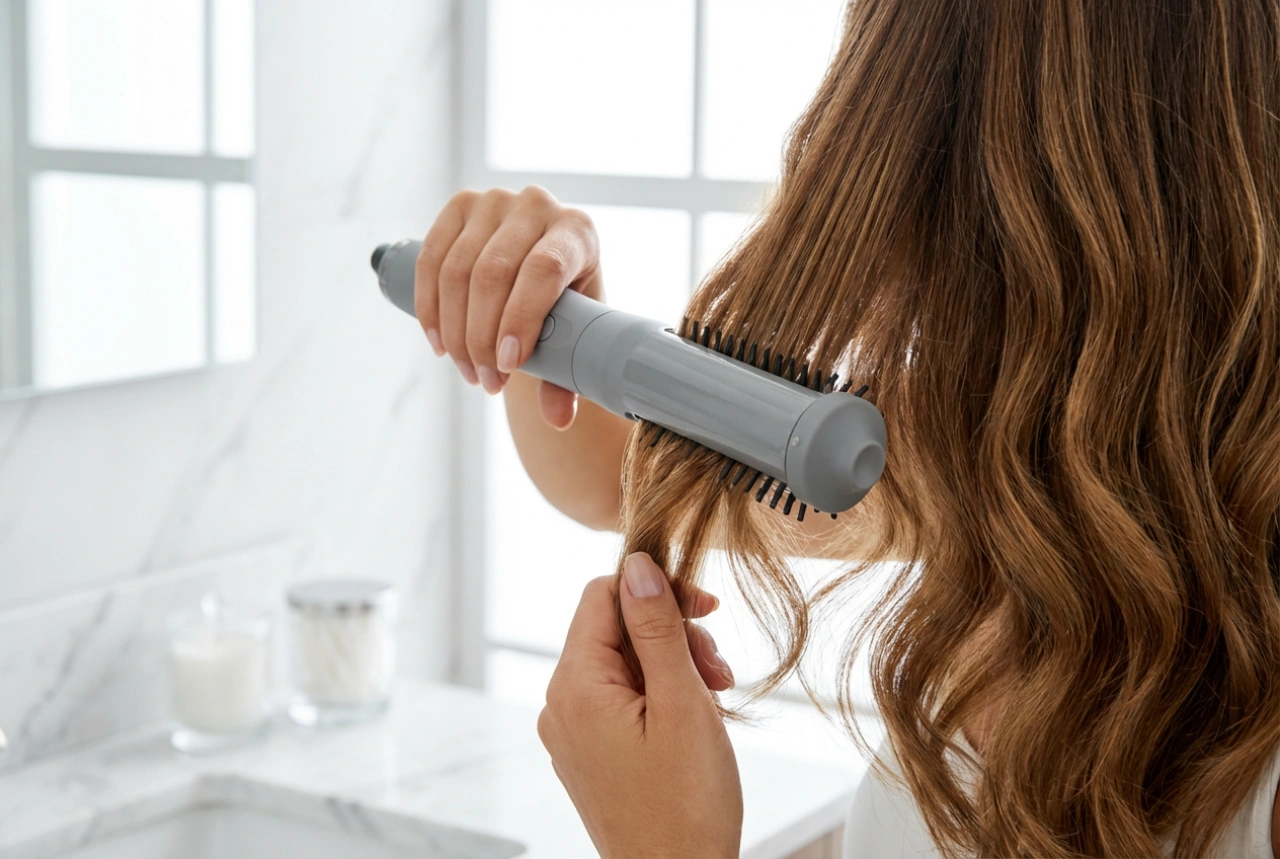
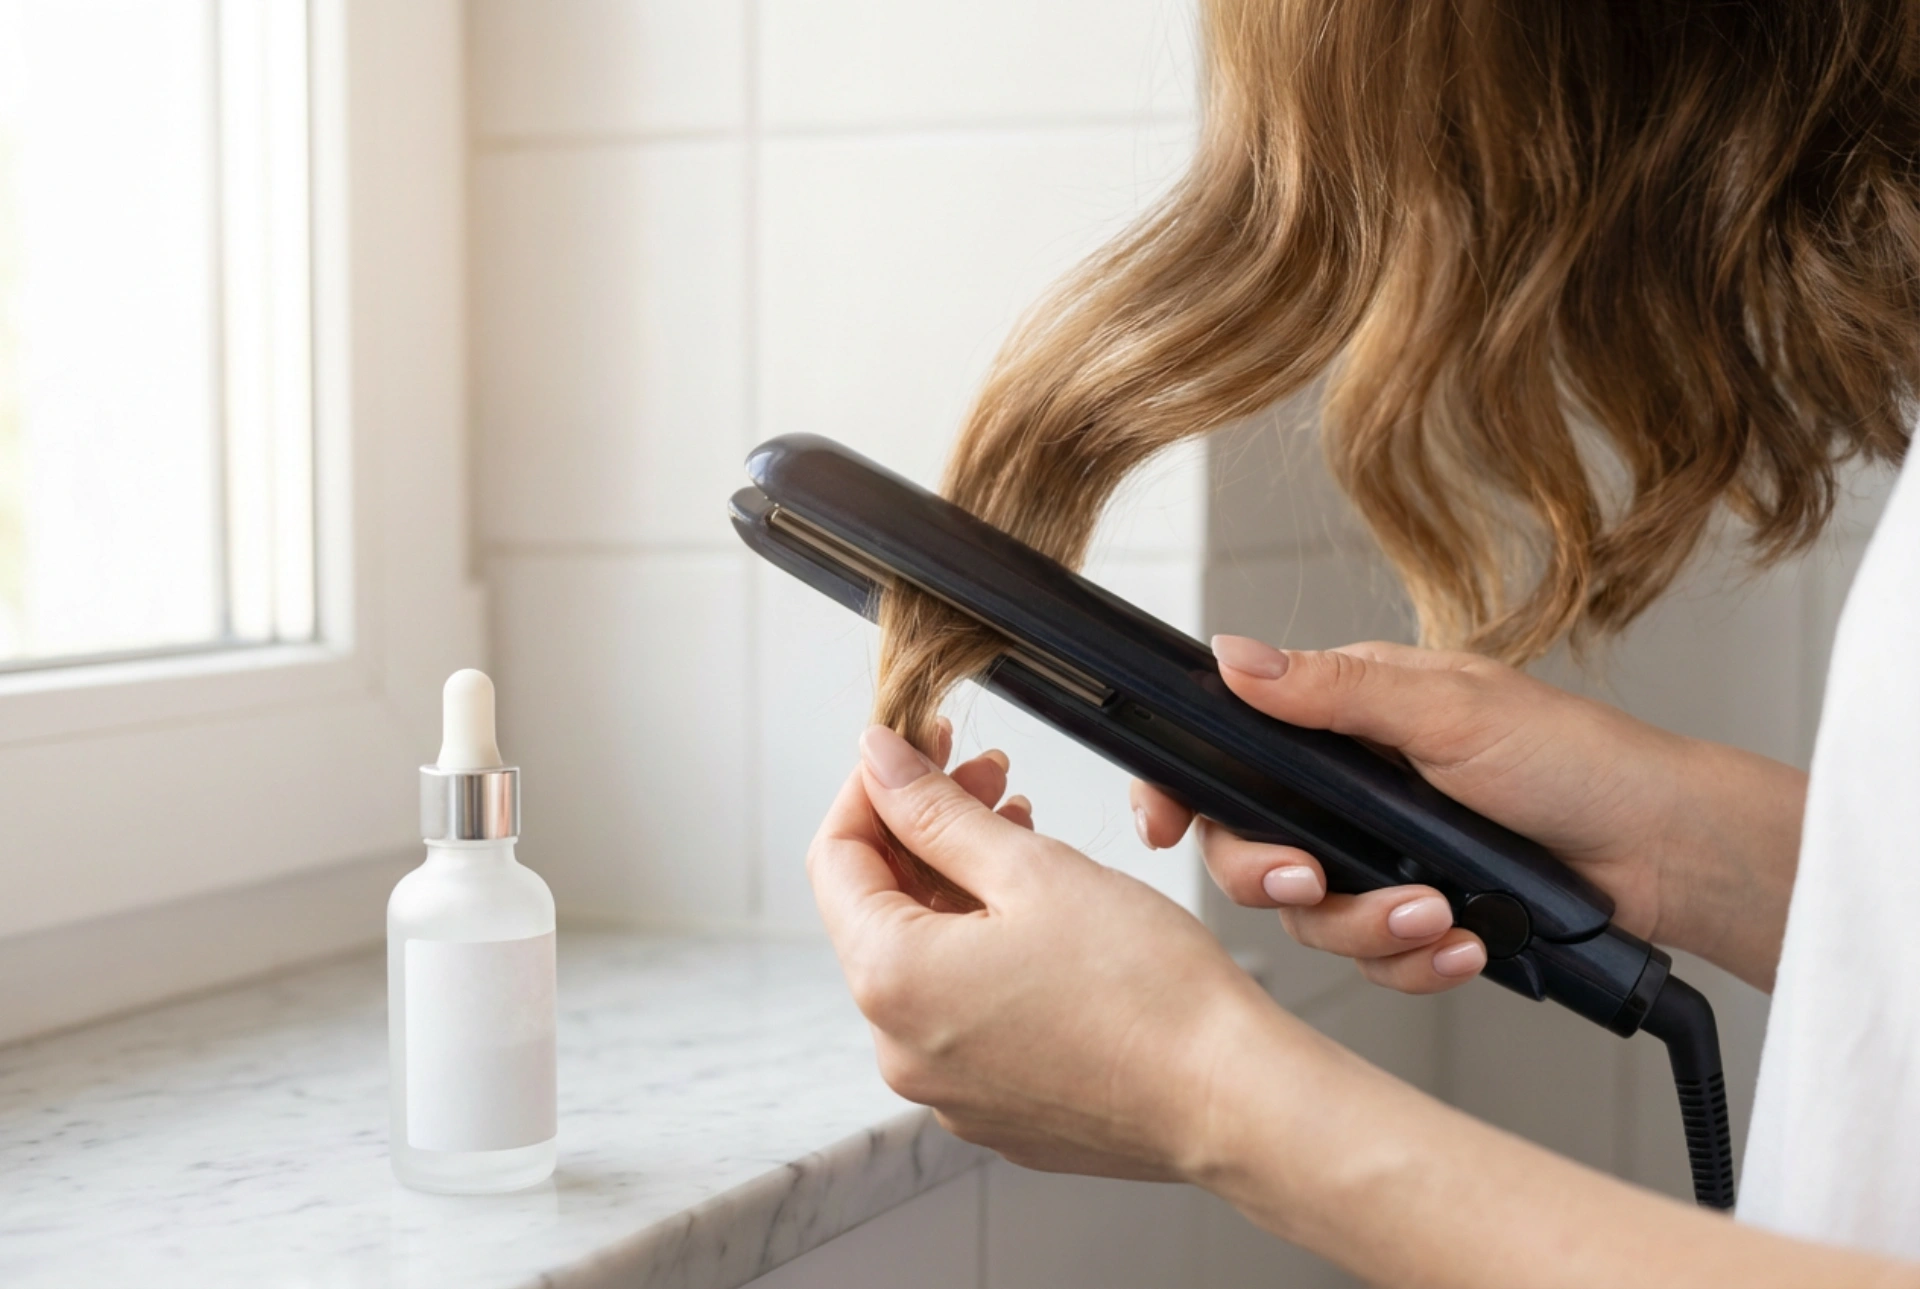
Mastering the Basic Curling Technique
Once your hair is prepped, you are ready to start curling. The fundamental technique is simple, but it may take a little practice to perfect the movement and speed. It's best to work in sections, using clips to keep the rest of your hair out of the way.
A Step-by-Step Guide
- Section your hair: Divide your hair into manageable sections. For tighter curls, use smaller sections (about 1-inch wide). For looser waves, you can work with larger sections (up to 2 inches).
- Clamp the hair: Take one section and clamp the straightener around it, starting an inch or two away from the roots.
- Rotate and glide: This is the most important part. As soon as you've clamped the hair, rotate the straightener 180 degrees (a half-turn) so the hair is wrapped once around one of the plates. The direction of the turn (towards or away from your face) will determine how the curl falls.
- Maintain a smooth glide: While maintaining the rotation, slowly and steadily glide the straightener down the length of the hair section all the way to the ends. The speed of your glide affects the tightness of the curl; a slower glide results in a tighter curl, while a faster one creates a looser wave.
- Release and cool: Once you reach the end, release the hair from the straightener. Let the freshly formed curl cool down in your hand or allow it to hang freely without touching it for a few seconds. This helps the curl to set properly.
Creating Different Types of Curls
By making small adjustments to the basic technique, you can create a variety of different curl styles to suit any occasion.
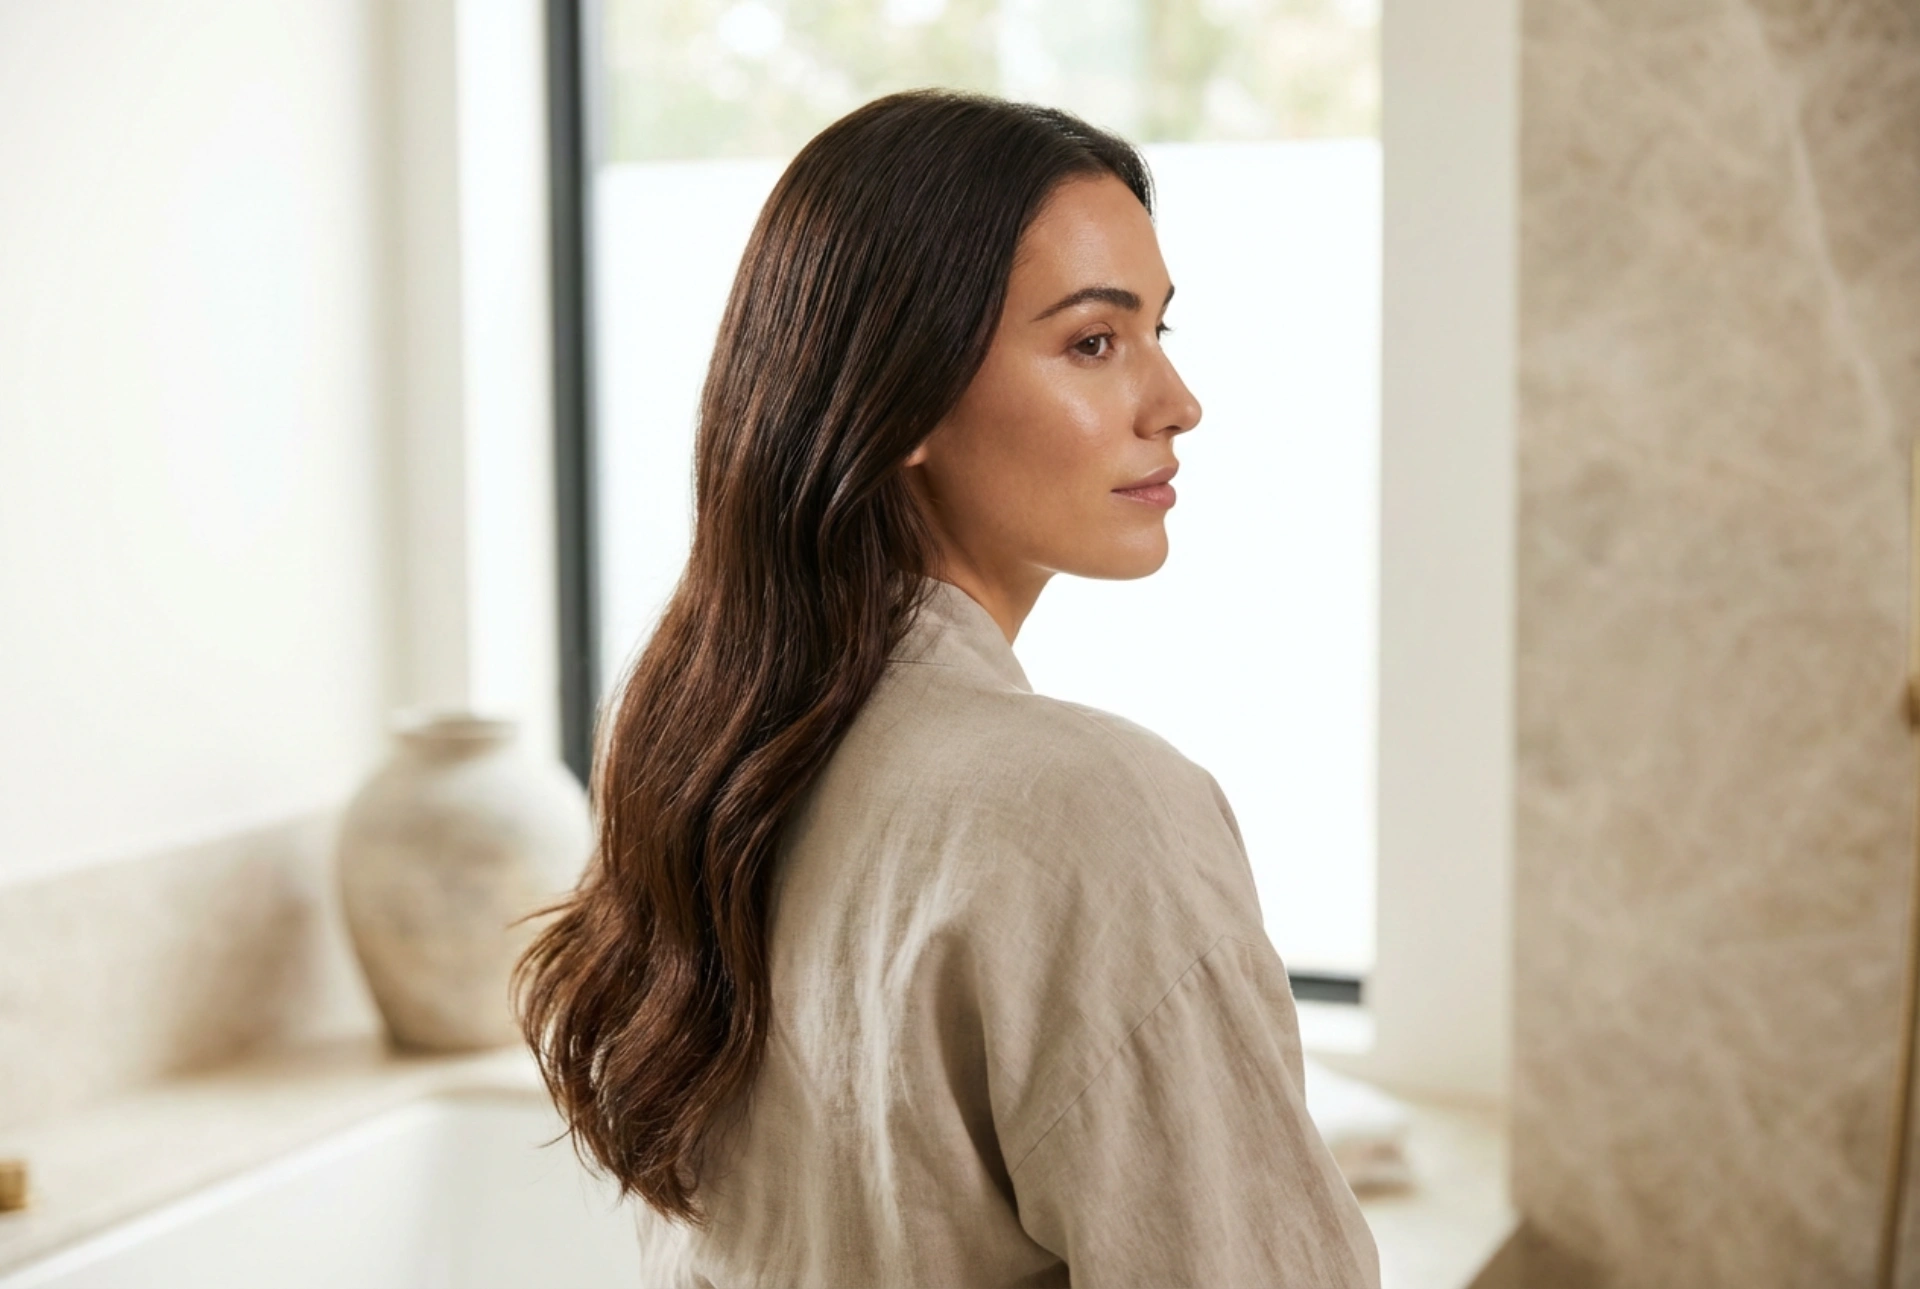
Soft, Flowing Waves
For a relaxed, everyday look, work with larger sections of hair. After clamping and rotating the straightener, glide it down the hair shaft at a slightly faster pace. This imparts less heat and results in a gentle, elongated 'S' wave rather than a tight curl.
Defined, Bouncy Curls
If you're aiming for a more glamorous, high-volume style, use smaller, one-inch sections of hair. Move the straightener down the hair shaft more slowly, allowing the heat to create a more defined and springy spiral. For a cohesive look, try to curl all sections in the same direction, usually away from the face.
Modern, Beachy Texture
To achieve that effortlessly chic, beachy look, the key is imperfection. Alternate the direction of the curls for each section—some towards your face, some away. You can also vary the size of the sections. For an even more modern finish, stop styling about an inch from the ends, leaving them straight. This gives the style a more relaxed and undone feel.
Protecting Your Ends and Ensuring Longevity
Proper aftercare is just as important as preparation. It helps protect the most vulnerable part of your hair—the ends—and ensures your beautifully styled curls last.
Nourish the Ends
The ends of your hair are the oldest and most prone to dryness and splitting. After you have finished styling and your hair has completely cooled, apply a very small amount of a lightweight hair serum or oil. Rub it between your palms and gently smooth it over the mid-lengths and ends to add shine, tame any flyaways, and provide a final layer of moisture.
Let Curls Set Completely
Patience is crucial for long-lasting curls. Avoid the temptation to run your fingers through your hair immediately after styling. Let the curls cool down and set for at least 5-10 minutes. Once cool, you can gently separate them with your fingers for a softer, more voluminous look.
Use a Light Hairspray
If your hair tends to lose its style quickly, a light mist of a flexible-hold hairspray can provide extra support. Hold the can about 10-12 inches away from your head and spray lightly to avoid a stiff or crunchy feeling. This will help your curls maintain their shape throughout the day without weighing them down.