


Creating beautiful, uniform waves can transform your hairstyle, adding texture and volume for an effortlessly chic look. A hair waver is the perfect tool for achieving this style, producing consistent S-shaped waves from root to tip. Unlike curling tongs, which create spirals, a waver presses the hair into a predefined pattern, making it surprisingly simple to get salon-worthy results at home. With the right technique, you can easily master this tool and enjoy flawless waves that last all day.
Preparing Your Hair for Styling
The foundation for any successful heat styling is proper preparation. Starting with the right base ensures your waves will not only look better but also last longer, all while minimising potential damage to your hair. Follow these essential preliminary steps.
Start with Clean, Dry Hair
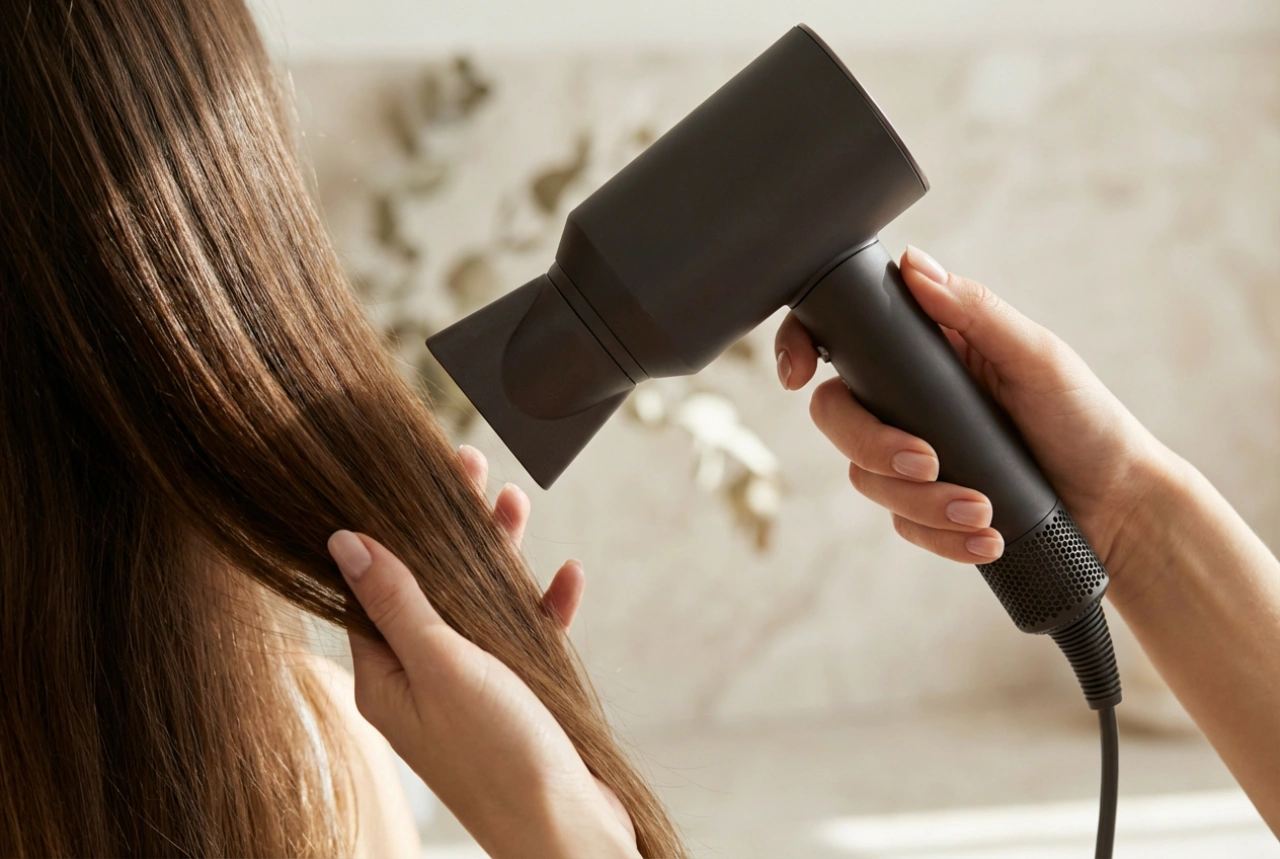
For the best results, always use a hair waver on hair that is completely clean and dry. Styling damp hair with a high-heat tool can be very damaging. Wash and condition your hair as usual, and then either air-dry or blow-dry it thoroughly. Ensure there are no tangled sections by brushing your hair gently from the ends up to the roots.
Apply a Heat Protectant
This step is non-negotiable. Before any heat comes near your hair, generously spritz a heat protectant spray all over, from roots to ends. This creates a protective barrier that reduces moisture loss and shields your strands from heat damage. Comb through your hair one last time to ensure the product is evenly distributed.
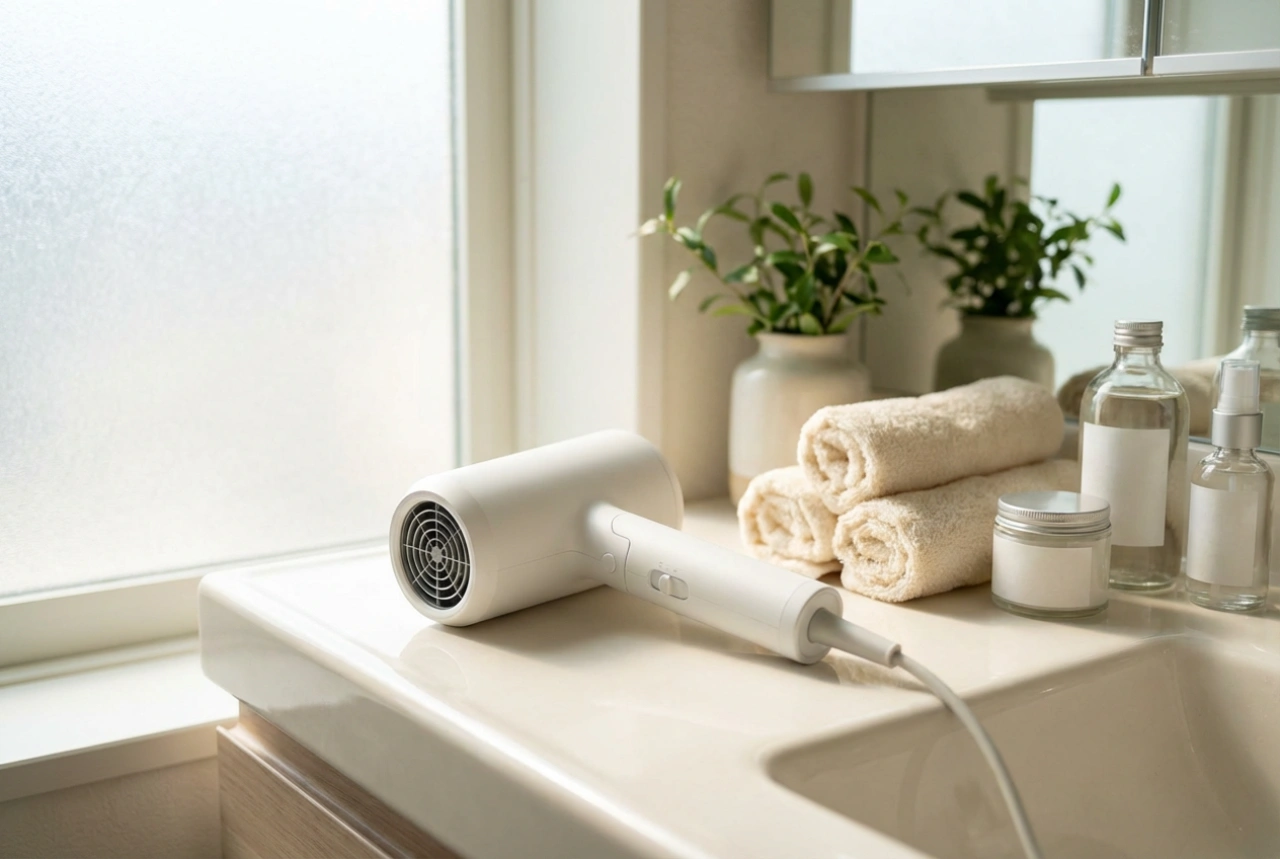
Choosing the Right Heat Setting
Most modern hair wavers come with adjustable temperature settings, which is crucial for customising the styling experience to your specific hair type. Using the correct temperature will give you beautiful waves without causing unnecessary stress to your hair.
- Fine or Damaged Hair: If your hair is fine, chemically treated, or prone to damage, always start with the lowest heat setting available, typically around 150-170°C. This gentle heat will be sufficient to create waves without overwhelming the delicate hair structure.
- Normal or Medium Hair: For hair with a normal texture that is generally healthy, a mid-range temperature of about 170-190°C is usually effective. This provides enough heat to set the waves quickly and efficiently.
- Thick or Coarse Hair: If you have thick, coarse, or particularly resilient hair, you may need a higher temperature, between 190-210°C, to ensure the wave pattern holds. However, always start lower and only increase the heat if you find the waves are not forming properly.
Step-by-Step Guide to Creating Even Waves
With your hair prepped and the waver heated to the correct temperature, you are ready to start styling. The key to achieving uniform waves is a systematic and consistent technique.
1. Section Your Hair
Divide your hair into manageable sections. The easiest way to do this is to split it into a top and bottom layer, securing the top layer with a clip. Depending on the thickness of your hair, you may want to create several smaller sections. Working with sections about 1-2 inches wide will ensure the heat is distributed evenly.
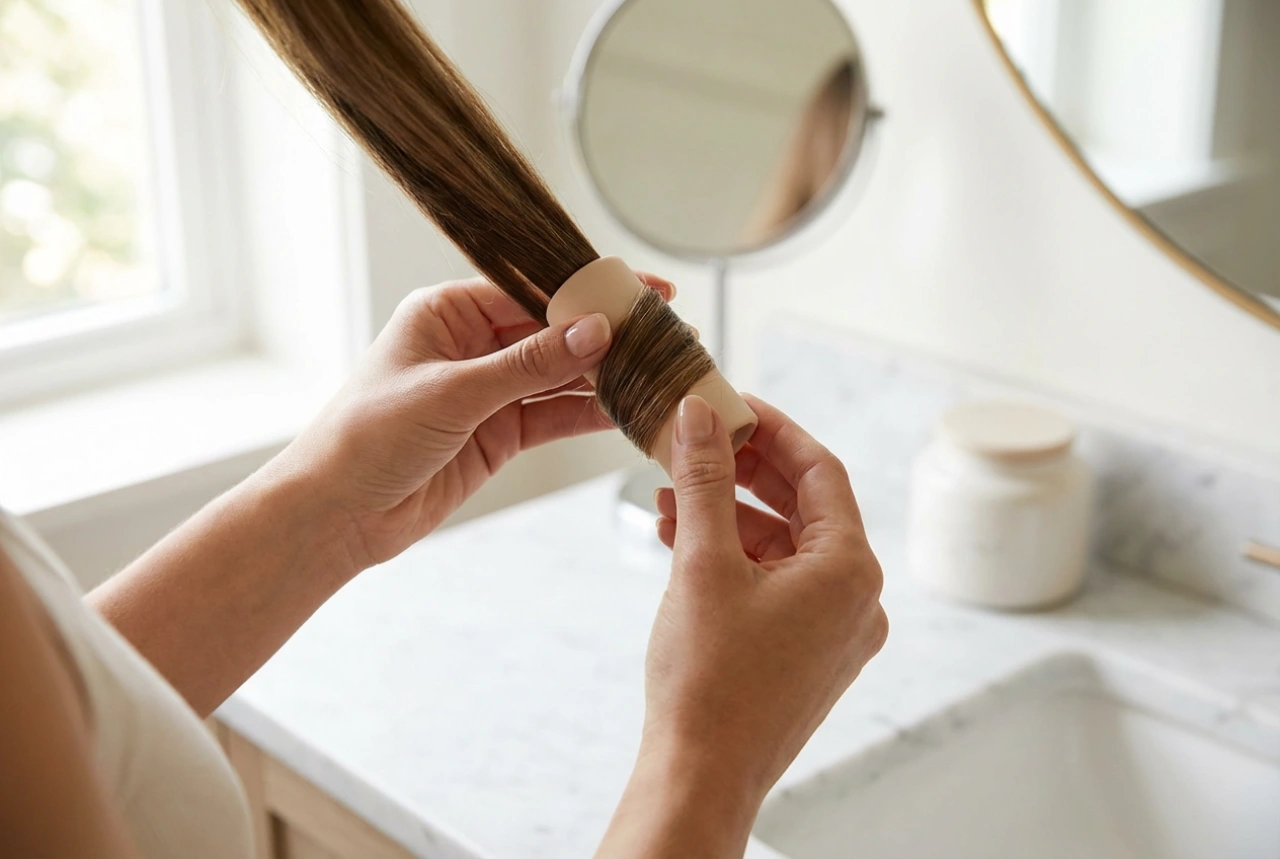
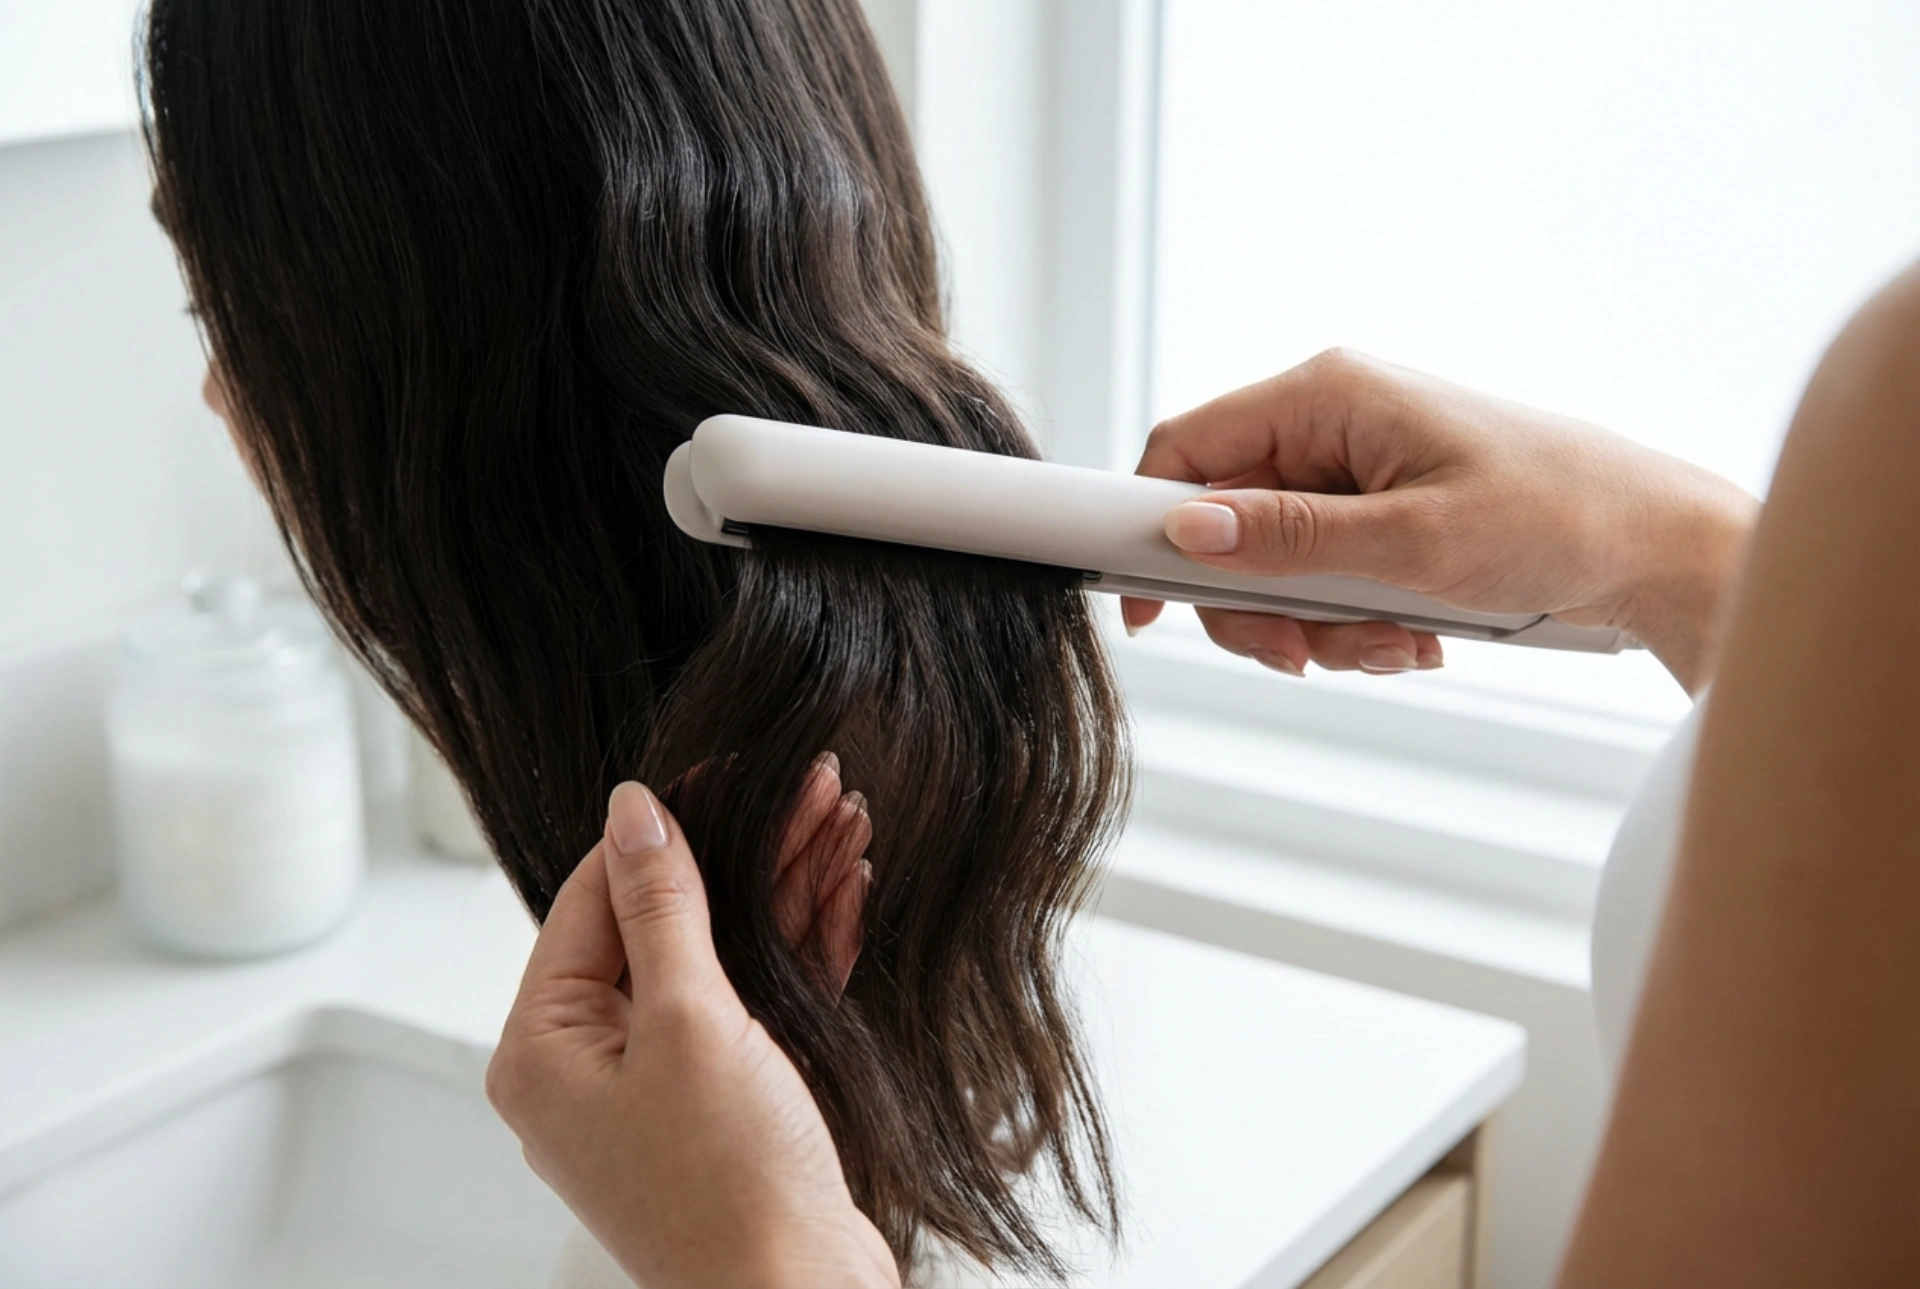
2. The Waver Technique
Take your first section of hair. Open the waver and clamp it down on the hair near the roots, holding it for about 5-8 seconds. Be careful not to touch the scalp. Release the clamp and move the waver down the hair shaft. To create a seamless, continuous wave, position the top barrel of the waver over the last bend you made. This overlap is the secret to a natural, flowing look. Continue this process until you reach the ends.
3. Work Through All Sections
Continue the process, section by section, working your way from the bottom layers of your hair to the top. For a more natural look around the face, you can start the waves slightly lower down, perhaps at eye or cheekbone level. Maintain consistent timing and pressure for each clamp to ensure all your waves are uniform.
Finishing Touches for Long-Lasting Waves
Once you have finished waving all of your hair, a few final steps will set your style in place and give it a polished finish.
Let the Waves Cool
This is a crucial step that is often overlooked. Avoid touching or brushing your hair while it is still warm, as this can cause the waves to fall flat. Let your hair cool down completely—this allows the hair cuticles to close and sets the wave pattern in place.
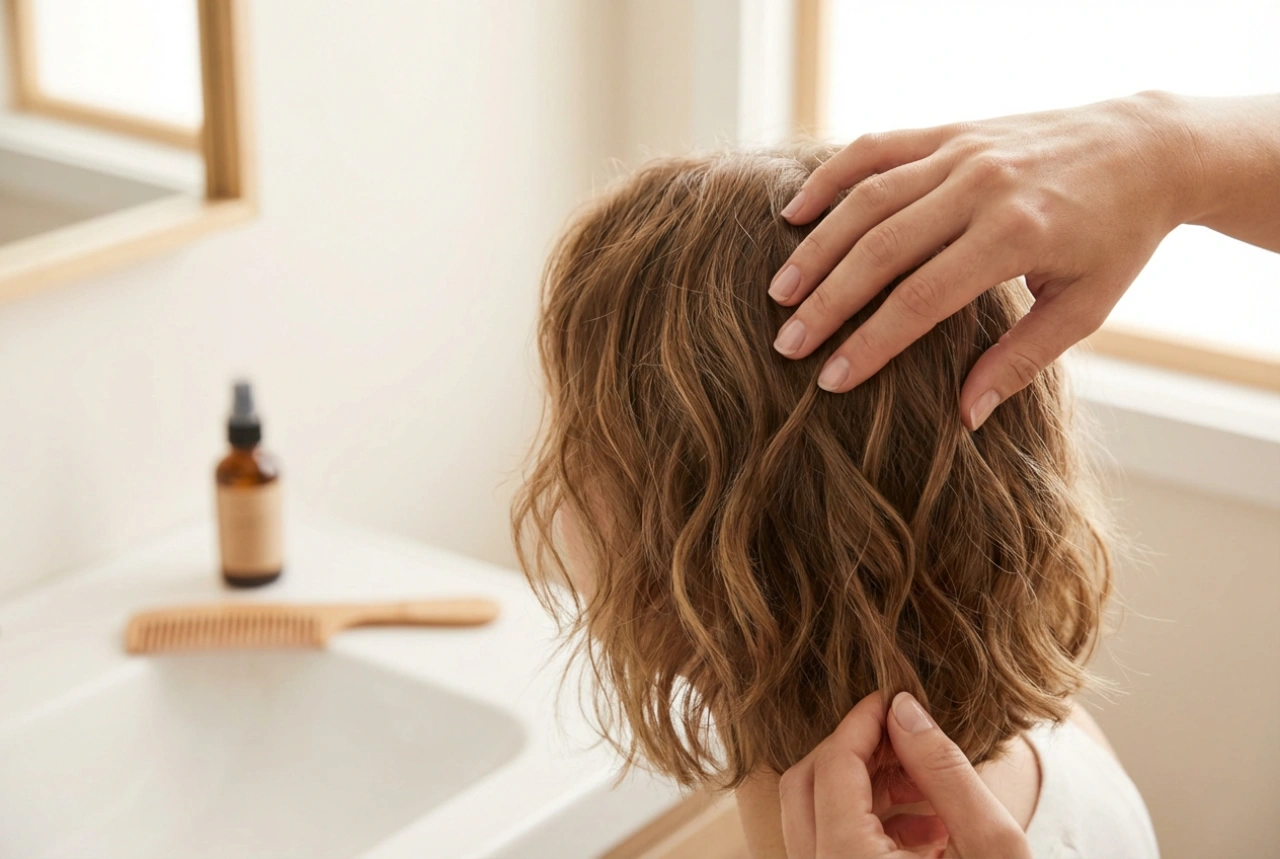
Add Texture and Hold
After your hair has cooled, you can gently run your fingers through the waves to separate them for a softer, more voluminous look. If you prefer a more defined, beachy texture, a light mist of sea salt or texturizing spray can work wonders. To ensure your style lasts all day, finish with a light-hold hairspray, misting it from a distance to avoid a stiff or crunchy feel.