


The allure of the Roaring Twenties is timeless, and nothing captures its glamorous spirit quite like the iconic finger wave hairstyle. Seen on silver screen legends and modern red carpets, these sleek, sculpted 'S' waves exude sophistication and elegance. While they may look intricate, creating them at home is achievable with the right technique and a little patience. This guide will walk you through the classic wet-set method to help you master this beautiful vintage look, perfect for a special event or whenever you wish to add a touch of classic Hollywood glamour to your style.
Preparation is Key: What You'll Need
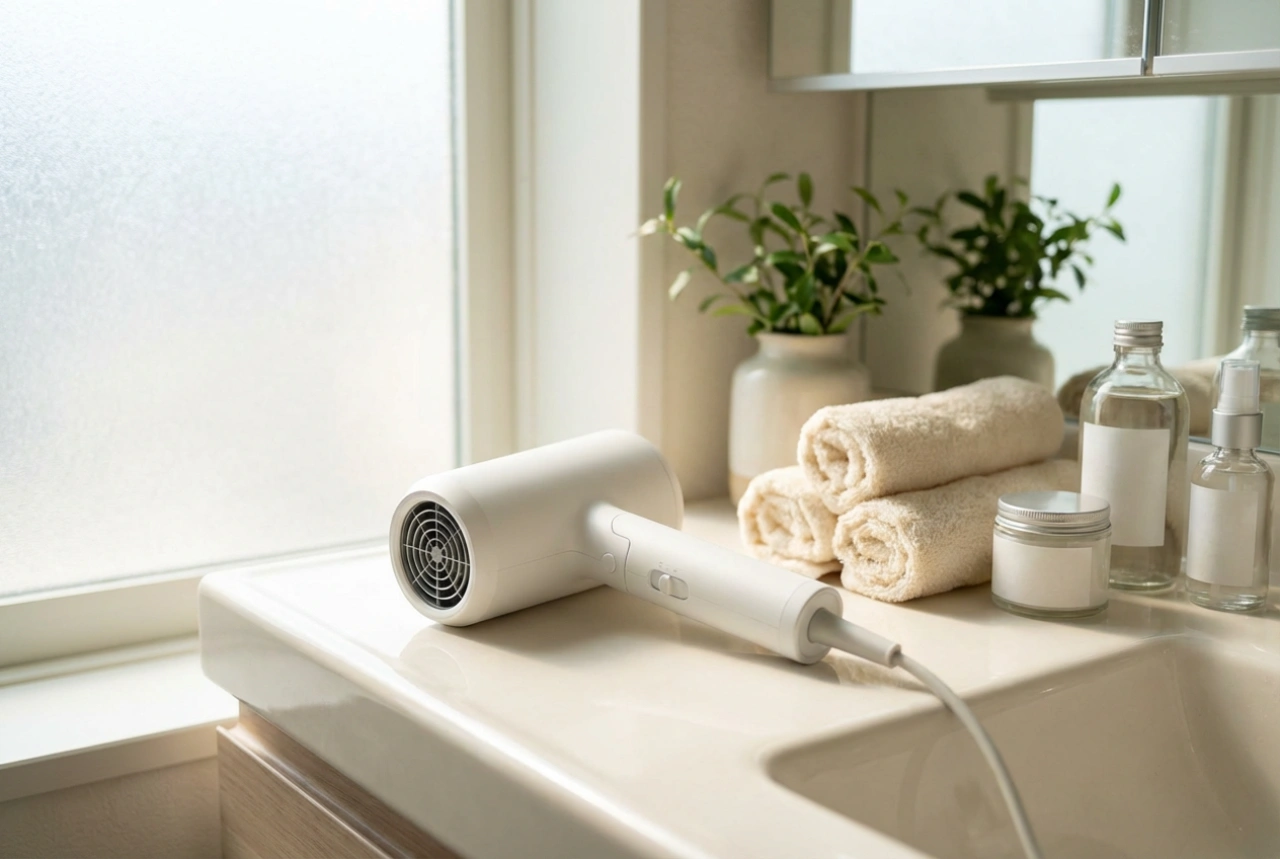
Before you begin sculpting your waves, gathering the correct tools and products is essential for achieving a defined and long-lasting style. A successful outcome depends heavily on having everything ready. Here is what you should have on hand:
- Strong-hold hair gel or setting lotion: This is the most crucial product. A firm-hold gel will provide the structure and control needed to shape the waves and hold them in place as they dry.
- Fine-toothed comb: A comb with fine, closely spaced teeth is necessary for creating sharp, clean ridges and guiding the hair precisely.
- Long, flat hair clips: Often called wave clips or pin curl clips, these are used to hold each wave's ridge in place while the hair sets. Standard bobby pins are not ideal as they can leave unwanted indentations.
- Water spray bottle: Your hair must remain consistently damp throughout the process. A spray bottle allows you to re-moisten any sections that start to dry.
- Strong-hold hairspray: For the final step, a good hairspray will lock in your finished style, add shine, and protect it from humidity.
- A hairnet or silk scarf: This is highly recommended to wear while your hair is drying to prevent frizz and ensure the waves set smoothly without being disturbed.
For best results, start with freshly washed, towel-dried hair. The style holds best on clean hair that is damp but not soaking wet, as this provides the perfect balance of moisture and malleability.
Creating Finger Waves: The Wet-Set Method Step-by-Step
This traditional method uses gel and combs on wet hair to create the signature pattern. It requires patience but delivers the most authentic and defined results. Work in a well-lit area in front of a mirror to see your progress clearly.
Step 1: Prepare Your Hair
Start by creating a deep side parting in your damp hair. Squeeze a generous amount of strong-hold gel or setting lotion into your hands and distribute it evenly throughout the hair you intend to style. Use your fine-toothed comb to work the product from roots to ends, ensuring every strand is fully saturated. The hair should feel slippery and be easy to manipulate.
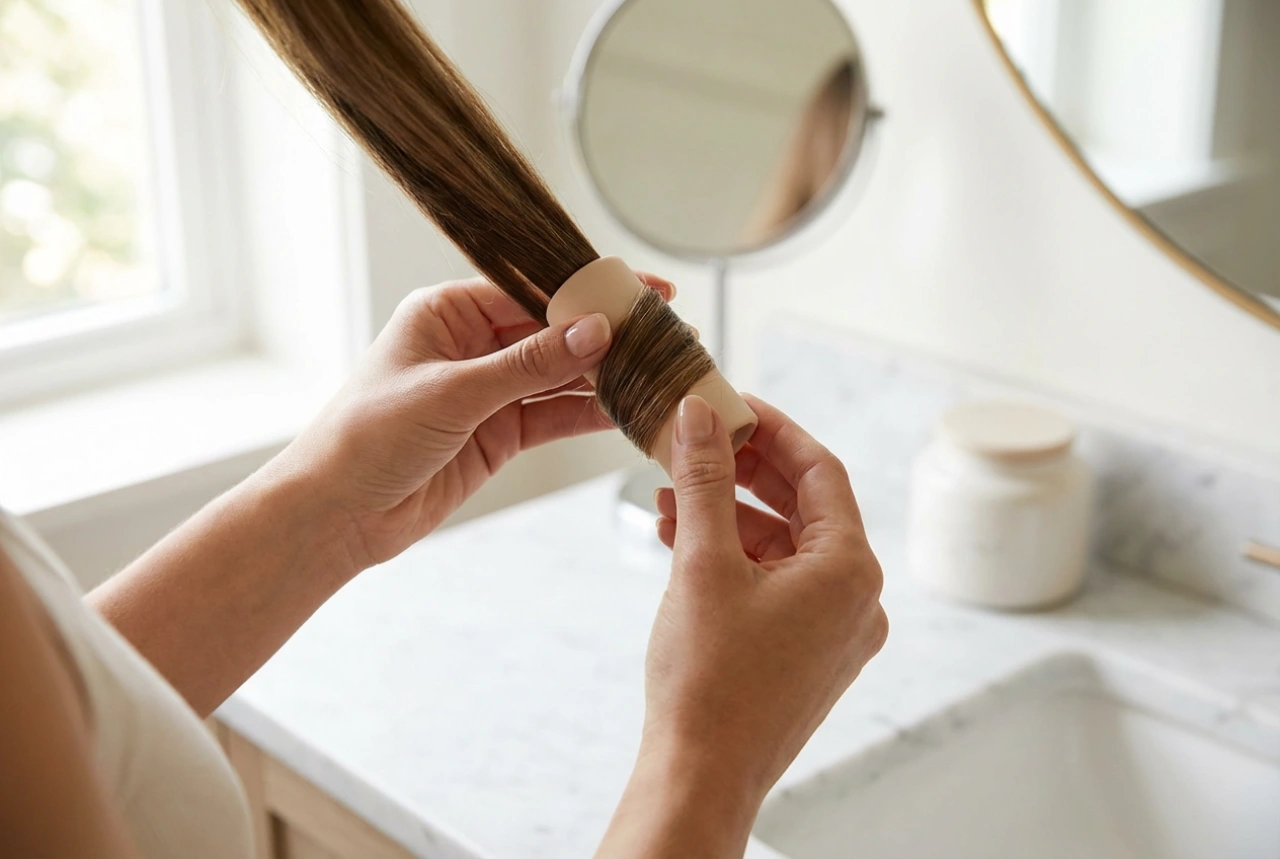
Step 2: Form the First Ridge
Begin on the wider side of your parting, close to the hairline. Place your comb flat against your scalp, about an inch from the parting. With the teeth of the comb pointing downwards, push the section of hair forward towards your face. Hold the comb in place and lay your index finger flat on the head, pressing firmly against the hair just behind the comb. This finger will act as an anchor for the ridge.
Step 3: Sculpt the 'S' Shape
While keeping your index finger pressed firmly, use the comb to draw the hair below your finger back in the opposite direction. You are essentially creating a C-shape with the hair. The ridge of the wave will form right above your finger. Use the comb to smooth this ridge and make it defined. Secure this first wave by sliding a long, flat clip into the groove you've just created, parallel to your finger.
Step 4: Continue Down the Hair Shaft
Move your finger down about an inch below the first clip. Now, you will create the next wave in the opposite direction. Press your finger down and use the comb to push the hair forward again, creating a new ridge. Then, comb the hair below it backwards to complete the next part of the 'S' pattern. Secure this new ridge with another clip. Continue this alternating pattern—pushing and combing in opposite directions—down the length of the hair section, placing a clip in the hollow of each wave.
Setting and Finishing Your 1920s Look
Once all your hair is sculpted and clipped into place, the drying and finishing process is crucial for a polished, lasting style.
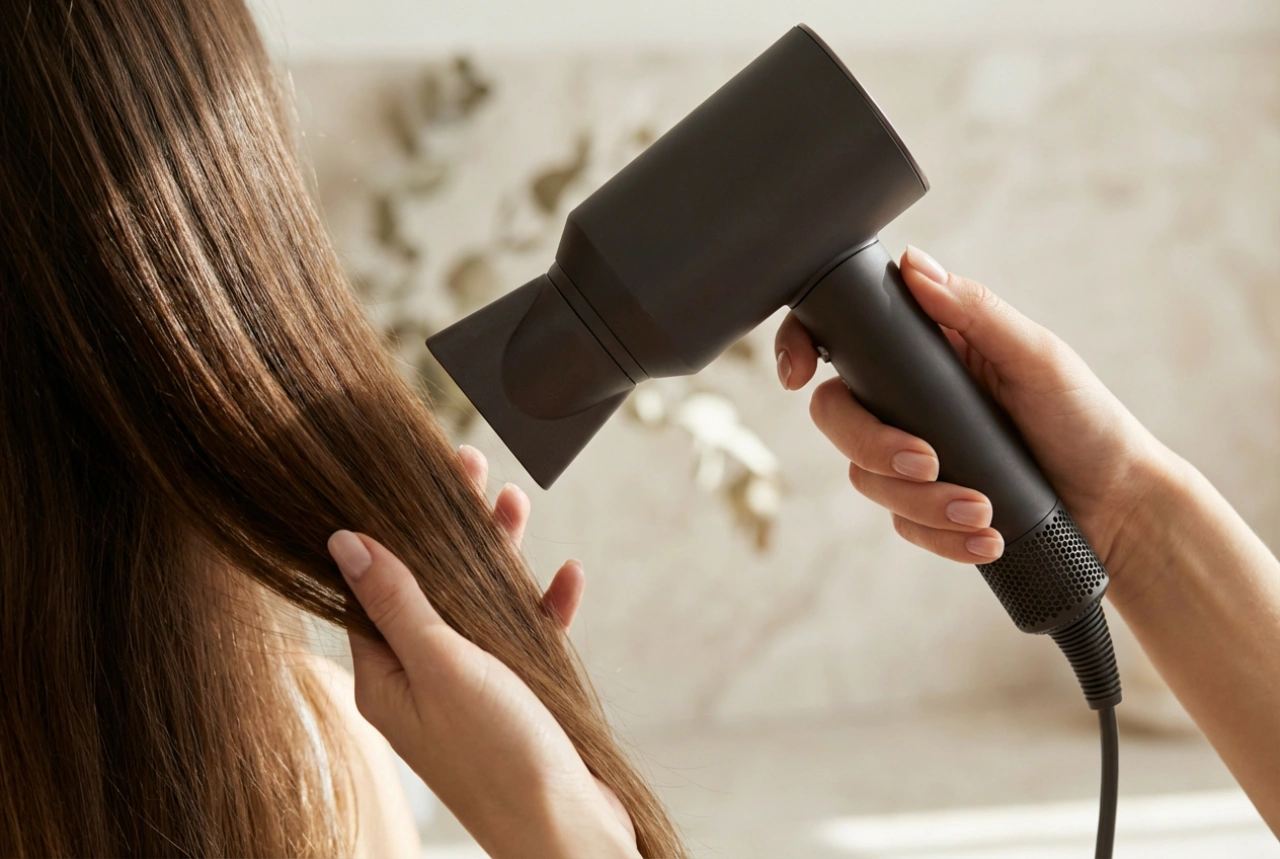
Drying Your Waves
The most important rule is that your hair must be 100% dry before you remove the clips. Any remaining moisture will cause the waves to fall out. The best method is to let it air dry. To protect the style and minimise frizz while it dries, carefully place a hairnet over your head. This can take several hours, so plan accordingly. If you are short on time, you can sit under a hooded dryer on a low heat and low airflow setting. Avoid using a standard handheld hairdryer, as the powerful airflow will blow the waves out of shape.
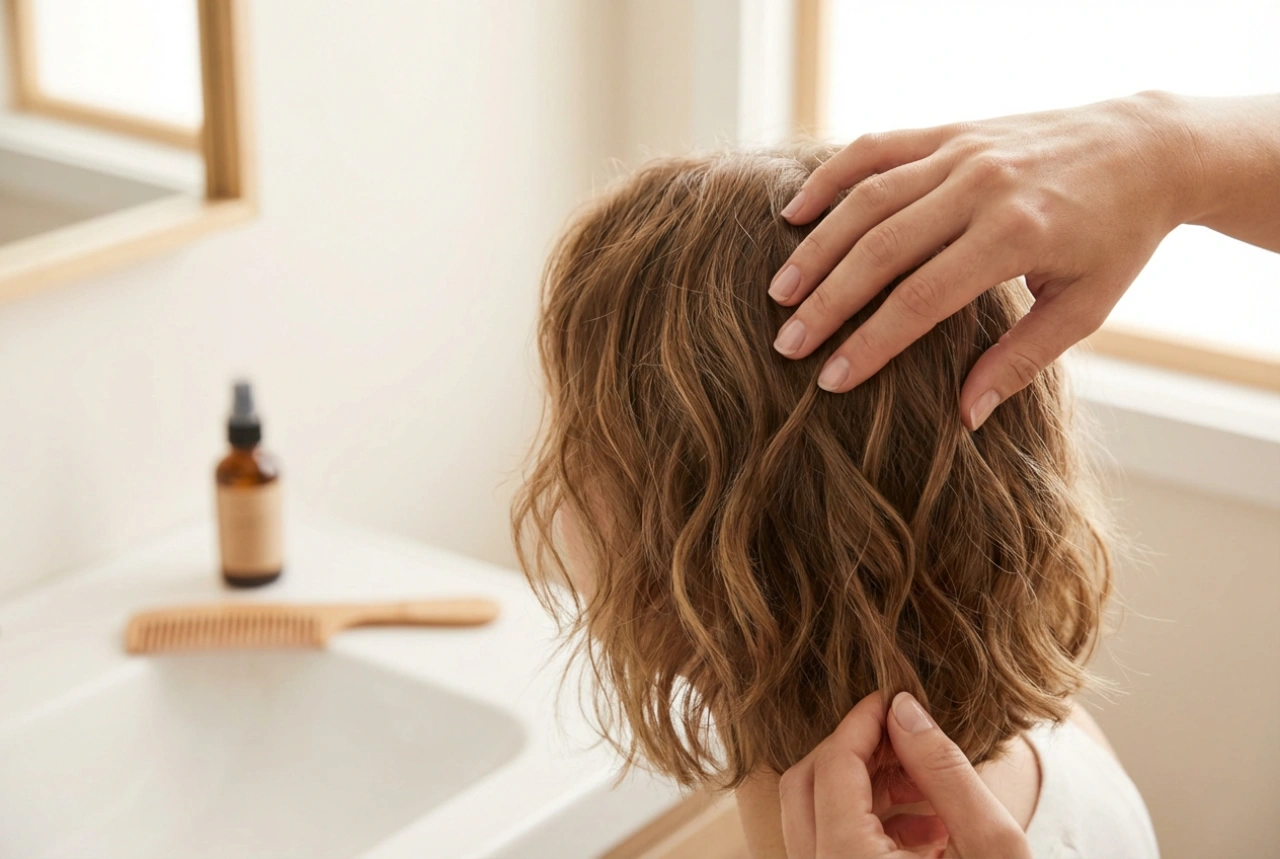
The Final Touches
Once you are certain your hair is completely bone-dry, gently and carefully remove each clip. Your waves will be stiff and very defined. Do not brush them! Brushing will destroy the pattern. If you want to soften the look slightly, you can gently use your fingers to separate the ridges, but for an authentic look, it's best to leave them as they are. To complete the style, mist your entire head with a strong-hold hairspray. This will provide a glossy finish and ensure your glamorous waves last all day or night.
Extra Tips for a Flawless Finish
Keep these pointers in mind to help you perfect your finger wave technique:
- The more product you use, the crisper and more durable your waves will be. Don't be shy with the gel.
- Precision is key. Use the fine teeth of your comb to create sharp, well-defined lines.
- This hairstyle takes practice. Your first attempt might not be perfect, but each try will improve your technique.
- For a modern interpretation, you can apply finger waves only to the front sections of your hair around the face, leaving the back styled in a low bun, chignon, or soft curls.
- This technique generally works best on short to medium-length hair that is naturally straight or has a slight wave.