


Creating your own hairstyle for your wedding day is a deeply personal and rewarding experience. It allows you to craft a look that perfectly reflects your style in the comfort of your own home. With careful preparation and the right techniques, you can achieve a sophisticated and durable updo, reminiscent of the delicate braids and elegant details one might see in a professionally styled look. This guide will walk you through the process, from initial hair care to the final spritz of hairspray, ensuring you look and feel your best.
Preparing Your Hair for the Big Day
The foundation of any great hairstyle is healthy, well-prepared hair. Your bridal hair preparation should begin several weeks before the wedding. Focus on a consistent care routine to get your hair into its best possible condition. This is not the time to experiment with new, drastic colour changes or treatments, as you want to avoid any unexpected results. Instead, concentrate on nourishment and maintaining your hair's health.
Weeks Before
Start a weekly deep conditioning treatment to improve texture and shine. If you get regular trims, schedule your final one about two to three weeks before the wedding to ensure your ends are healthy but the hair has had time to settle. Drink plenty of water and maintain a balanced diet, as hair health also comes from within.
The Day Before
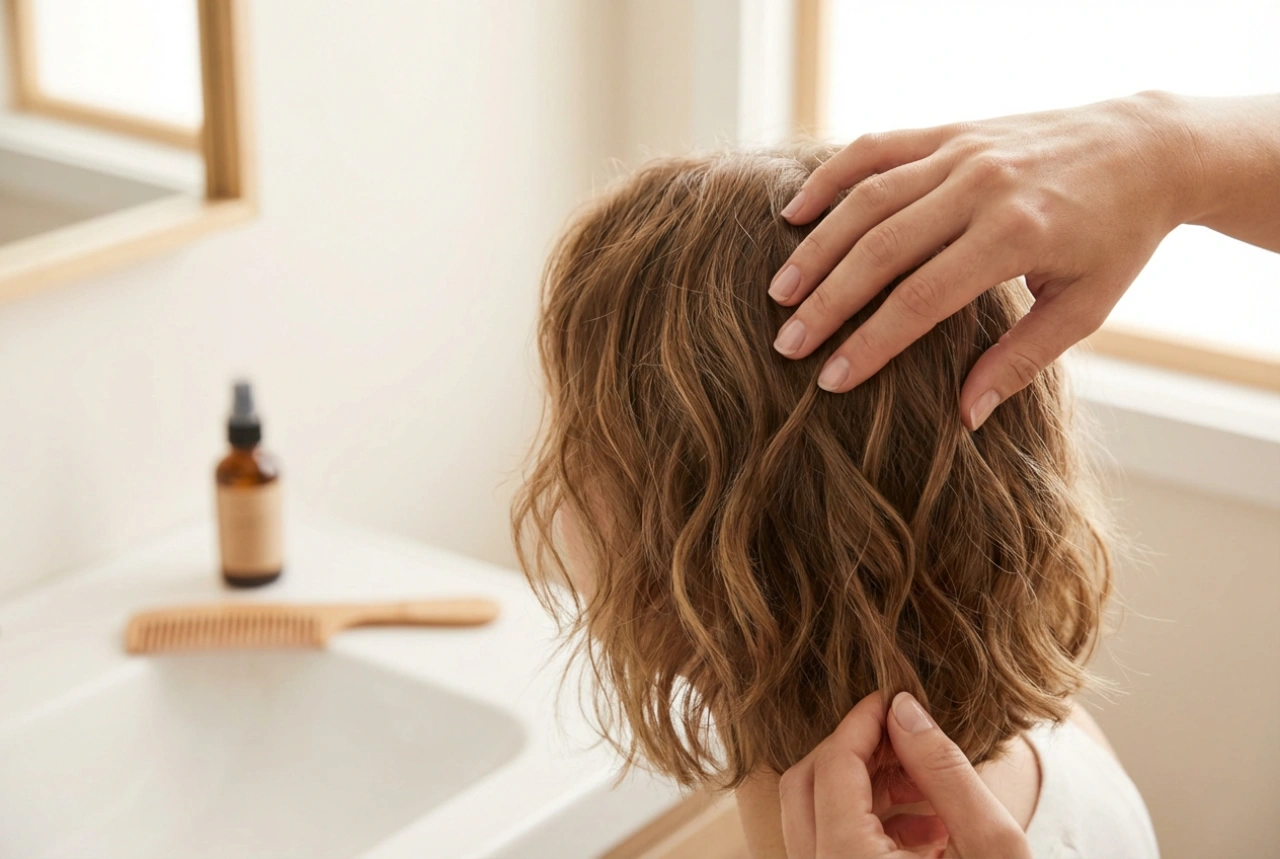
It's a common misconception that hair should be freshly washed on the day of styling. In fact, hair that is washed the day before often holds a style much better. The natural oils provide a bit of grip and texture, making it less slippery and easier to work with. Wash your hair with a gentle shampoo and a nourishing conditioner. Avoid heavy masks or oily serums on this final wash, as they can weigh the hair down. Blow-dry your hair completely, perhaps using a volumising mousse at the roots to create a good base for the next day's styling.
Essential Tools and Products
Gathering all your tools and products in one place before you begin will make the styling process smooth and stress-free. You don't need a professional-level kit, but a few key items will make a significant difference to the finish and longevity of your style.
- Heat Protectant Spray: An absolute must if you plan to use any heat styling tools like curling wands or straighteners.
- Volumising Mousse or Texturising Spray: These products are crucial for adding body and grip, making your hair easier to shape and pin.
- Strong-Hold Hairspray: Choose a quality hairspray that offers firm but flexible hold without making your hair feel stiff or sticky.
- Bobby Pins and U-Pins: Have a variety of sizes. Bobby pins are for securing sections, while U-pins are great for tucking in looser strands without disrupting the shape.
- Hair Elastics: Clear or colour-matched elastics are best for creating ponytails or sections without being visible.
- Brushes and Combs: A paddle brush for smoothing, a teasing comb for adding volume at the crown, and a pintail comb for creating clean sections.
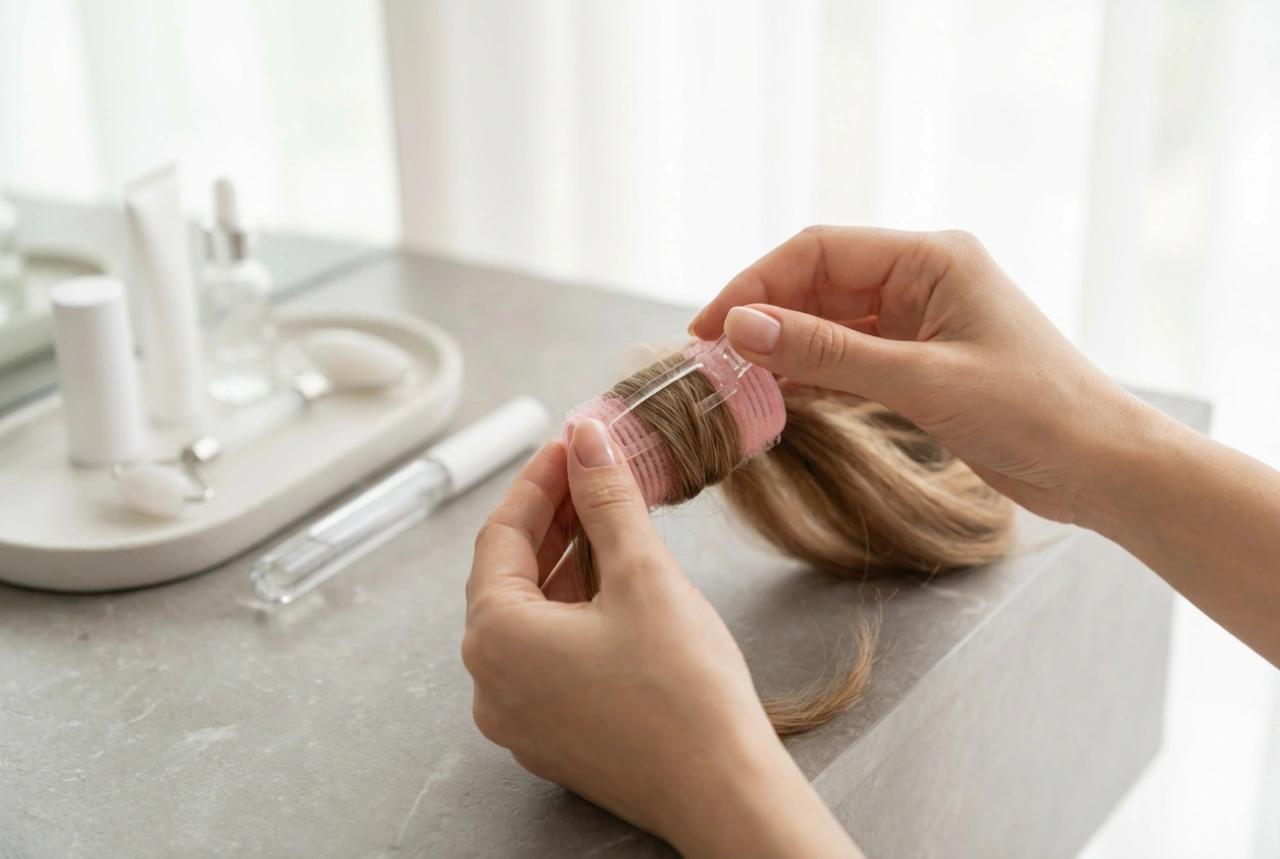
- Decorative Accessories: This includes any clips, pins, combs, fresh or artificial flowers, or ribbons you wish to incorporate into your look.
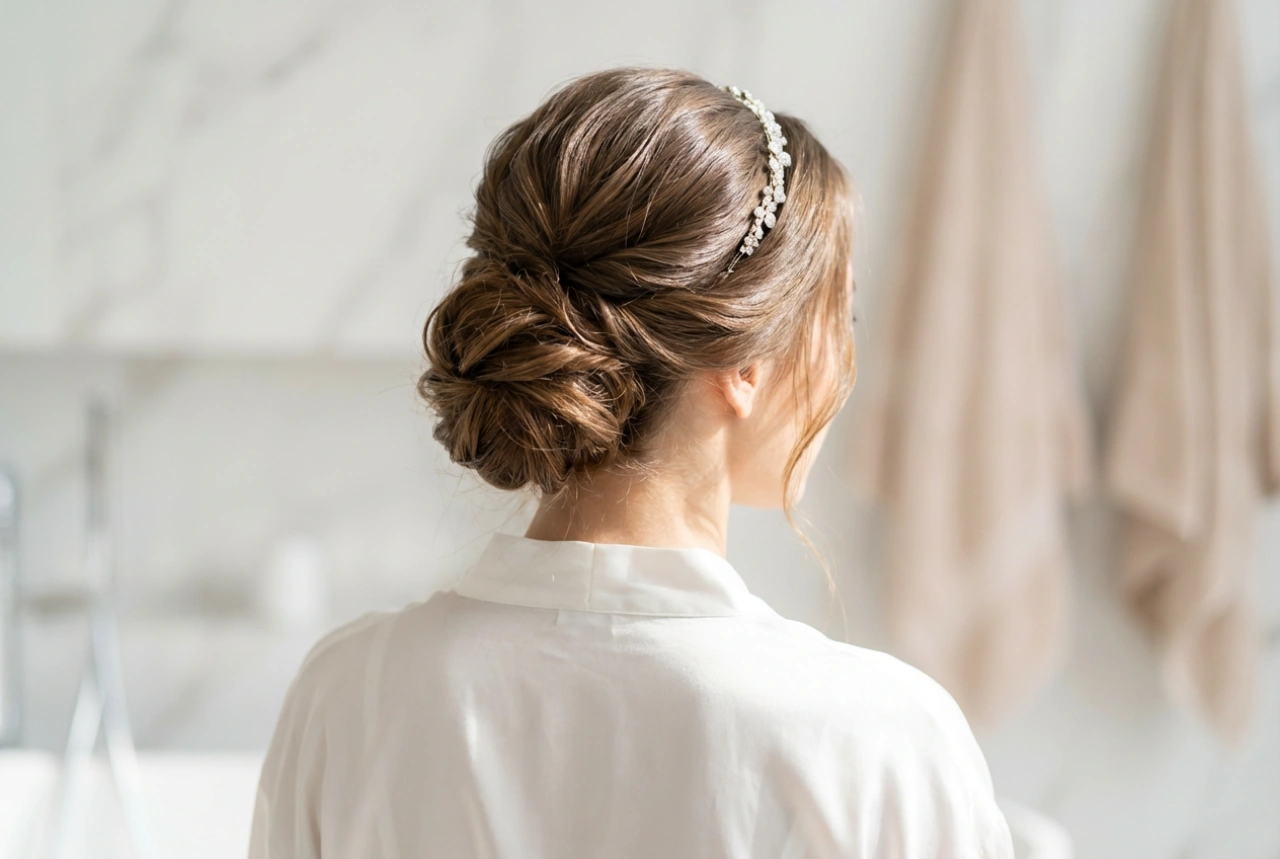
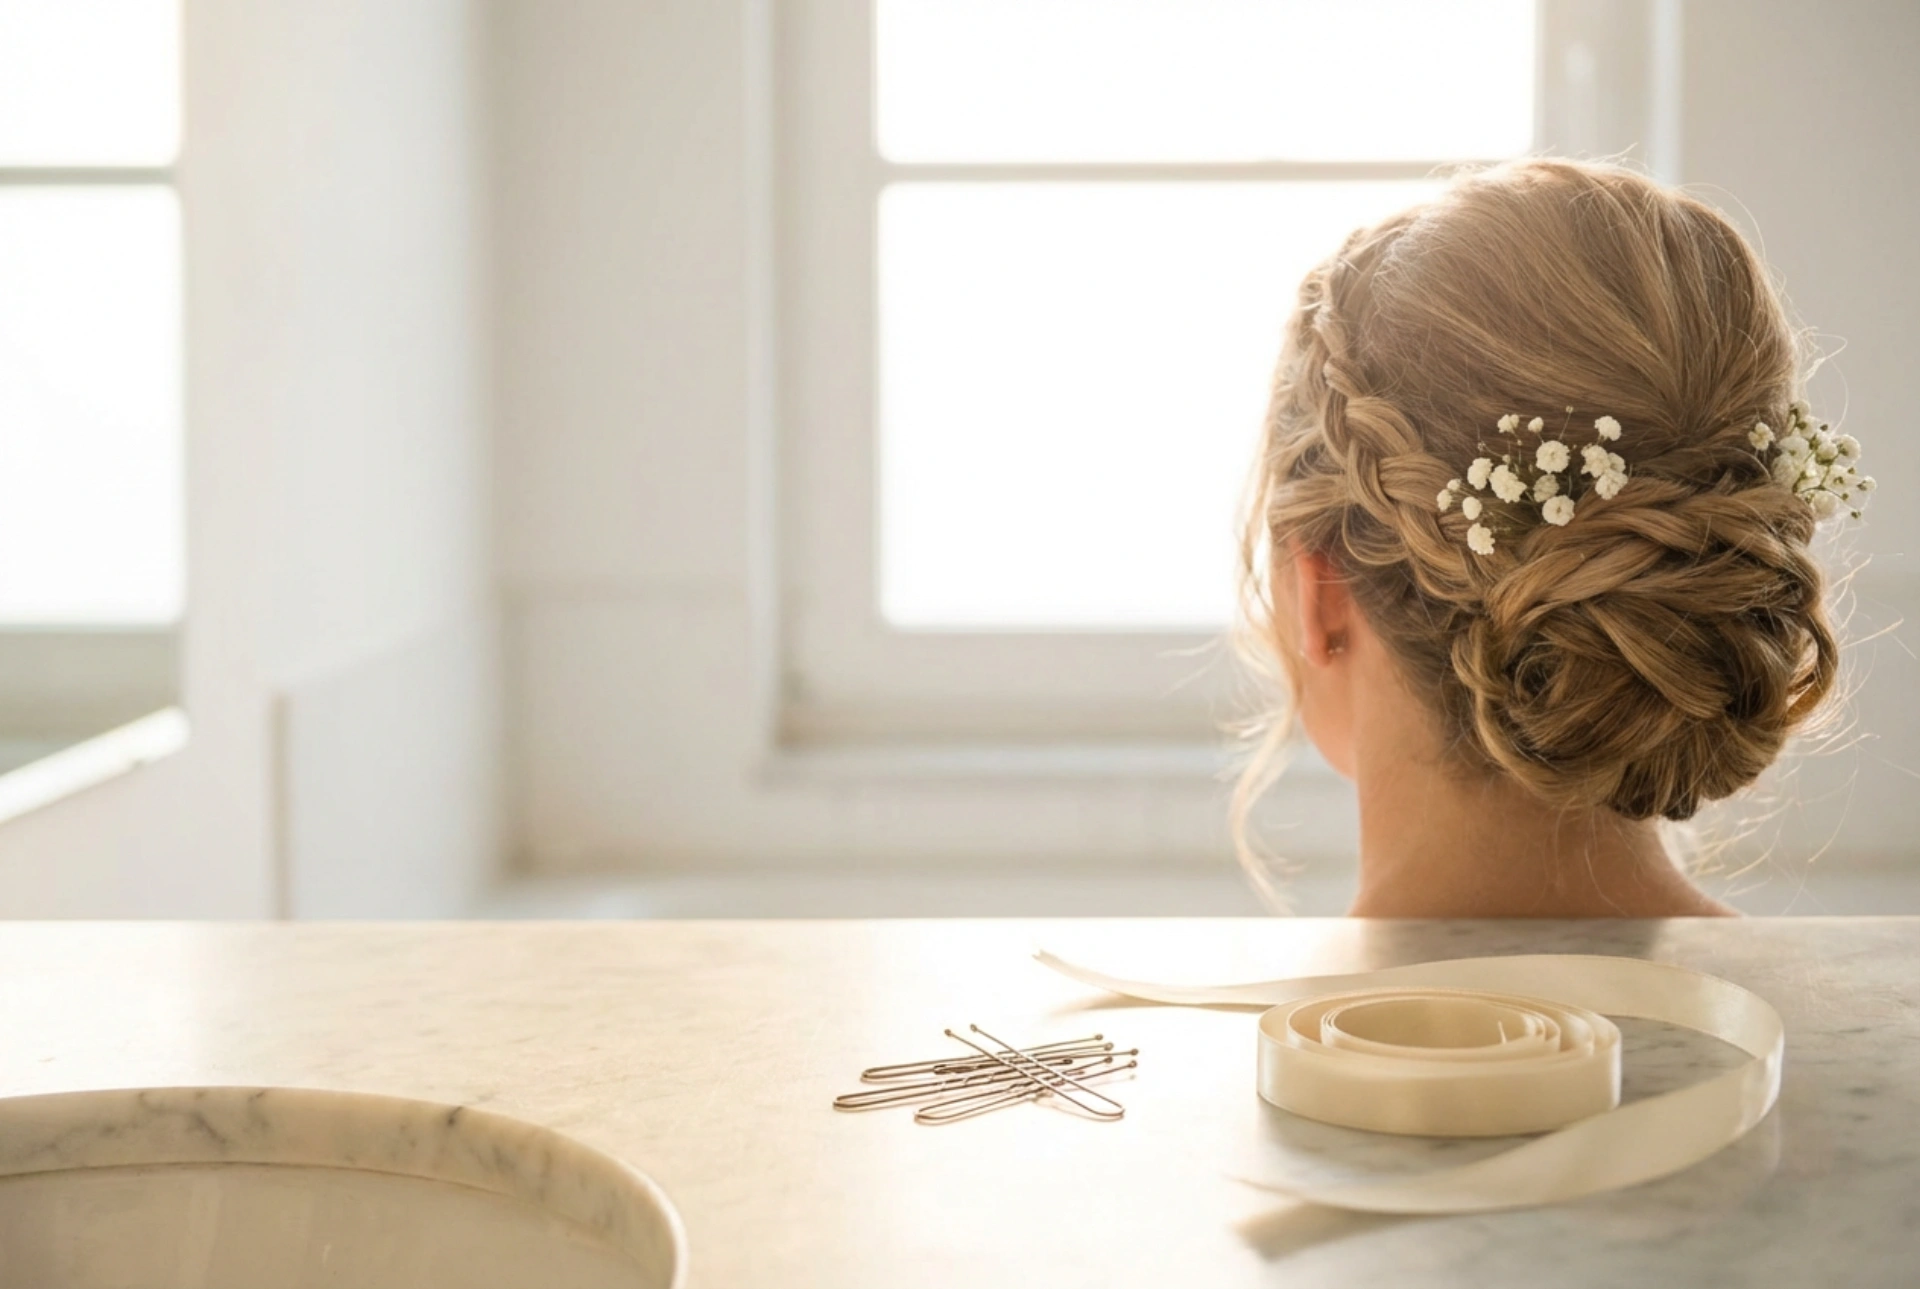
A Step-by-Step Guide to a Simple, Elegant Updo
Practice is key. Try out your chosen hairstyle at least twice before the wedding day to build confidence and refine your technique. A classic chignon or a soft, braided updo are beautiful and achievable options for a DIY bride.
Step 1: Create a Textured Base
Start with your dry, day-old hair. If your hair is very straight, you may want to add some texture. Use a curling wand to create loose waves throughout your hair. This isn't for a curly look, but rather to give the hair movement and make it easier to pin. Spray a light mist of texturising spray all over.
Step 2: Section Your Hair
Use your pintail comb to create three main sections: a large section at the back from the crown down, and two smaller sections on either side at the front. Temporarily clip the front sections out of the way.
Step 3: Build the Foundation
Take the large back section and create a low ponytail, securing it with a hair elastic. For a softer look, leave a bit of slack at the base. Gently tease the ponytail to add volume. Now, twist or braid the ponytail, wrap it around the elastic to form a bun, and secure it firmly with bobby pins. This bun will be the anchor for the rest of your updo.
Step 4: Incorporate the Side Sections
Unclip one of the front sections. You can either loosely twist it, create a soft braid, or simply smooth it back. Drape this section back towards the bun, wrapping it around the base and securing the ends with bobby pins, tucking them into the bun so they are hidden. Repeat on the other side. This method creates a soft, romantic frame around the face.
Ensuring All-Day Durability
Once you are happy with the shape of your updo, the final step is to lock it in place. The secret to a long-lasting style is a methodical application of products and pins. When placing bobby pins, try to create an 'X' shape with two pins for an extra-secure hold. Make sure the pins are pushed in against the scalp. Once all the hair is secured, give your entire head a generous misting of strong-hold hairspray. Hold the can about 30 centimetres away to ensure an even, fine mist rather than a concentrated, wet patch. A final spritz of shine spray can add a beautiful, healthy-looking finish without weighing the hair down.