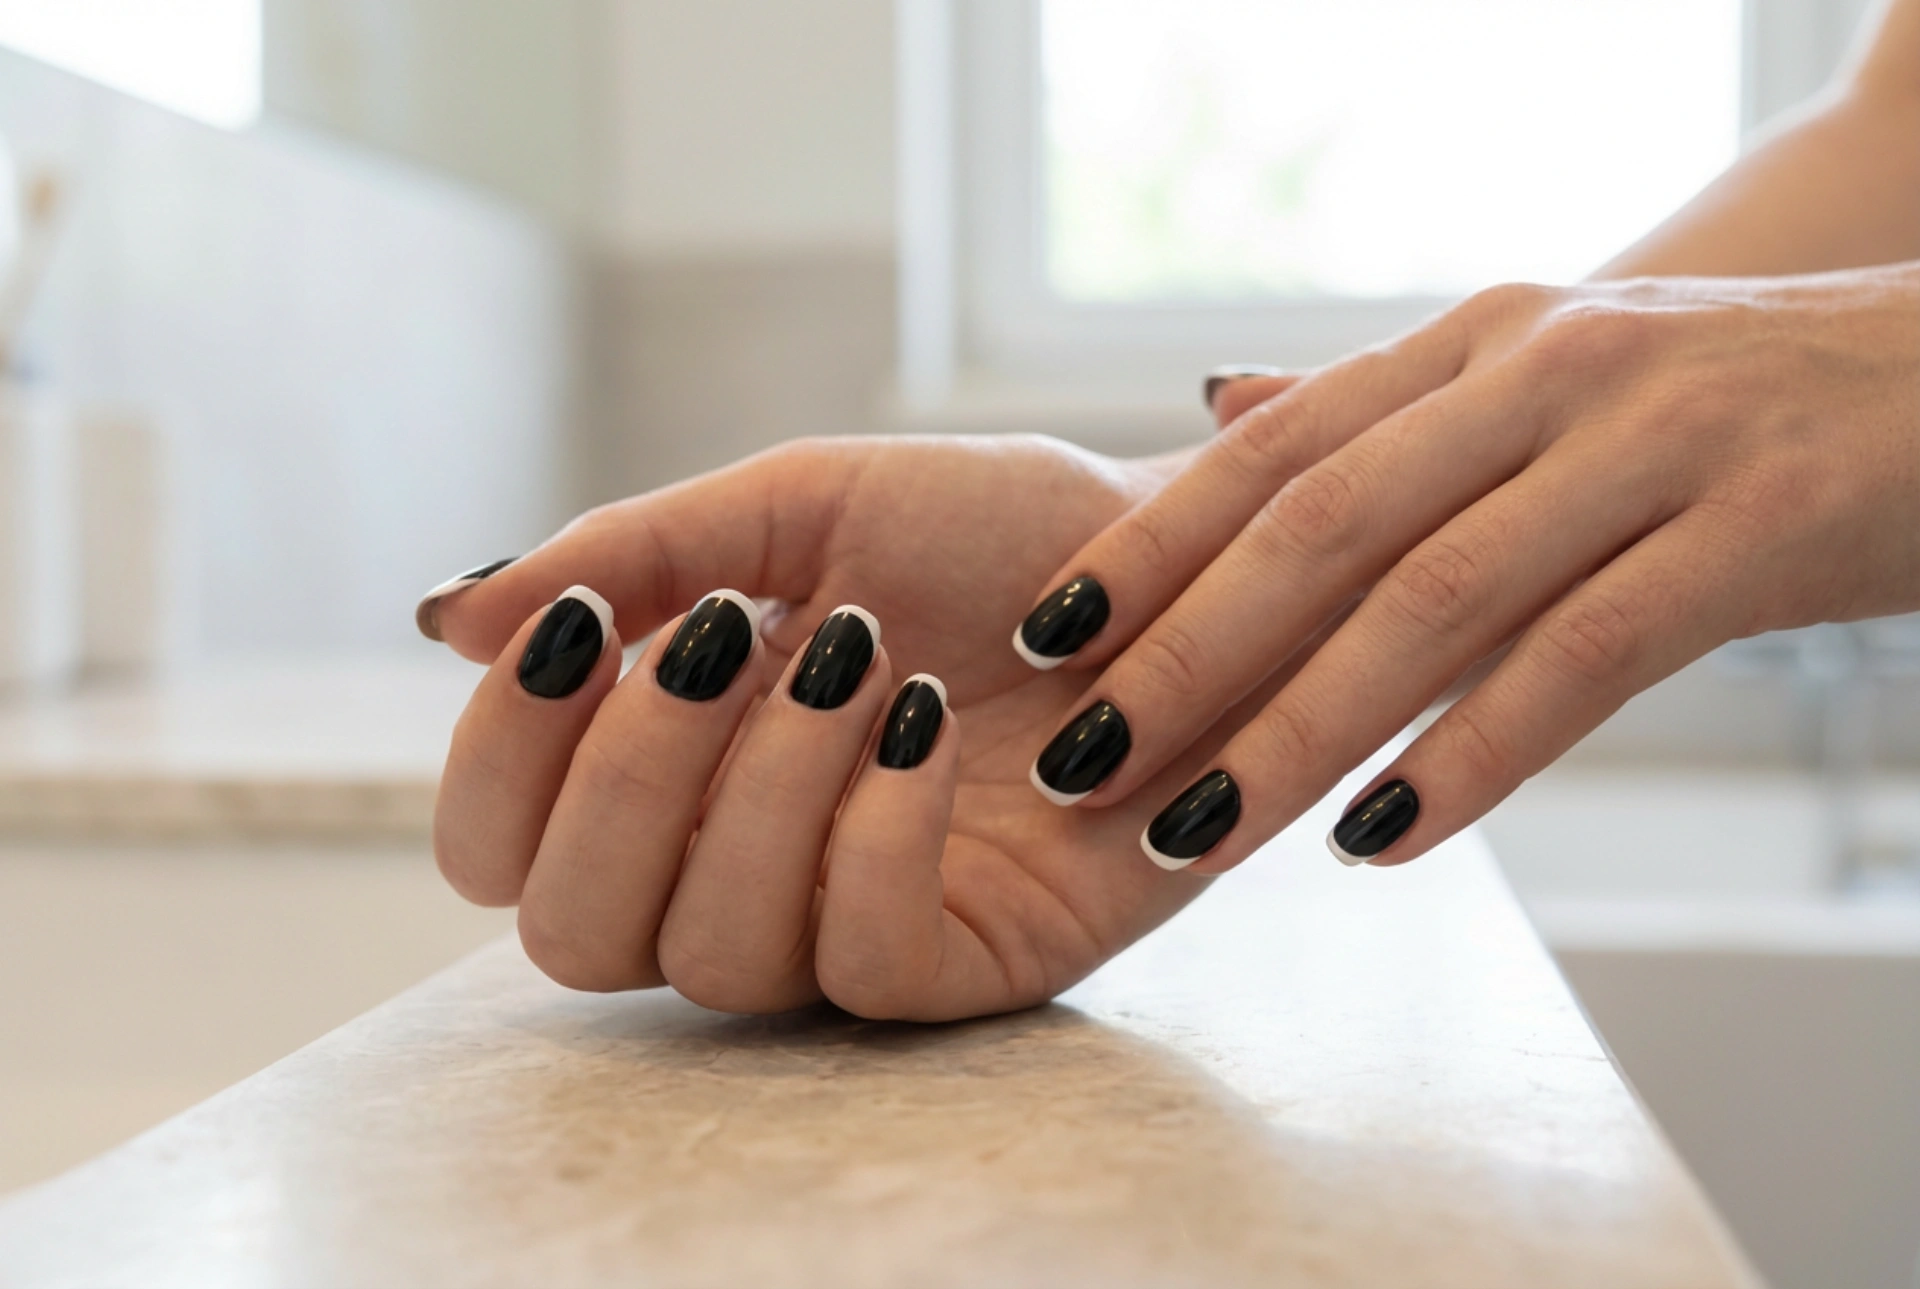


The French manicure is a timeless symbol of elegance, but modern variations offer a chance to express a more contemporary style. A particularly striking twist is the black and white French manicure, which swaps the traditional nude base for a bold, glossy black, and is finished with a crisp white tip. This sophisticated design creates a dramatic contrast that is both chic and versatile. Achieving those perfect, clean arcs can seem challenging, but with the right preparation and techniques, you can create a flawless look at home.
Preparation: The Foundation for a Flawless Manicure
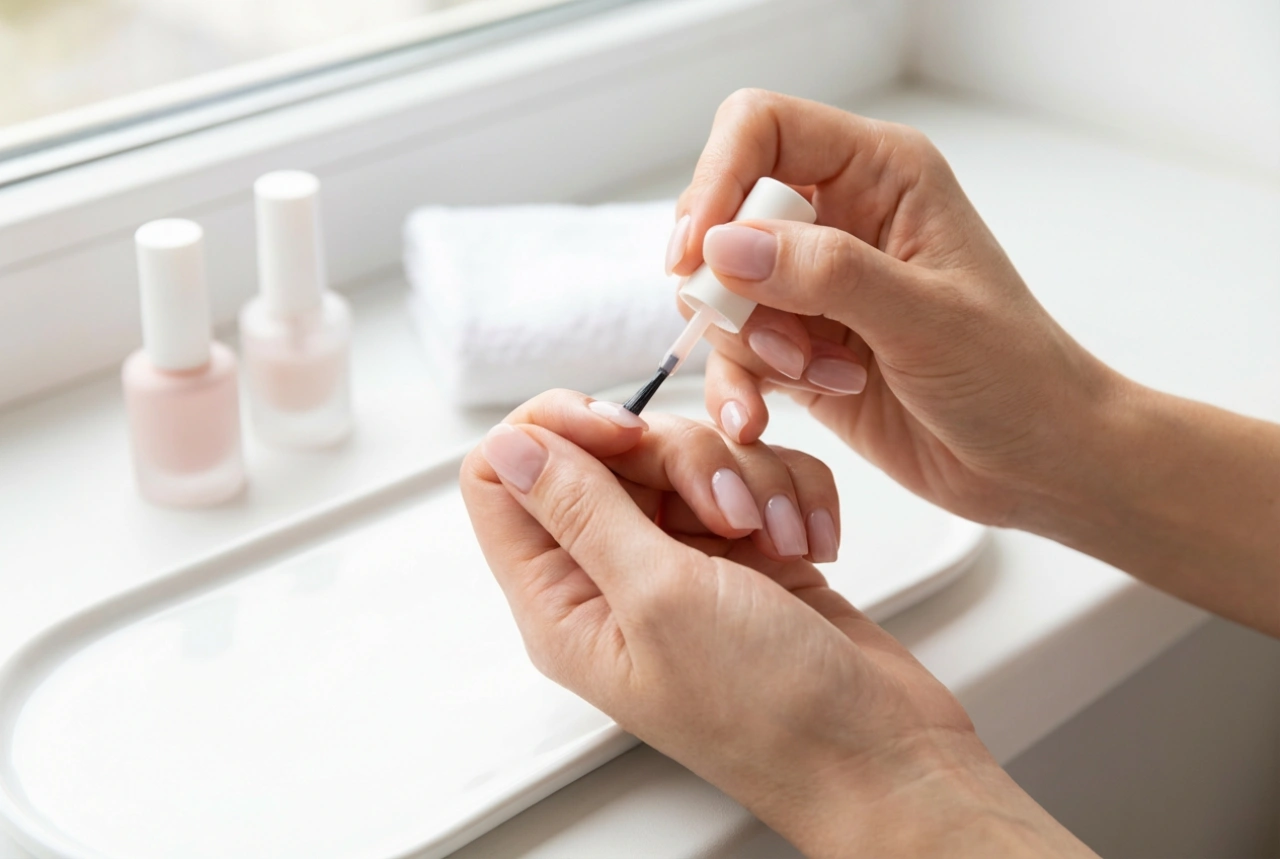
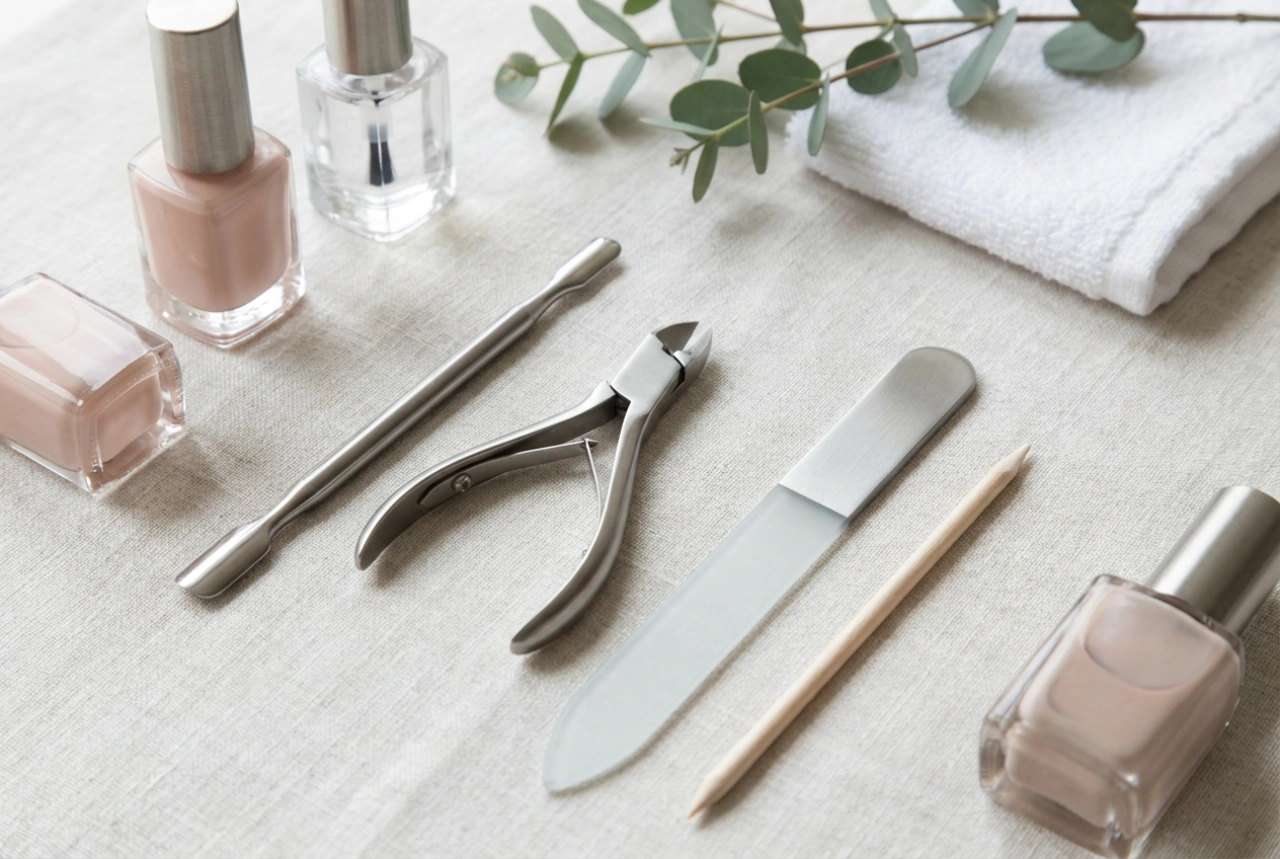
Before you even think about polish, proper nail preparation is crucial for a long-lasting and professional-looking result. A clean canvas ensures the polish adheres smoothly and evenly.
- Clean and Shape: Start by removing any old nail polish. Wash your hands and gently scrub your nails. Next, file your nails to your desired shape—almond, square, or oval shapes all work beautifully with this design. Ensure all nails are of a uniform length and shape.
- Cuticle Care: Gently push back your cuticles using a cuticle pusher or an orangewood stick. Avoid cutting them, as this can lead to irritation. Proper cuticle care creates a larger, cleaner nail surface for polishing.
- Buff the Surface: Lightly buff the surface of your nails with a soft buffer block. This removes natural oils and creates a slightly textured surface, helping the polish to grip better. Wipe away any dust with a lint-free cloth.
Applying the Bold Black Base
The intensity of the black base is key to this design's impact. Rushing this stage can lead to a streaky or uneven finish, so patience is essential.
Step 1: The Protective Base Coat
Always begin with a clear base coat. This step is non-negotiable for two reasons: it prevents the dark pigment from staining your natural nails, and it provides a smooth foundation for the colour to adhere to. Apply one thin layer and let it dry completely.
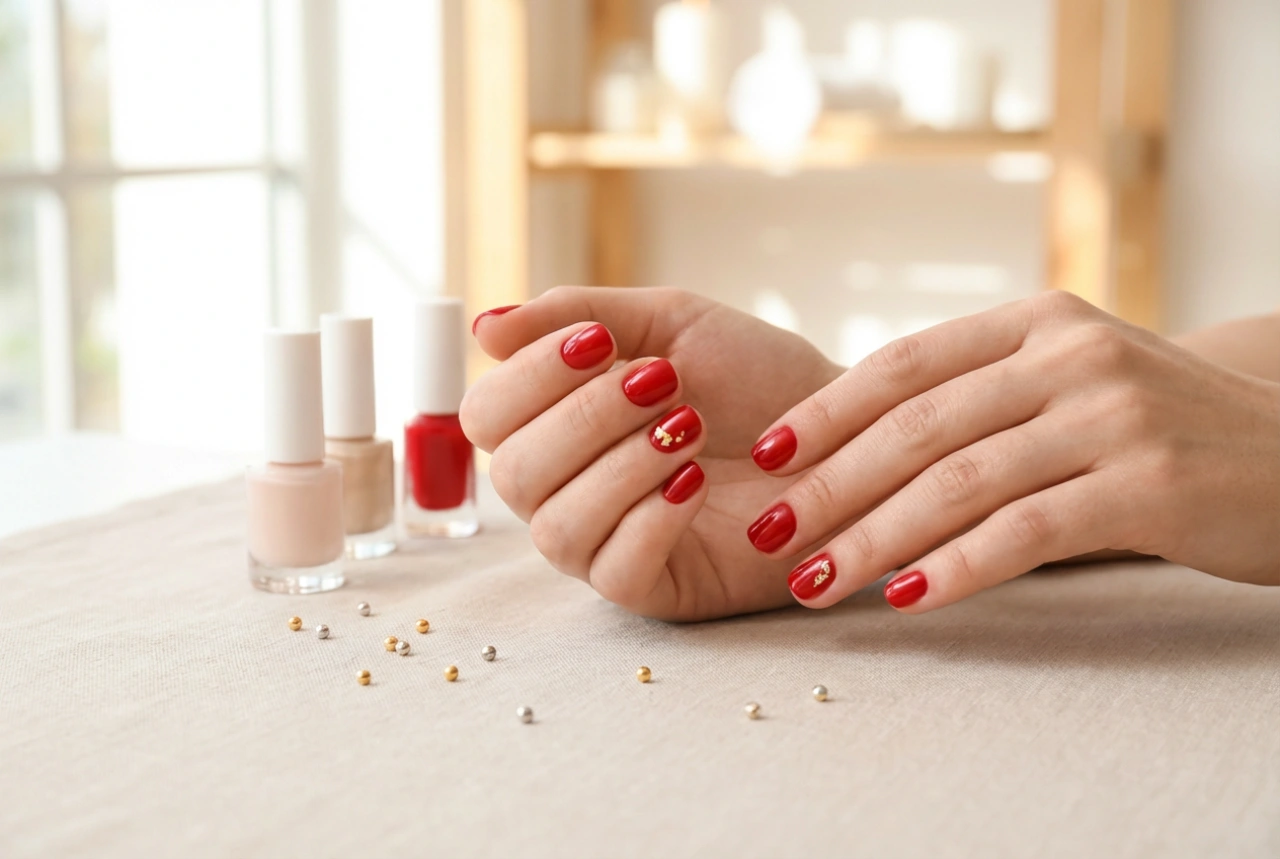
Step 2: Building the Opaque Black Colour
Choose a high-quality, opaque black nail polish. Apply the first coat in thin, even strokes, starting from the base of the nail and moving towards the tip. Don't worry if the first coat looks a bit sheer; two thin coats are always better than one thick, goopy one. Let the first coat dry for at least two to three minutes before applying the second. The second coat should provide full, rich coverage. Allow the black polish to dry thoroughly before moving on to the tips—this can take 10-15 minutes.
Creating the Crisp White Arcs
This is the most detailed part of the process, but several methods can help you achieve a clean, curved line. Choose the one that best suits your skill level and confidence.
Method 1: Using Nail Art Guides
For beginners, adhesive French manicure guides are a fantastic tool. Once your black polish is completely dry, place the curved sticker just below where you want the white tip to begin. Press it down firmly to prevent any polish from seeping underneath. Paint the tip of your nail with an opaque white polish. Apply one or two thin coats as needed. Carefully remove the guide while the white polish is still slightly wet to ensure a crisp line. Wait for the tips to dry before proceeding.
Method 2: Freehand with a Thin Brush
If you have a steady hand, the freehand method offers more control. Use a very thin nail art brush or the nail polish brush itself if it's fine enough. Start by painting a thin white line across the tip of the nail. Then, use the fine brush to create the curve, painting from each side of the nail and sweeping inwards to meet in the middle. Clean up any imperfections with a small brush dipped in nail polish remover.
Method 3: The Silicone Stamper Hack
A popular and easy method involves a clear silicone nail stamper. Paint a small amount of white polish directly onto the stamper's surface. Gently and slowly press the tip of your nail into the polish on the stamper at a 45-degree angle. The flexible silicone will curve around your nail tip, creating a perfect French arc. This technique may require a little practice to get the angle and pressure right, but it's one of the quickest ways to get consistent results.
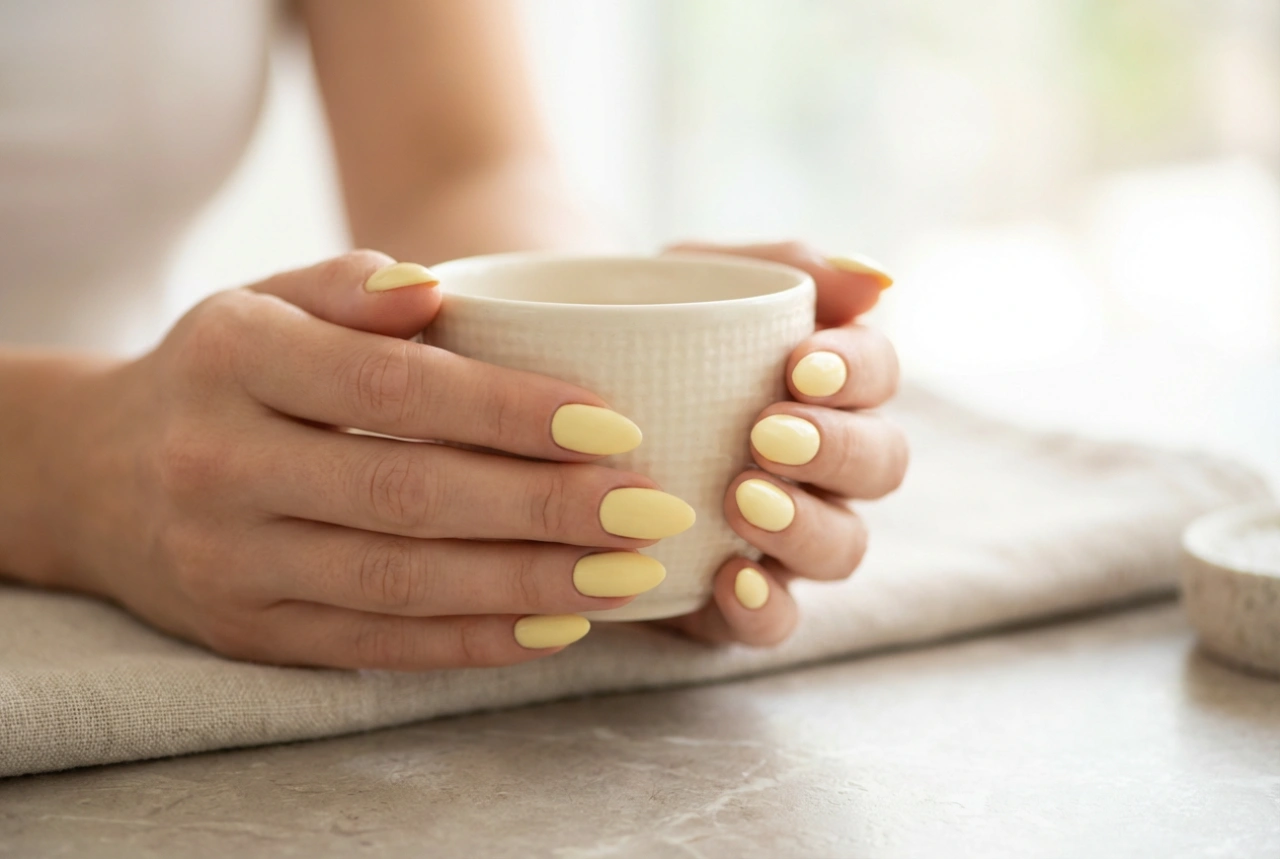
Finishing Touches and Aftercare
The final step is to seal your design and ensure it lasts. A good top coat not only protects your manicure from chipping but also adds a beautiful, high-gloss shine that enhances the contrast between the black and white.
- Apply a Top Coat: Once the white tips are dry to the touch, apply a generous layer of a quick-drying, high-shine top coat over the entire nail. Be sure to 'cap' the free edge of the nail by running the brush along the tip to seal the polish and prevent chipping.
- Clean Up Edges: For a truly professional finish, dip a small, flat brush or a cotton bud in nail polish remover and carefully clean up any polish that may have gotten onto the skin around your nails.
- Nourish and Hydrate: Once your manicure is completely dry, apply cuticle oil to the skin around your nails and finish with a hydrating hand cream. This will keep your cuticles and hands looking healthy and beautiful, perfectly complementing your new manicure.