


The desire for smooth, well-cared-for feet is universal. Rough skin and calluses can be uncomfortable and affect our confidence, especially during sandal season. At-home foot peels, often in the form of exfoliating masks or booties, have become a popular solution for achieving baby-soft skin. These products use gentle acids to encourage the shedding of dead skin layers, revealing fresh, smooth skin underneath. However, to achieve the best results and avoid irritation, it's crucial to use them correctly. Understanding the common pitfalls can make the difference between a successful treatment and a disappointing experience.
Why Exfoliate Your Feet?
Our feet endure a lot of pressure and friction daily, leading to a build-up of hard, dead skin, particularly on the heels and balls of the feet. This build-up, known as calluses, can become thick and even crack if left unattended. Regular exfoliation helps to manage this process. It not only improves the appearance and texture of the skin but also enhances the effectiveness of moisturisers. By removing the barrier of dead cells, hydrating creams and lotions can penetrate more deeply, keeping the skin supple and healthy. A deep exfoliation, such as a foot peel, can reset the skin, making subsequent maintenance much easier.
Common Mistakes When Using Foot Peels
While seemingly straightforward, several common errors can compromise the effectiveness of a foot peel or even cause skin issues. Avoiding these is key to a safe and successful outcome.
Mistake 1: Improper Skin Preparation
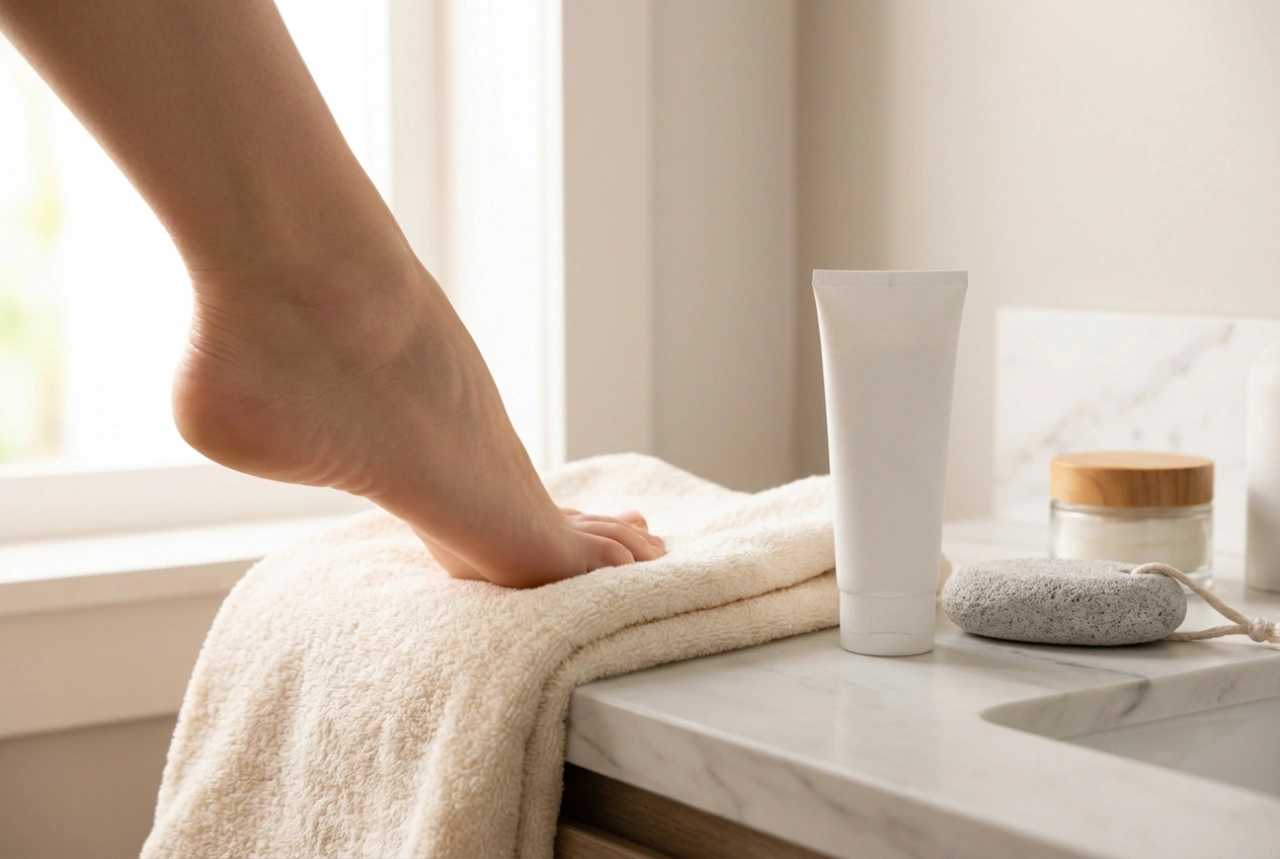
One of the most frequent mistakes is applying the peel to dry, unprepared feet. For the active ingredients in the peel to work effectively, the skin needs to be softened first. Applying a peel directly to hard, dry calluses may result in an uneven or incomplete peel. Before using the exfoliating booties, it's essential to wash and soak your feet in warm water for at least 15-20 minutes. This simple step softens the tough outer layers of skin, allowing the exfoliating solution to penetrate more evenly and work more efficiently.
Mistake 2: Forcibly Peeling the Skin
Patience is a virtue, especially when it comes to foot peels. The shedding process does not happen immediately; it typically begins 3 to 7 days after the treatment. During this time, the skin on your feet will start to flake and peel. It can be incredibly tempting to pick, pull, or scrub at the shedding skin to speed up the process. However, this is a significant mistake. The skin underneath is new and delicate. Forcibly removing the dead skin before it's ready to detach can tear the healthy new skin, leading to soreness, redness, and even potential entry points for bacteria. It's vital to let the skin shed naturally.
Mistake 3: Using Peels Too Frequently
More is not always better. The powerful exfoliating agents in foot peels are designed for occasional, not frequent, use. Using them too often can lead to over-exfoliation, stripping the skin of its natural protective barrier. This can cause severe irritation, sensitivity, and dryness, making the skin more vulnerable to damage. Always follow the manufacturer's instructions regarding the frequency of use. Most recommend waiting at least 4-6 weeks, or even longer, between treatments to allow your skin to fully recover and regenerate.
Mistake 4: Not Moisturising After the Peeling Process
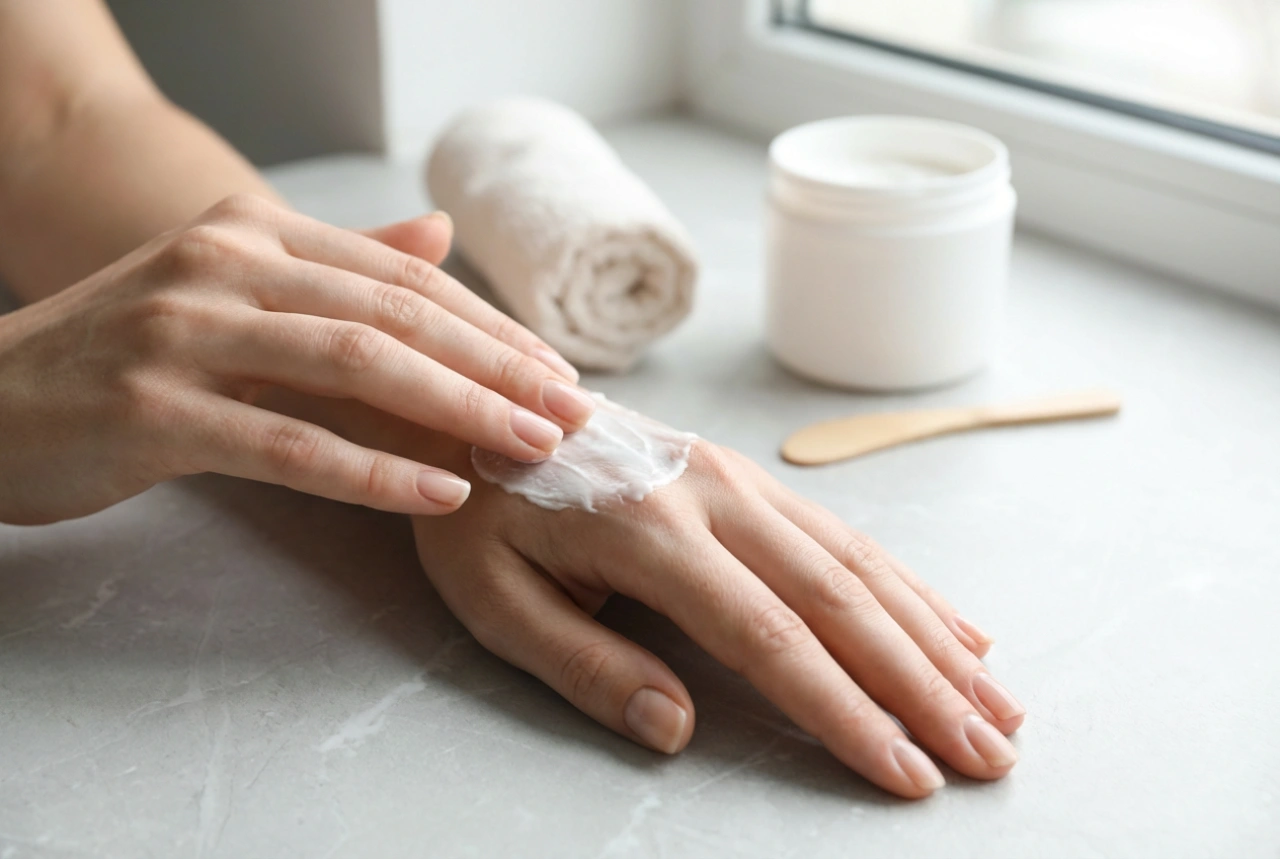
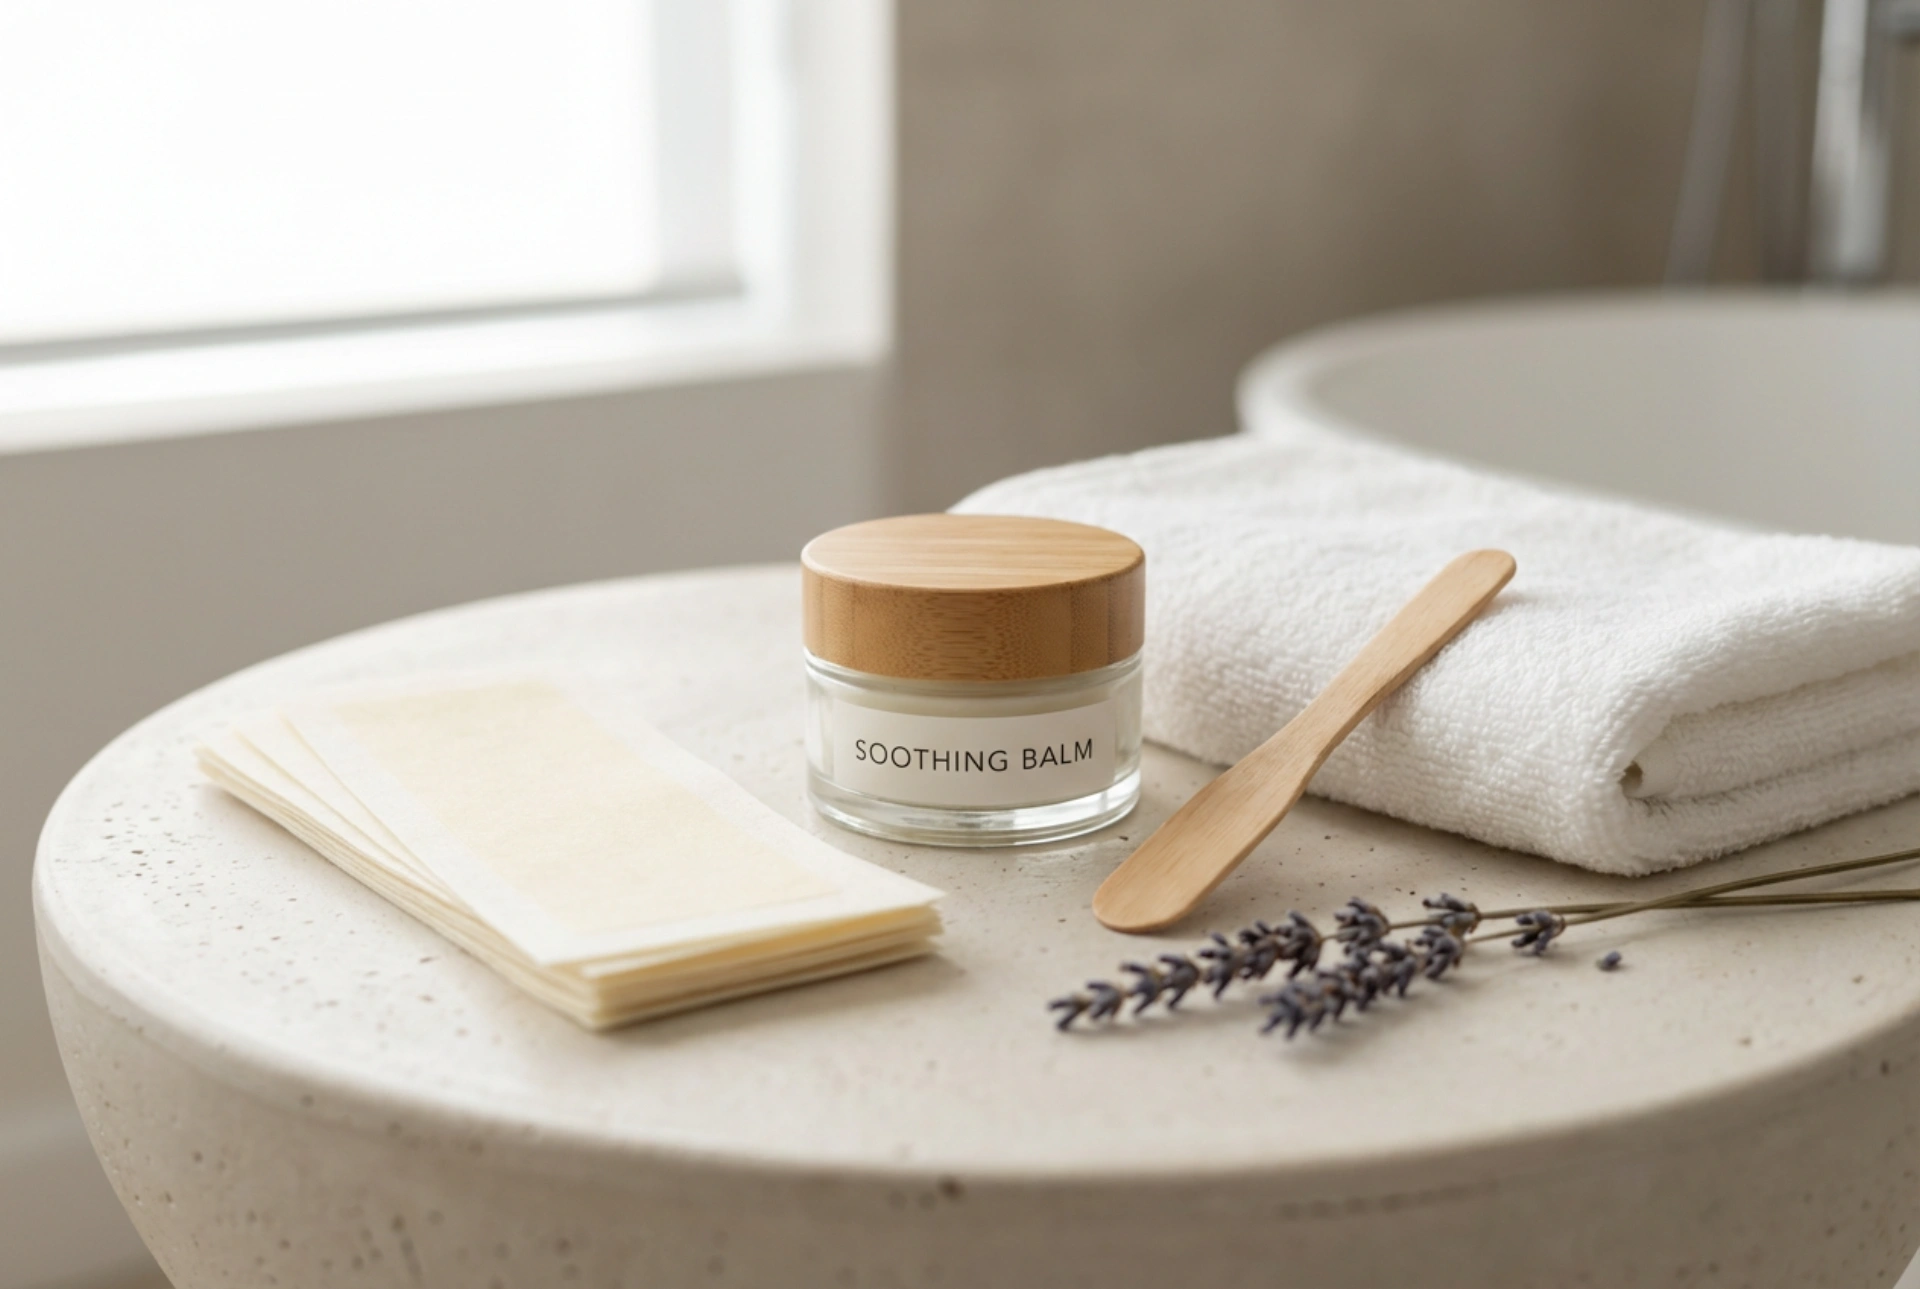
Another common oversight is neglecting aftercare. While you should avoid moisturising during the peeling phase itself (as it can inhibit shedding), it is crucial to moisturise once the process is complete. After the old skin has shed, the new skin is fresh and particularly receptive to hydration. Applying a rich foot cream daily will nourish this new skin, keeping it soft, supple, and preventing it from drying out quickly. This final step locks in the results of your peel and helps maintain smooth feet for longer.
The Correct Way to Perform a Foot Peel
For a safe and effective treatment, follow a structured approach. This ensures you get all the benefits without the common drawbacks.
- Step 1: Prepare Your Feet. Wash your feet thoroughly and soak them in a basin of warm water for 20 minutes. Pat them completely dry with a towel.
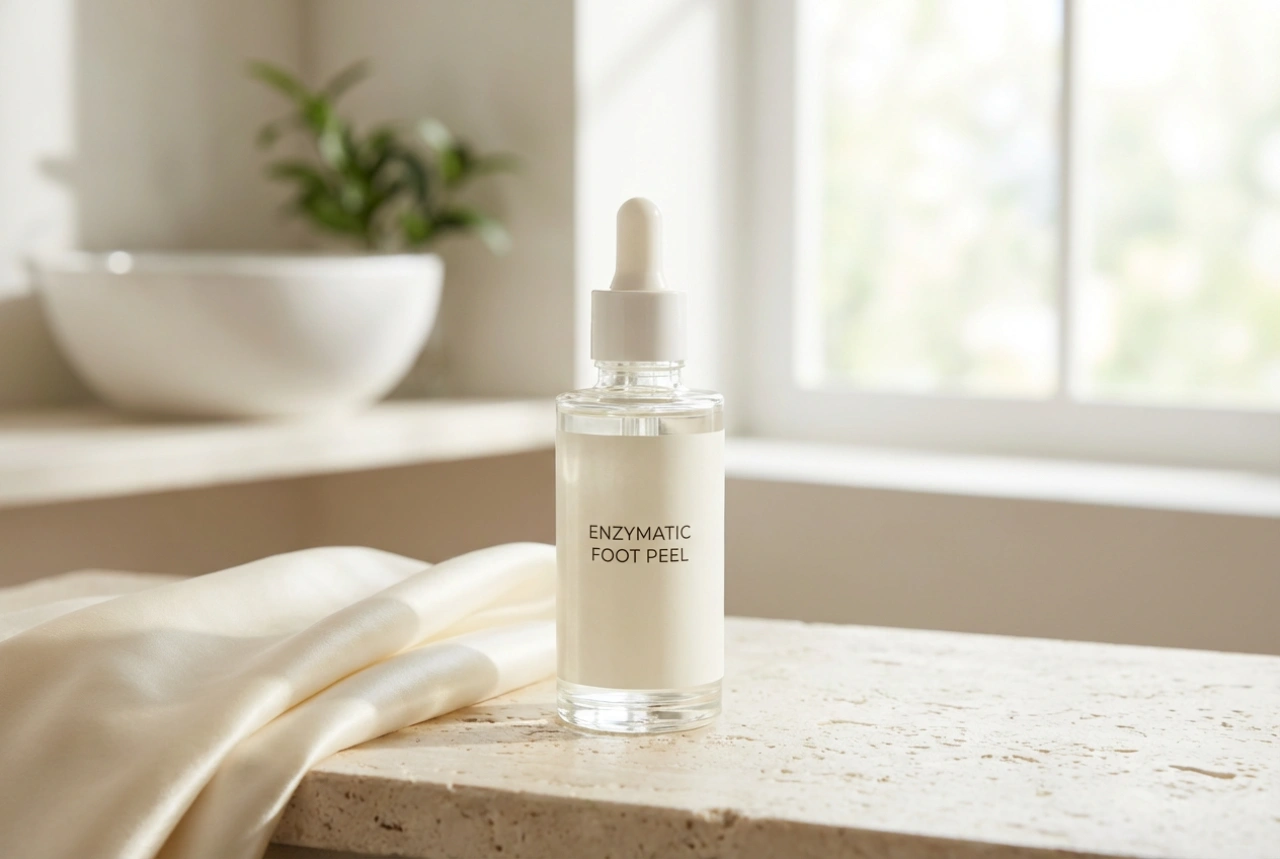
- Step 2: Apply the Peel. Carefully place your feet into the exfoliating booties. Ensure the solution makes good contact with the entire surface of your feet, especially the heels and soles. Secure them with the provided tabs.
- Step 3: Wait. Leave the booties on for the time specified in the instructions, usually around 60 to 90 minutes. It's a good time to relax and put your feet up.
- Step 4: Rinse. After the time is up, remove the booties and discard them. Rinse your feet thoroughly with warm water and pat them dry.
- Step 5: Be Patient. The peeling will not start immediately. Expect the dead skin to begin shedding within the next week. To help the process along, you can soak your feet in warm water for 10 minutes each day, but do not pull at the skin.
- Step 6: Moisturise Post-Peel. Once the peeling has completely finished and all the dead skin has naturally fallen away, begin a daily routine of applying a nourishing foot cream to maintain hydration and softness.
Maintaining Your Smooth Feet
A foot peel provides a fantastic starting point, but maintenance is key to long-lasting smoothness. Incorporate regular, gentle exfoliation into your routine, perhaps using a pumice stone or a mild foot scrub once or twice a week. Most importantly, moisturise your feet every single day, preferably before bed, to keep the skin hydrated and prevent hard skin from building up again. By combining effective treatments with consistent care, you can enjoy beautiful, soft feet all year round.