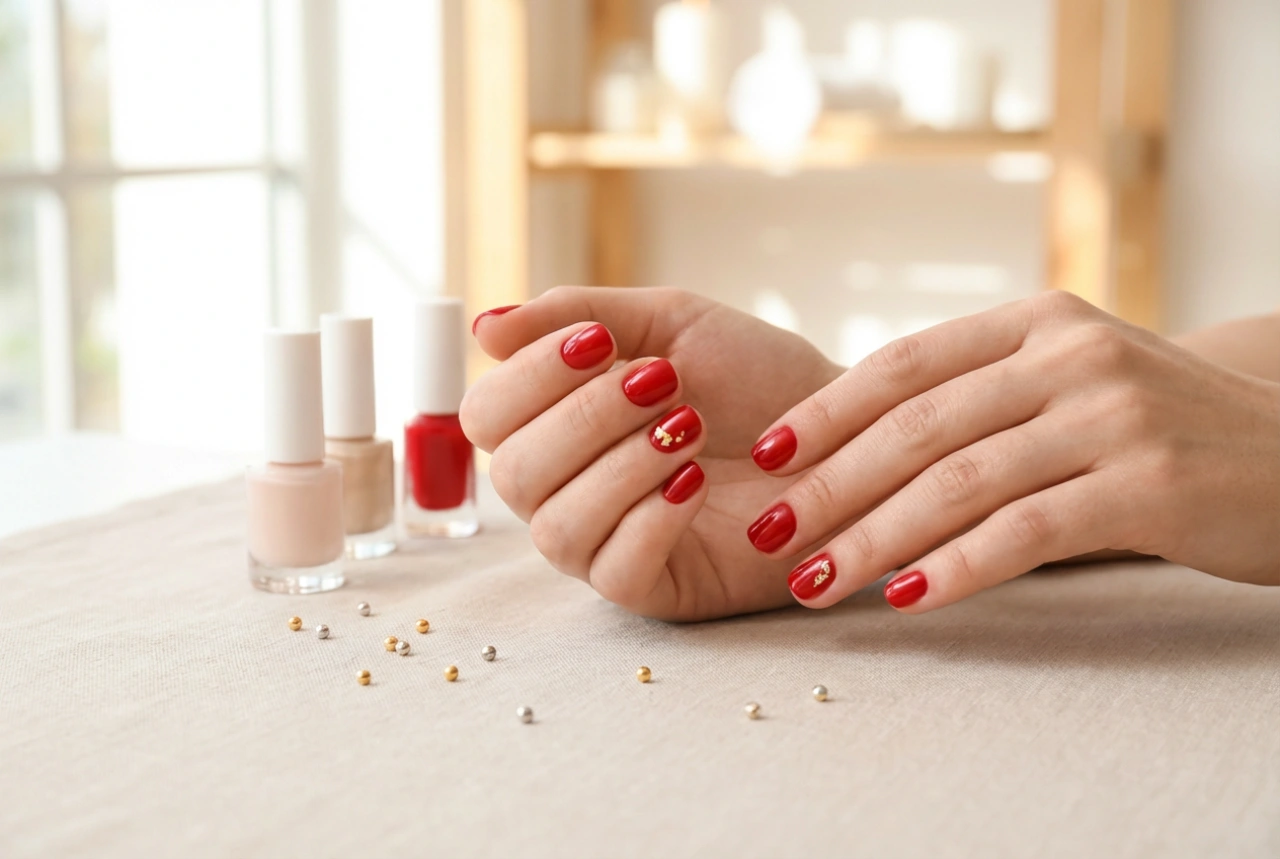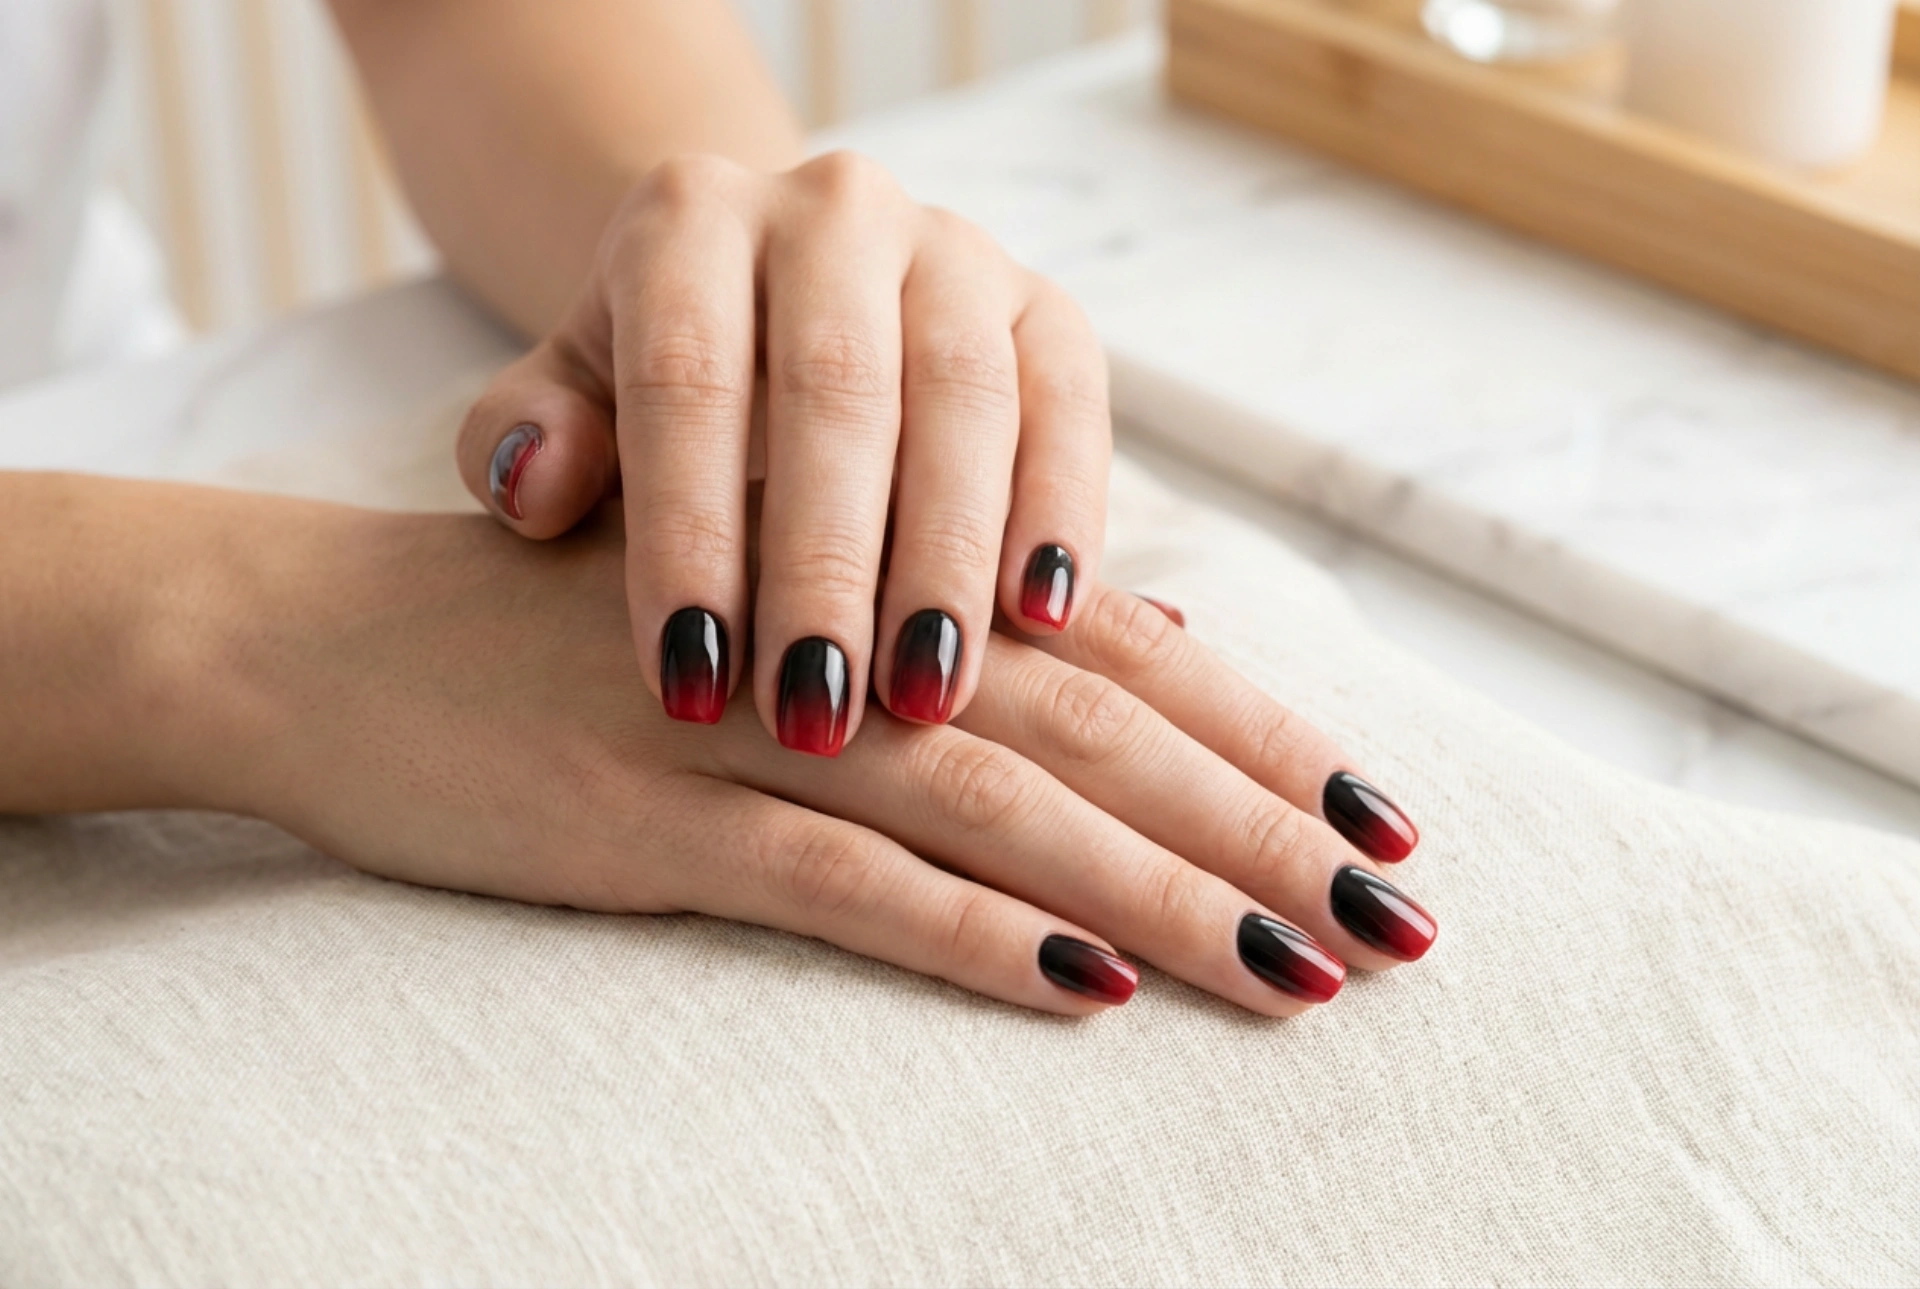


The combination of black and red on nails creates a bold, elegant, and timeless statement. When blended into a seamless ombre gradient, this classic pairing is elevated to a sophisticated form of nail art that beautifully accentuates the hands. While it may look complex, achieving a flawless black-to-red transition is entirely possible at home with the right techniques and a little patience. This guide will walk you through the process, ensuring a smooth, professional-looking result free from any unsightly streaks or smudges.
Preparing Your Nails for the Ombre Effect
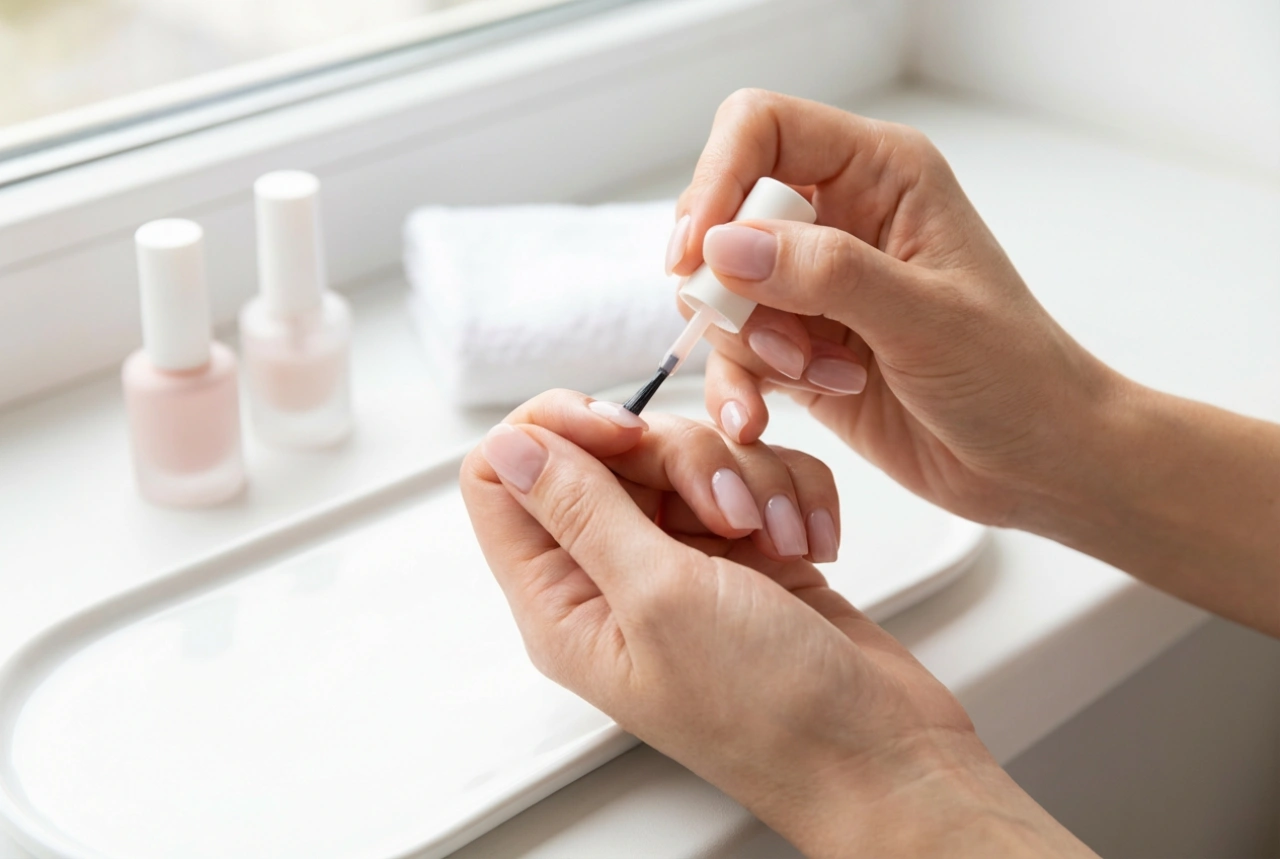
Proper preparation is the foundation of any long-lasting and beautiful manicure. Before you begin with the colours, it's crucial to create a clean and smooth canvas. Neglecting this step can lead to a less polished finish and a shorter lifespan for your nail art.
- Clean and Shape: Start by removing any old polish. Wash your hands and gently clean under your nails. File your nails to your desired shape, whether it's square, oval, or almond. Ensure all nails are of a uniform length for a cohesive look.
- Cuticle Care: Gently push back your cuticles using a cuticle pusher. Avoid cutting them, as this can lead to irritation. Proper cuticle care creates a larger, cleaner nail surface for polish application.
- Buff the Surface: Lightly buff the surface of your nails with a fine-grit buffer. This removes natural oils and creates a slightly textured surface that helps the polish adhere better. Wipe away any dust with a lint-free cloth.
- Apply a Base Coat: Always apply a clear base coat. This step is vital as it protects your natural nails from staining (especially from deep pigments like red and black) and provides a smooth, even base for the coloured polish. Allow it to dry completely.
Essential Tools for the Perfect Gradient
To create the ombre effect, you'll need a few specific tools in addition to your nail polishes. Gathering everything you need before you start will make the process much smoother and more enjoyable.
Your Ombre Toolkit:
- Black Nail Polish: Choose a well-pigmented black polish for a rich, deep colour.
- Red Nail Polish: Select a vibrant red that will contrast beautifully with the black.
- Latex Barrier or Tape: A liquid latex barrier painted around the nail or small pieces of regular tape will protect the skin from messy polish application.
- A Makeup Sponge: A small, disposable makeup sponge (a wedge-shaped one works well) is the key tool for creating the gradient. Cut a piece that is slightly wider than your nail.
- A Glossy Top Coat: A good quality, fast-drying top coat is essential for blending the colours, adding shine, and sealing your design.
- A Flat Surface: A piece of foil, plastic, or a palette to pour the polish onto.
- Nail Polish Remover and a Small Brush: For cleaning up any mistakes and perfecting the edges.
Step-by-Step Guide to Creating Black and Red Ombre
With your nails prepped and your tools ready, it's time to create the stunning gradient. The key is to work relatively quickly, as the polish on the sponge will start to dry. Follow these steps for a flawless result.
Step 1: Apply the Base Colour
Start by applying two thin coats of the lighter colour—in this case, the red polish—to all of your nails. This creates a vibrant base for the gradient. Ensure each coat is completely dry before proceeding to the next step. A solid, opaque base is crucial for the ombre to look its best.
Step 2: Protect the Surrounding Skin
This is a messy technique, so protecting your skin is a must. Carefully apply a liquid latex barrier on the skin around your nail and up to the first knuckle. If you don't have liquid latex, you can use regular sticky tape, pressing it firmly against the skin around the nail edge.
Step 3: Create the Gradient on the Sponge
On your flat surface, paint a horizontal stripe of red polish and right next to it, a stripe of black polish. Make sure the stripes touch and slightly overlap in the middle. The combined width of the stripes should be about the width of your nail. Gently dab the sponge onto these polish stripes a few times to help blend the colours where they meet.
Step 4: Apply the Gradient to the Nail
Gently press and dab the polish-coated sponge onto your nail. You can roll it slightly from side to side to ensure the entire nail is covered. Don't press too hard; a light, dabbing motion is best. The first layer may look a bit sheer or textured—this is normal. Let it dry for a minute, then re-apply polish to the sponge and dab onto the nail again to intensify the colours. Repeat until you are happy with the opacity and blend.
Finishing Touches for a Professional Look
The final steps are just as important as the application itself. They turn a messy process into a clean, polished, and durable work of art.
While the polish is still slightly tacky, carefully peel off the liquid latex or tape. This will reveal a much cleaner result. Use a small, flat brush or a cotton bud dipped in nail polish remover to clean up any polish that may have seeped onto your skin. Be meticulous for a sharp, professional finish. Once your cleanup is done and the design is mostly dry, apply a generous layer of a glossy top coat. This is a magic step that melts the colours together, smooths out any texture from the sponge, and gives your ombre a brilliant shine. Finally, once the top coat is dry, apply a nourishing cuticle oil to rehydrate the skin around your nails.