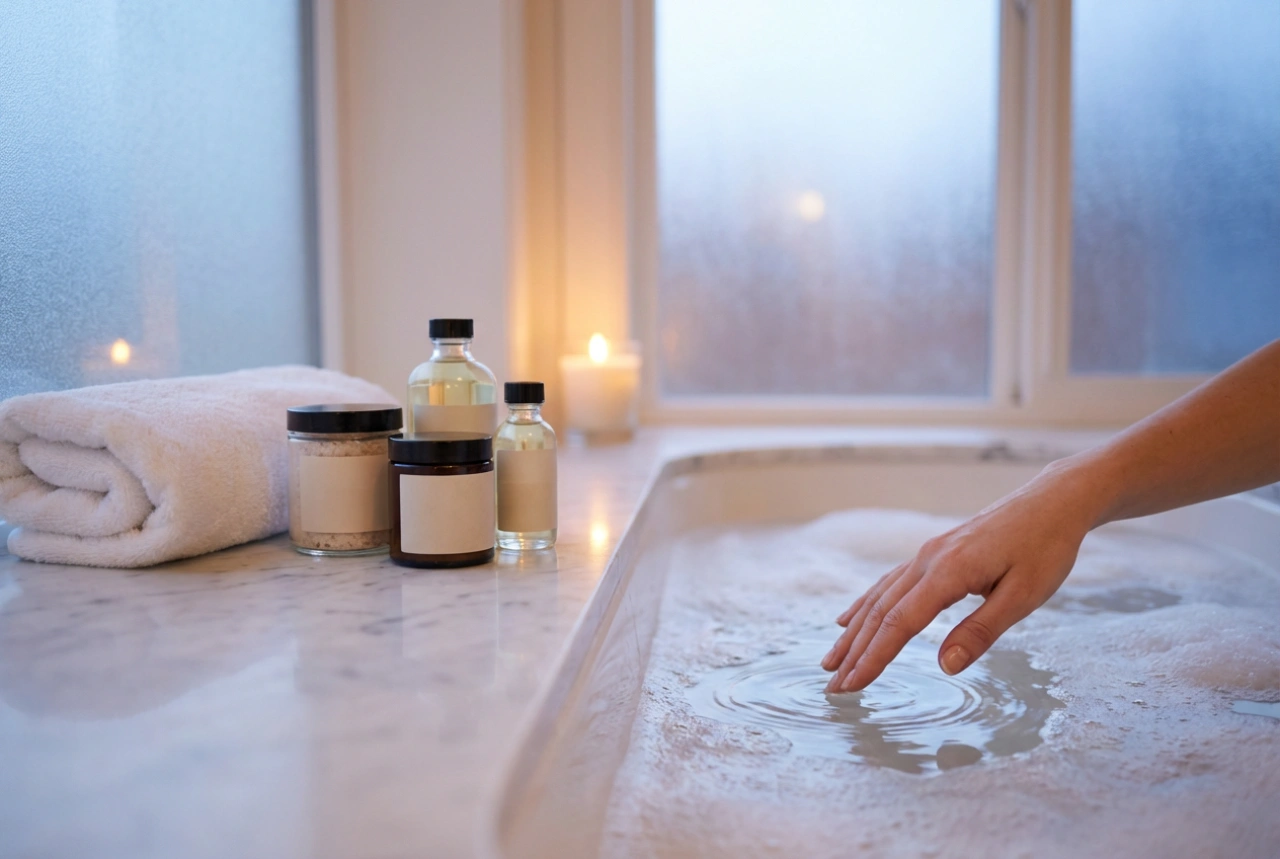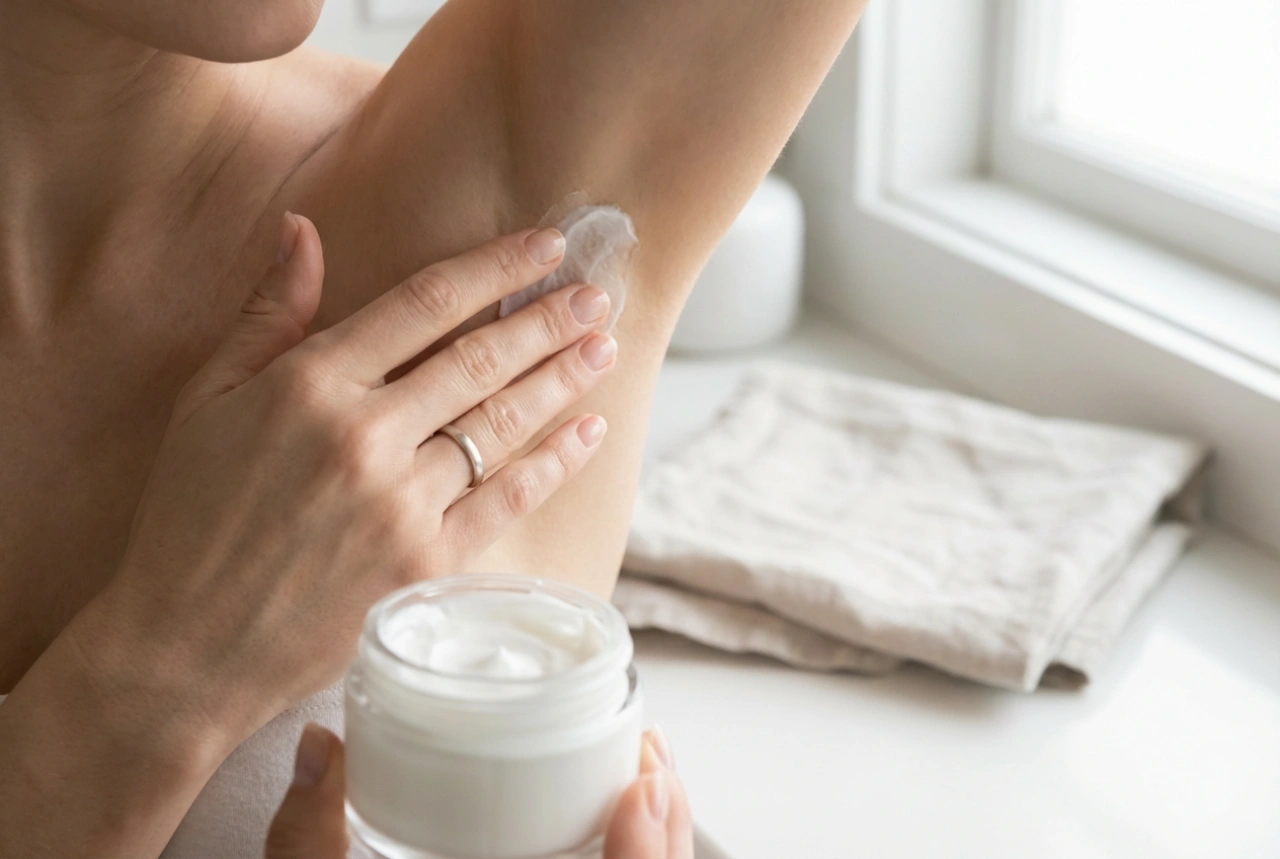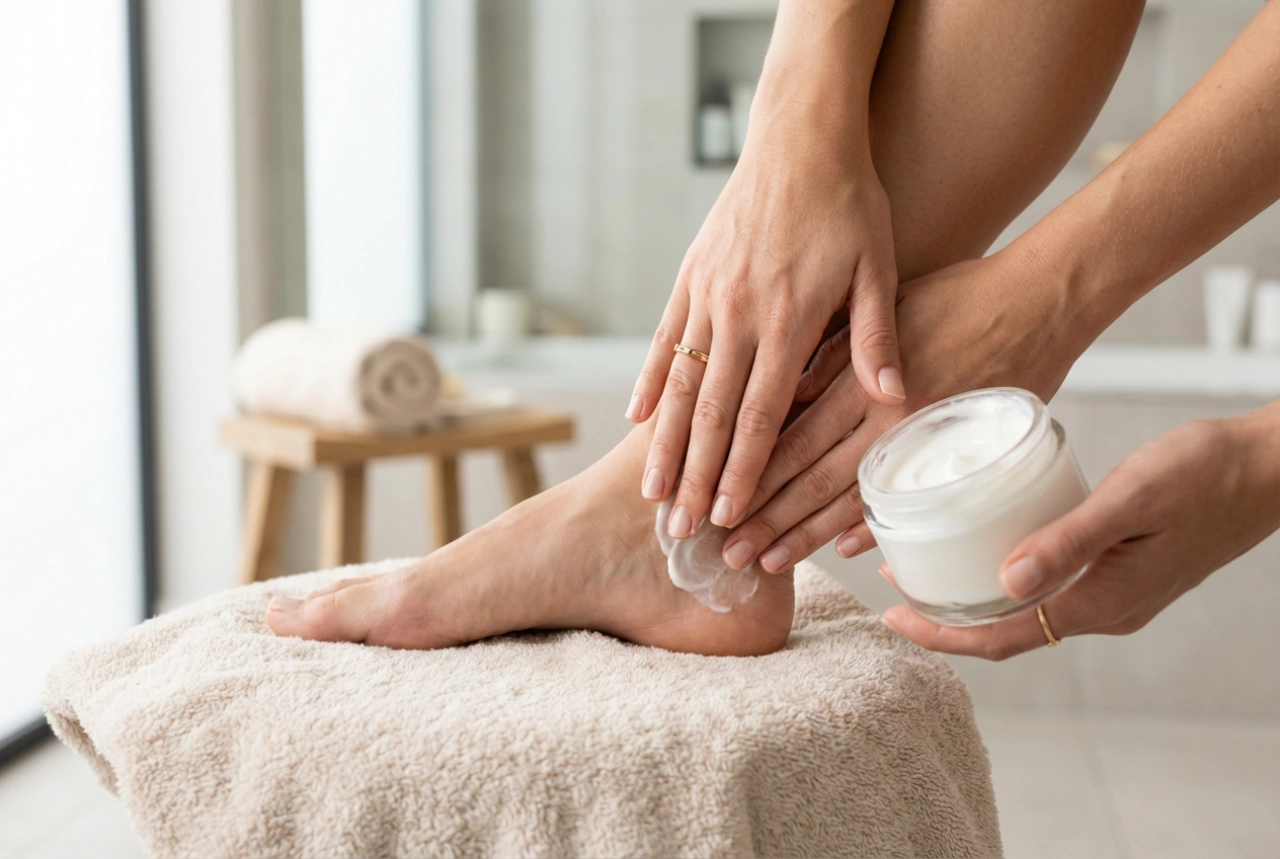


Transforming your bath into a spa-like retreat is easier than you might think. Crafting your own natural bath bombs using simple, pure ingredients allows you to customise the experience to your liking while knowing exactly what you're putting on your skin. It's a creative and rewarding process that results in a wonderfully fizzy, aromatic, and relaxing soak. Forget complex chemical lists and embrace the simplicity of nature's best.
The Core Components of a Fizzing Bath Bomb
The magic of a bath bomb lies in a simple chemical reaction between an acid and a base when they meet water. Understanding the role of each core ingredient is the first step to creating the perfect fizz.
The Essential Duo: Bicarbonate of Soda and Citric Acid
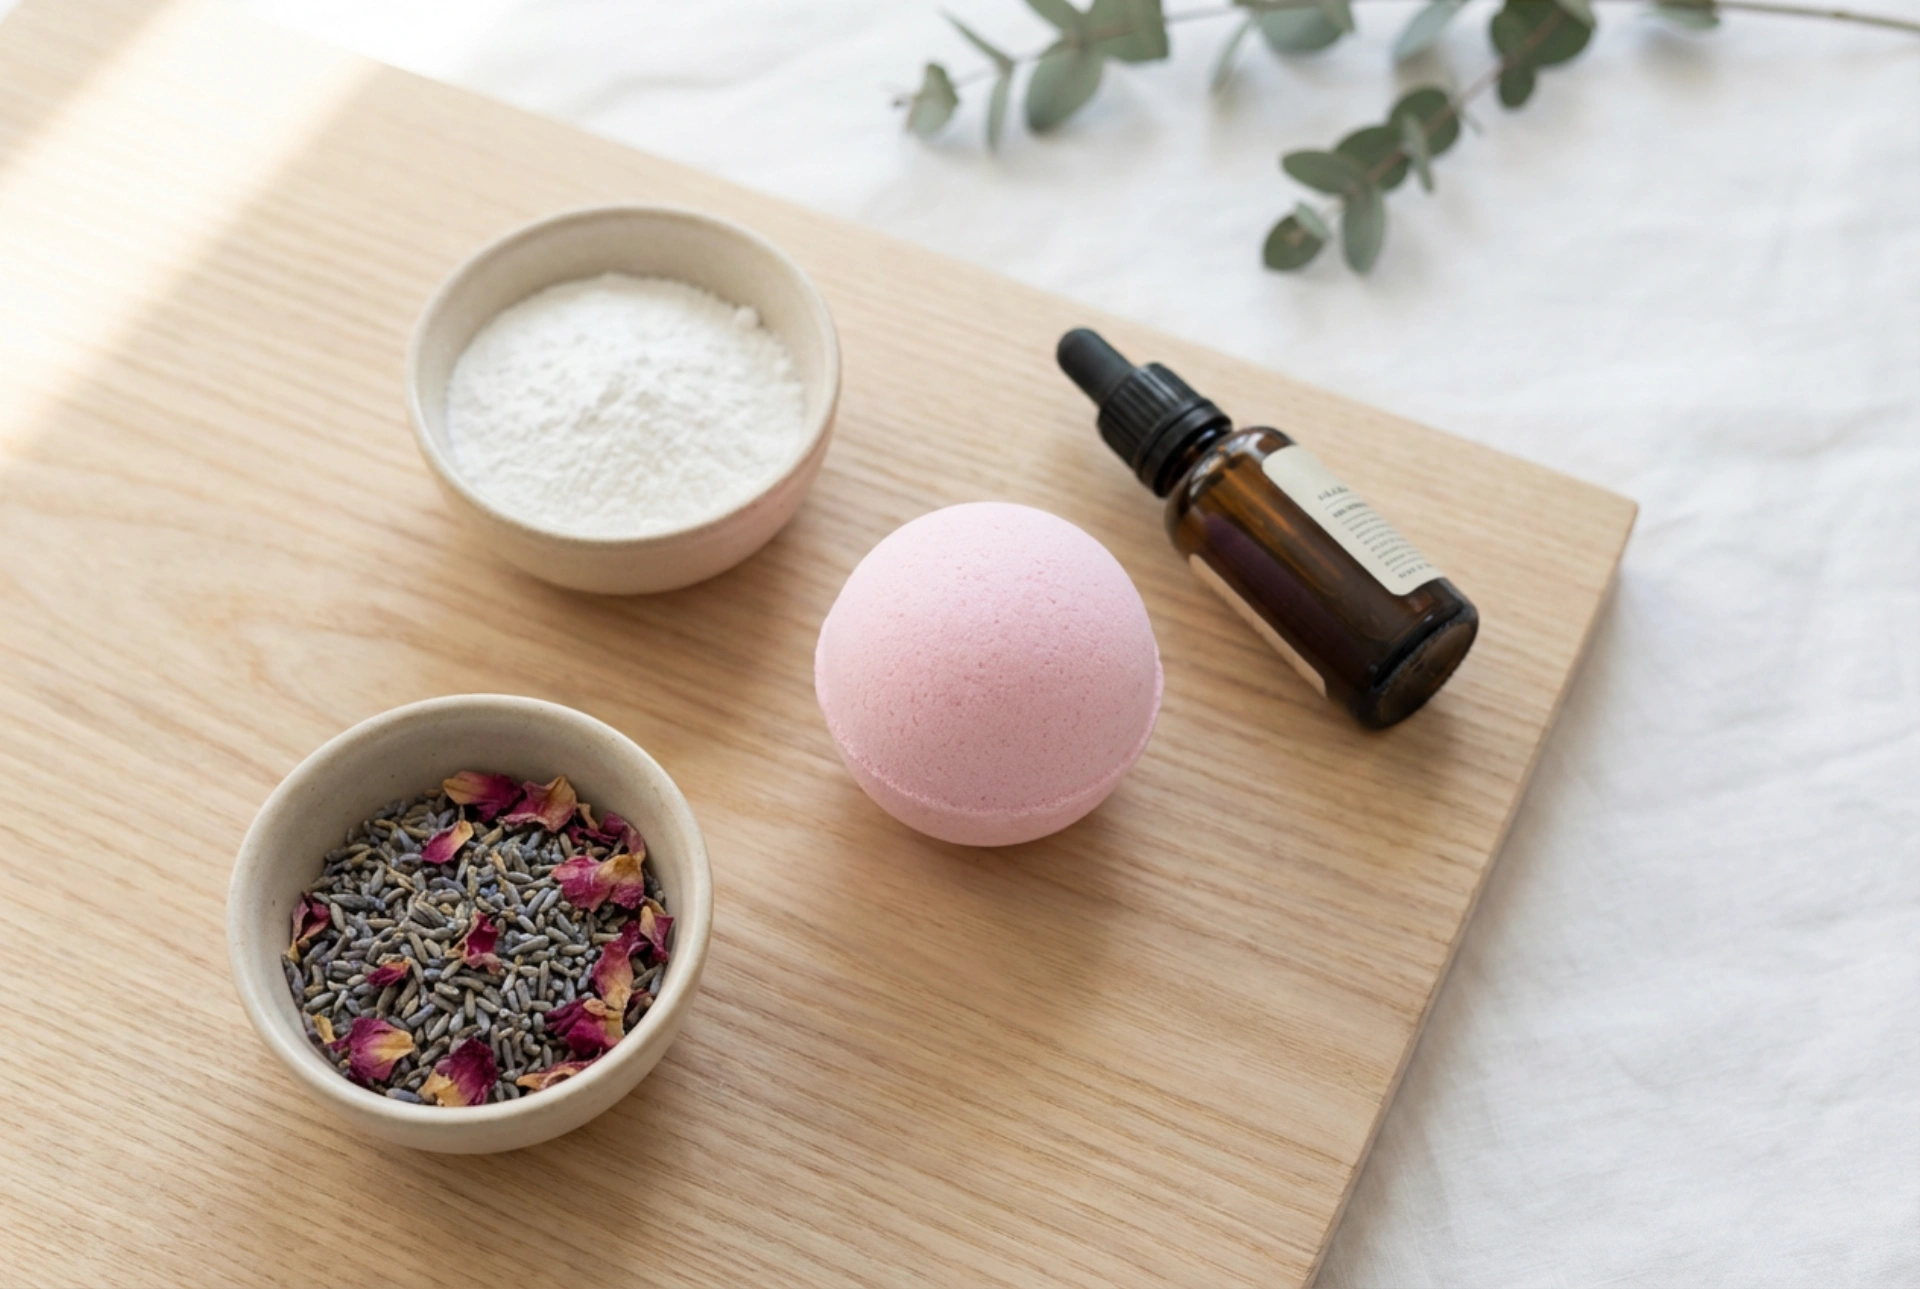
These two powders are the heart and soul of any bath bomb recipe. Bicarbonate of soda (sodium bicarbonate) is the alkaline base, while citric acid provides the acidity. When kept dry, they coexist peacefully. But the moment they are submerged in your bathwater, they react to release carbon dioxide gas, creating the delightful bubbles and fizzing action that defines a bath bomb. The typical ratio is two parts bicarbonate of soda to one part citric acid.
Binders and Fillers for Structure
To control the fizzing reaction and give your bath bomb its solid shape, you need a binder. Cornflour is an excellent choice as it's silky, fine, and helps to bind the main ingredients together. It also slows down the reaction in the water, allowing you to enjoy the fizz for longer. Some recipes also incorporate salts, such as Epsom salts or fine sea salt. These not only add bulk and texture but can also contribute to a more relaxing bath experience by helping to soothe tired muscles.
Customising Your Bath Bombs with Natural Additions
Once you have the basic formula, you can get creative by adding natural ingredients for colour, fragrance, and skin-nourishing properties. This is where you can truly personalise your creations.
- Carrier Oils: A small amount of a light oil is needed to help bind the mixture and add a moisturising touch to the bath. Good choices include sweet almond oil, fractionated coconut oil, or even olive oil. Use just enough to make the mixture feel like damp sand.
- Essential Oils for Aroma: For a natural and therapeutic fragrance, essential oils are the perfect choice. Add 10-20 drops per batch. Lavender is renowned for its calming properties, sweet orange can be uplifting, and eucalyptus can create a clearing, refreshing atmosphere. Always ensure you are using skin-safe, pure essential oils.
- Natural Colourants: You can colour your bath bombs without artificial dyes. Use a small amount of cosmetic-grade clay (like pink or green French clay) for soft, earthy tones. Powders like spirulina (for green), beetroot powder (for pink), or a tiny pinch of turmeric (for yellow) can also be used, but be mindful that some potent powders can leave a residue in the tub.
- Dried Botanicals: For a beautiful, rustic look, consider adding dried flower petals like rose, calendula, or lavender buds. Keep in mind that these will float in the water and will need to be rinsed from the tub after your bath.
A Simple Step-by-Step Method
Ready to make your own? Here’s a basic recipe and guide to get you started. Always work in a dry environment, as humidity can prematurely activate your mixture.
You Will Need:
- A large mixing bowl
- A small jar or cup
- A whisk
- Bath bomb moulds (or a silicone ice cube tray)
Method:
- Combine Dry Ingredients: In the large bowl, add your bicarbonate of soda, citric acid, and cornflour (and salts, if using). Use the whisk to thoroughly combine them, breaking up any clumps.
- Mix Wet Ingredients: In the small jar, combine your chosen carrier oil with your essential oils. Mix them together well.
- Slowly Combine: This is the most crucial step. Very, very slowly, drizzle the oil mixture into the dry ingredients, whisking continuously. Add only a few drops at a time. The goal is to get a consistency that feels like damp sand and holds its shape when squeezed in your hand. If you add the liquid too quickly, the mixture will start to fizz.
- Mould Your Bombs: Tightly pack the mixture into both halves of your bath bomb mould, overfilling them slightly. Press the two halves together firmly. Carefully remove one side of the mould, then the other, and place the bath bomb on a tray lined with parchment paper.
- Dry and Cure: Let the bath bombs air dry in a cool, dry place for at least 24 hours, or until they are completely hard to the touch.
Storage and Use
To maintain their fizzing power, it's essential to protect your finished bath bombs from moisture. Store them in an airtight container, a sealed bag, or shrink-wrap them. When you're ready for a relaxing soak, simply drop one into a warm bath and enjoy the aromatic, fizzy display you created yourself. Homemade bath bombs also make wonderful, thoughtful gifts for friends and family.