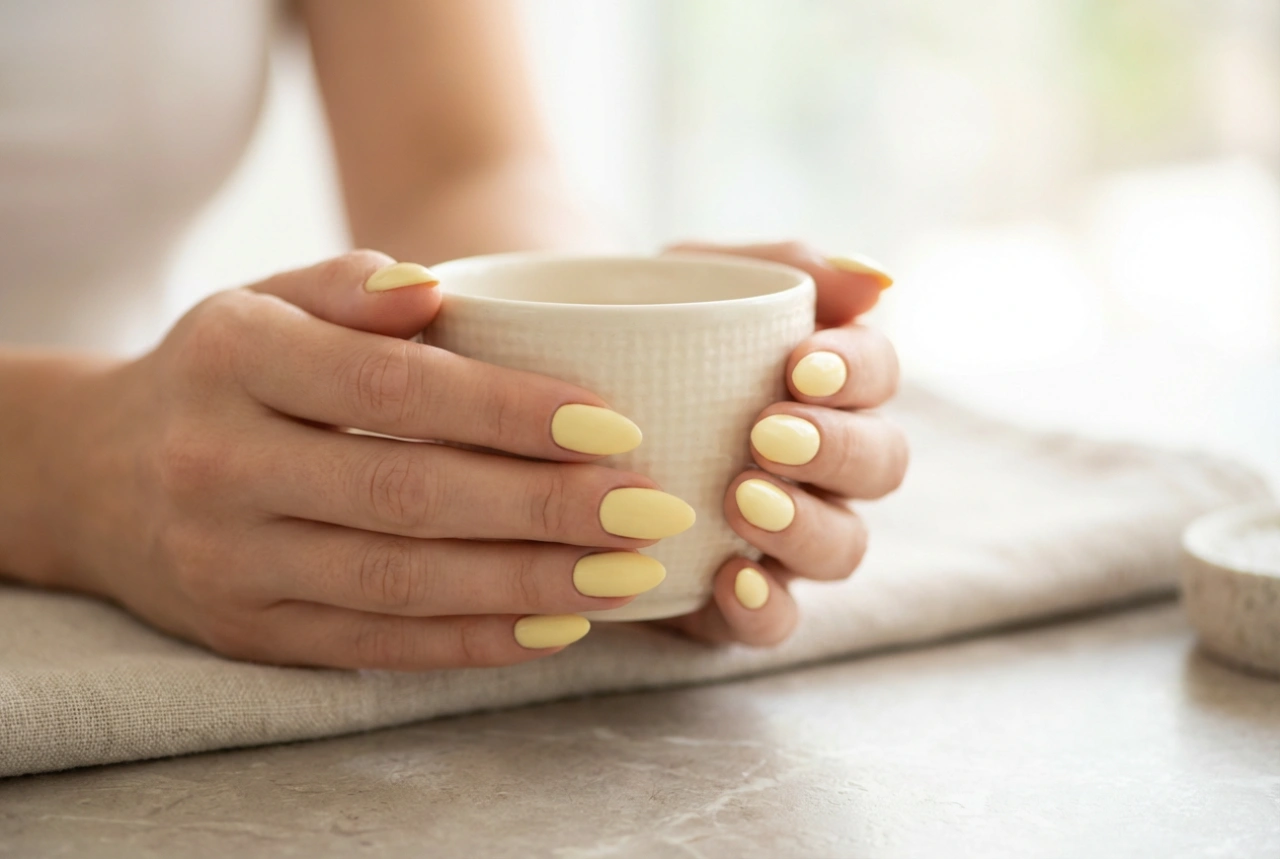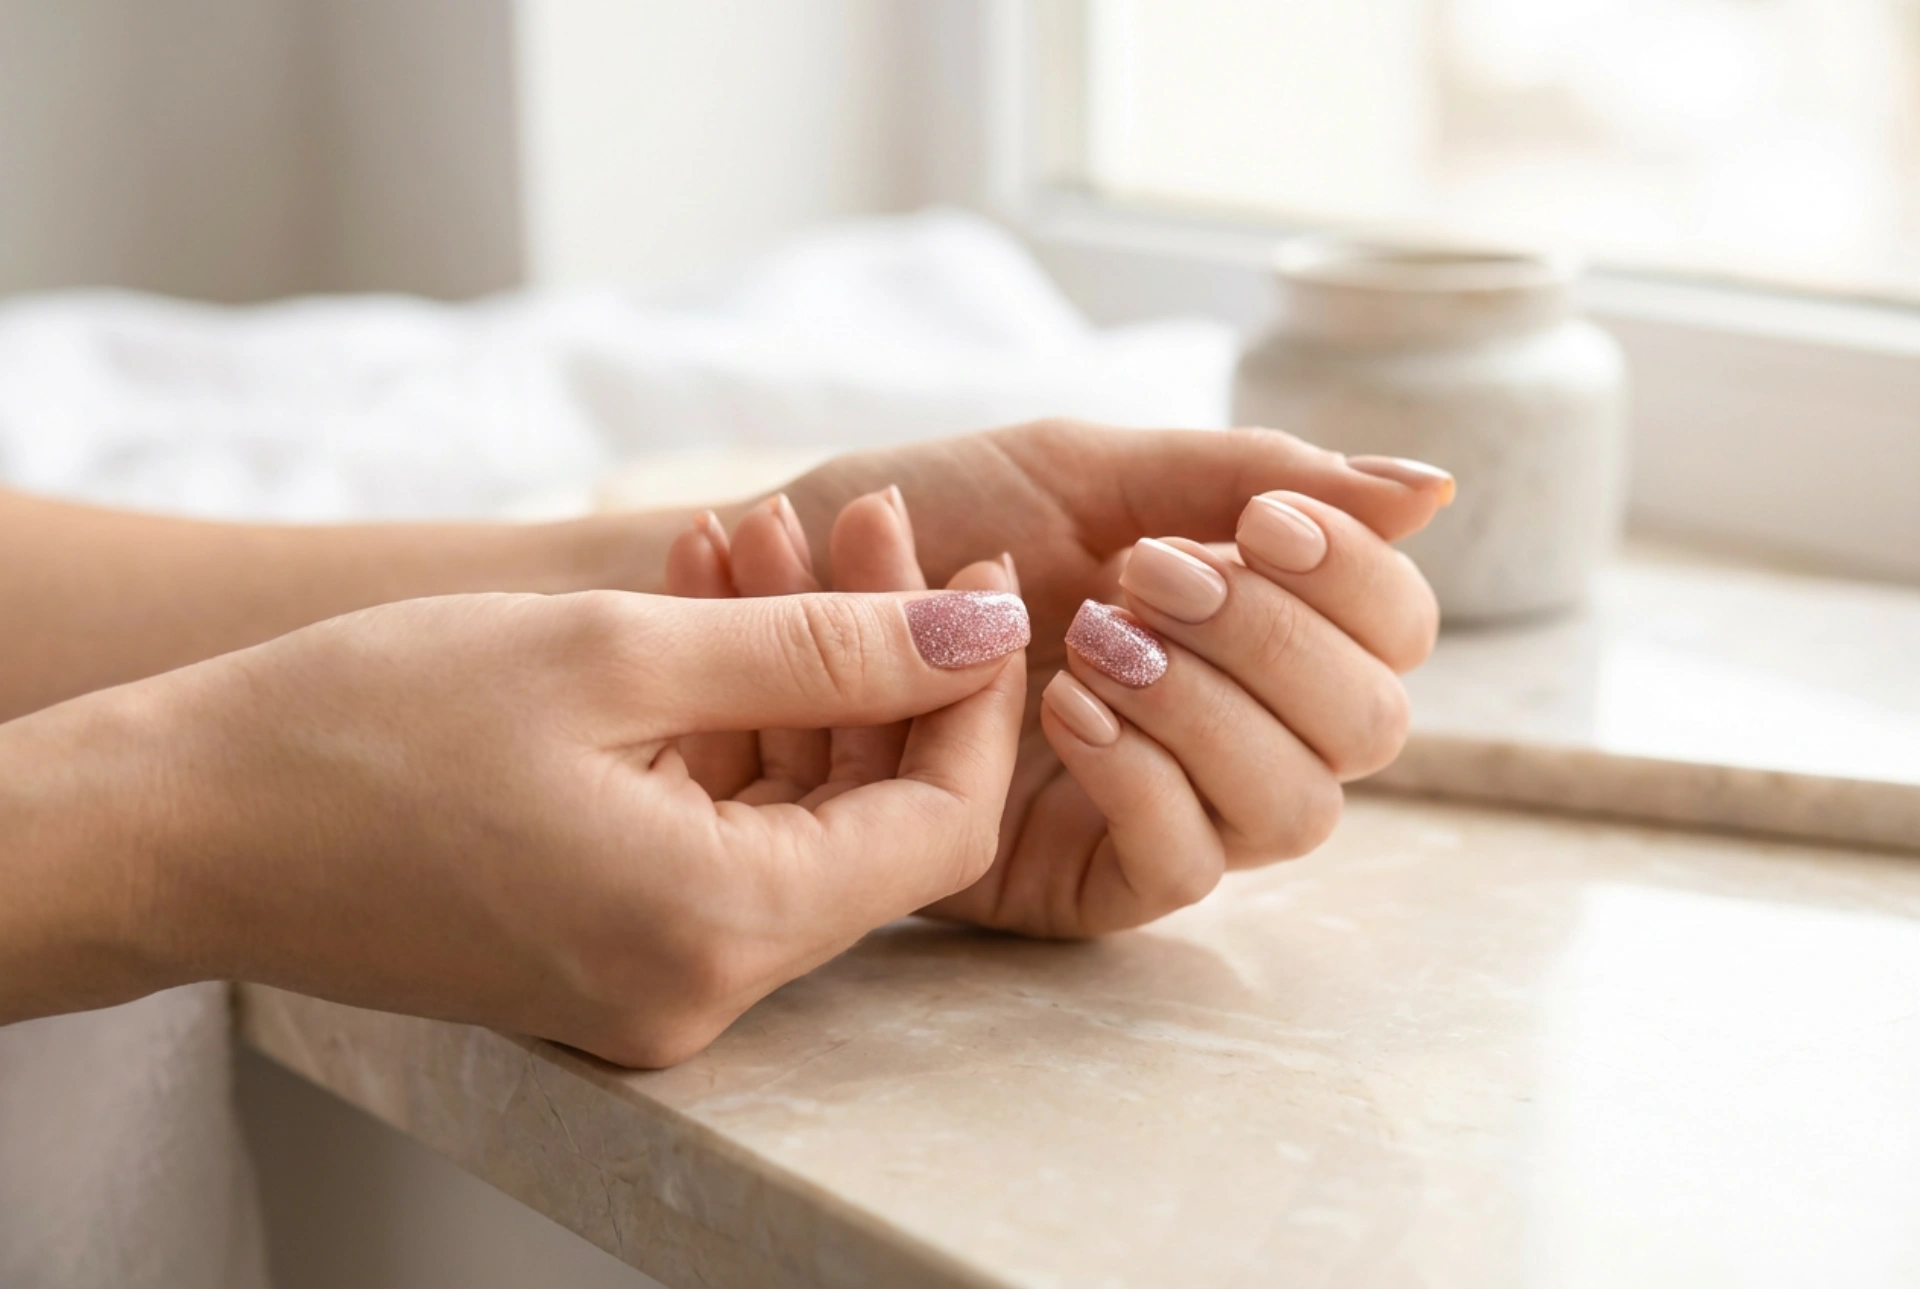


A pink glitter manicure can add a touch of glamour and elegance to any look, transforming your nails into dazzling accessories. Achieving that perfectly smooth, radiant finish, where every sparkle is evenly distributed, requires more than just a simple swipe of the brush. The key lies in the right preparation and application techniques. This guide will walk you through the steps to create a flawless and durable pink glitter manicure at home, ensuring a professional-looking result without the common bumpy texture.
Essential Nail Preparation for a Flawless Base
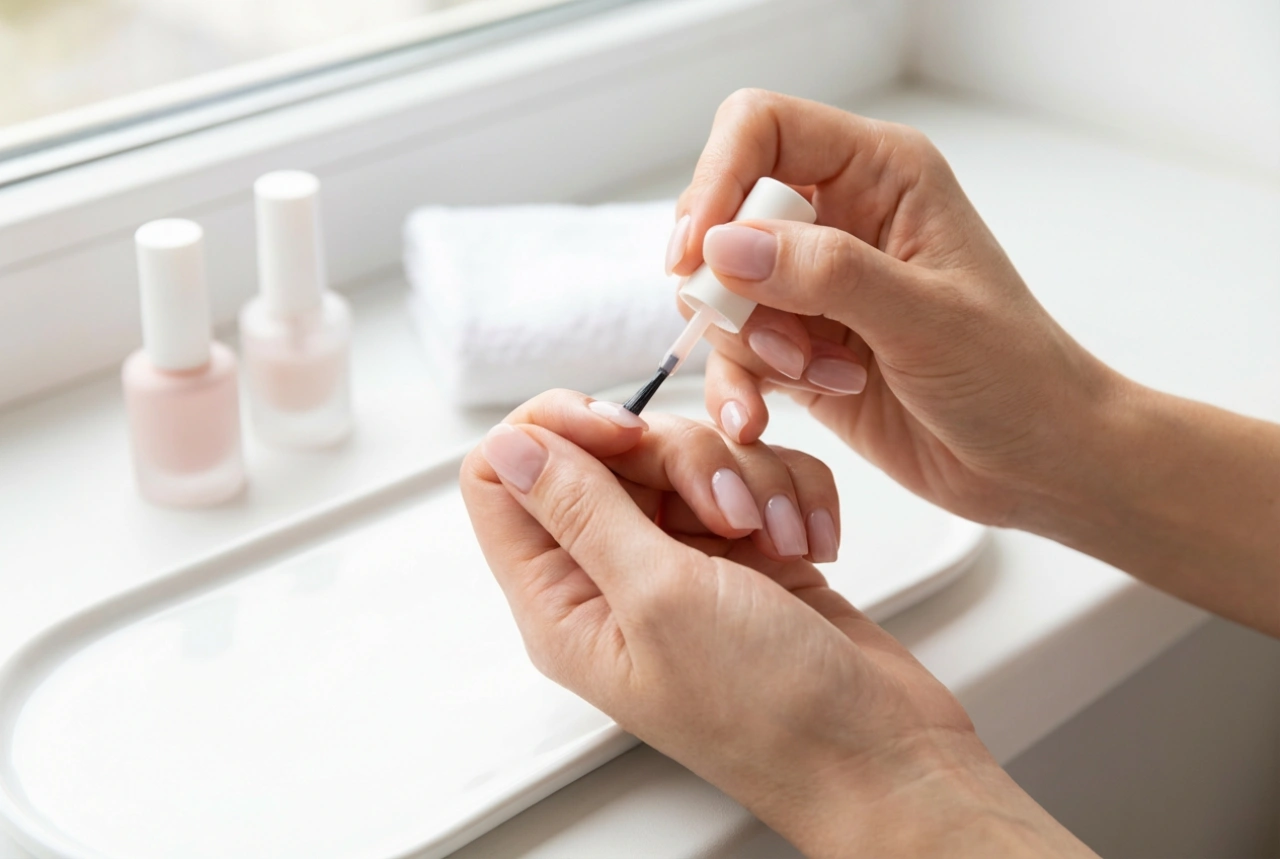
Before you even open the glitter polish, proper preparation is crucial. A clean and smooth canvas ensures your manicure not only looks better but also lasts longer, preventing premature chipping and creating an even surface for the glitter to adhere to.
- Clean and Shape: Start by thoroughly cleaning your nails and removing any residue from old polish. Gently push back your cuticles and shape your nails with a file to your desired length and form.
- Buff the Surface: Lightly buff the nail surface with a fine-grit buffer. This simple step removes any natural oils and ridges, creating a perfectly smooth base for polish application.
- Apply a Base Coat: Never skip the base coat. It serves multiple purposes: it protects your natural nails from potential staining from the coloured pigments, provides a slightly tacky surface for the polish to grip onto, and helps to prolong the life of your manicure.
The Art of Applying Glitter Polish Evenly
Applying glitter polish is different from applying a standard creme formula. The goal is to achieve an opaque and even distribution of the glitter particles without creating a thick, clumpy mess. Patience and a specific technique are your best friends here.
The Dabbing Technique for Maximum Sparkle
For a truly concentrated and uniform glitter effect, the dabbing or 'stippling' method is superior to traditional brushing. After applying one thin initial coat with normal brush strokes, use this technique for subsequent layers. You can either dab the polish onto the nail using the brush from the bottle or apply the polish to a small piece of a cosmetic sponge and then press the sponge onto your nail. The sponge absorbs some of the clear polish base, leaving a denser deposit of glitter particles for a much more opaque and impactful finish.
Building Thin Layers
Instead of trying to get full coverage in one thick coat, which can lead to bubbling and an uneven finish, build up the opacity with several thin layers. Allow each coat to dry for a few minutes before applying the next. Typically, two to three thin coats using the dabbing technique are sufficient to achieve full, dazzling coverage. This method gives you more control and results in a more professional and durable manicure.
Achieving a Smooth, Glass-Like Surface with a Top Coat
One of the main challenges with glitter polish is its naturally gritty and rough texture. The secret to a glossy, smooth-as-glass finish lies in the correct top coat application. This step is non-negotiable for a polished look.
After your final glitter coat is completely dry to the touch, apply a generous layer of a good quality, thick top coat. The trick is to 'float' the top coat over the nail. Get a good bead of product on the brush and gently guide it over the nail surface without letting the bristles drag across the glitter. This technique allows the top coat to fill in the gaps between the glitter particles, creating a level surface. For particularly textured glitters, you may need a second layer of top coat after the first one has dried to achieve that perfectly smooth, encapsulated feel.
Maintenance and Gentle Removal
Now that you have a beautiful glitter manicure, you'll want it to last. And when it's time for a change, you'll want to remove it without a struggle and without damaging your nails.
- Maintenance Tips: To extend the life of your manicure, you can reapply a thin layer of top coat every two to three days. This refreshes the shine and adds an extra layer of protection against chipping. Also, keep your cuticles and the skin around your nails hydrated with a quality cuticle oil.
- The Foil Removal Method: Glitter polish can be notoriously difficult to remove with just a cotton pad. The most effective and gentle method is using foil. Soak a small piece of a cotton ball in nail polish remover, place it directly onto your nail, and then wrap your fingertip snugly in a small piece of aluminium foil. Let it sit for 5 to 10 minutes. The foil traps heat and prevents the remover from evaporating, allowing it to break down the polish effectively. After the time is up, press down on the foil and slide it off. The glitter polish should come off with it, requiring minimal to no scrubbing.