


Achieving a dramatic and defined eye look often involves the careful application of false eyelashes, a process that can be time-consuming and messy, especially when dealing with lash glue. For those seeking a simpler, more modern alternative, magnetic eyelashes offer an innovative solution. Paired with a specially designed applicator, they promise a swift and hassle-free routine, transforming your makeup experience. This guide will walk you through the entire process, from preparation to flawless application and safe removal, helping you master this convenient beauty tool.
Understanding Magnetic Eyelashes
Before diving into the application, it's helpful to understand the two primary types of magnetic lashes available. The first and most common type works in conjunction with a magnetic eyeliner. You apply the eyeliner along your lash line, let it dry, and the tiny magnets on the lash strip adhere directly to it. The second type, often called 'sandwich' lashes, consists of two strips per eye—one that goes above your natural lashes and one that goes below. Small magnets on each strip click together, sandwiching your natural lashes in between without the need for any liner. The applicator is particularly useful for positioning both types accurately.
Preparation is Key for a Seamless Look
Proper preparation ensures that your magnetic lashes apply smoothly, look natural, and stay in place. Rushing this stage can lead to a less than perfect result, so take a few moments to get it right.
Clean and Prepare Your Natural Lashes
Start with a clean, dry eye area. Ensure any residual makeup or skin oils are removed from your eyelids and lashes, as this can interfere with adhesion, especially if you are using magnetic eyeliner. A gentle, oil-free makeup remover is ideal. Afterwards, it is often recommended to curl your natural eyelashes. This creates a supportive shelf for the magnetic strip to rest on, helping it blend more naturally with your own lashes. A light coat of your regular mascara can also help your natural lashes grip the false ones, creating a more unified appearance.
Trim to Fit
Most lash strips are made to a standard length, which may be too long for your eye shape. To check the fit, hold the lash strip up to your eyelid without any liner or magnets engaged. If it extends beyond the outer corner of your eye, it will need to be trimmed. Always trim from the outer edge, not the inner corner. Make small cuts, one or two lashes at a time, and re-measure until you have the perfect length. Trimming ensures comfort and prevents the lash band from poking or lifting during wear.
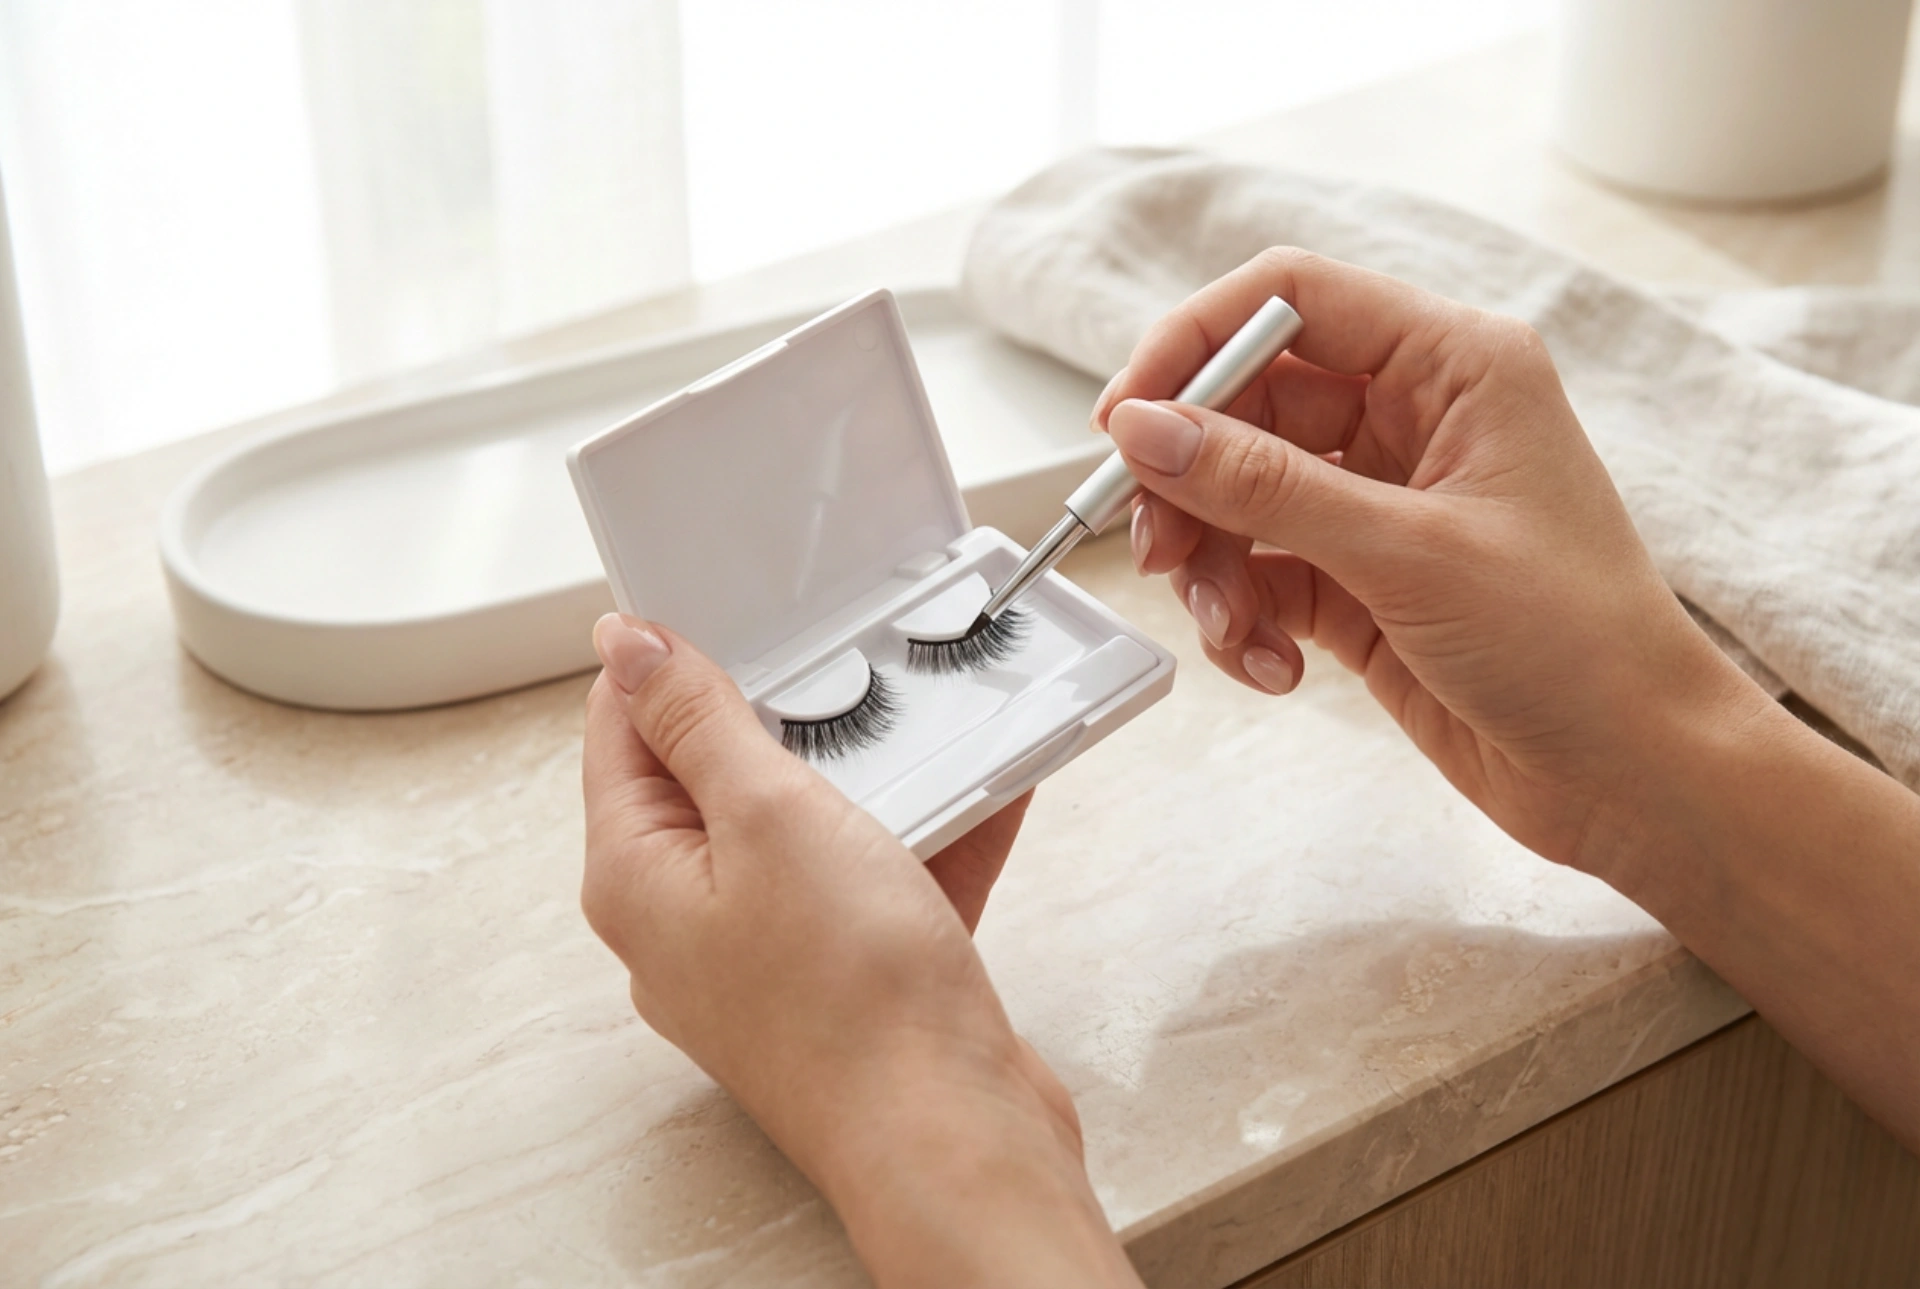
Application Using a Specialised Applicator
An applicator, which often resembles a pair of curved tweezers, is designed to give you better control and precision. It helps you place the lashes exactly where you want them without getting your fingers in the way.
Applying with Magnetic Eyeliner
- Step 1: Apply the Magnetic Eyeliner. Shake the magnetic eyeliner bottle well. Apply a smooth, even line along your upper lash line, just as you would with a regular liquid liner. Ensure the line is as thick as the lash band's magnets. Apply a second coat for extra hold.
- Step 2: Allow to Dry Completely. This is a crucial step. The eyeliner must be fully dry to the touch, which usually takes one to two minutes. If it's still wet, the lash will not magnetise correctly.
- Step 3: Position the Lash. Using the applicator, gently hold the magnetic lash strip. Position it above your natural lash line, starting from the inner corner and moving outwards.
- Step 4: Secure the Lash. Lower the lash strip onto the magnetic eyeliner. The magnets will instantly connect. Use the applicator or your fingertips to gently press the lash band into place and ensure it is secure along the entire lash line.
Applying 'Sandwich-Style' Lashes
- Step 1: Position the Top Lash. Use the applicator to hold the top lash strip and place it along the top of your natural lash line, getting as close to the root as possible.
- Step 2: Position the Bottom Lash. Without moving the top lash, pick up the bottom lash strip with the applicator. Bring it up from underneath your natural lashes.
- Step 3: Connect the Magnets. The magnets on the top and bottom strips will attract each other and 'click' into place, sandwiching your natural lashes. The applicator helps align them perfectly. You can make minor adjustments with the tool before the magnets fully connect.
Safe Removal and Aftercare
Removing magnetic lashes is just as simple as applying them. For lashes with magnetic liner, gently peel the lash strip away from your eyelid, starting from the outer corner. Use an oil-based makeup remover or a dedicated cleanser to dissolve and wipe away the magnetic eyeliner. For sandwich-style lashes, use your thumb and index finger to gently slide the top and bottom magnets apart. Never pull the strips straight off, as this can damage your natural lashes. After removal, clean any residue from the magnets on the lash strips with a cotton bud and a small amount of oil-free makeup remover. Store them in their original case to maintain their shape and keep them clean for future use.