


The eyeliner pencil is a true staple in any makeup collection, valued for its versatility and ease of use. Whether you desire a sharp, defined line or a soft, smudged effect, the right pencil and technique can elevate your look effortlessly. From classic kohl to modern gel formulas, these tools offer endless possibilities for creative expression. This guide will walk you through the essential techniques for application, shading, and setting your eyeliner to achieve a flawless and long-lasting finish, using simple tools like a blending brush and powder.
Choosing the Right Eyeliner Pencil
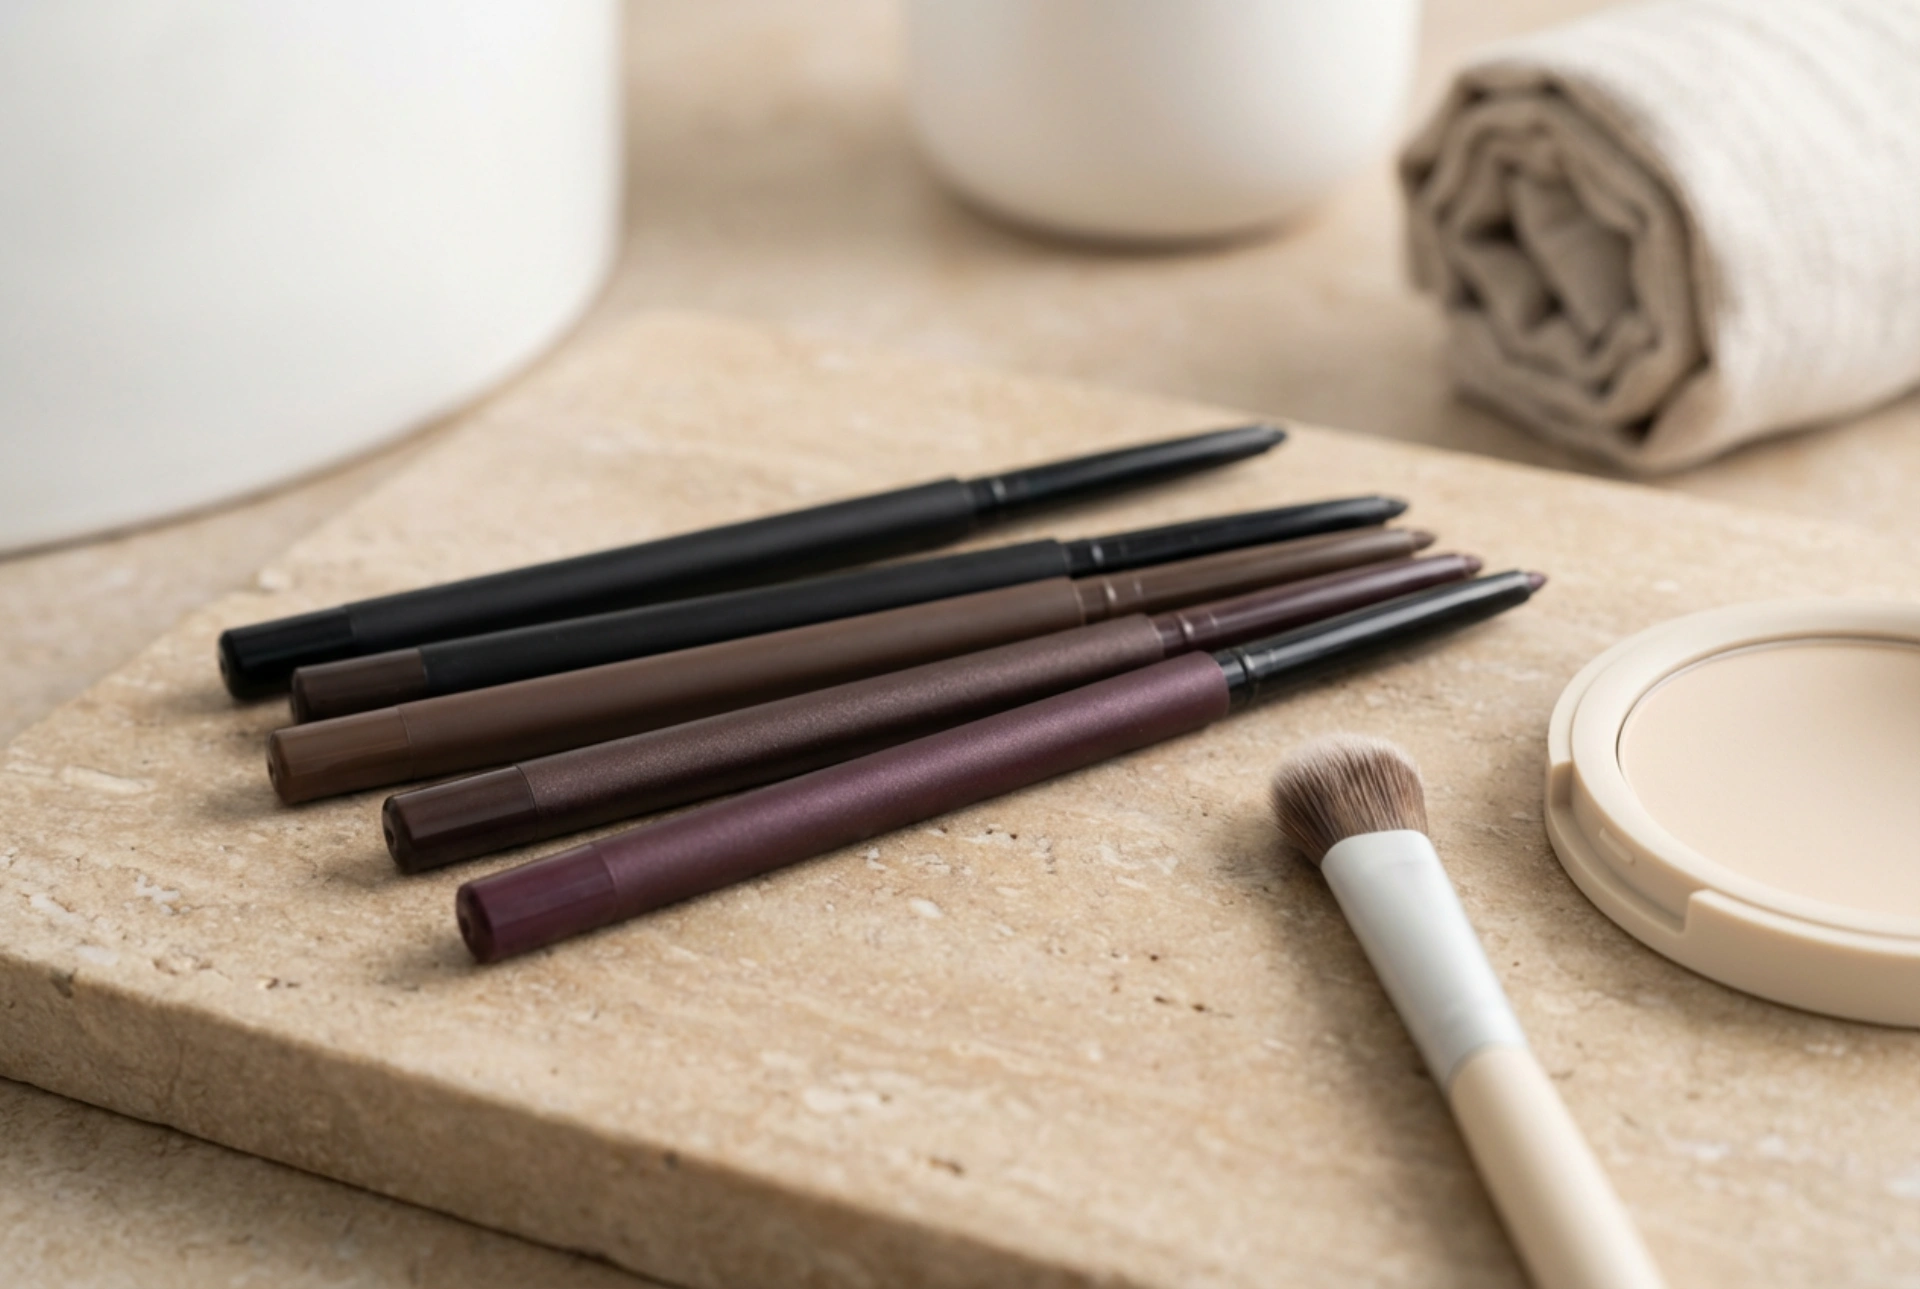
Before diving into application, understanding the different types of eyeliner pencils can help you select the best one for your intended look. The texture and formula of a pencil will significantly impact the result and its longevity.
Types of Pencils
- Kohl Pencils: These are typically soft, creamy, and highly pigmented. They are ideal for creating a smokey eye because they smudge and blend with ease. Their soft nature makes them very comfortable for application on the waterline.
- Gel Pencils: A hybrid between a traditional pencil and a pot gel liner, these offer the intense colour and long-wear of a gel with the convenience of a pencil. They glide on smoothly and often set to a waterproof finish.
- Wax-Based Pencils: These are firmer than kohl pencils, allowing for greater precision and sharper lines. They are an excellent choice for creating a defined, classic line and tend to have good staying power, though may require a sharpener to maintain a fine point.
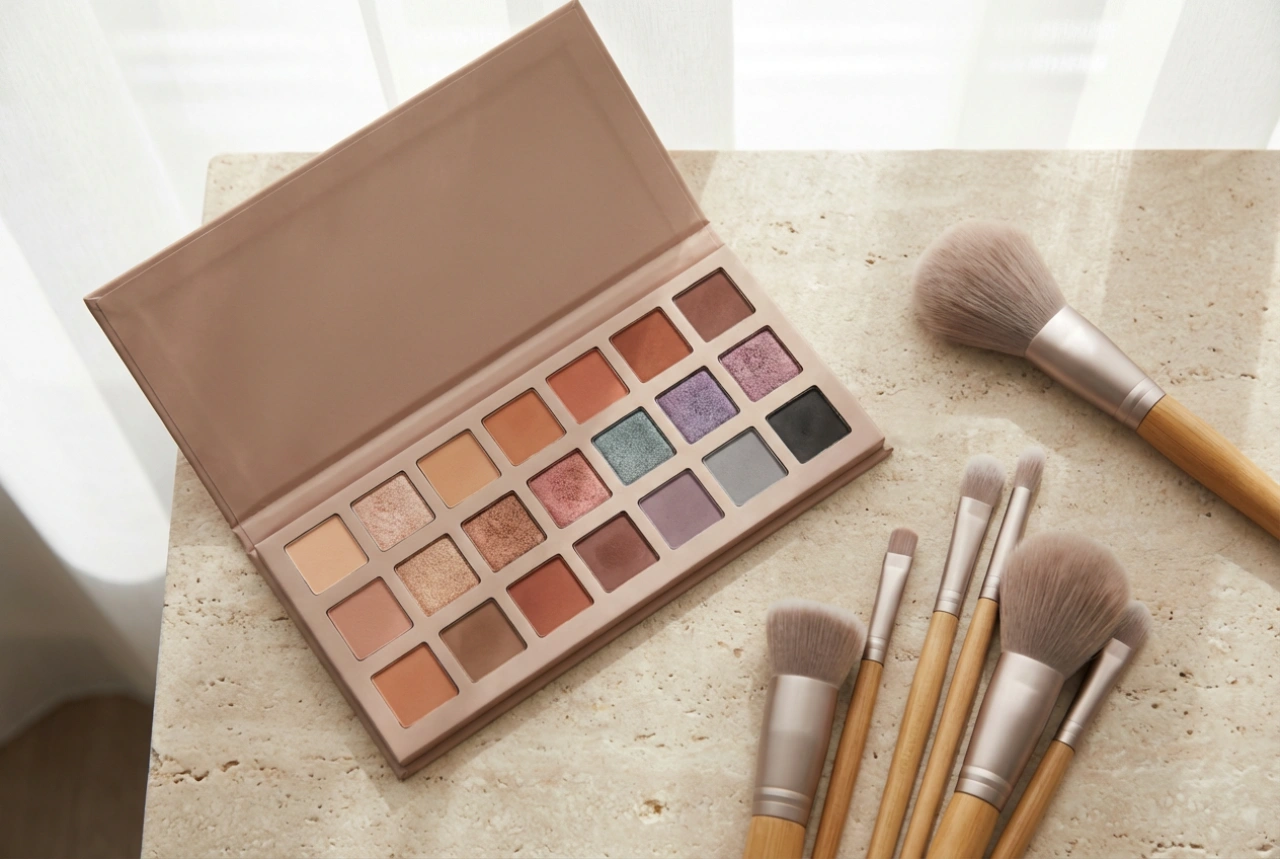
Selecting Your Shade
While black is a classic choice, other colours can enhance your eyes in different ways. Brown and grey offer a softer, more natural definition for daytime wear. Deeper shades like plum, navy, or forest green can make your eye colour pop without being overpowering. A nude or white pencil on the waterline can make eyes appear larger and more awake.
Mastering Basic Lining Techniques
Once you've chosen your pencil, you can begin exploring different application styles. A steady hand and a little practice are all you need to master these fundamental techniques.
The Classic Line
This is the cornerstone of eyeliner application. For a clean, simple line, follow these steps:
- Rest your elbow on a stable surface to steady your hand.
- Gently pull your eyelid taut with your free hand to create a smooth canvas.
- Starting from the inner corner of your eye, draw a series of small, connected dashes along the upper lash line as close to the lashes as possible.
- Go back over the dashes to smooth them into a single, fluid line. You can make the line thicker towards the outer corner for more definition.
Tightlining (Invisible Eyeliner)
Tightlining involves applying eyeliner to the upper waterline, the strip of skin beneath your upper lashes. This technique creates the illusion of a fuller, thicker lash base without a visible line.
- Gently lift your upper eyelid to expose the waterline.
- Carefully run a soft, waterproof pencil along the waterline. Avoid this technique if you have very sensitive eyes.
- This subtle trick adds incredible definition and makes your lashes look naturally dense.
Advanced Techniques: Shading and Smudging
An eyeliner pencil is not just for creating lines. Its blendable nature makes it a fantastic tool for shading and adding dimension to your eyes.
The Quick Smokey Eye
A pencil is the fastest way to achieve a smokey eye. Here’s how:
- Apply a thick line of a soft kohl pencil along your upper lash line. The line doesn't need to be perfectly neat.
- Immediately after application, use a small, dense brush (a smudger brush) or even your fingertip to smudge and blend the line upwards and outwards over your eyelid.
- Work quickly, as some formulas set fast. Build the intensity by adding more pencil at the lash line and blending again.
- Apply a small amount of liner to the lower lash line and smudge it for a balanced, smokey effect.
Using Powder to Set Your Pencil
To ensure your eyeliner stays in place all day and to prevent it from smudging or transferring, setting it is a crucial step. This is especially important for those with oilier eyelids or for wear in warm weather.
- After applying your eyeliner pencil, take a small, angled or flat eyeshadow brush.
- Dip the brush into an eyeshadow that matches the colour of your eyeliner pencil. If you don't have a matching eyeshadow, a translucent setting powder will also work well.
- Gently press the powder directly on top of your eyeliner line. This action 'sets' the creamy pencil, absorbing excess oil and locking it in place for hours. It also helps to sharpen the line and intensify the colour.