


At-home beauty treatments offer a convenient way to maintain our appearance, and managing unwanted hair is a common part of many grooming routines. While nose hair serves a vital protective function, some people prefer to remove the hairs that are visible at the edge of the nostrils for aesthetic reasons. Waxing is a popular and effective method for this, providing longer-lasting results than trimming. However, it requires careful technique and an understanding of safety precautions to perform correctly and without risk in the comfort of your own home.
Preparation: Getting Ready for a Safe Wax
Proper preparation is the most important step to ensure a smooth and safe nose waxing experience. Rushing this stage can lead to skin irritation or ineffective hair removal. Taking a few moments to gather your tools and prepare your skin will make all the difference.
Choosing the Right Products
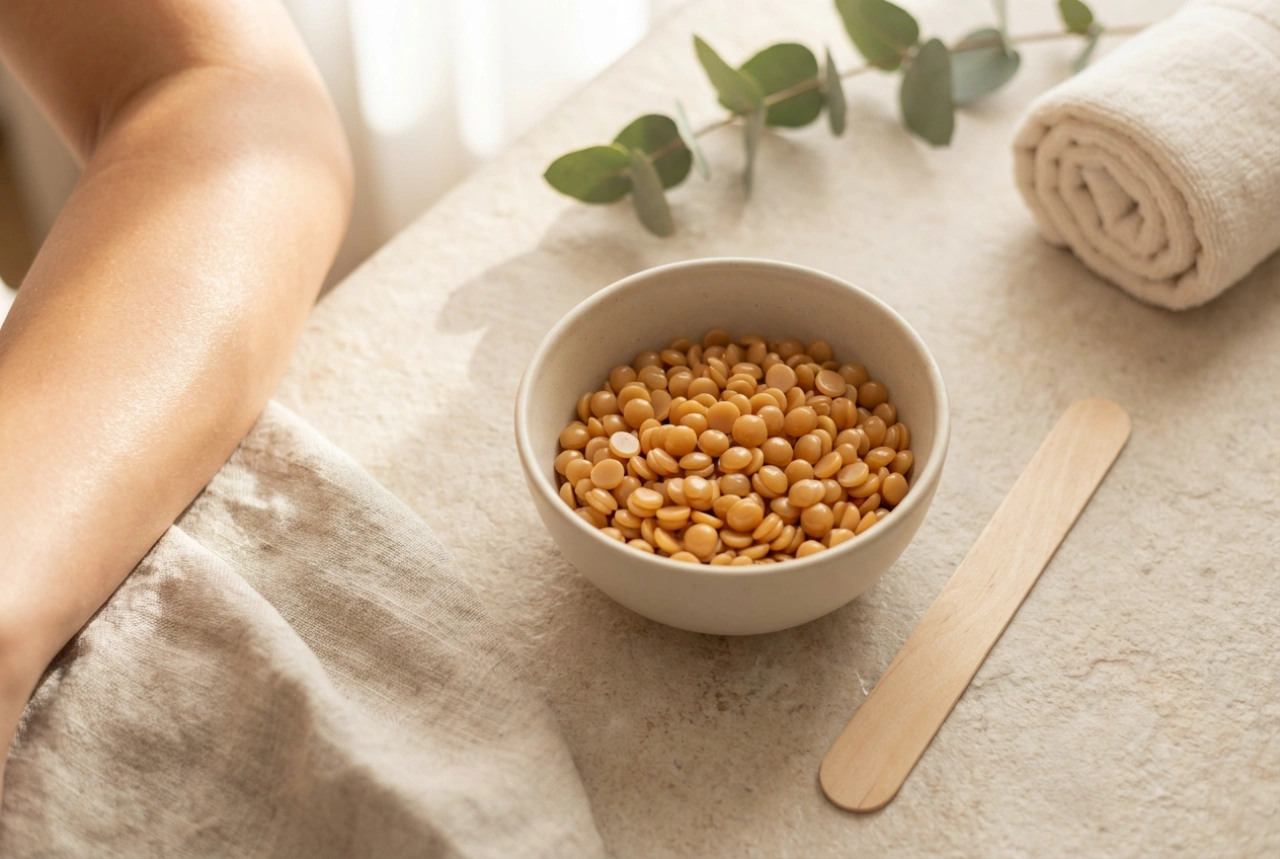
Not all waxes are created equal, and using the wrong type can be ineffective or even harmful. For the delicate nostril area, you should exclusively use hard wax beads formulated specifically for the face or nostrils. These waxes are designed to adhere only to the hair, not the skin, minimising discomfort and irritation. Avoid using soft wax or pre-made body wax strips, as they are too aggressive for the sensitive skin inside the nose. You will also need special, small applicators designed to fit just inside the nostril entrance without going too deep.
Setting Up Your Waxing Station
Before you begin, gather everything you need to avoid interruptions. Your kit should include:
- Hard wax beads for facial use.
- A wax warmer or a microwave-safe bowl to melt the wax.
- Nose wax applicators.
- A pre-wax cleanser or rubbing alcohol on a cotton pad.
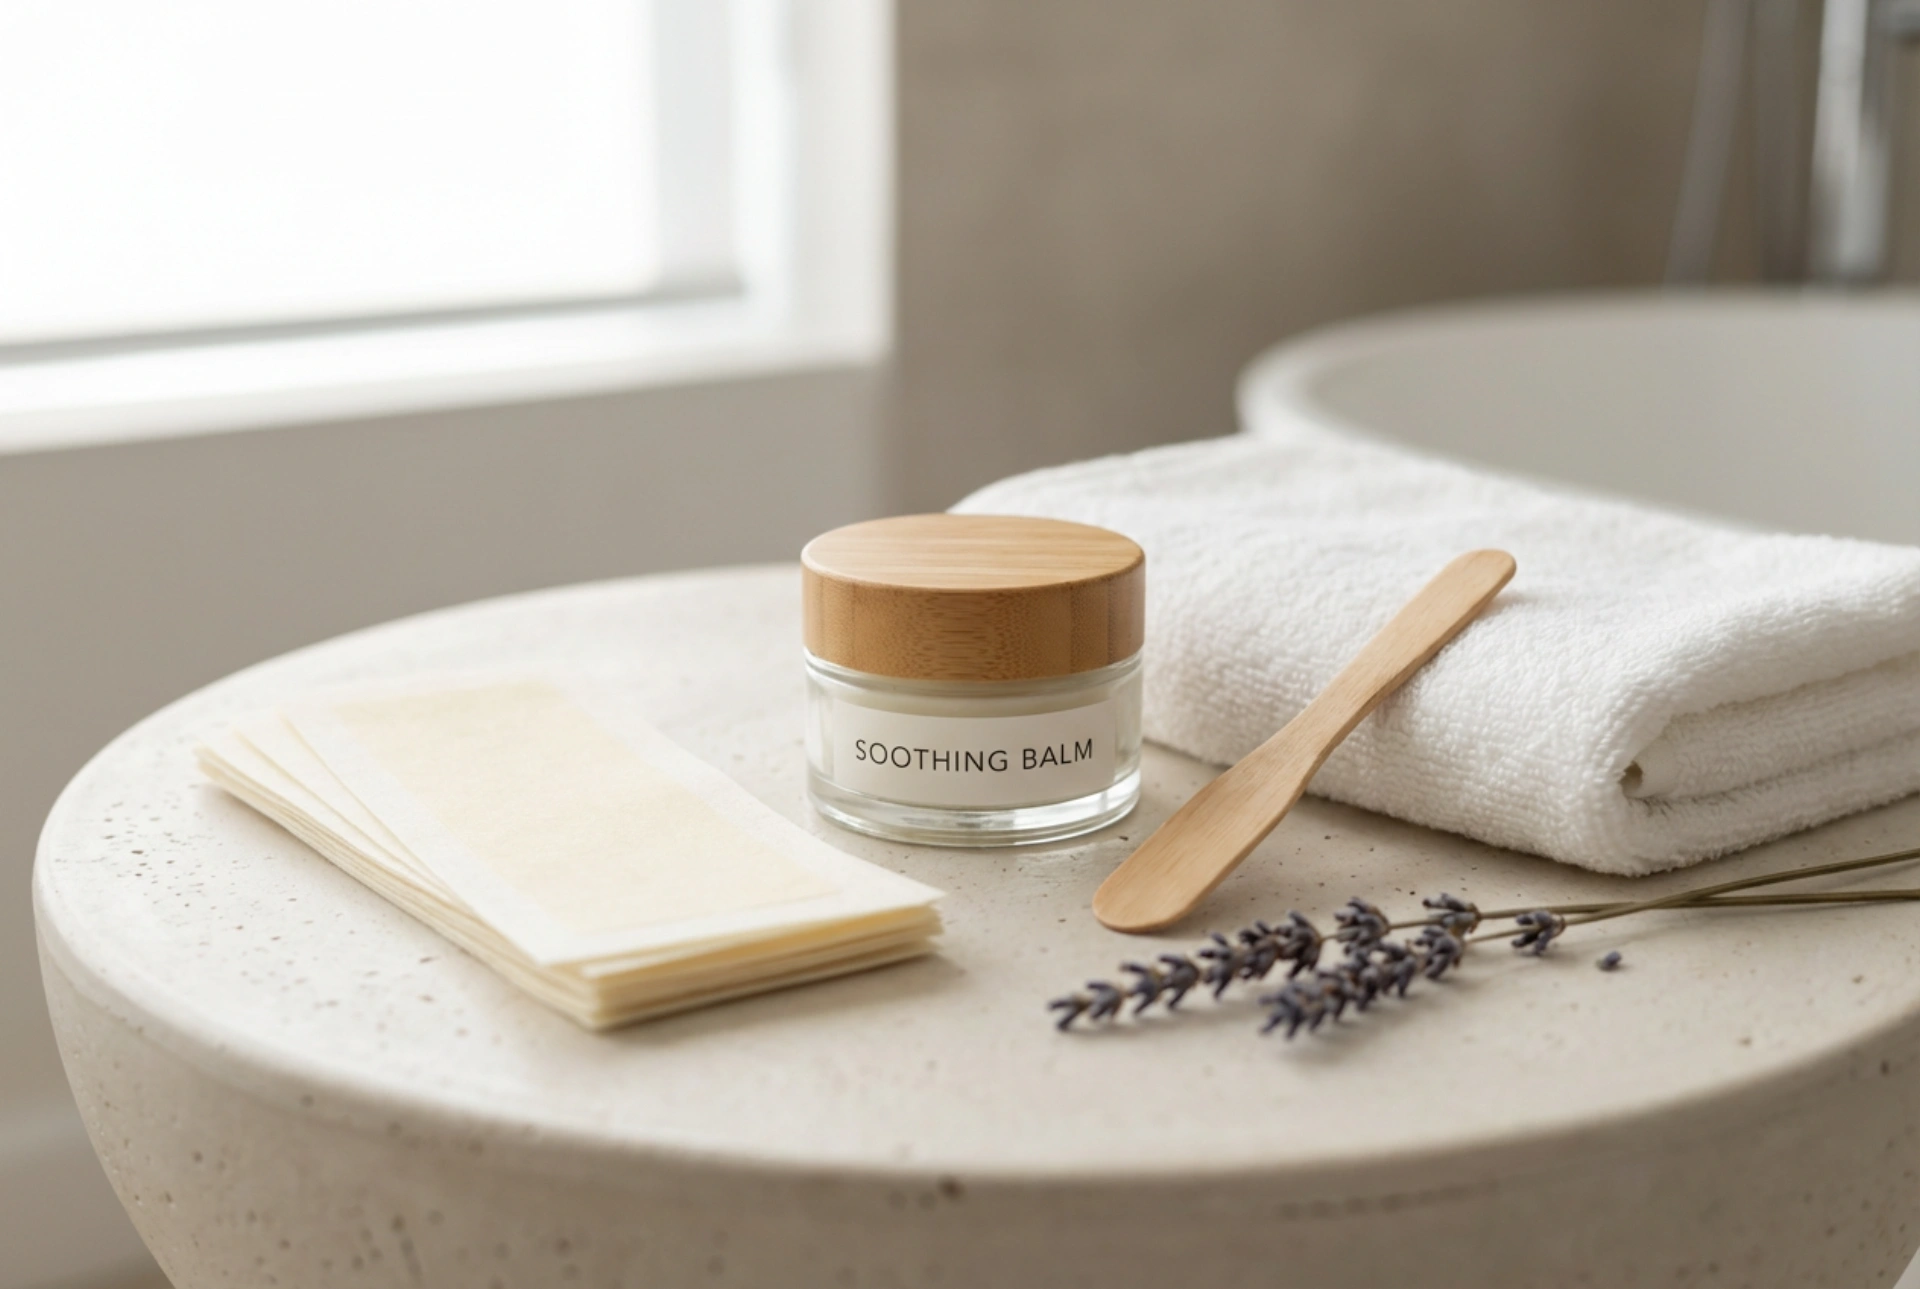
- A post-wax oil or soothing, fragrance-free lotion.
- Clean tissues for any clean-up.
Always perform a patch test on a small, discreet area of skin, like your inner wrist, 24 hours before you plan to wax. This helps you check for any adverse reactions to the wax.
A Step-by-Step Guide to At-Home Nose Waxing
Precision and caution are paramount. The goal is to remove only the hairs that are visible at the entrance of the nostril. Never attempt to insert the applicator deep into the nasal cavity, as the hairs further inside are essential for filtering dust, allergens, and other airborne particles.
The Waxing Process
Follow these steps carefully for a successful and comfortable experience:
- Cleanse the Area: Dip a cotton swab in a pre-wax cleanser and carefully clean the inside rim of your nostrils. This removes natural oils and ensures the wax adheres properly to the hair. Pat the area completely dry with a tissue.
- Heat the Wax: Melt your hard wax beads in a warmer or microwave according to the manufacturer's instructions. The ideal consistency is thick, like honey or treacle. If it's too runny, it's too hot and could cause burns. Test the temperature on your wrist before application.
- Apply the Wax: Dip the specialised applicator tip into the wax, scooping up a small amount. Ensure the wax only covers the end of the applicator, creating a small bulb that will fit just inside your nostril.
- Insert the Applicator: Gently place the wax-covered tip into your nostril. It should only be inserted far enough to target the visible hairs around the lower edge. Do not push it upwards or deep inside. Gently press on the outside of your nostril to ensure the wax makes good contact with the hairs.
- Let it Set: Leave the applicator in place for approximately 60-90 seconds to allow the wax to cool and harden completely. It should feel firm to the touch and not tacky.
- Remove the Applicator: Take a deep breath. With one hand, hold the skin on the side of your nose taut. With your other hand, grip the end of the applicator firmly and pull it straight down in one single, swift movement. The motion should be quick and decisive, not slow and hesitant.
Post-Waxing Aftercare
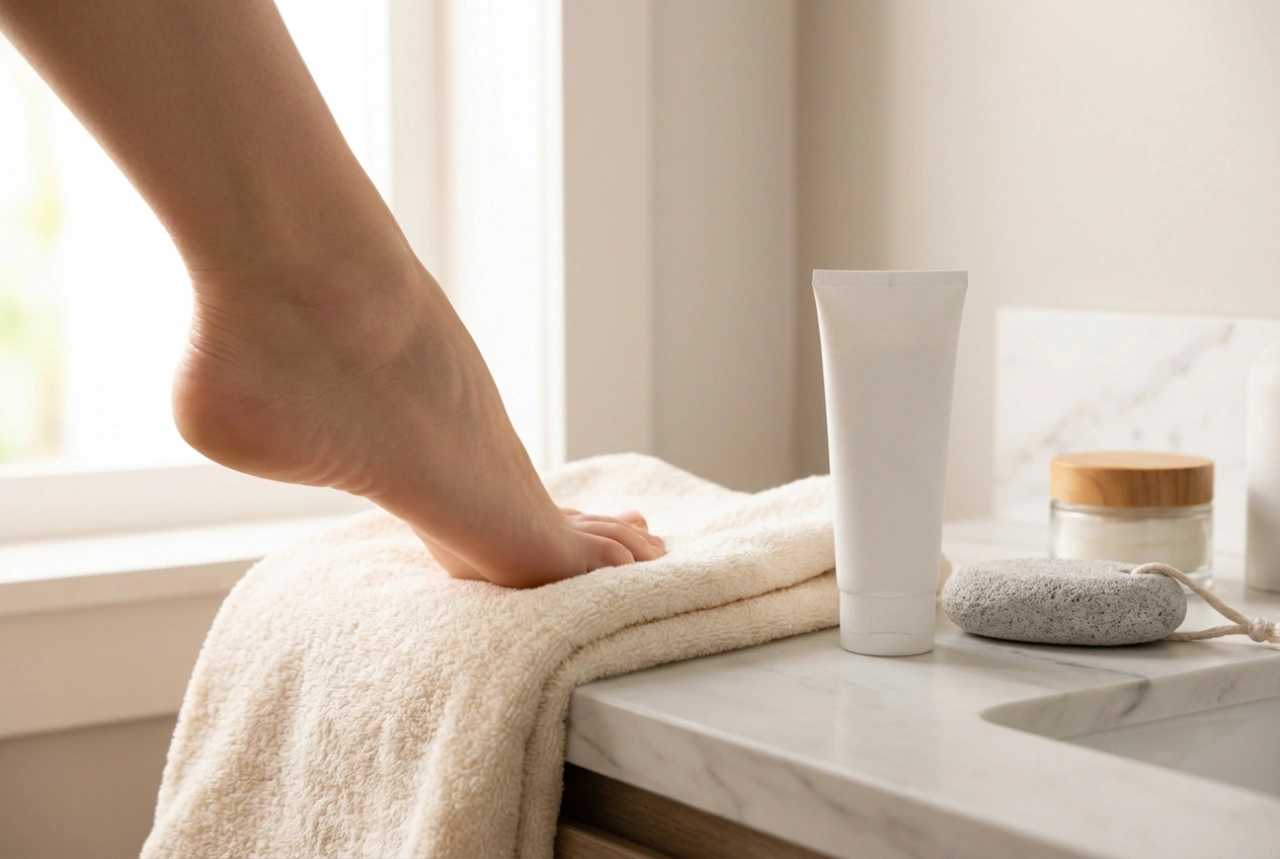
Proper aftercare is crucial for soothing the skin and preventing any potential issues like bumps or irritation. The skin in this area is sensitive, so treat it gently after waxing.
Immediate Care
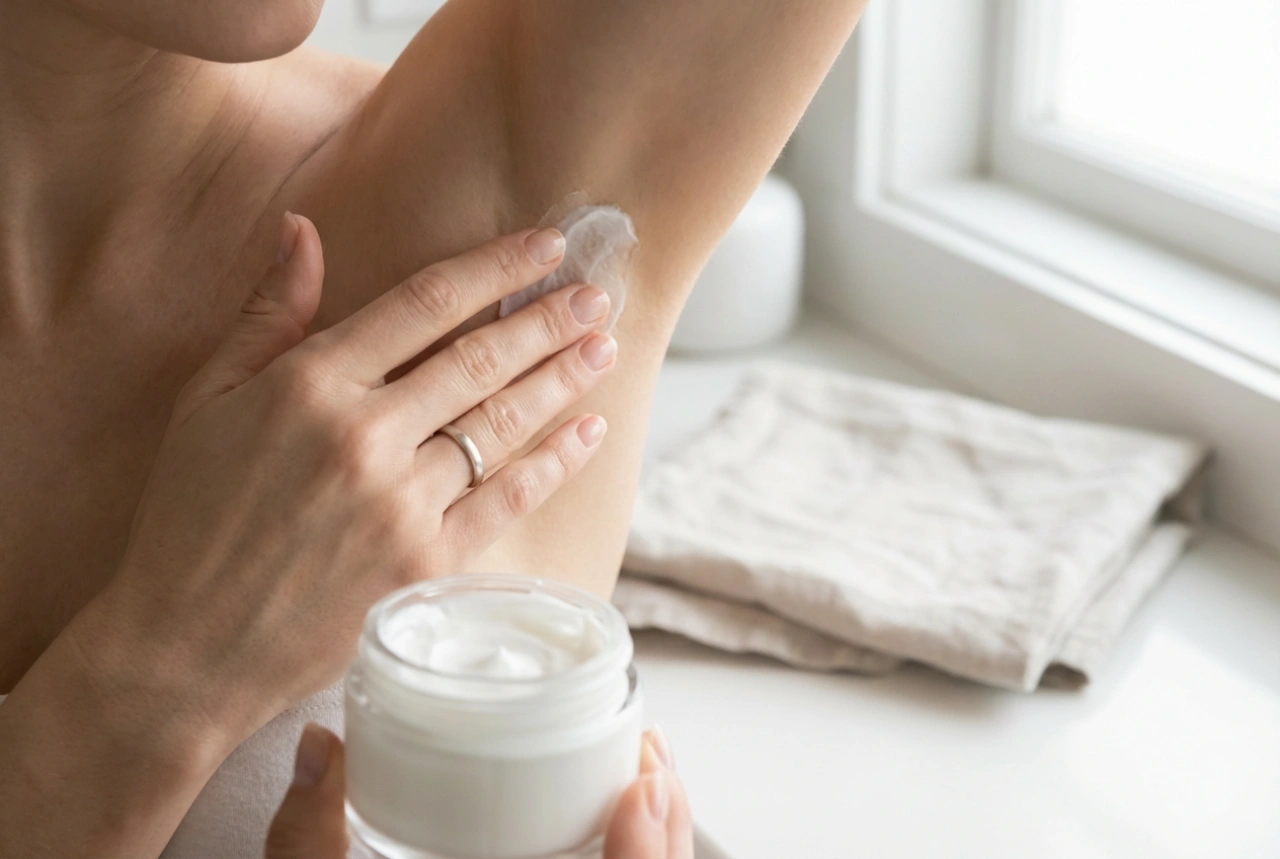
Immediately after removing the applicator, press a clean finger against the area for a few seconds to help calm the skin. Use a post-wax oil or a simple, natural oil like coconut or jojoba oil on a cotton swab to gently remove any wax residue. Follow up by applying a small amount of a soothing, fragrance-free lotion or pure aloe vera gel to reduce redness and calm the skin. A little redness is normal and should subside within a few hours.
What to Avoid After Waxing
For the first 24 hours after waxing, it is important to avoid certain activities to allow the skin to recover fully. Steer clear of:
- Touching the area with unwashed hands to prevent introducing bacteria.
- Applying makeup or perfumed products around or inside the nostrils.
- Hot baths, saunas, steam rooms, and swimming pools.
- Intense exercise that causes excessive sweating.
- Using harsh exfoliants or cleansers on your nose.
By following these guidelines, you can safely and effectively manage nose hair at home, achieving a well-groomed look while prioritising the health of your skin.