


The dream of perfectly smooth, shiny, and easy-to-style hair often leads us to explore various treatments. At-home keratin straightening has become a popular choice for those seeking to tame frizz and achieve a sleek look without leaving the house. Achieving salon-like results requires careful preparation and precise execution. This guide will walk you through the process, highlighting the essential steps and common pitfalls to ensure your at-home treatment is a success.
Preparing for the Treatment: The First Steps to Success
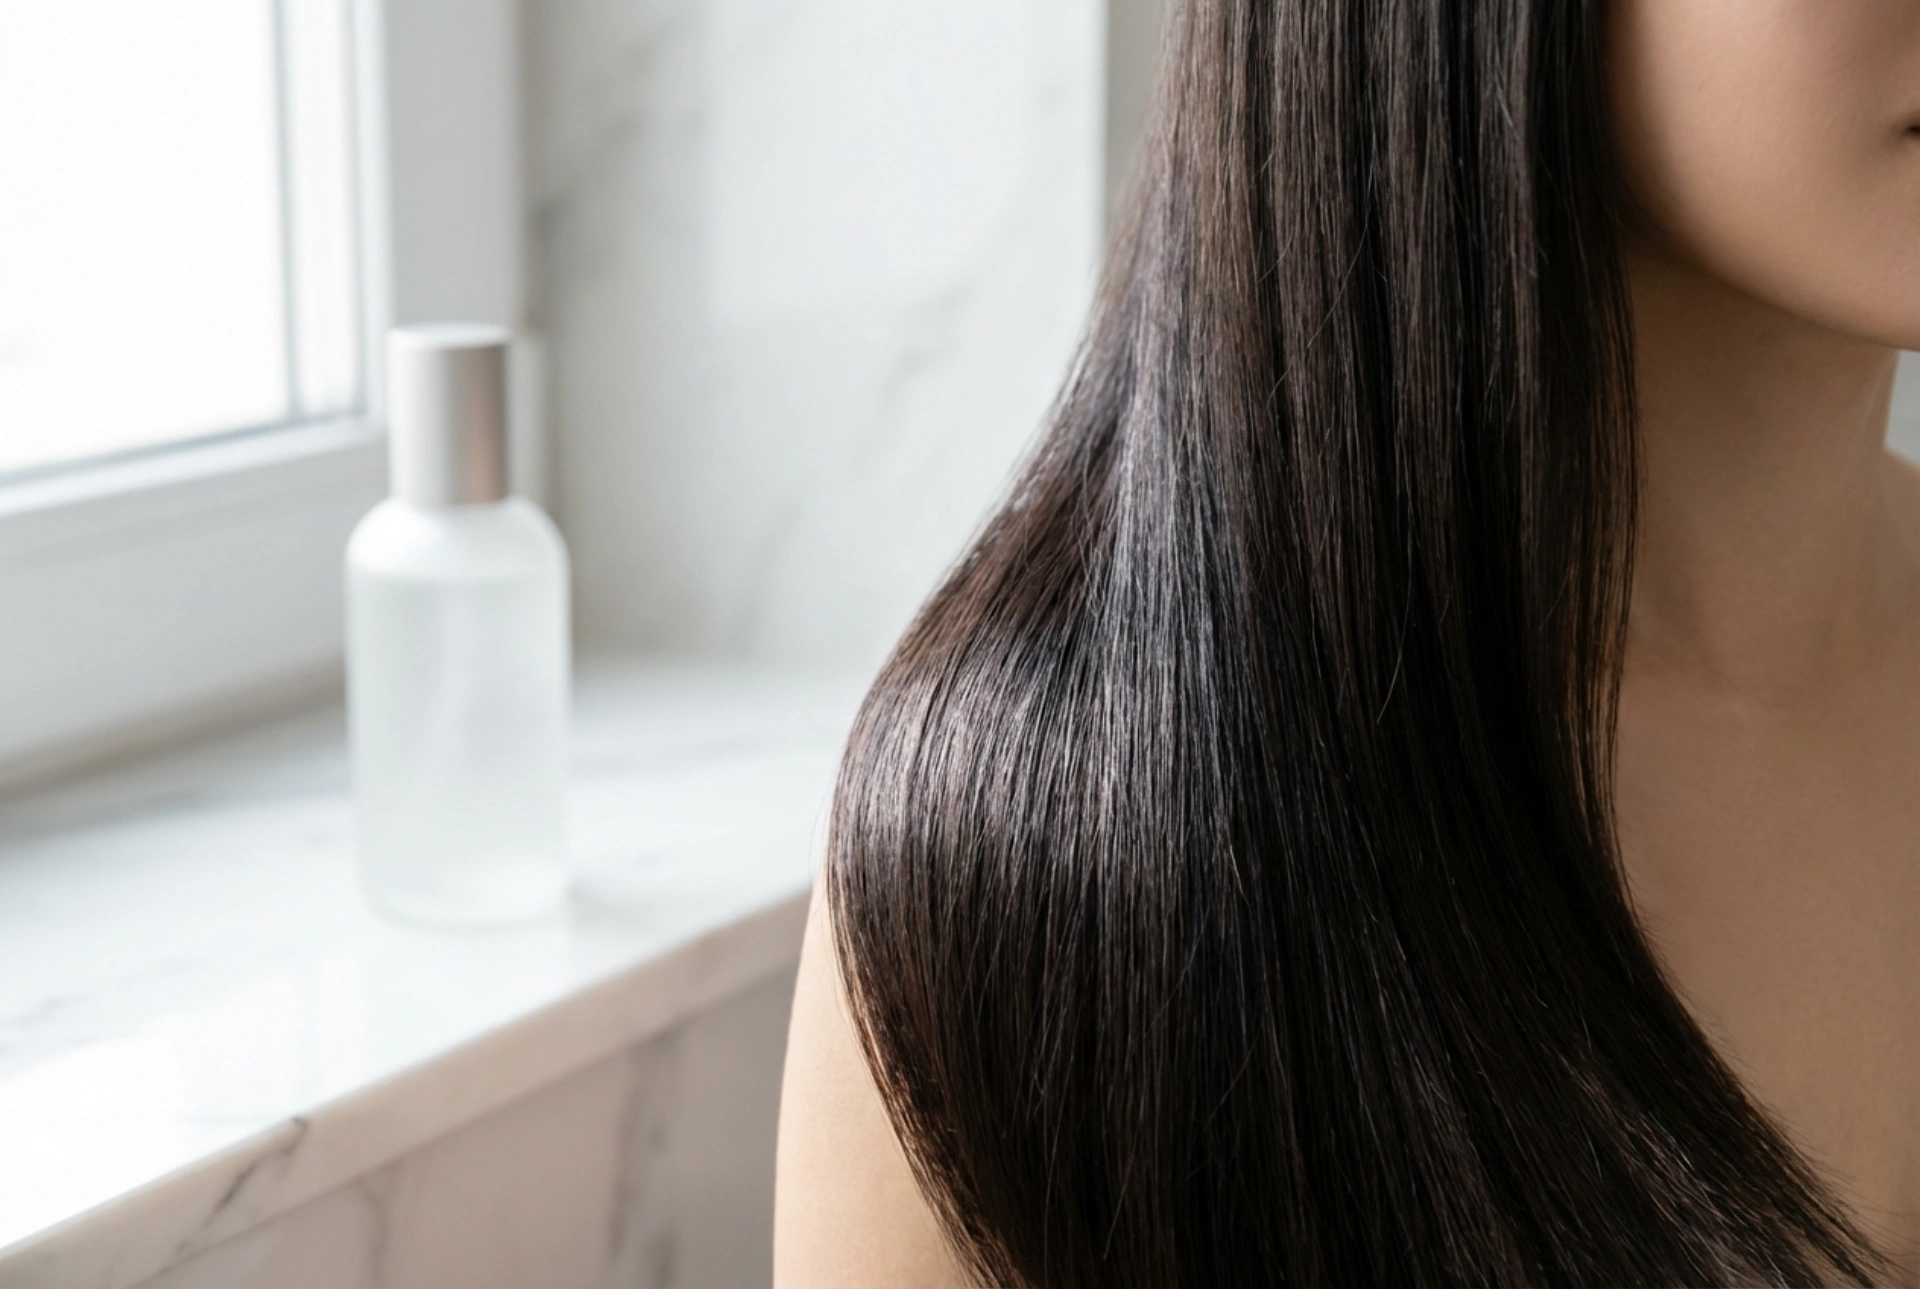
Before you begin, proper preparation is crucial for both safety and effectiveness. The first and most important step is to perform a patch test at least 48 hours before the treatment to check for any allergic reactions. Also, conduct a strand test to see how your hair reacts to the product and to determine the correct processing time. Once you're clear, gather your tools: a non-metallic bowl, an application brush, protective gloves, a fine-tooth comb, hair clips, a powerful blow-dryer, and a high-quality flat iron with adjustable temperature. Your hair must be impeccably clean. Wash it twice with a clarifying shampoo to remove all residues of styling products, oils, and silicones. Do not use conditioner or any other post-wash product. Gently towel-dry your hair until it's about 80% dry, still slightly damp but not dripping wet.
The Application Process: A Step-by-Step Guide
With your hair prepped and tools ready, you can begin the application. It is highly recommended to work in a well-ventilated area to minimise the inhalation of fumes that may be released during the process, especially during the blow-drying and straightening stages.
Applying the Product
Divide your clean, damp hair into four or more manageable sections and secure them with clips. Wearing your gloves, pour the recommended amount of the keratin product into the bowl. Starting from the nape of the neck, take a thin subsection of hair (about 1-2 cm wide). Using the application brush, apply the product evenly, starting about a centimetre away from the scalp and working your way down to the ends. It's vital not to apply the product directly to the scalp. After application, use the fine-tooth comb to distribute the product thoroughly through the strand and remove any excess. Too much product can make the hair greasy and difficult to manage later.
Activation and Processing
Once the product is applied to all sections, let it process according to the manufacturer's instructions. The processing time can vary significantly between different formulas, so adhering to the specific timeframe provided is essential for achieving the desired outcome without damaging your hair. Some products may require you to comb your hair straight every few minutes during this time, while others do not. Always follow the guide that came with your specific kit for the best results.
Drying and Sealing with Heat
After the processing time is complete, do not rinse the product out unless the instructions explicitly say to do so. Using a blow-dryer on a medium heat setting, dry your hair completely. This step can take time, but it's crucial that the hair is 100% dry before you proceed. Next, set your flat iron to the temperature recommended by the product's instructions—this is often based on your hair type and condition (e.g., lower for fine or colour-treated hair, higher for coarse hair). Again, section your hair. Take very thin strands and pass the flat iron over each one several times (usually between 5-10 passes) from root to tip. This heat-sealing process locks the keratin into the hair cuticle, creating the smooth, straight finish.
Common Mistakes to Avoid for a Flawless Finish
Even with a clear plan, small errors can compromise your results. Here are some of the most frequent mistakes to watch out for to ensure your efforts pay off:
- Skipping the Patch and Strand Test: This is a major safety and quality risk. Always test the product on your skin and a small section of hair first.
- Applying Product Directly to the Scalp: Keratin treatments are formulated for the hair shaft, not the skin. Applying it to the scalp can cause irritation, clog follicles, and result in excessive greasiness.
- Using Too Much Product: Over-saturating the hair makes it difficult to dry and straighten, can weigh it down, and often leads to a sticky or greasy finish instead of a silky one.
- Insufficiently Clean Hair: Any residue left on the hair can create a barrier, preventing the keratin from penetrating the hair cuticle properly and reducing the treatment's effectiveness.
- Incorrect Flat Iron Temperature: If the temperature is too low, the keratin won't seal correctly into the hair shaft. If it's too high, you risk severe heat damage.
- Not Drying Hair Completely: Straightening even slightly damp hair with a high-heat flat iron can cause the water inside the hair shaft to boil, leading to significant damage and breakage.
Aftercare: How to Prolong the Sleek Effect
The work isn't over once the flat iron is turned off. Proper aftercare is key to maintaining your smooth results for as long as possible. Most treatments require a waiting period of 24 to 72 hours before you can wash your hair, get it wet, or even tie it up. During this time, keep your hair as straight and dry as possible to allow the keratin to fully set. When it's time for the first wash, switch to a sulphate-free and sodium chloride-free shampoo and conditioner. These gentler formulas won't strip the keratin from your hair prematurely. Try to minimise exposure to chlorine in swimming pools and salt water, as they can shorten the lifespan of the treatment. Gentle handling, using silk or satin pillowcases, and less frequent washing will help you enjoy your silky, straight hair for weeks to come.


