


At-home beauty routines have become increasingly sophisticated, allowing us to achieve professional-level results in the comfort of our own space. One such area is hair removal, particularly for the delicate bikini zone. With the right technique and preparation, using a quality warm wax can lead to beautifully smooth skin. Intimate waxing, especially the Brazilian style, is popular for its clean, long-lasting finish. Understanding the process is key to a successful and comfortable experience.
Understanding Bikini Waxing Styles
Before you begin, it's helpful to know the difference between the most common styles of bikini waxing. This ensures you choose the method that gives you the desired result.
The Classic Bikini Wax
This is the most basic style. A classic bikini wax involves removing hair from the sides of your pubic region, essentially tidying up any hair that would be visible outside the edges of a standard bikini bottom. It's a great starting point for those new to waxing the area, as it is the least extensive.
The Brazilian Wax
The Brazilian wax takes things a step further. It typically involves removing almost all the hair from the front, back, and everything in between. Often, a small strip or triangle of hair, sometimes called a 'landing strip', is left at the front, but this is a matter of personal preference. A 'Hollywood' wax is a variation where every single hair is removed. The Brazilian is chosen for a completely smooth look and feel.
Preparing for Your At-Home Brazilian Wax
Proper preparation is crucial for a safer, more effective, and less uncomfortable waxing session. Rushing this step can lead to skin irritation and less-than-perfect results.
Skin and Hair Prep
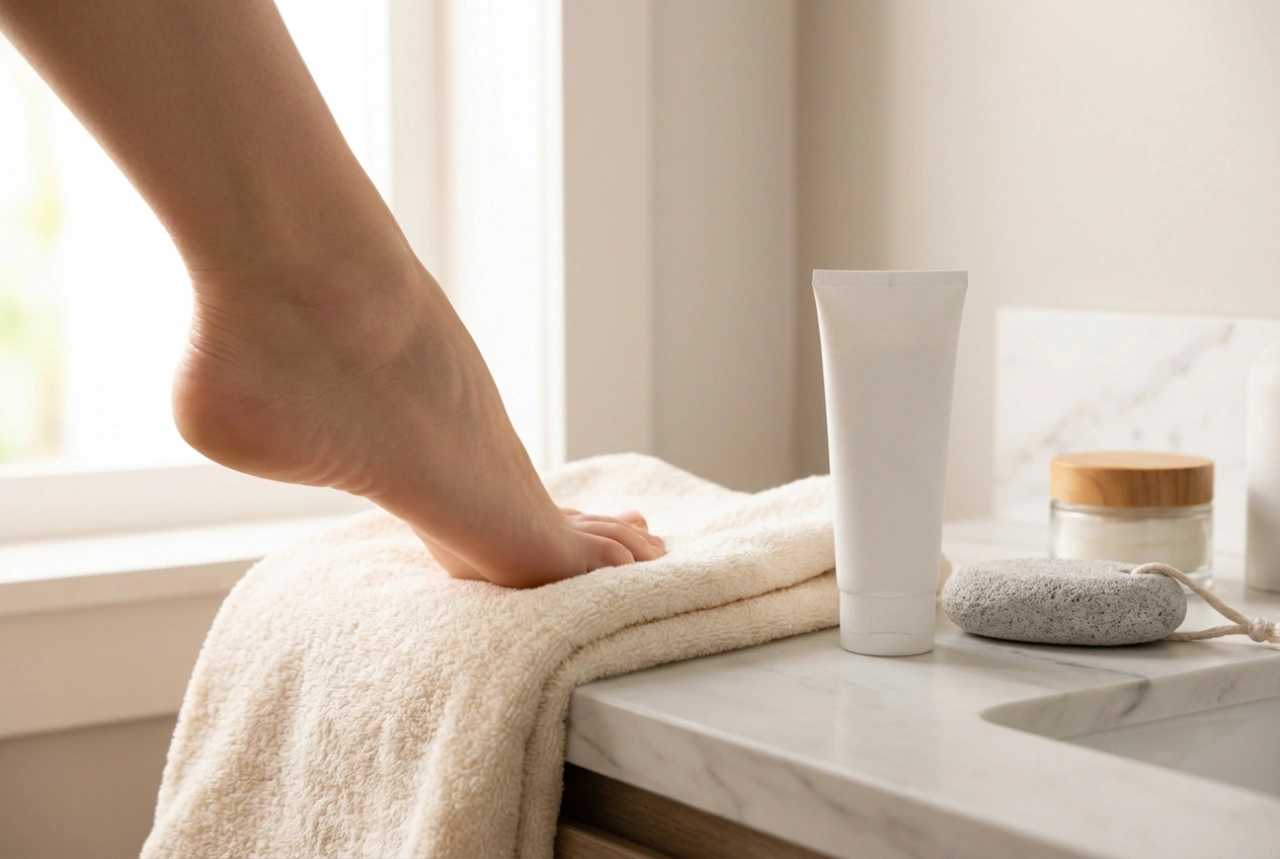
For wax to grip effectively, your hair needs to be the right length – about the length of a grain of rice (around 6mm). If it's too short, the wax won't grab it; if it's too long, the process can be more uncomfortable. Trim longer hair carefully with scissors or clippers before you start. Gently exfoliate the area with a mild scrub or brush 24-48 hours before waxing. This helps remove dead skin cells and allows for a cleaner wax. On the day of waxing, ensure the skin is clean, dry, and free from any oils or lotions.
Gathering Your Supplies
Having everything ready will make the process go smoothly. You will need:
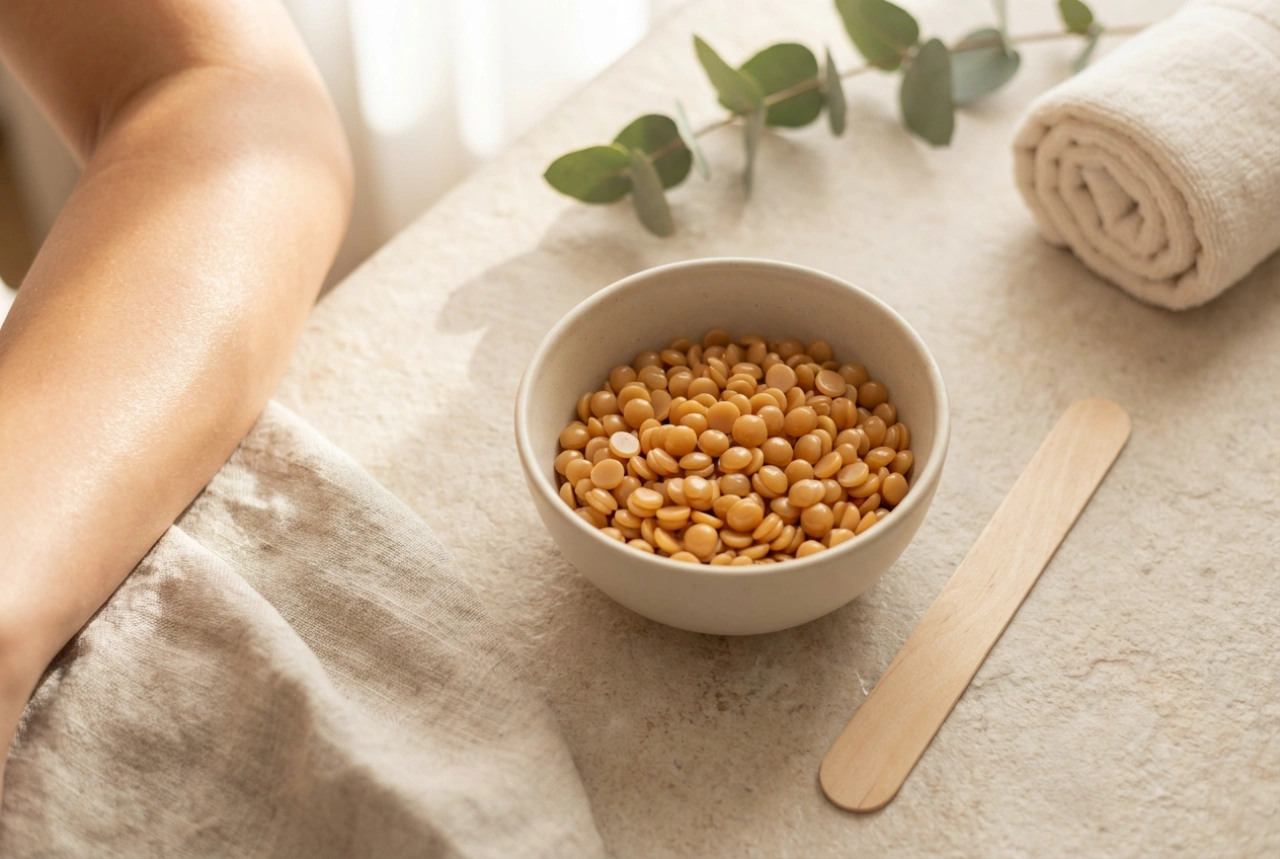
- A quality hard wax: Hard wax is generally recommended for the bikini area. It adheres to the hair rather than the skin, which can make it less uncomfortable for sensitive zones.
- A wax warmer: This is essential for heating the wax to the correct temperature and consistency and keeping it that way throughout the process.
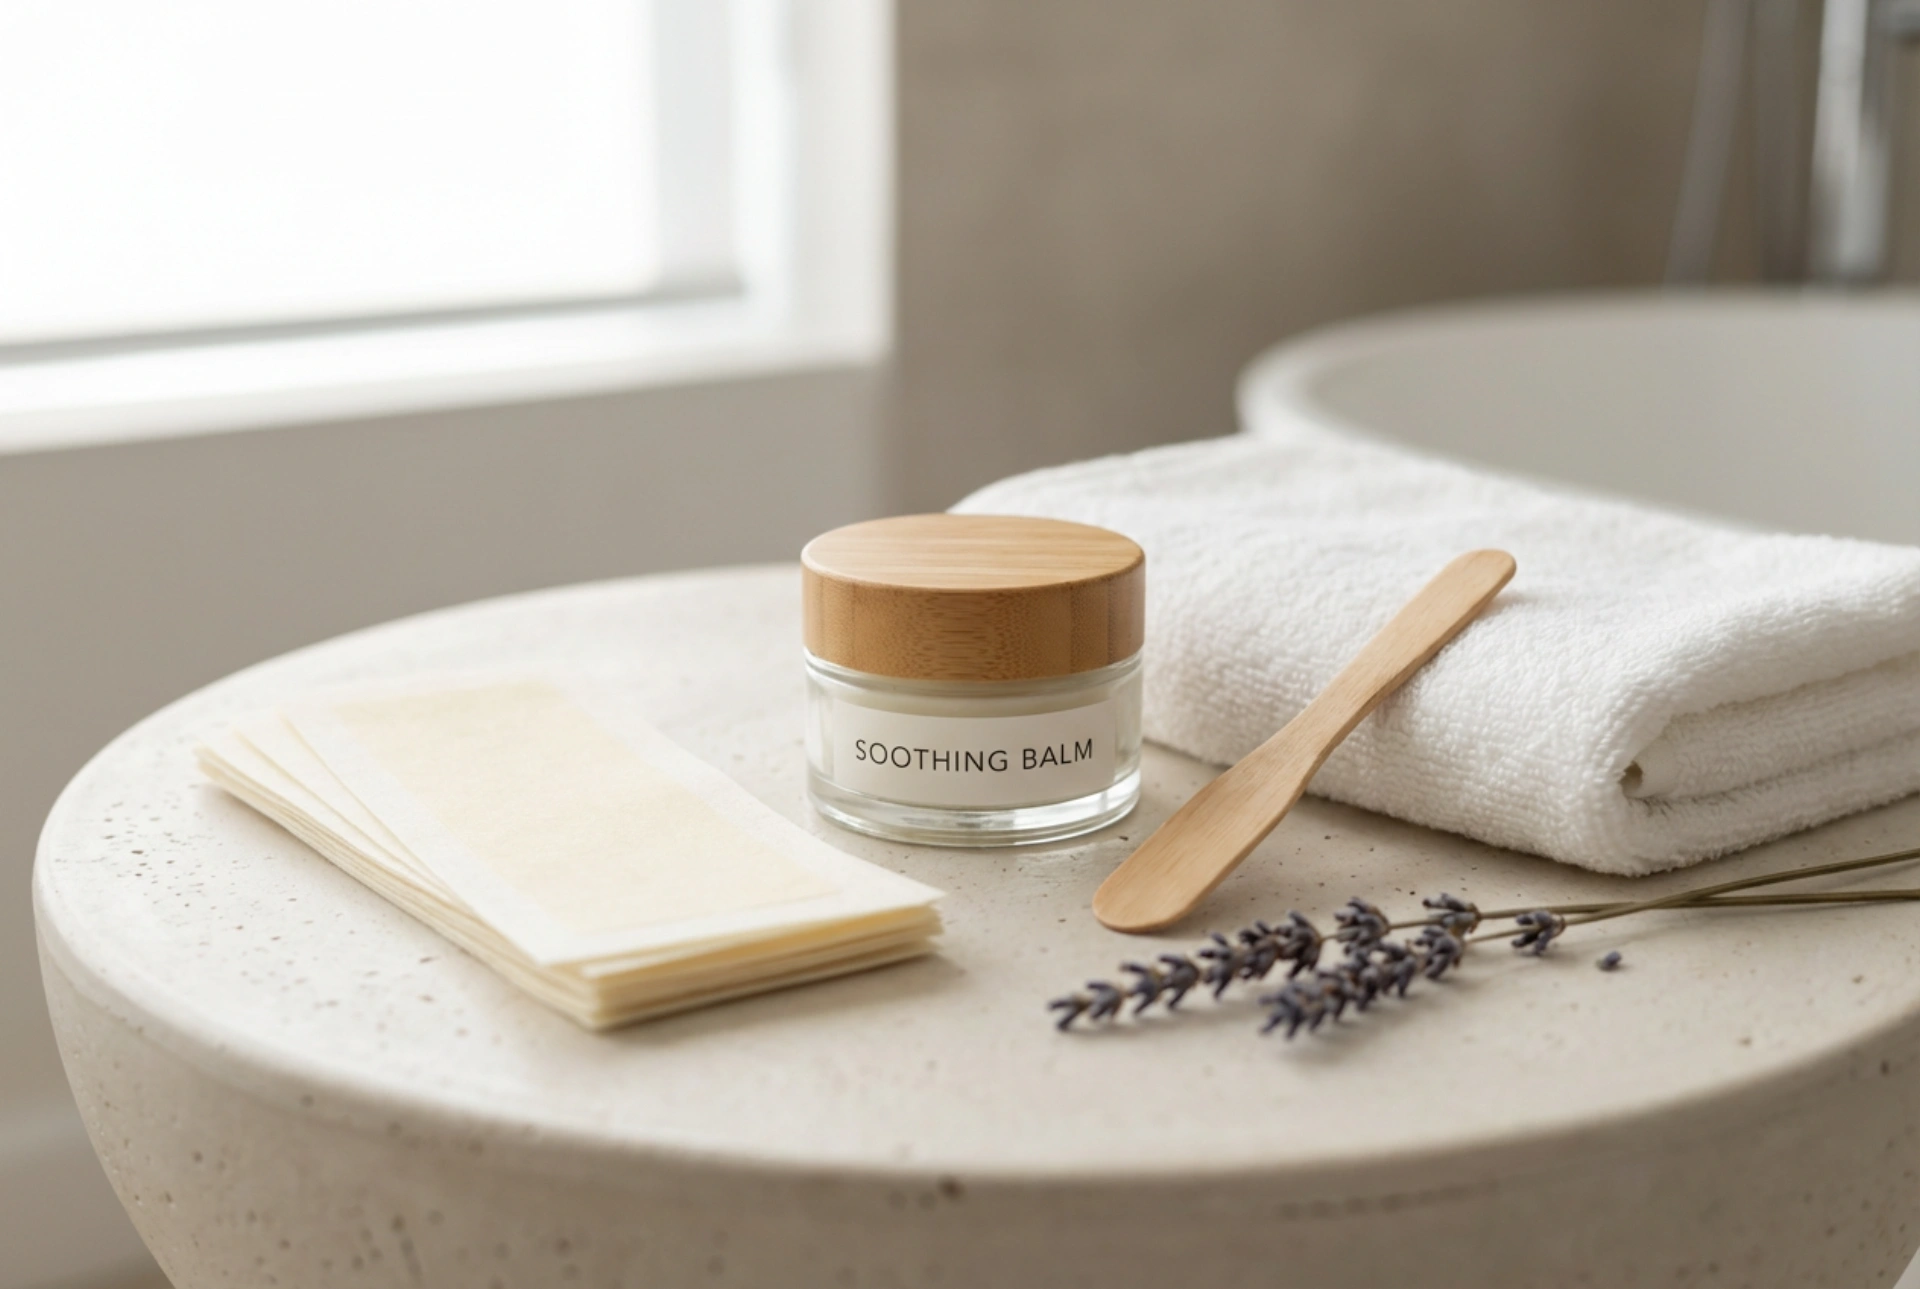
- Applicator sticks: Use a new stick for each application to maintain hygiene.
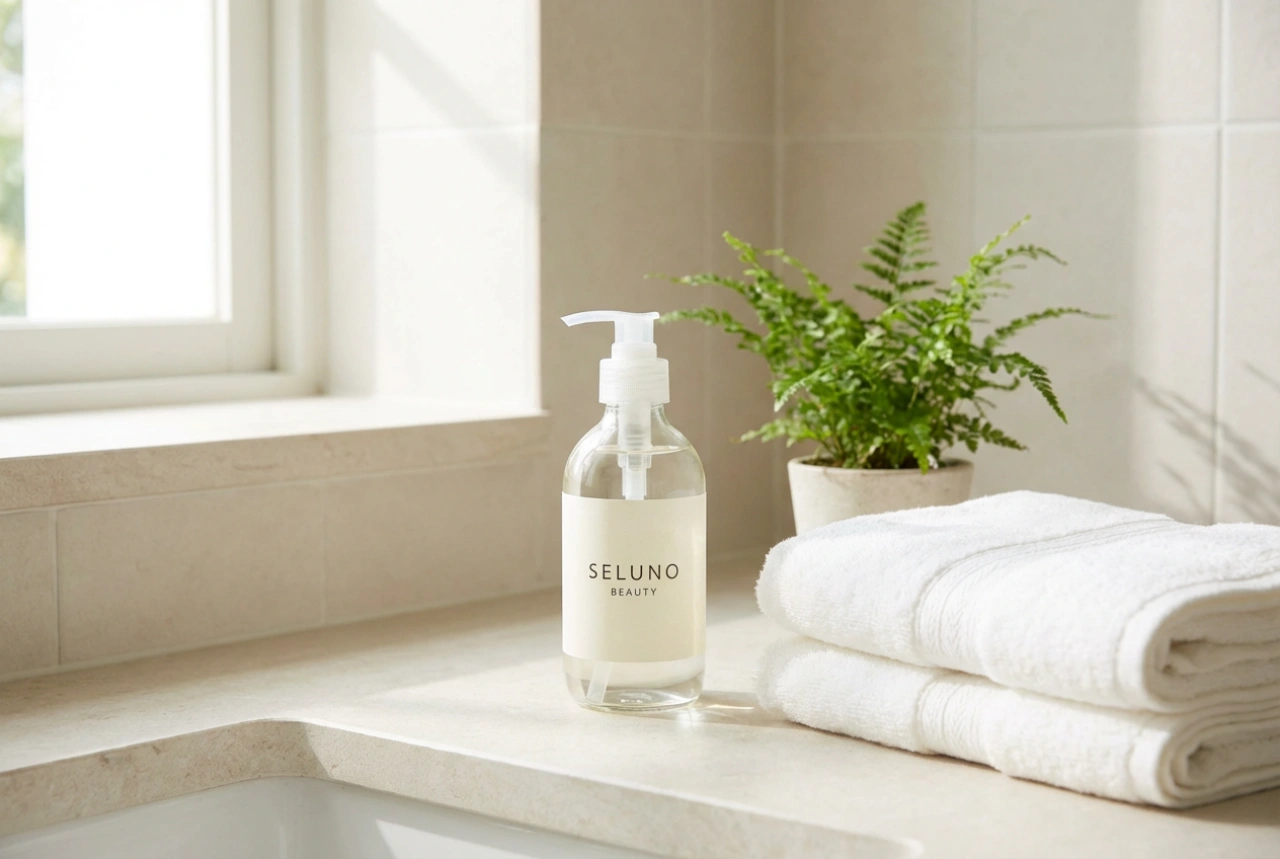
- A pre-wax cleanser: To clean the skin and ensure it's ready for waxing.
- A post-wax oil or soothing lotion: To calm the skin and remove any wax residue.
A Step-by-Step Guide to At-Home Brazilian Waxing
Patience and a methodical approach are your best friends here. Work in a well-lit, comfortable space where you won't be disturbed.
- Patch Test: Always perform a patch test on a small, less sensitive area of your skin 24 hours before, especially if using a new product, to check for any adverse reactions.
- Heat the Wax: Follow the instructions for your wax warmer. The ideal consistency is thick like honey or treacle. It should not be thin or runny, as this indicates it's too hot.
- Cleanse the Area: Apply the pre-wax cleanser to the entire area you plan to wax, then pat completely dry. A little talc-free powder can help absorb any excess moisture.
- Apply the Wax: Dip a clean applicator into the wax. Working in small, manageable sections (about 2-3 cm wide), apply the wax in the direction of hair growth. Apply with firm pressure to ensure the wax coats the hair.
- Let it Set: The hard wax will cool and set in about 30-60 seconds. It's ready when it's no longer tacky to the touch.
- Remove the Strip: Hold the skin taut with one hand. With the other, flick up the edge of the wax strip and pull it off quickly and firmly in the opposite direction of hair growth. Keep the pulling motion parallel to the skin, not up and away from it. Breathe out as you pull.
- Continue in Sections: Repeat the process, working in small sections. Avoid going over the same area more than twice in one session to prevent irritation. Use a mirror to help with hard-to-see spots.
Essential Aftercare
What you do after waxing is just as important as the preparation.
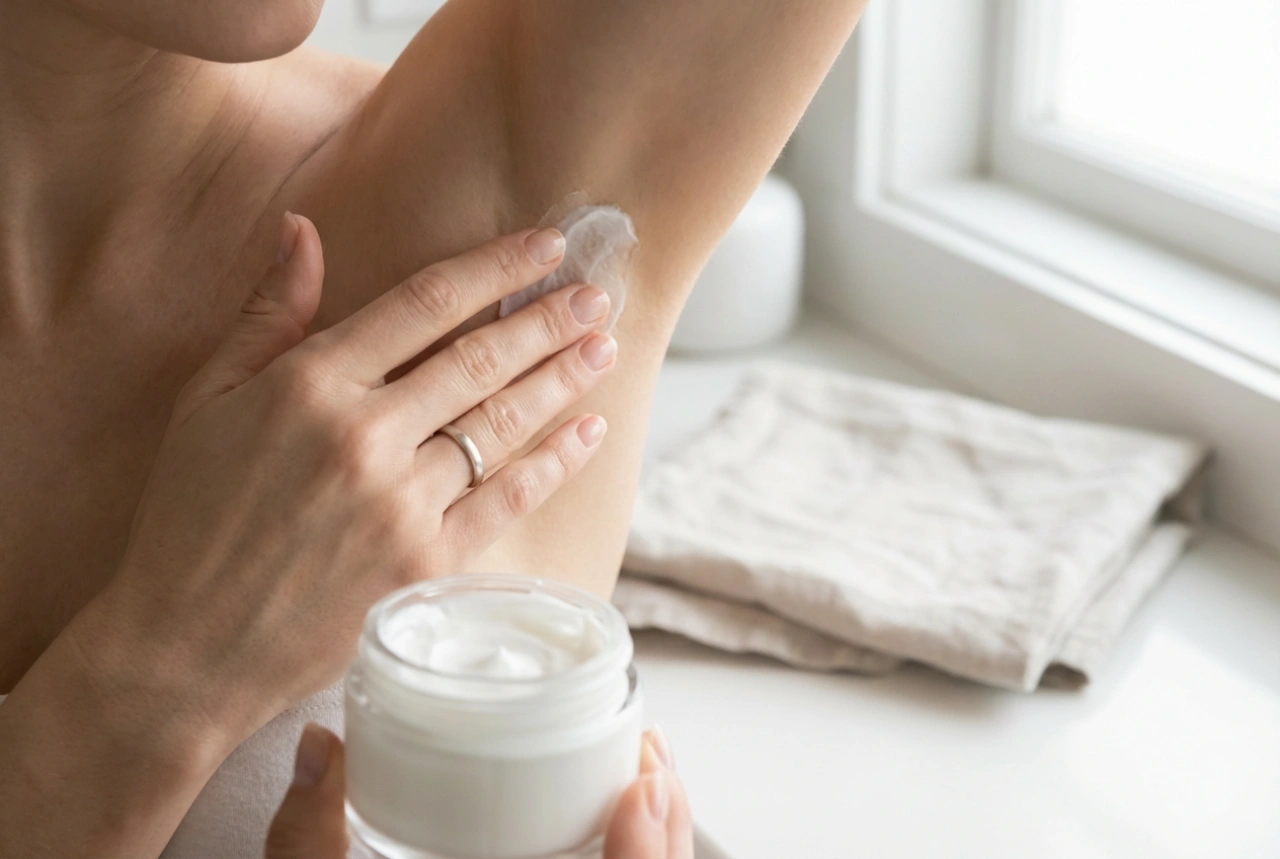
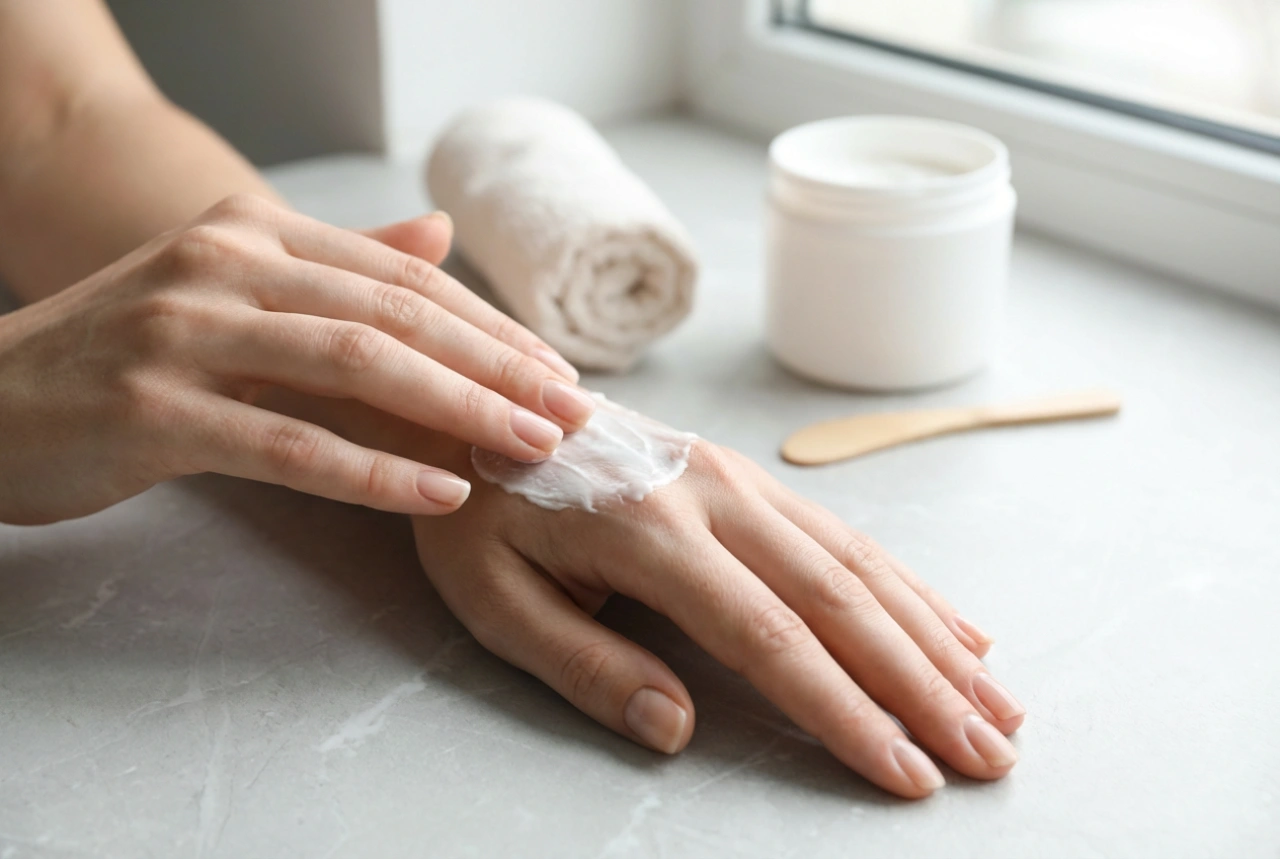
Immediate Care
Once you've finished, apply the post-wax oil to soothe the skin and dissolve any remaining wax residue. For the next 24-48 hours, avoid hot baths, saunas, swimming pools, intense exercise, and tight-fitting clothing. This helps prevent irritation and allows the skin to recover.
Long-Term Maintenance
To help prevent ingrown hairs, begin gently exfoliating the area 2-3 times a week, starting a few days after your wax session. Keep the skin moisturised daily with a light, non-comedogenic lotion. This will keep the skin supple and help new hairs grow through the surface without issue. With consistent care, you can maintain smooth, beautiful results until your next waxing session.