


Eyeliner is one of the most transformative tools in any makeup collection. With a single stroke, it can define, shape, and accentuate the eyes, creating looks that range from subtle and natural to bold and dramatic. The variety of products available, from classic pencils to precise liquid liners and creamy gels, means there's a perfect option for every skill level and desired effect. This guide will walk you through the different types of eyeliner, how to prepare your eyes for application, and the techniques you need to achieve a flawless finish every time.
Choosing Your Eyeliner
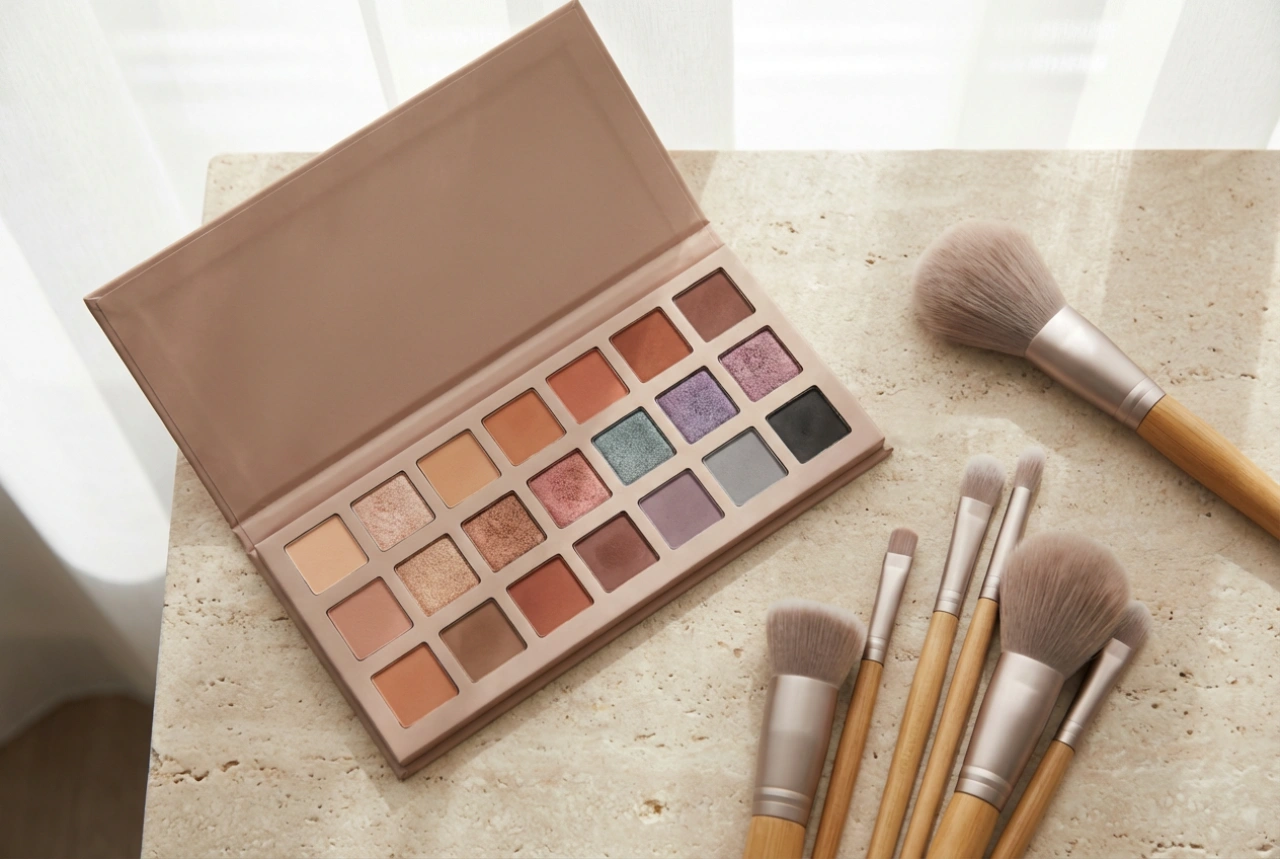
The first step to mastering eyeliner is understanding the tools. Each type offers a different finish and application experience, so finding the right one for you is key.
Pencil Eyeliner
This is often the first eyeliner people try, and for good reason. Pencils are versatile and forgiving. They are ideal for creating a soft, smudged look along the lash line or for applying colour to the waterline. Their waxy or kohl formula allows for easy blending. For a more defined line, ensure your pencil is well-sharpened. For a smokier effect, use the side of a slightly blunter tip and smudge with a brush or cotton bud.
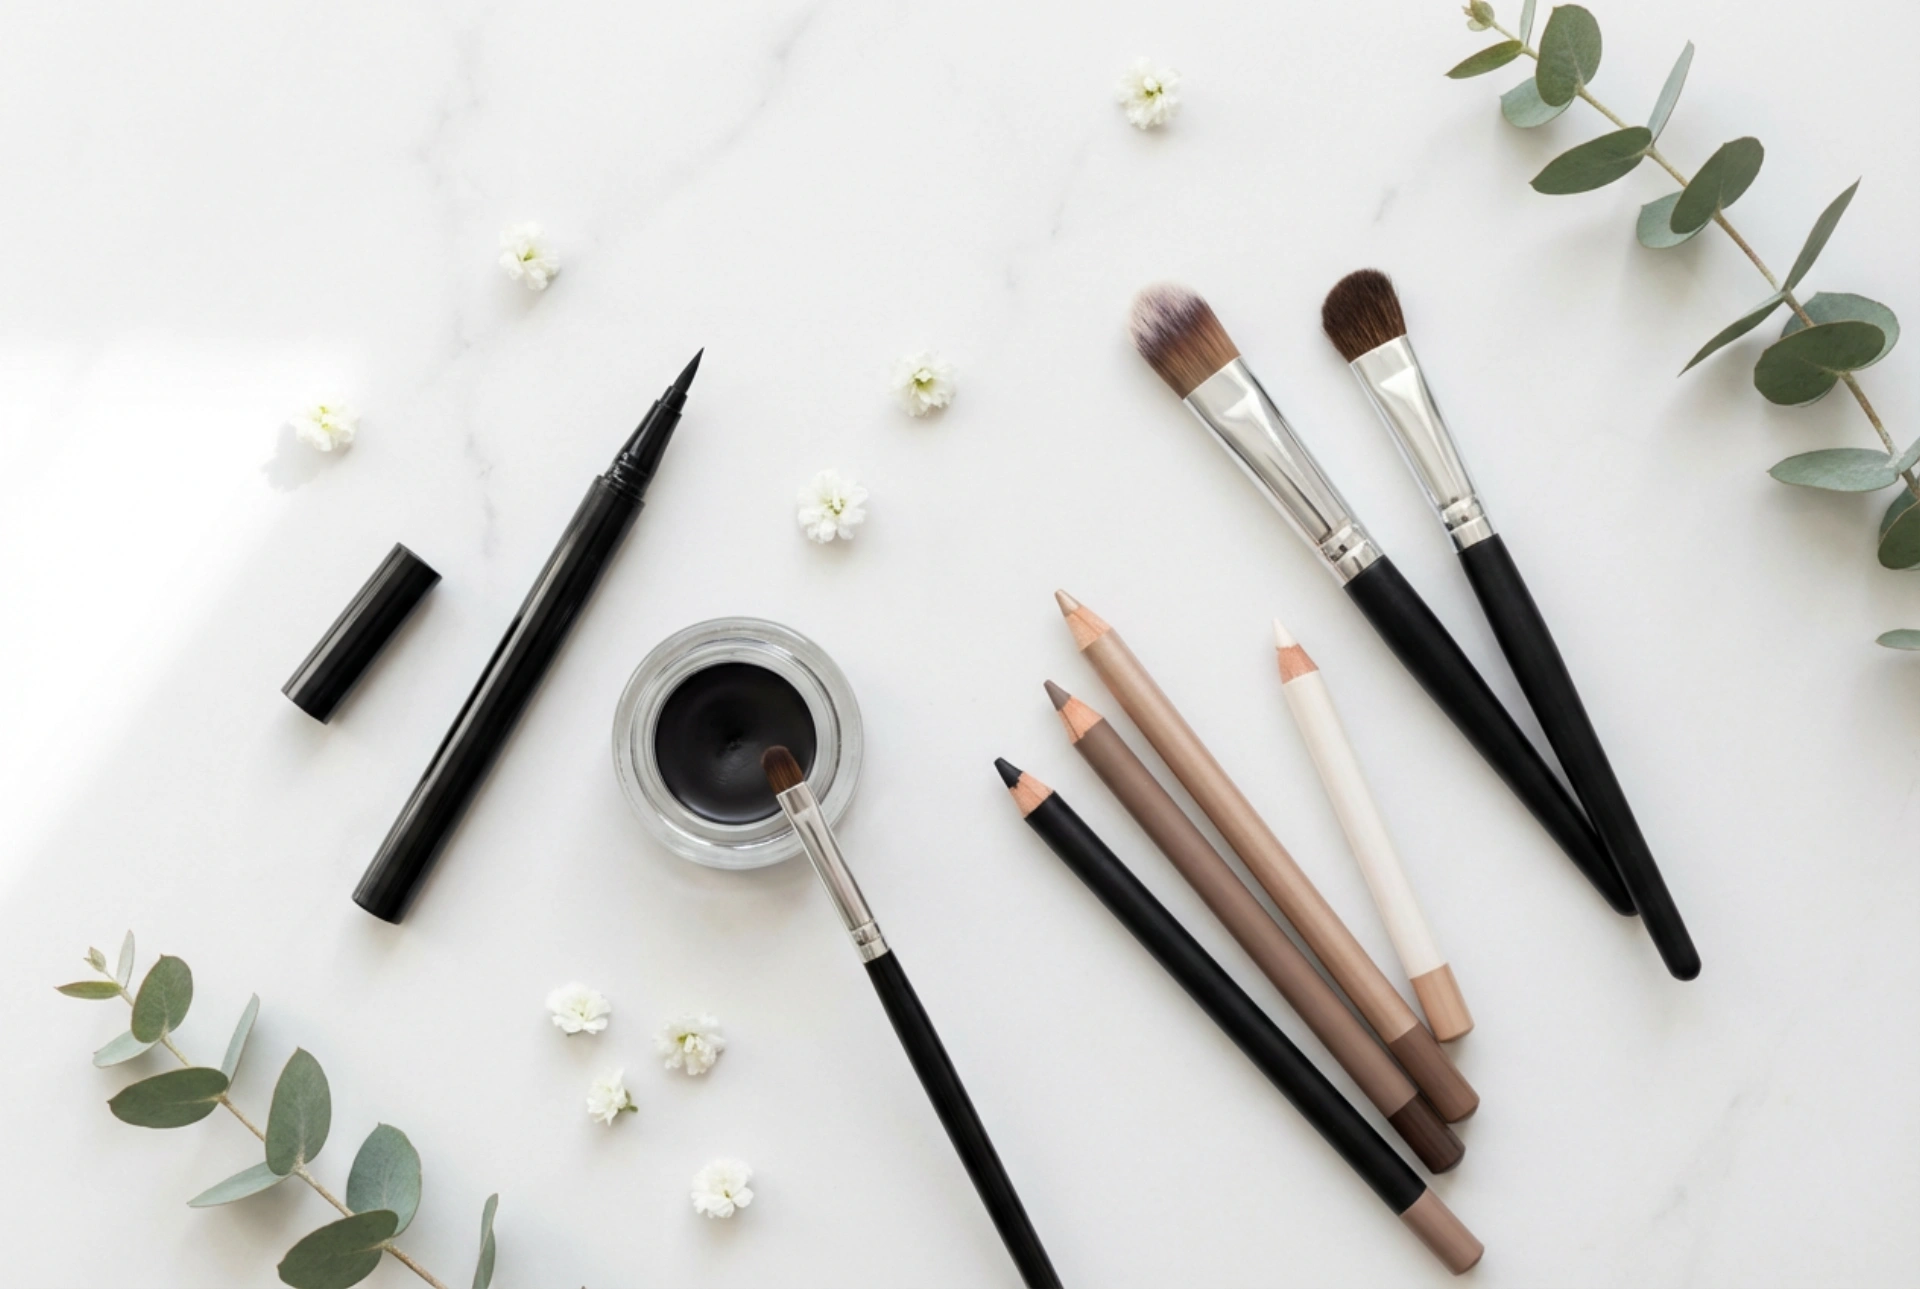
Liquid Eyeliner
Liquid liner is the key to achieving sharp, crisp, and defined lines. It typically comes in a bottle with a fine brush applicator or as a convenient felt-tip pen. While it can have a steeper learning curve due to its liquid consistency, the results are unmatched for creating classic winged liner and graphic looks. It dries to a long-lasting finish that resists smudging, but mistakes need to be cleaned up quickly before it sets.
Gel Eyeliner
Gel eyeliner offers the best of both worlds. It usually comes in a small pot and is applied with a separate eyeliner brush, giving you complete control over the thickness and shape of your line. The creamy texture glides on smoothly, allowing for the precision of a liquid liner with the blendability of a pencil before it sets. Gel liners are known for their intense pigmentation and excellent staying power, making them a favourite for many.
Preparation for a Perfect Application
A beautiful eyeliner application starts with a well-prepped base. This not only makes the eyeliner easier to apply but also ensures it lasts all day without smudging or fading.
- Start with a Clean Base: Ensure your eyelids are clean and free from any oils. This provides a smooth canvas for your makeup.
- Apply an Eyeshadow Primer: A thin layer of eyeshadow primer is a game-changer. It creates a slightly tacky surface for the eyeliner to adhere to, enhances its colour, and dramatically improves its longevity.
- Set the Primer: Lightly dust a neutral-coloured eyeshadow over the primer. This step helps to absorb any excess oil and prevents the eyeliner from skipping or dragging during application.
Fundamental Application Techniques
Patience and a steady hand are your best friends when applying eyeliner. Find a comfortable position, rest your elbow on a stable surface, and use a mirror that allows you to see your lash line clearly.
The Connect-the-Dots Method
This technique is perfect for beginners who struggle with drawing a single, continuous line. Using your chosen eyeliner, place a series of small dots or dashes as close to your lash line as possible, from the inner to the outer corner. Then, simply go back and gently connect them to form a solid, smooth line. This method gives you more control and helps prevent a wobbly result.
Creating a Classic Wing
The winged eyeliner is a timeless look that elegantly lifts the eye. It can be broken down into simple, manageable steps:
- Map the Angle: Imagine a line extending from your lower lash line up towards the end of your eyebrow. This is the angle your wing should follow. Use your eyeliner to draw a short line from the outer corner of your eye, following this angle.
- Draw the Top Line: Place the tip of your eyeliner at the end of the line you just drew and draw a second line back towards the centre of your lash line, creating a small triangle.
- Fill It In: Carefully fill in the triangle outline with your eyeliner.
- Connect to the Inner Corner: Complete the look by drawing a thin line from the inner corner of your eye to connect with the filled-in wing, keeping the line as close to your lashes as possible.
Tightlining: The Invisible Liner
For a more natural look, try tightlining. This technique involves applying eyeliner to the upper waterline (the strip of skin beneath your upper lashes). It subtly fills in the gaps between your lashes, making your lash base appear thicker and more defined without a visible line on your eyelid. A waterproof pencil is often the best tool for this job.
Tips for a Flawless Finish
A few extra tips can elevate your eyeliner game from good to great.
- Start Thin: It's always easier to add more eyeliner than to take it away. Begin with a very thin line and build up the thickness gradually until you achieve your desired look.
- Embrace Clean-ups: Mistakes happen! Keep a pointed cotton bud and a small amount of makeup remover on hand to easily sharpen lines or clean up any smudges for a professional finish.
- Adapt to Your Eye Shape: While there are no hard rules in makeup, you can enhance your natural eye shape with different eyeliner styles. Experiment with line thickness and wing length to see what makes you feel most confident.
Mastering eyeliner is a skill that comes with practice. Don't be discouraged if your first few attempts aren't perfect. Experiment with different products, practise the techniques, and discover the styles that best express your creativity. With a little time and patience, you'll be creating stunning eye looks with ease.