


Bringing a touch of the professional spa into your home beauty routine can be deeply rewarding. One treatment that perfectly captures this essence is the alginate mask. Known for its unique rubbery texture and satisfying peel-off removal, it offers a moment of tranquility and leaves the skin feeling exceptionally refreshed and hydrated. Mastering the art of preparing and applying this mask is simpler than it seems and can elevate your skincare ritual to a new level.
What is an Alginate Mask?
An alginate mask, often called an algae mask or a peel-off modelling mask, is a professional-grade facial treatment that has become accessible for home use. Its primary ingredient is alginate, a natural substance derived from the cell walls of brown algae (seaweed). This comes in a fine powder form which, when mixed with water, undergoes a chemical reaction to form a flexible, gel-like substance. This unique property is what allows it to be applied as a paste and then peeled off in a single, rubbery piece, making for a mess-free removal.
The Benefits for Your Skin
The main advantage of an alginate mask is its occlusive nature. Once applied, it creates a seal over the skin. This has two key benefits. Firstly, it provides an intense cooling and soothing sensation, which is wonderful for calming the complexion. Secondly, this barrier prevents the water within the mask from evaporating, pushing hydration and any active ingredients from the mask (or a serum applied underneath) deep into the epidermis. This results in skin that looks visibly plump, dewy, and feels incredibly soft and smooth.
Preparing Your Alginate Mask Step-by-Step
Proper preparation is the key to a successful alginate mask experience. Since the mixture sets quickly, having everything ready beforehand is crucial. Follow these steps for a smooth process.
- Gather Your Tools: You will need a small bowl (preferably plastic or rubber, not metal), a spatula for mixing and applying, and measuring scoops. Many alginate masks come with these tools included.
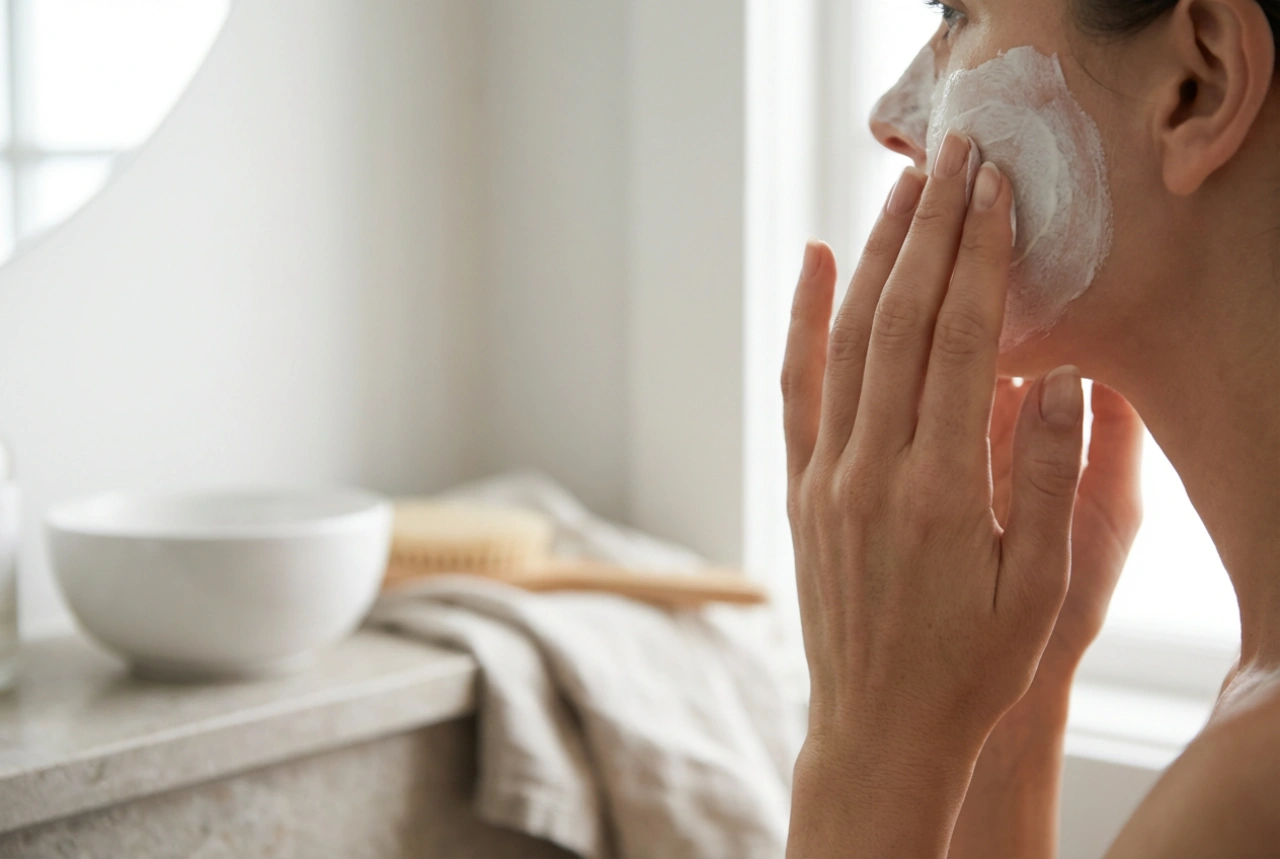
- Prepare Your Skin: Start with a thoroughly cleansed face. This is the perfect time to apply a lightweight serum, as the mask will help it to absorb more effectively. To protect your hairline and eyebrows, you can apply a thin layer of a rich cream or balm to these areas.
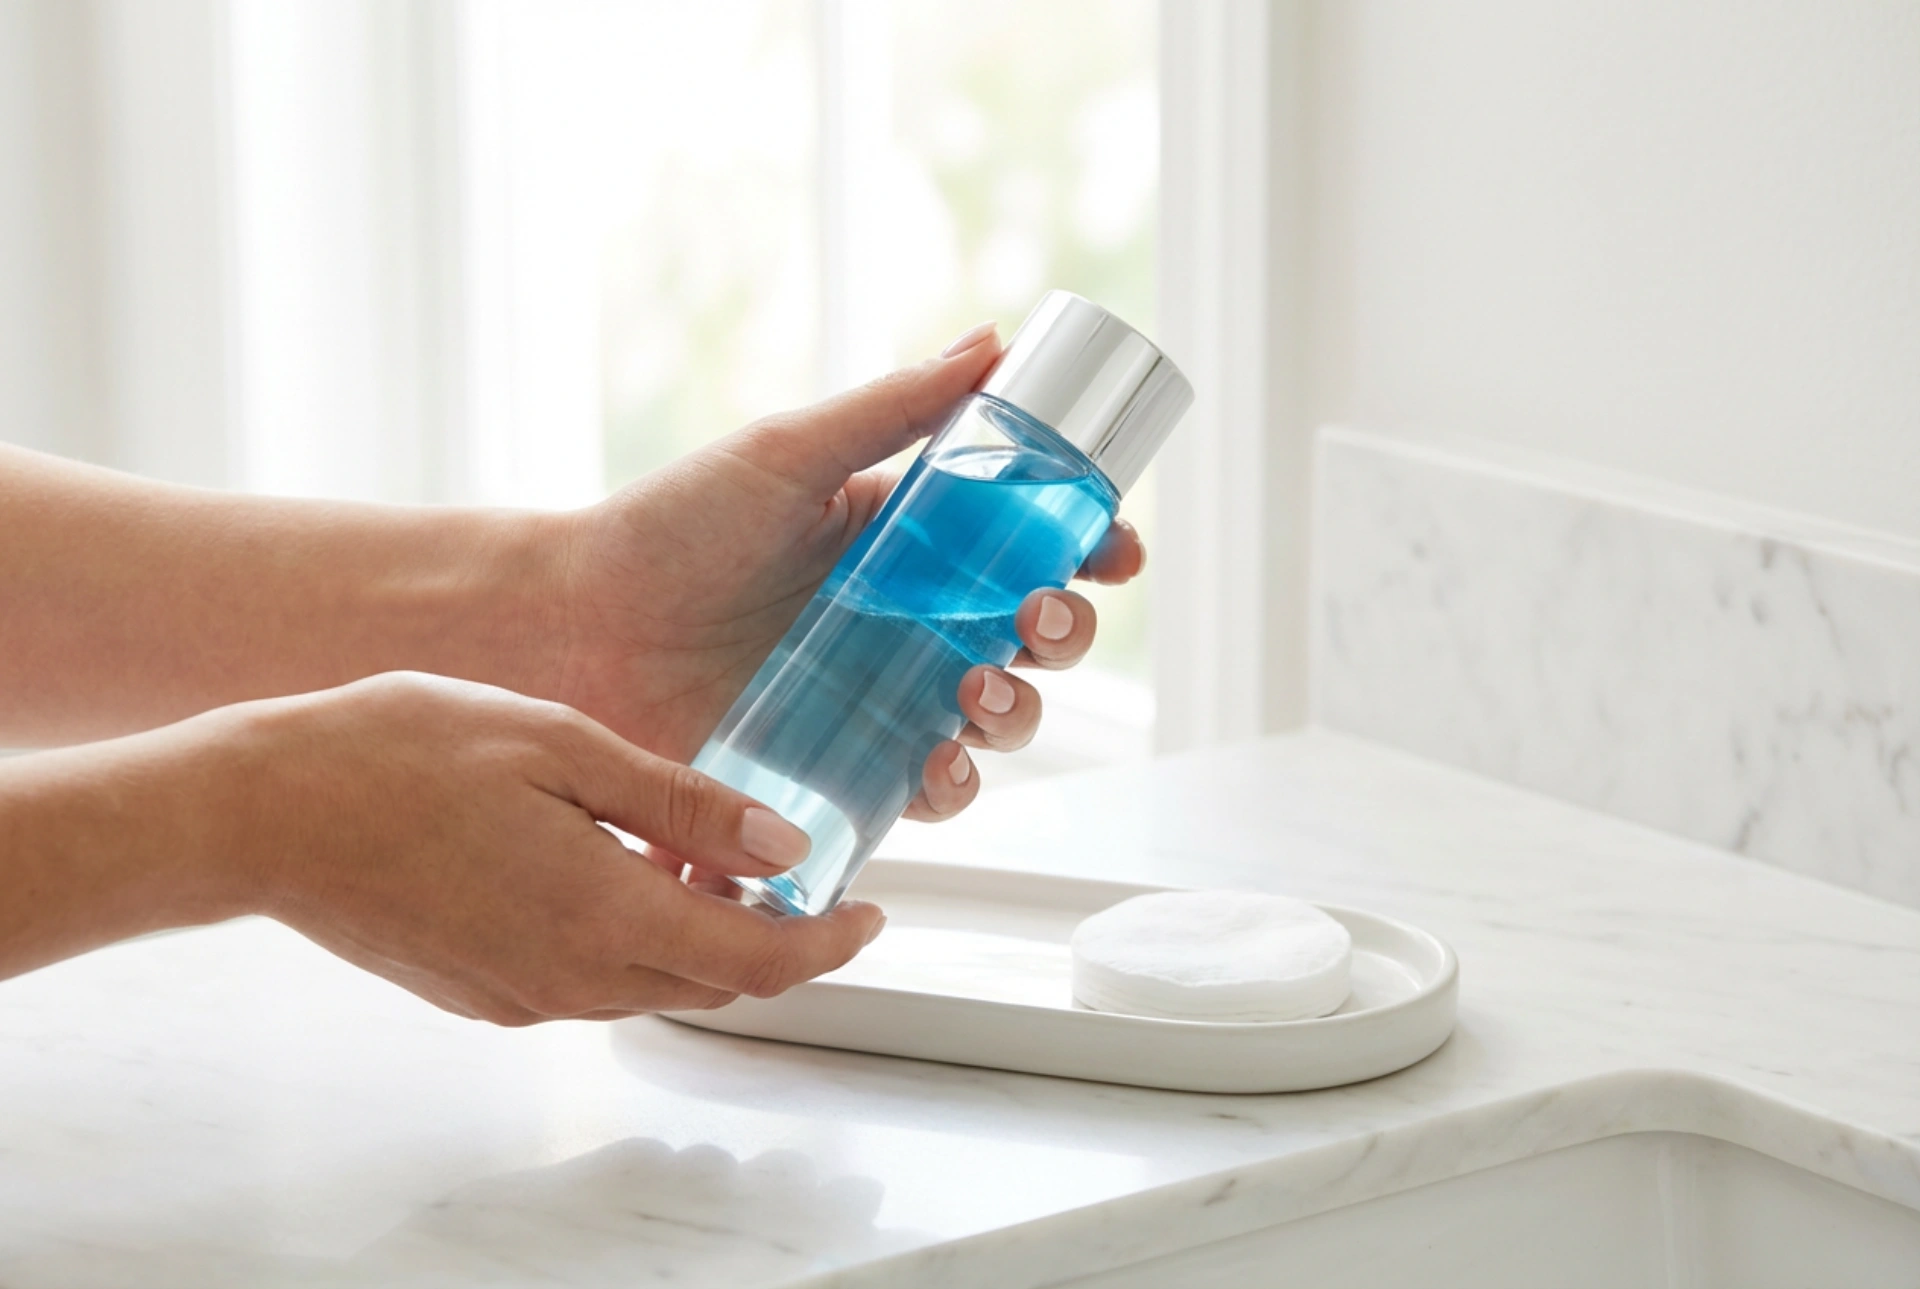
- Measure Precisely: Adhering to the powder-to-water ratio specified in the product's instructions is vital. Using too much water will make the mask runny and difficult to apply, while too little will cause it to set too quickly and become lumpy. Use cool, still mineral water for the best results.
- Mix with Haste: Pour the water into the bowl with the powder and begin mixing immediately and vigorously with the spatula. Stir for about 30-60 seconds, scraping the sides of the bowl, until you achieve a homogenous, smooth paste with a consistency similar to thick custard or cake batter. Do not over-mix.
The Art of Application and Removal
Once your mask is mixed, you must work quickly before it starts to set in the bowl.
Applying the Mask
Using the spatula, scoop up the mixture and apply it to your face in a thick, even layer. Don't be shy with the amount; a layer that is too thin will be difficult to peel off later. Start on the cheeks and forehead, spreading the mask outwards. You can apply it over the lips and eyes if you are comfortable, as this provides a soothing effect, but ensure you leave the nostrils clear for breathing. Alternatively, simply avoid the delicate eye and lip contours. Lie down and relax while the mask works its magic, which is typically for 15-20 minutes.
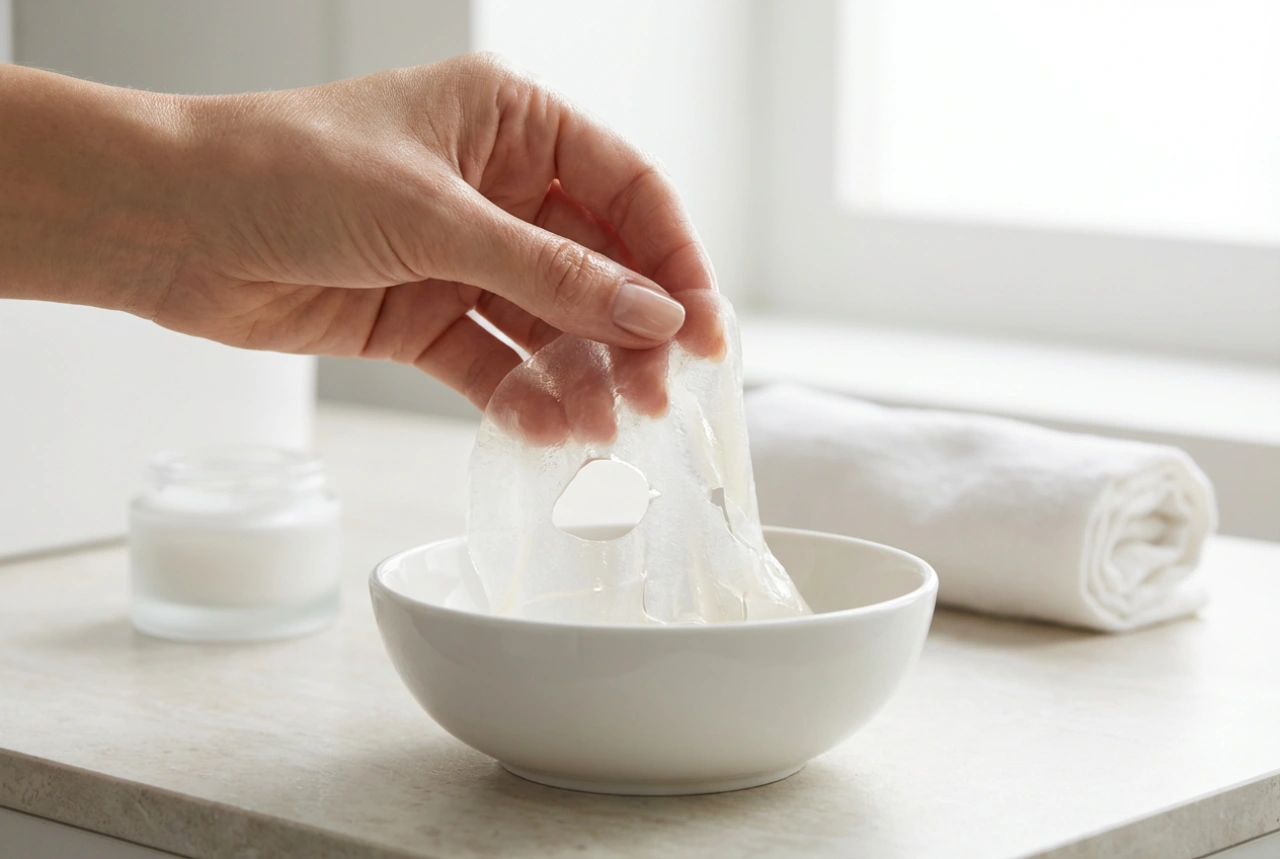
The Peel-Off Reveal
You will know the mask is ready for removal when it is no longer sticky and has transformed into a solid, rubbery sheet. To remove, gently loosen the edges of the mask all around your face. Then, starting from your chin or jawline, carefully peel the mask upwards in one continuous piece. The sensation is satisfying and completely painless. Any small remaining bits can be wiped away with a damp cloth or cotton pad. Do not rinse your entire face, as this would wash away the beneficial residue. Follow up with your favourite moisturiser to seal in all the goodness.