


Well-groomed hands are a subtle yet powerful statement of elegance and self-care. Achieving a polished, salon-quality look is entirely possible within the comfort of your own home. A classic manicure not only beautifies the nails but also serves as a relaxing ritual. With the right techniques and a little patience, you can master the art of the perfect home manicure. This guide will walk you through each stage, from initial preparation to the final glossy finish, ensuring your hands always look their best.
Preparation: The Foundation of a Flawless Manicure
Before you even think about polish, proper preparation is crucial for a long-lasting and neat result. Rushing this stage is a common mistake that can lead to a less-than-perfect finish. Start by creating a clean and organised workspace with all your tools within easy reach.
Gather Your Tools
Having the right equipment is essential. For a classic manicure, you will need a nail file, a nail buffer, a cuticle pusher (preferably wooden or with a soft rubber tip), a gentle cuticle remover solution, base coat, your chosen nail polish colour, a glossy top coat, cotton pads, and a nail polish remover. A small, clean brush can also be handy for cleaning up any smudges later on.
Clean the Canvas
Begin by removing any old nail polish. Soak a cotton pad in nail polish remover and press it onto the nail for a few seconds before wiping away the colour. This helps dissolve the polish and prevents harsh rubbing. Afterwards, wash your hands with a mild soap and warm water, and dry them thoroughly. This ensures your nails are free from oils and residues that could interfere with polish adhesion.
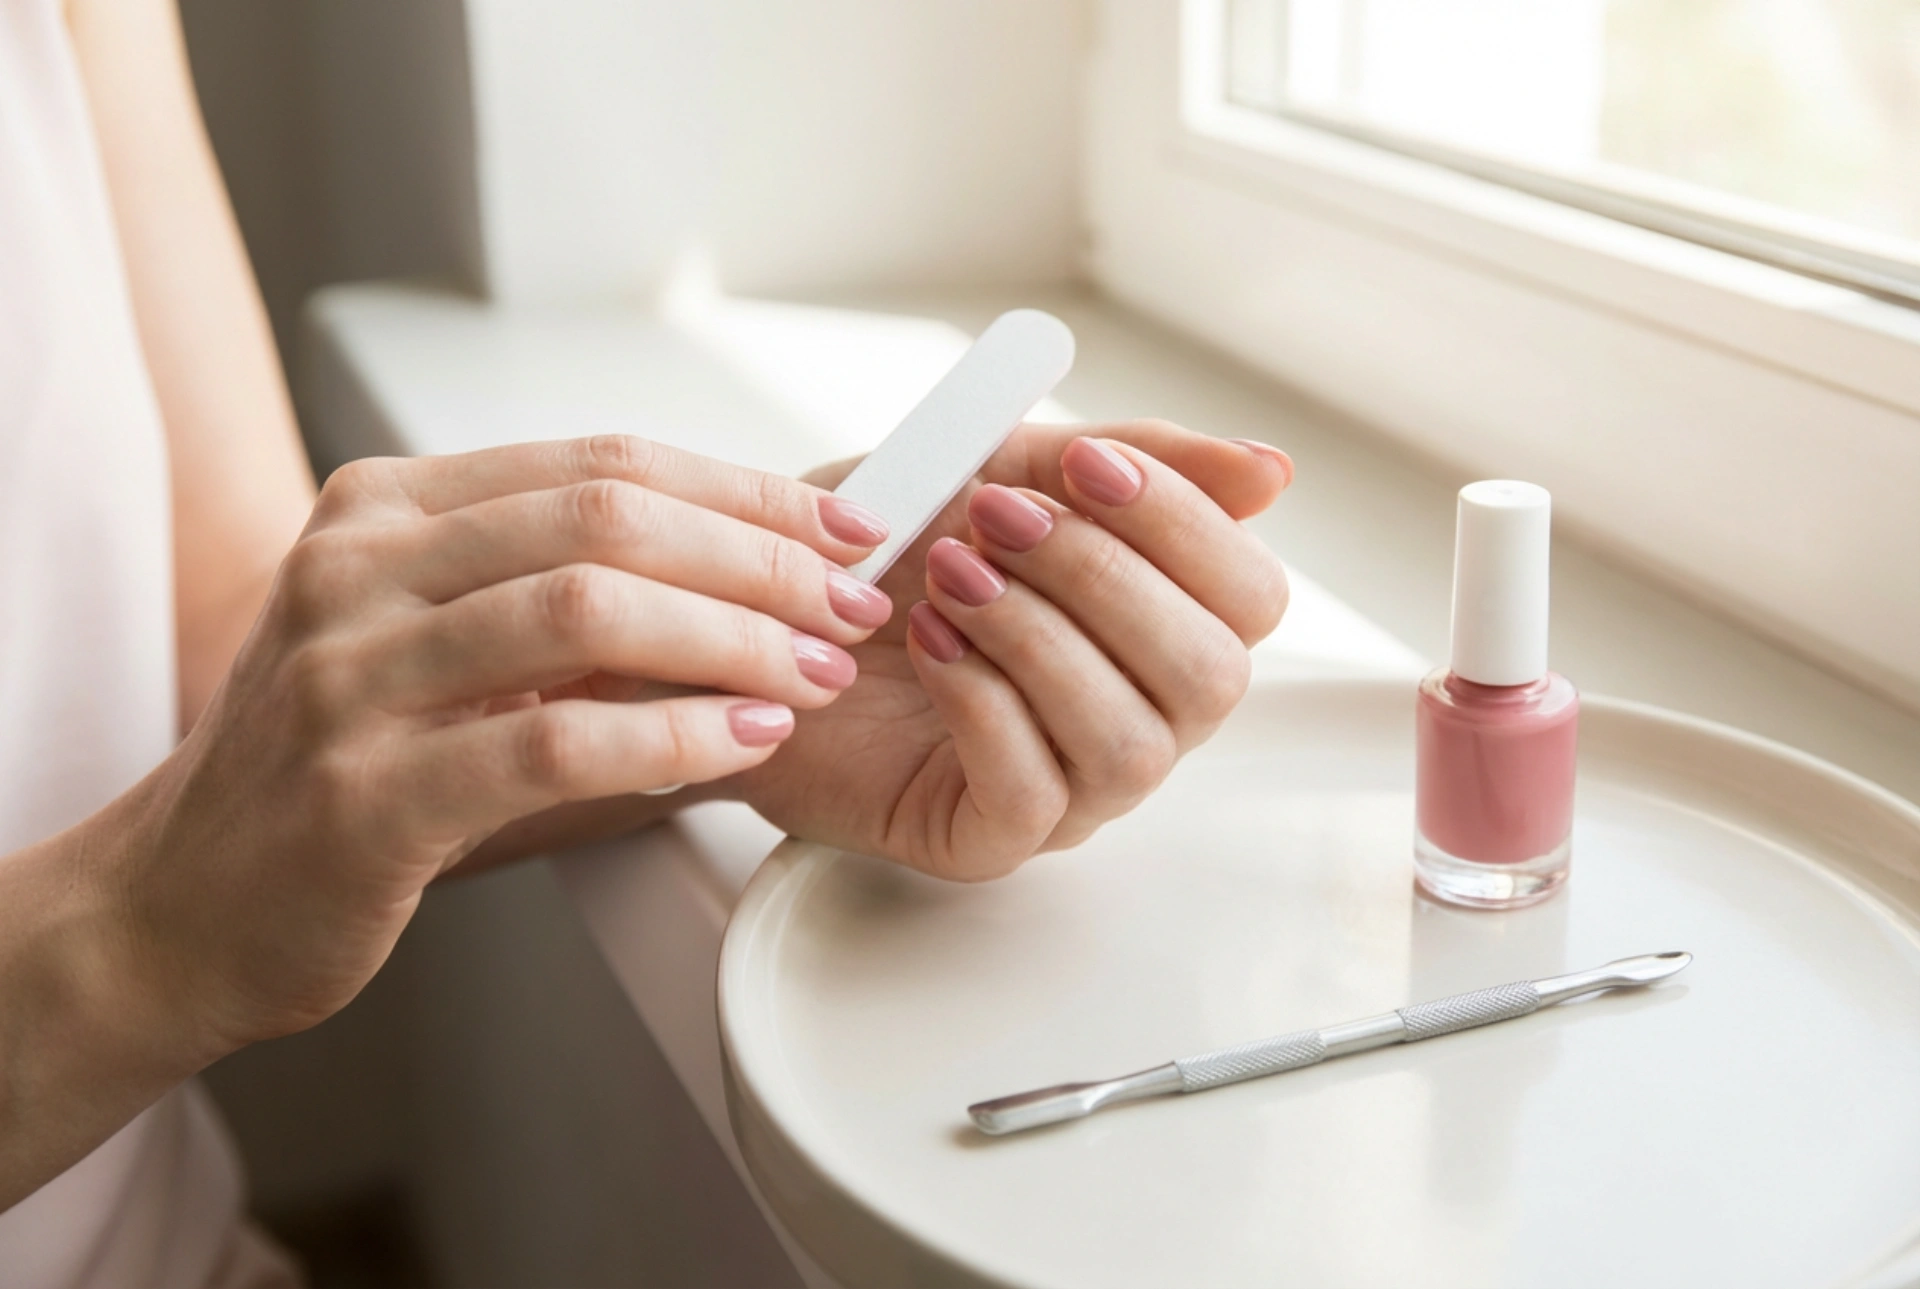
Step 1: Shaping the Nails
The shape of your nails defines the overall look of your manicure. Popular shapes include square, round, oval, or a soft 'squoval' (square-oval). Choose a shape that complements your hands and lifestyle. Using a gentle nail file, shape your nails by filing from the outer edge towards the centre in one consistent direction. Avoid a back-and-forth sawing motion, as this can weaken the nail and cause it to peel or split. Ensure all nails are of a uniform length and shape for a cohesive, elegant appearance.
Step 2: Gentle Cuticle Care
Proper cuticle care is vital for neat-looking nails and promoting healthy growth. The key is to be gentle and avoid cutting them, as they serve as a protective barrier against external factors. Apply a small amount of cuticle remover solution to the base of each nail and let it sit for the time specified in the product's instructions, usually about 30-60 seconds. This will soften the dead skin. Then, use a wooden or rubber-tipped cuticle pusher to gently push the cuticles back. Use small, circular motions to carefully lift away the softened, non-living tissue from the nail plate. Wipe each nail with a damp cotton pad to remove the solution and any debris.
Step 3: Buffing for a Smooth Surface
Buffing the nail plate creates a perfectly smooth canvas for your polish. Use a fine-grit buffer block and gently pass it over the surface of each nail just a few times. The goal is to smooth out any minor ridges, not to thin the nail. Over-buffing can weaken the nail, so be mindful. After buffing, wipe each nail one last time with a cotton pad soaked in nail polish remover. This step, known as 'dehydrating' the nail, removes any remaining dust and oils, ensuring maximum polish adherence.
Step 4: The Art of Painting
This is the creative part of the process. A successful paint job relies on thin, even layers. The three-coat system—base, colour, and top—is the professional standard for a reason.
The Three-Coat System
- Base Coat: Always begin with a layer of base coat. This crucial step protects your natural nails from staining, especially with dark colours, and provides a slightly sticky surface for the colour polish to grip onto, extending the life of your manicure.
- Colour Polish: Apply your chosen colour using the three-stroke method. Start with one stroke down the centre of the nail, from the cuticle towards the tip. Then, apply a second stroke on one side and a third on the other. This technique helps achieve even coverage without flooding the cuticles. Allow the first coat to dry for a few minutes before applying a second thin coat for full opacity.
- Top Coat: Finish with a high-quality top coat. This final layer seals in the colour, protects your manicure from chipping, and adds a beautiful, long-lasting shine. Be sure to 'cap' the free edge of the nail by running the brush along the tip to further prevent chipping.
Final Touches and Aftercare
Once your top coat is applied, allow your nails ample time to dry. Even if they feel touch-dry after a few minutes, the polish underneath may still be soft. To speed up the process, you can use quick-dry drops or sprays. If you have any smudges around your nail, dip a small, flat brush into nail polish remover and carefully trace around the cuticle line to create a crisp, clean edge. To finish your manicure and nourish your skin, apply a drop of cuticle oil to the base of each nail and massage it in, followed by a hydrating hand cream.


