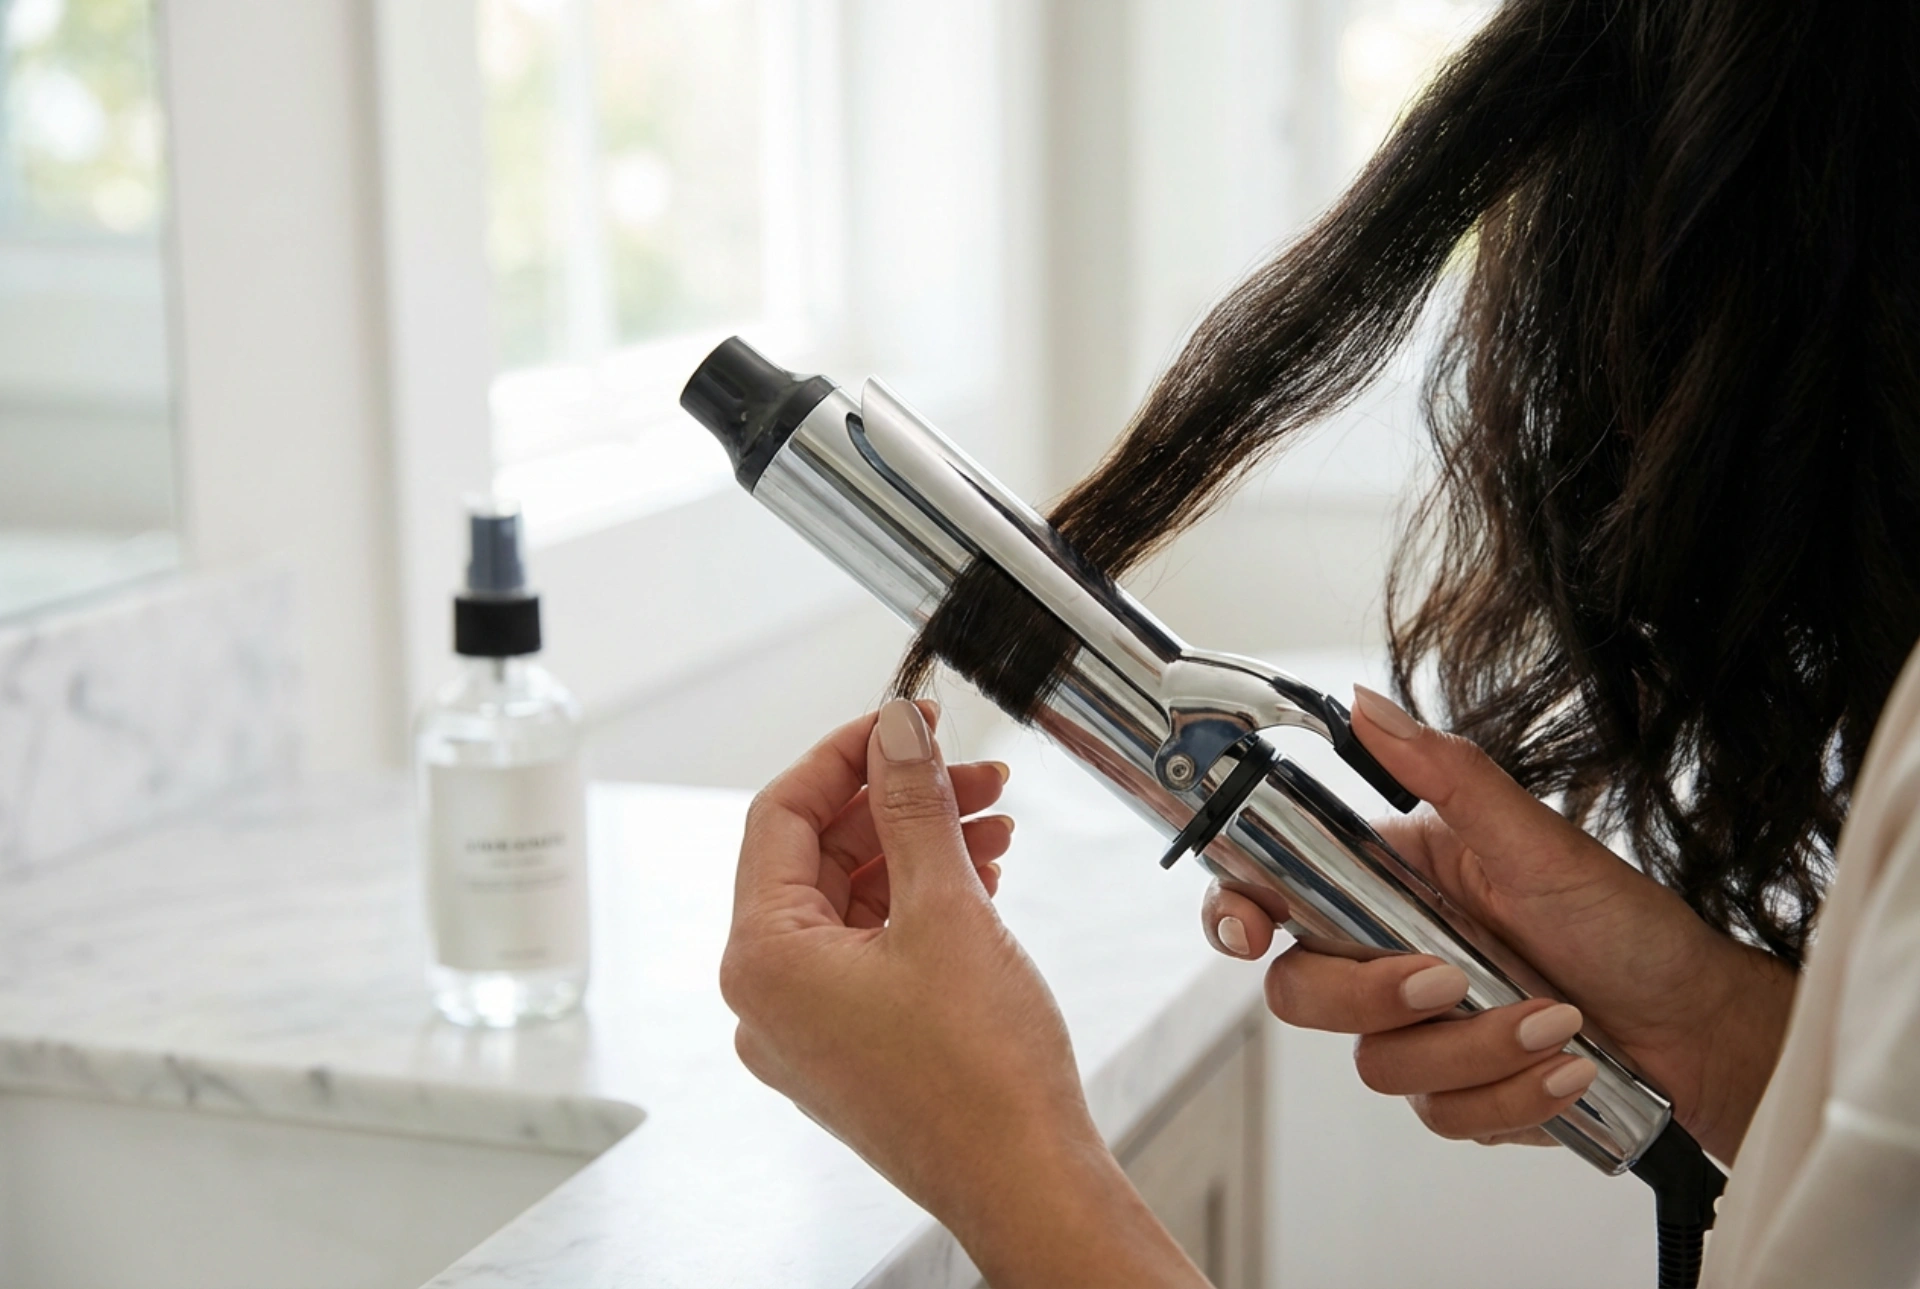


A curling iron is a fantastic tool for transforming your hairstyle, adding everything from tight ringlets to soft, flowing waves. Achieving that perfect, glossy finish, as seen when a section of hair is expertly wound around a heated barrel, depends on more than just the tool itself. The secret lies in selecting the right diameter, preparing your hair properly, and mastering the techniques for both curling and setting your style for a look that lasts. This guide will walk you through the essential steps to achieve salon-quality curls at home.
How to Choose the Right Barrel Diameter
The size of the curling iron's barrel is the single most important factor in determining the final look of your curls. Different diameters create vastly different effects, so it's crucial to choose one that aligns with your hair length and desired style.
Small Barrels (10mm - 19mm)
These smaller barrels are perfect for creating tight, defined curls or ringlets. They work exceptionally well on shorter hair, as they allow you to wrap the hair around the barrel multiple times. If you have naturally straight, fine hair that struggles to hold a curl, a smaller barrel can provide a more durable, springy result.
Medium Barrels (20mm - 28mm)
A medium-sized barrel, often around 25mm, is the most versatile and popular choice. It creates classic, uniform curls that are bouncy and full of life. This size is suitable for most hair lengths, from shoulder-length bobs to long locks. If you are unsure which size to start with, a medium barrel is an excellent all-rounder for creating a wide range of looks, from polished curls to slightly relaxed waves.
Large Barrels (32mm - 50mm)
For those seeking loose, romantic waves, a large barrel is the way to go. This size is ideal for creating a 'beachy wave' effect or simply adding volume and movement to long hair. The resulting curls are much softer and less structured. Keep in mind that the larger the barrel, the looser the curl, which may mean it won't last as long on very straight or fine hair without proper setting techniques.
Preparing Your Hair for Styling
Proper preparation is key to protecting your hair from heat damage and ensuring your curls last. Never use a curling iron on damp or wet hair, as this can cause significant damage. Follow these simple steps before you begin styling.
- Start with Dry Hair: Ensure your hair is 100% dry. Either air-dry or blow-dry it completely before applying any heat.
- Apply a Heat Protectant: This is a non-negotiable step. A good heat protectant creates a barrier between your hair and the hot tool, minimising damage and helping to smooth the cuticle for a shinier finish. Mist it evenly from roots to ends.
- Section Your Hair: Divide your hair into manageable sections using clips. Working with smaller, 1- to 2-inch sections will give you more control and ensure that every strand is heated evenly, resulting in a more consistent and polished look.
Mastering Curling Techniques
The way you wrap your hair around the barrel can dramatically change the outcome. Experiment with different techniques to find the style you love.
The Direction of the Curl
The direction in which you wind your hair has a big impact on the overall style. For a modern, face-framing look, curl the sections of hair around your face away from it. For a more natural, voluminous style, try alternating the direction of each curl—one section away from the face, the next towards it. Curling all sections in the same direction will create a very uniform, classic, glamorous wave.
Winding Methods
- Classic Curl: Open the clamp and secure the very end of a hair section. Roll the iron upwards towards the root, keeping the hair flat against the barrel. Hold for 5-10 seconds, depending on your hair's thickness.
- Modern Wave (Wrap Method): For a more relaxed, beachy wave, skip the clamp. Hold the curling iron vertically and simply wrap a flat section of hair around the barrel, leaving the last inch or two of the ends out. This creates a softer, more contemporary finish.
Setting and Finishing for Lasting Results
Creating the curls is only half the battle; making them last is the final, crucial step. What you do immediately after releasing the hair from the iron is just as important as the curling itself.
- Let Them Cool: The most important rule for long-lasting curls is to let them cool down completely before touching them. Heat makes the hair pliable, but it's the cooling process that sets the shape. For extra hold, you can catch each fresh curl in your palm and pin it against your scalp to cool in a coiled shape.
- Separate Gently: Once all your curls are completely cool, you can begin to style them. For a soft, voluminous look, gently run your fingers through your hair to break up the curls. Avoid using a brush, which can pull out the curl; if you must, use a very wide-tooth comb.
- Apply a Finishing Spray: A light-hold finishing spray can help lock in your style without making it feel stiff or crunchy. Mist it from a distance to provide a flexible hold and protect your curls from humidity.
With the right tool, proper preparation, and a little practice, a curling iron can become your go-to for creating a variety of stunning looks. By understanding how barrel size, technique, and setting methods work together, you can achieve beautiful, long-lasting curls every time.


