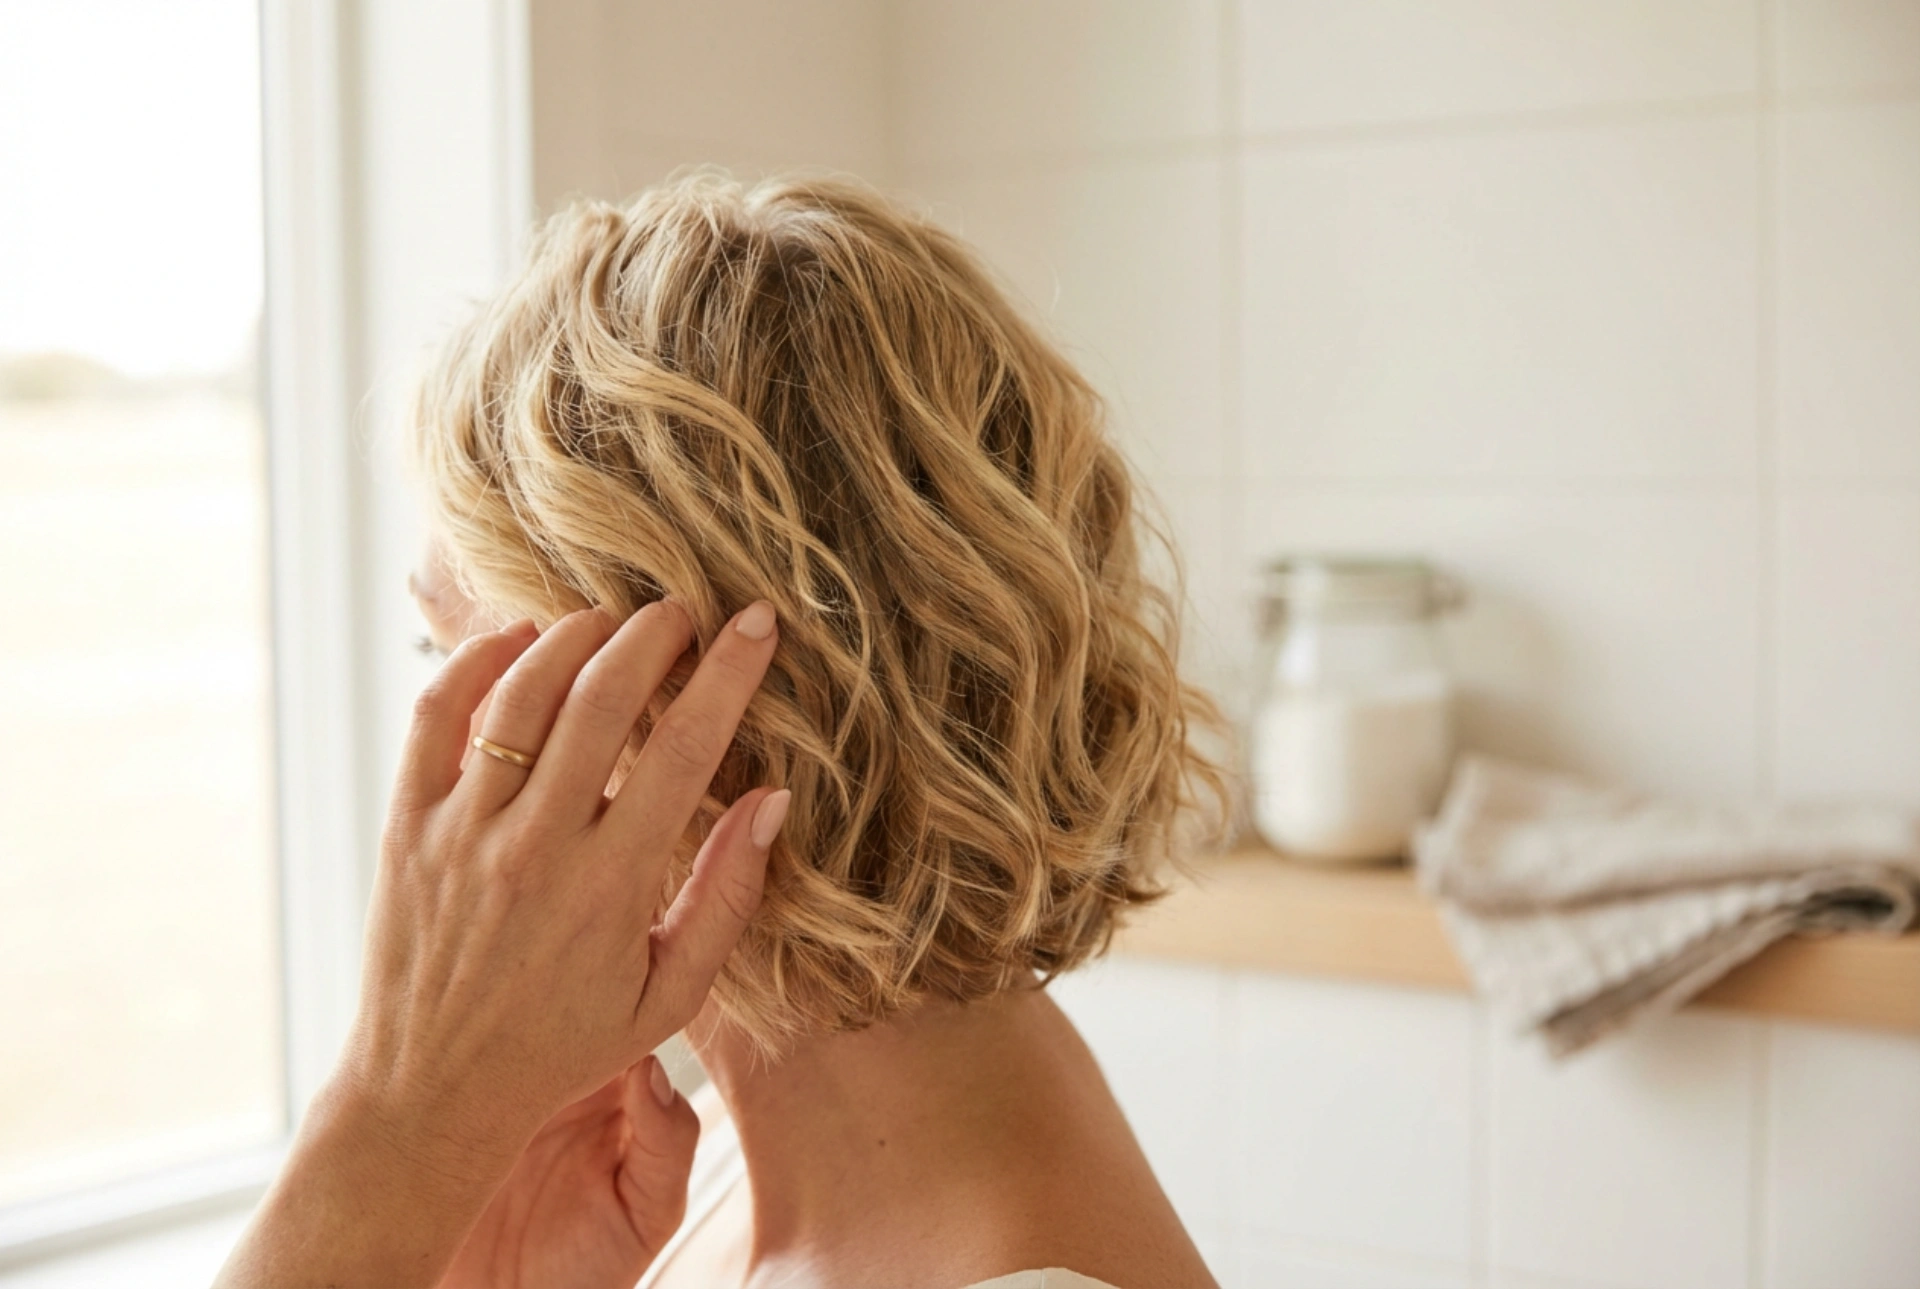


Adding soft waves and volume can completely transform a short hairstyle, turning a simple cut into an elegant and dynamic look. Contrary to popular belief, you don't need long hair to create beautiful curls. With the right technique and a suitable curling tong, even the shortest of bobs and pixie cuts can be styled to perfection, gaining texture and body. This guide will walk you through the process of achieving voluminous, natural-looking waves on short hair.
Choosing the Right Curling Tong for Short Hair
The success of your style starts with your tool. For short hair, the size of the curling tong's barrel is crucial. A smaller barrel, typically between 1.5cm and 2.5cm in diameter, is ideal. It allows you to wrap the shorter strands of hair around it effectively without creating overly tight, unnatural-looking curls. Larger barrels are better suited for long hair and will struggle to grip shorter lengths. Also, consider the material. Ceramic or tourmaline barrels distribute heat evenly, which helps to minimise heat damage and reduce frizz. A tong with adjustable temperature settings is also a wise choice, as it allows you to select a lower heat for fine hair or a slightly higher one for thicker, more resistant hair types.
Preparing Your Hair for Curling
Proper preparation is key to both protecting your hair and ensuring your style lasts. Following these preliminary steps will make a significant difference to the final result. Always start with hair that is 100% dry. Attempting to curl damp or wet hair can cause significant damage and will not produce a lasting curl. Before you apply any heat, generously spritz a heat protectant spray all over your hair, from roots to ends. This creates a barrier between your hair and the hot tool. Once the protectant is applied, section your hair. Even with short hair, sectioning makes the process more manageable. Use clips to divide your hair into at least three horizontal sections: a bottom, a middle, and a top layer.
The Curling Technique for Volume and Waves
Once your hair is prepped, it's time to start curling. The goal is to create soft, modern waves rather than tight ringlets. This technique focuses on creating movement and lift at the roots.
Step 1: Start with the Bottom Sections
Begin with the bottom section of your hair. Take a small piece of hair, about 2-3cm wide. Clamp the tong near the mid-length of the hair, not at the root, and wrap the hair around the barrel, leaving the last couple of centimetres of the ends out. This creates a more relaxed, contemporary wave. Hold for about 5-8 seconds, then release.
Step 2: Alternate Curling Directions
To create a more natural, less uniform look, you should alternate the direction in which you wrap the hair around the tong. For the sections framing your face, it's often most flattering to curl the hair away from your face. For the rest of your hair, alternate between curling towards and away from your face. This variation adds dimension and makes the hair appear fuller.
Step 3: Work Your Way Up
Continue this process, working through the middle and top sections of your hair. For the top section, especially at the crown, you can create extra volume by holding the hair strand upwards, perpendicular to your scalp, as you wrap it around the tong. This technique gives lift directly at the root, which is essential for a voluminous finish.
Finishing Touches for Lasting Style
What you do after the curling is just as important as the curling itself. The most critical rule is to let your curls cool down completely before you touch them. As hair cools, the cuticle closes and the curl sets in place. If you touch or brush them while they are still warm, they will loosen and fall out much more quickly. Once the curls are cool to the touch, gently run your fingers through them to separate them and create softer, blended waves. Avoid using a brush, as this can pull the waves out entirely. To finish, you can use a light-hold hairspray to set the style or spritz a texturising spray through the mid-lengths and ends to add a bit more grit and body.


