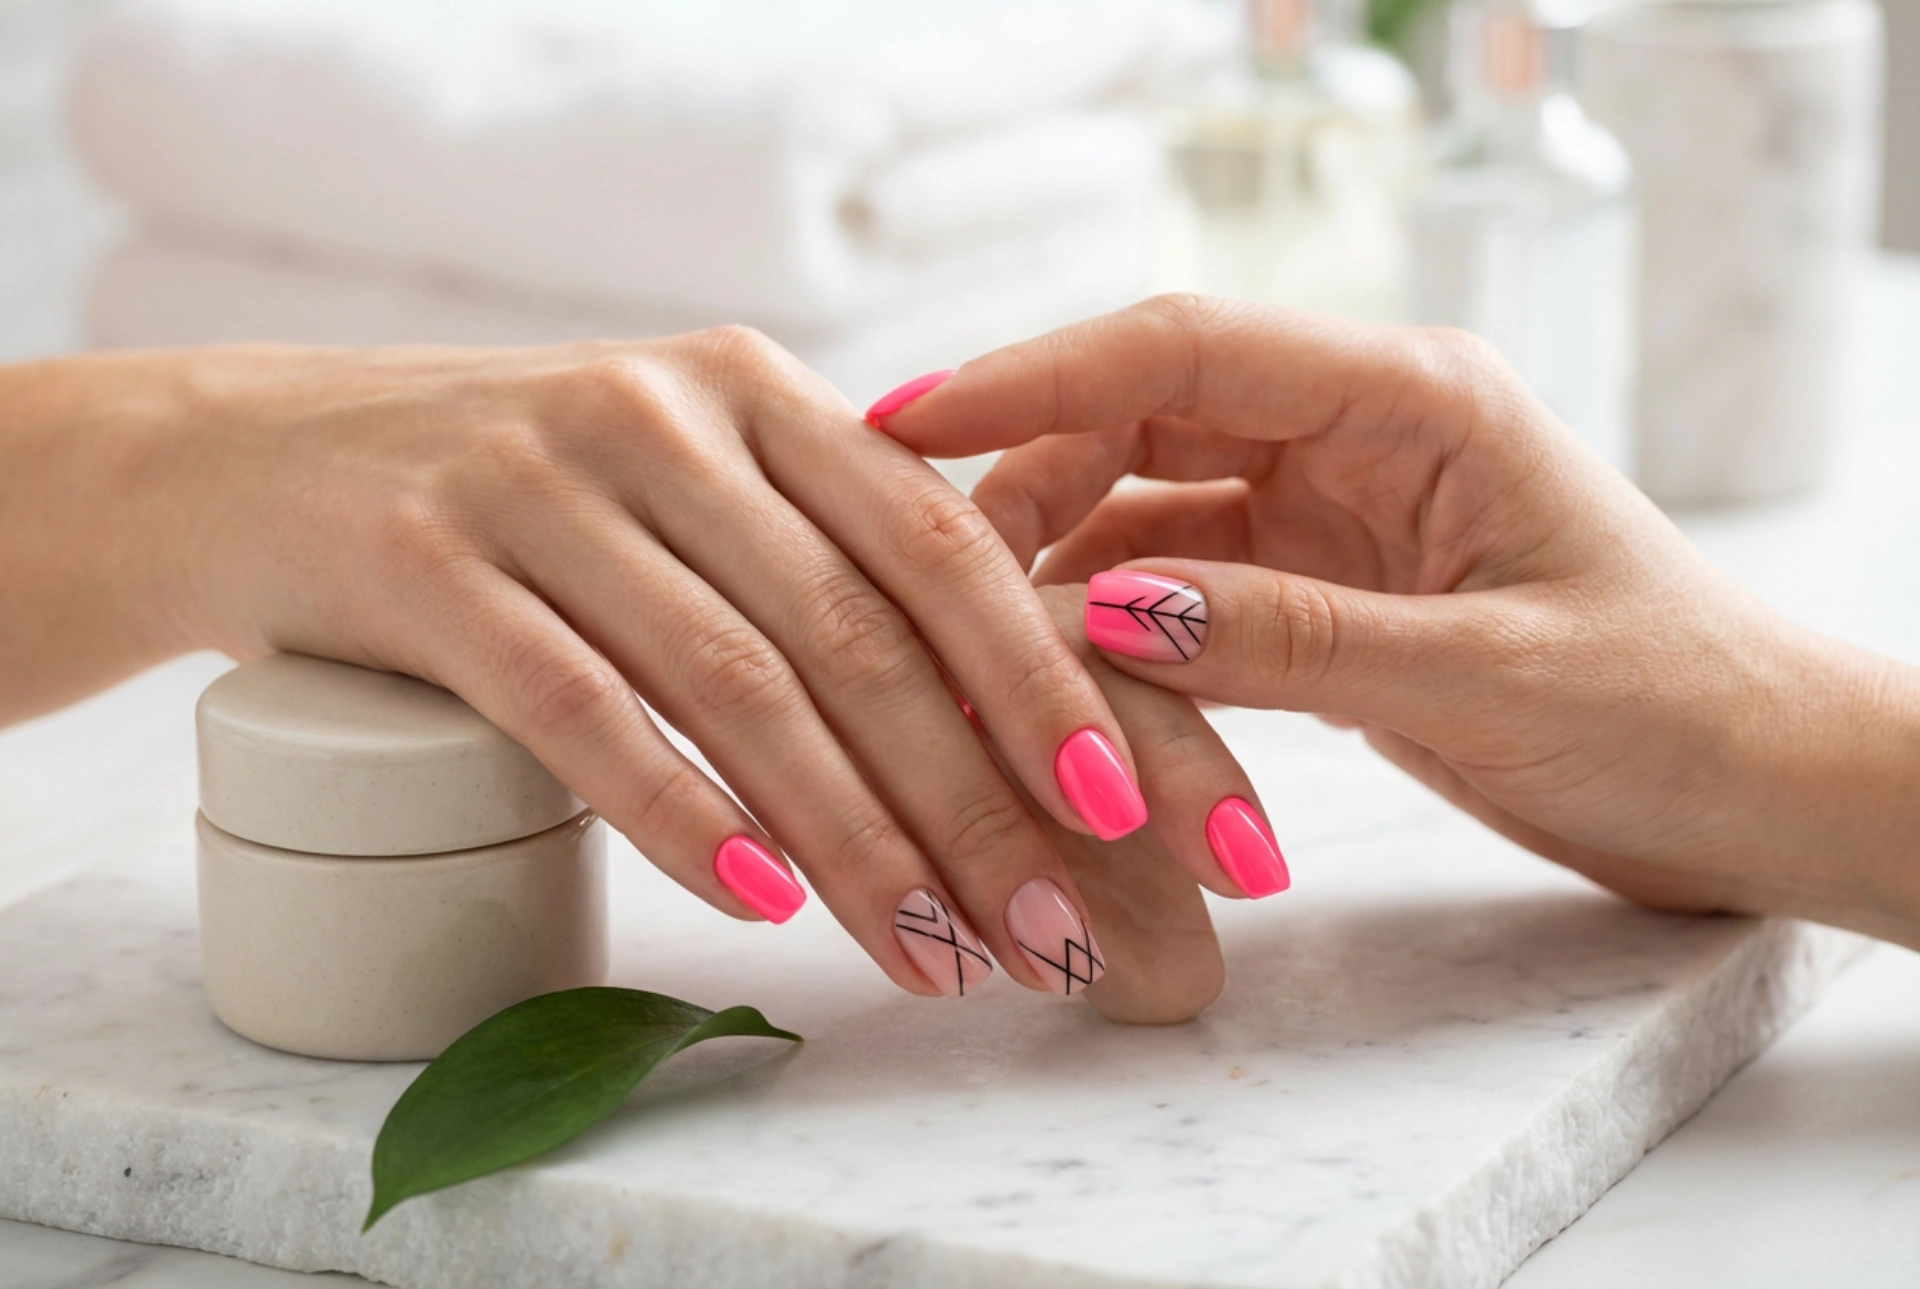


Vibrant, eye-catching nails are a fantastic way to express your personal style, and few combinations are as bold and modern as neon pink paired with classic black. This striking contrast creates a look that is both playful and sophisticated, perfect for anyone wanting to make a statement. Whether you prefer minimalist geometric patterns or more intricate designs, combining these two colours is surprisingly versatile. This guide will walk you through everything you need to know to achieve a flawless and durable neon pink and black manicure at home.
Preparing Your Nails for a Neon Manicure
Proper preparation is the key to any long-lasting manicure, but it's especially important when working with bright, unforgiving colours like neon pink. A smooth canvas ensures the colour applies evenly and the final design looks polished and professional. Start by removing any old polish completely. Next, gently push back your cuticles and trim any hangnails. Shape your nails to your desired length and form using a nail file, always filing in one direction to prevent splitting. Finally, lightly buff the surface of your nails to remove any natural oils and create a slightly rough texture for the polish to adhere to. Clean your nails with a nail polish remover or alcohol wipe to ensure they are free of dust and oils before you begin applying any product.
Achieving the Perfect Neon Pink Base
Neon polishes are notoriously sheer and can sometimes appear streaky. The secret to a truly vibrant and opaque neon finish is the base you apply underneath. For the most intense colour payoff, always start with a high-quality base coat to protect your natural nails and provide a smooth surface. After the base coat has dried, apply one or two thin coats of an opaque white nail polish. This white canvas will make the neon pink pop and appear true to the colour in the bottle. Allow the white polish to dry completely. Once it's dry, apply your neon pink polish. Use thin, even strokes, starting from the base of the nail and moving towards the tip. Two thin coats are usually sufficient for full, vibrant coverage. Be sure to let each coat dry thoroughly before proceeding to the next step.
Creating Contrasting Black Designs: Ideas and Techniques
Once your neon pink base is perfectly dry, it's time for the creative part: adding the black accents. The possibilities are endless, ranging from simple and subtle to complex and dramatic. Before you start, decide on your design and gather the necessary tools. A thin nail art brush, a dotting tool, and striping tape are excellent additions to your home manicure kit.
Geometric Patterns
Clean, sharp lines offer a modern and chic aesthetic. You can create simple vertical or horizontal stripes, a single diagonal line across the nail, or a grid pattern. For perfectly straight lines, striping tape is your best friend. Simply apply the tape to create your desired shape, paint over it with black polish, and remove the tape while the polish is still slightly wet to reveal a crisp line.
Minimalist Dots and Shapes
For a more subtle design, use a dotting tool to add small black dots. You could place a single dot at the base of each nail, create a polka dot pattern on an accent nail, or arrange dots in a simple floral or star shape. Small triangles or chevrons at the tip or base of the nail are also easy to create with a thin brush and a steady hand.
Abstract and Artistic Touches
If you feel more adventurous, try an abstract design. A 'splatter' effect can be achieved by dipping a fan brush or an old toothbrush in black polish and carefully flicking it towards your nails. Another popular option is a modern twist on the French manicure, where you paint the tips of your nails black instead of the traditional white. You can also create marble effects by dropping small dots of black polish onto a wet top coat and swirling them gently with a toothpick.
Step-by-Step Guide to a Simple Geometric Design
Let's walk through creating a simple yet striking diagonal design on an accent nail.
- Step 1: Follow the preparation and base colour application steps described above. Ensure your neon pink polish is completely dry.
- Step 2: Take a piece of striping tape and place it diagonally across your chosen accent nail, pressing it down firmly at the edges to prevent bleeding.
- Step 3: Using a thin brush or the nail polish brush itself, carefully paint the section of the nail on one side of the tape with your black nail polish.
- Step 4: While the black polish is still slightly wet, gently and slowly peel off the striping tape to reveal a sharp, clean line.
- Step 5: Allow the black polish to dry for a few minutes. If you made any smudges on your skin, clean them up using a small brush dipped in acetone.
Finishing Touches and Aftercare
The final step in any manicure is the top coat. This is crucial for sealing your design, preventing chipping, and adding a beautiful, glossy shine. Apply a generous layer of a quick-dry, high-shine top coat over your entire nail, making sure to 'cap' the free edge by swiping the brush along the tip of the nail. This provides extra protection against wear and tear. To prolong the life of your manicure, reapply the top coat every two to three days. Keep your hands and cuticles moisturised by applying cuticle oil and hand cream daily. This will not only keep your manicure looking fresh but also promote healthy nail growth.


