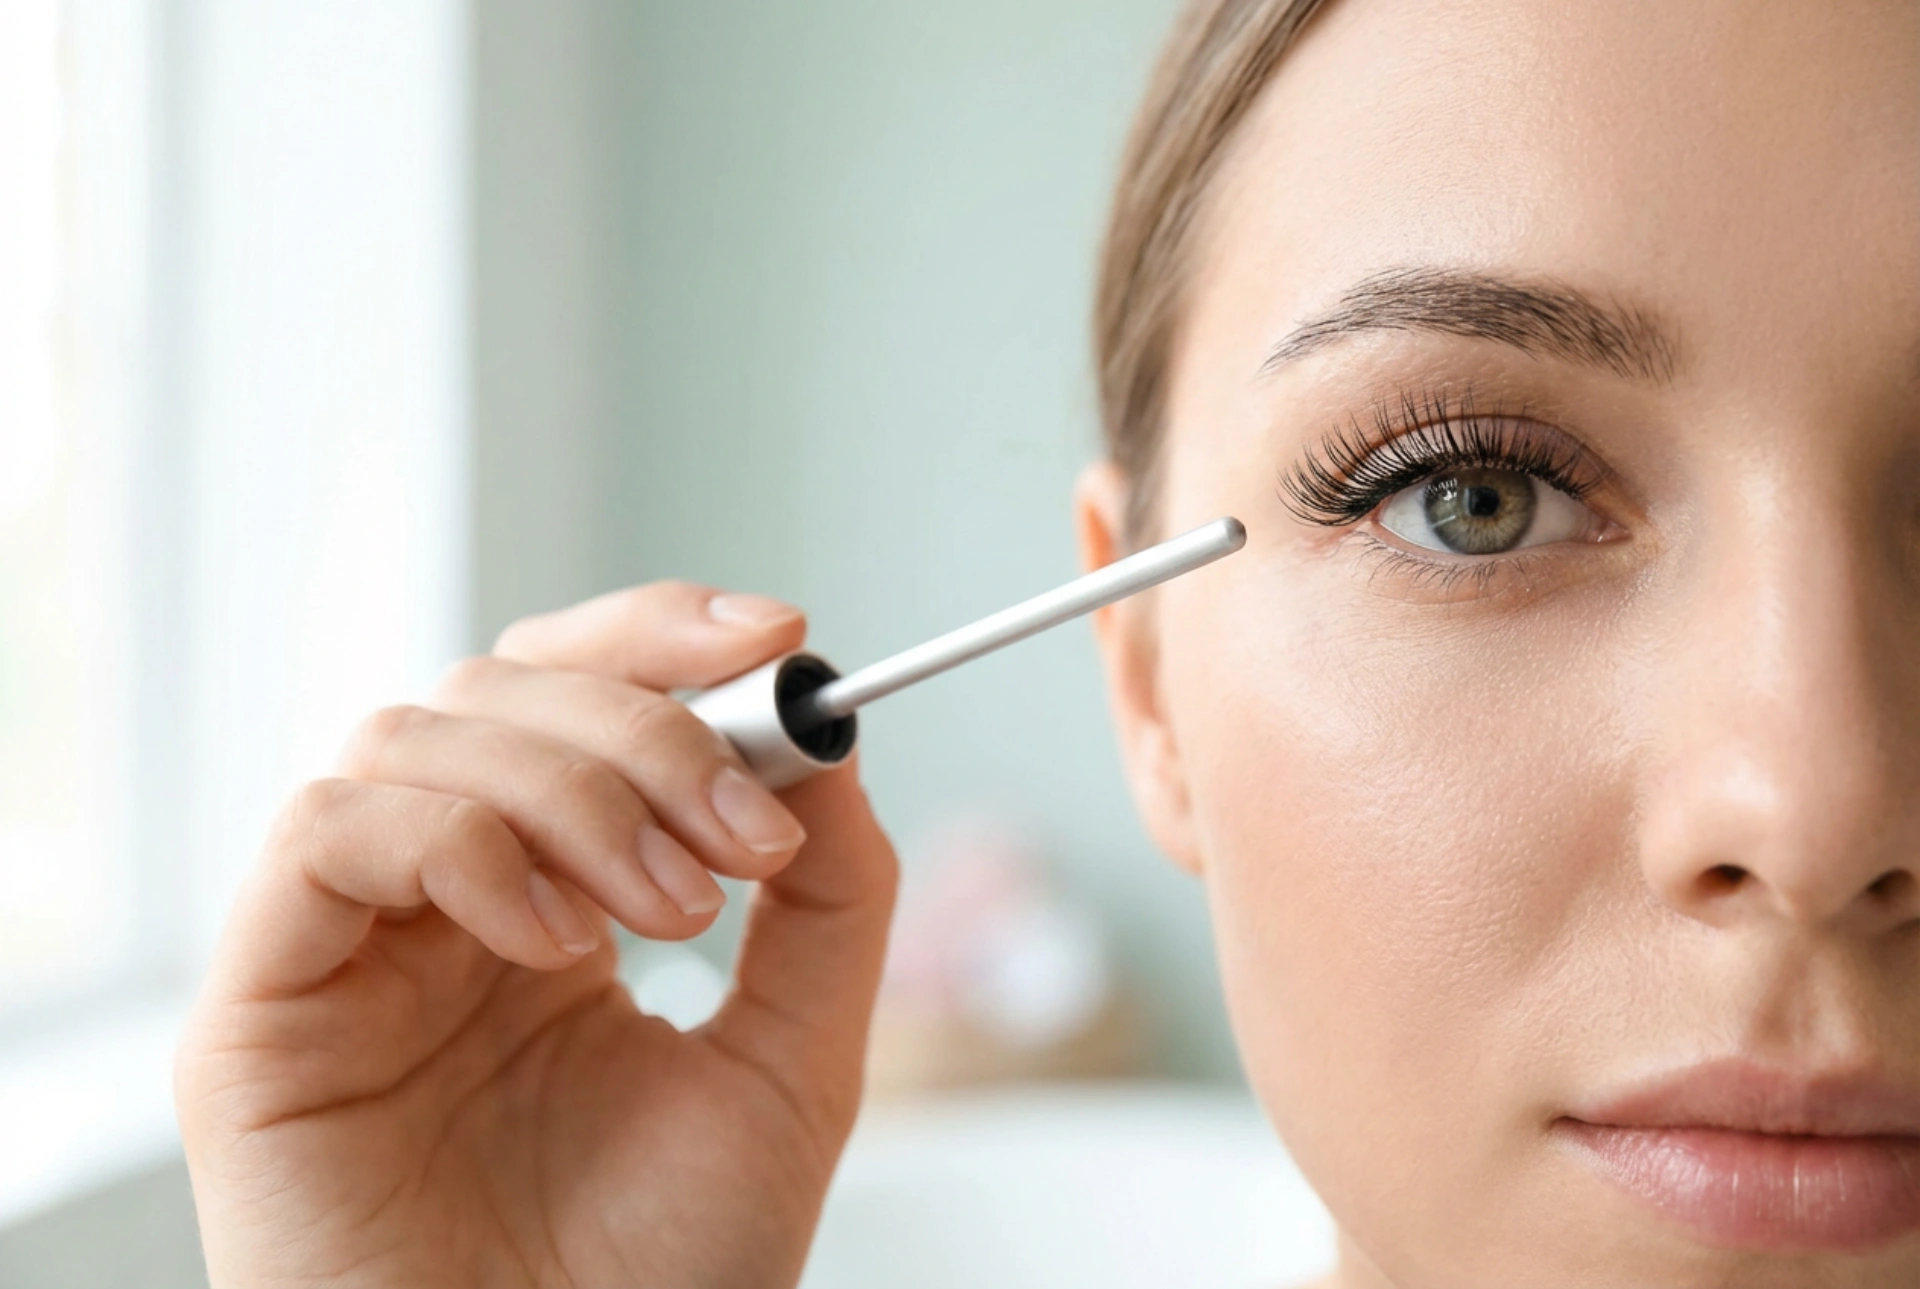


The desire for long, beautifully defined lashes is a common beauty goal. Achieving that elegant, fanned-out look, as seen in a close-up of a perfectly made-up eye, is often down to the right product and, more importantly, the right technique. A lengthening mascara is designed to extend your natural lashes, but its effectiveness is maximised through careful, step-by-step application. This guide will walk you through the process of using a lengthening mascara to create an impressive, eye-opening effect.
Preparing Your Lashes for Application
Before you even open your mascara tube, a little preparation can make a significant difference. A great result starts with a clean canvas. Ensure your lashes are free from any old makeup residue or oils, as this can prevent the mascara from adhering properly and may lead to smudging. Gently cleansing the eye area is a crucial first step. For an extra lift that enhances the lengthening effect, consider using an eyelash curler. Position the curler at the base of your upper lashes and gently squeeze for about 5-10 seconds. This initial curl provides a better foundation for the mascara to build upon, helping to open up the eyes.
The Step-by-Step Application Technique
Applying lengthening mascara is an art that requires precision and patience. Rushing the process often leads to clumps and an uneven finish. Follow these steps for a flawless, lengthened look.
Step 1: Get the Right Amount of Product
When you pull the wand from the tube, it's often overloaded with product. To avoid clumps, gently wipe the excess mascara off on the lip of the tube. You want the bristles to be coated, but not gloopy. Avoid pumping the wand in and out of the tube, as this pushes air inside, causing the formula to dry out faster.
Step 2: The Wiggle and Pull Method
This is the core technique for achieving both volume at the base and length at the tips. Place the wand at the very root of your upper lashes. Gently wiggle it back and forth to deposit product right at the base. This creates the illusion of a fuller lash line. After the wiggle, slowly pull the wand straight up through the lashes to the tips, coating them evenly. This pulling motion is what extends the lashes and deposits the lengthening fibres or polymers.
Step 3: Focus on All Sections
Divide your lashes into three sections: inner corner, middle, and outer corner. For the middle section, pull the wand straight up towards your brow bone. For the inner corner lashes, angle the wand towards your nose. For the outer corner lashes, pull the wand outwards towards your temple. This creates a beautiful, fanned-out effect that makes the eyes appear wider.
Tips for Achieving Maximum Length
To take your lash game to the next level, incorporate a few expert tips into your routine. These small adjustments can yield dramatically longer-looking lashes.
- Use the Tip of the Wand: The very tip of the mascara wand is perfect for precision work. Use it to coat the tiny lashes on the inner and outer corners that are often missed. You can also use it to add a little extra length to individual lashes by painting them vertically.
- Apply to the Lower Lashes Lightly: For a balanced look, a light coat on the lower lashes is essential. Hold the wand vertically and use the tip to gently sweep product across the lashes. Using too much product here can look heavy and may smudge more easily.
- Consider a Second Coat: For more drama, a second coat can be applied. The key is to wait about 30 seconds for the first coat to become tacky but not completely dry. Applying a second coat while the first is still wet can cause clumping. Repeat the 'wiggle and pull' technique for the second layer.
Common Mistakes to Avoid
Even with the best intentions, a few common errors can sabotage your efforts. Being aware of them can help you achieve a professional-looking result every time. Firstly, avoid applying too much pressure, which can cause lashes to stick together. A gentle, steady hand is best. Secondly, don't neglect your inner corner lashes; coating them makes a huge difference to the overall look. Finally, always use a fresh mascara. An old, dried-out formula will be clumpy and ineffective, so it's a good practice to replace your mascara every three to four months.