


The combination of black and pink on nails creates a look that is both timelessly elegant and strikingly modern. This versatile duo can be adapted to suit any style, from soft and romantic to bold and edgy. Whether you're drawn to the subtle transition of a gradient or the sharp lines of a geometric pattern, combining black and pink offers endless possibilities for expressing your personal style through nail art. This guide will explore how to master these designs for a chic, polished manicure.
The Timeless Appeal of Black and Pink Nails
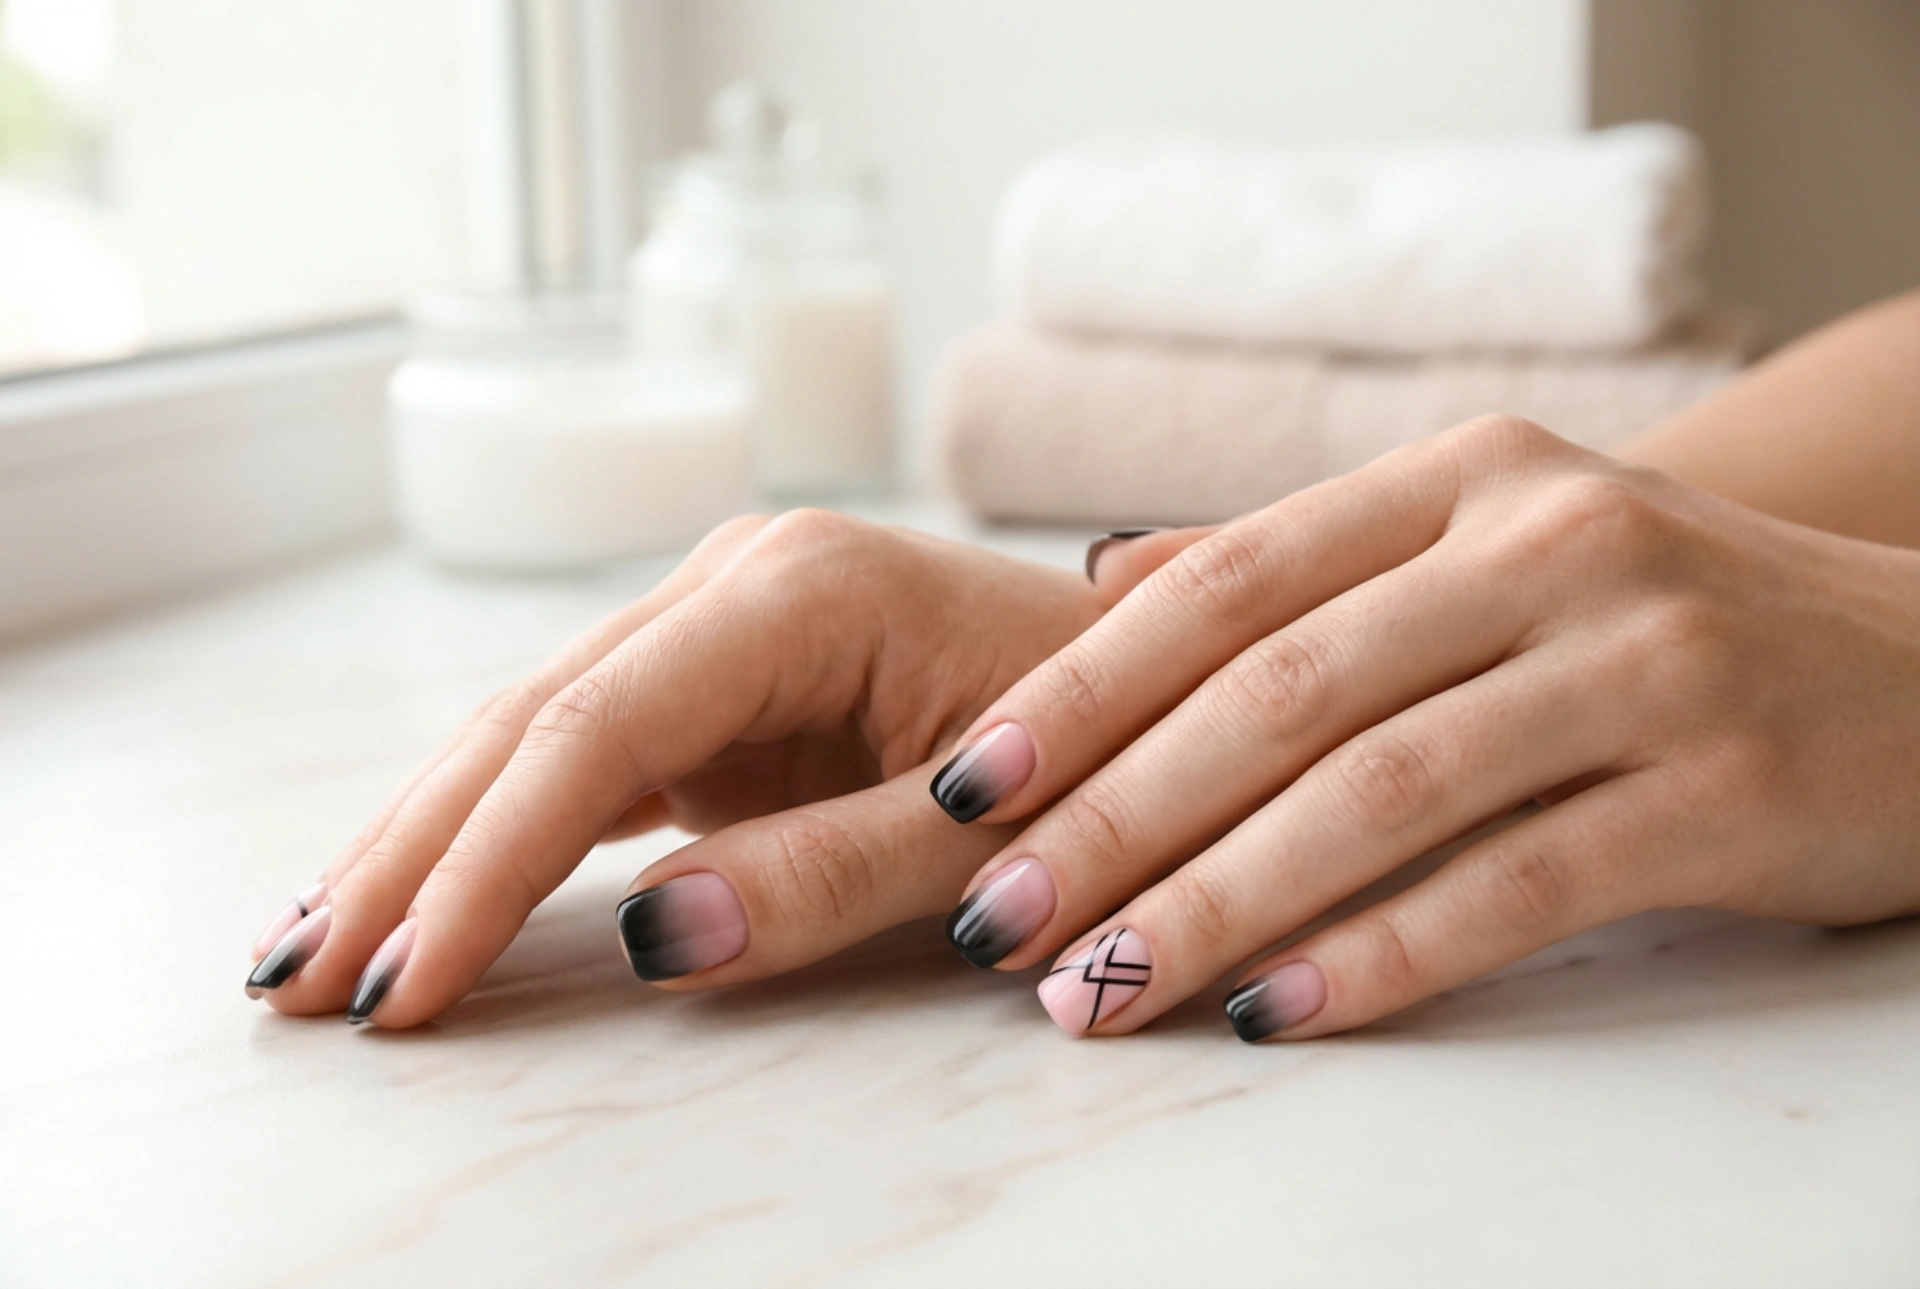
Why does this colour combination remain a favourite? The magic lies in its contrast. Black provides a powerful, sophisticated base, while pink introduces a touch of softness, playfulness, or vibrancy, depending on the shade. A pale, dusty pink paired with black can look incredibly chic and understated. In contrast, a hot pink or fuchsia against black creates a daring, high-impact statement. This duality makes black and pink suitable for any occasion, from a day at the office to a special evening out. It's a pairing that feels both classic and perpetually on-trend, allowing for immense creativity in its application.
Creating a Flawless Black and Pink Ombre
An ombre, or gradient, effect is one of the most popular ways to combine these two colours. It involves a seamless blend from one colour into the other, creating a beautiful and professional-looking finish. While it may seem complex, it can be easily achieved at home with a few simple tools.
Step 1: Nail Preparation
Begin with clean, dry nails. Shape them with a file and gently push back your cuticles. Apply a quality base coat to protect your natural nails from staining and to help your manicure last longer. To make cleanup easier, apply a liquid latex barrier or petroleum jelly to the skin around your nails, being careful not to get any on the nail itself.
Step 2: The Sponging Technique
You will need a small piece of a disposable makeup sponge. Paint a stripe of your pink polish and a stripe of your black polish directly onto the sponge, right next to each other. Make sure the stripes are slightly overlapping where they meet to help with the blending process. The painted area on the sponge should be large enough to cover your entire nail.
Step 3: Blending for a Smooth Gradient
Gently dab the polish-covered sponge onto your nail. Use a light, bouncing motion rather than a wiping one. The first layer may look sheer, which is normal. Let it dry for a minute or two, then reapply the polishes to the sponge and dab a second or third coat onto the nail until you achieve the desired opacity and a smooth blend. Repeat this process for all of your nails.
Step 4: Sealing Your Design
Once you are happy with the gradient, it's time to clean up. Use a small brush dipped in nail polish remover to carefully clean any polish from the skin around your nails. Finish by applying a generous layer of a high-shine top coat. This final step is crucial as it not only protects your design but also helps to further blur the transition between the colours, making the ombre effect even more seamless.
Inspiring Black and Pink Nail Art Patterns
If you want to move beyond the ombre, black and pink serve as a perfect canvas for countless creative patterns. All you need are a few basic nail art tools, such as a thin striping brush and a dotting tool.
Minimalist Geometric Lines
For a clean and modern look, geometric patterns are an excellent choice. You can paint your nails with a solid pink base and use a thin brush to draw sharp black lines, triangles, or chevrons. Alternatively, a half-and-half design, where half the nail is black and the other is pink, separated by a crisp line, is simple yet very effective. You can also use striping tape to achieve perfectly straight lines.
Delicate Floral Motifs
Embrace a more romantic style with floral designs. On a black base, use a dotting tool to create simple pink flowers by arranging five dots in a circle with one in the centre. For a more detailed look, use a fine brush to paint delicate black vines or leaf outlines over a soft pink background. This contrast creates a beautiful and intricate-looking design with minimal effort.
Modern Abstract Swirls
Unleash your inner artist with abstract designs. There are no rules here. After applying your base colour, drop small dots of the contrasting colour onto the nail while the base is still slightly wet. Use a toothpick or a fine brush to gently drag the colours into each other, creating unique swirls and marbled effects. Another idea is a splatter design, which adds an edgy, artistic flair to your manicure.
Tips for a Professional-Looking Manicure
To ensure your black and pink nail art looks its best, keep a few key tips in mind. First, choose your shades wisely. A neon pink will create a very different mood from a pastel pink. Consider the look you want to achieve before you begin. Second, never skip the base and top coats. They are essential for protecting your nails and ensuring the longevity of your design. Finally, practice makes perfect. If you're new to nail art, try your design on a piece of paper or a practice nail wheel first to build your confidence before working on your own nails.


