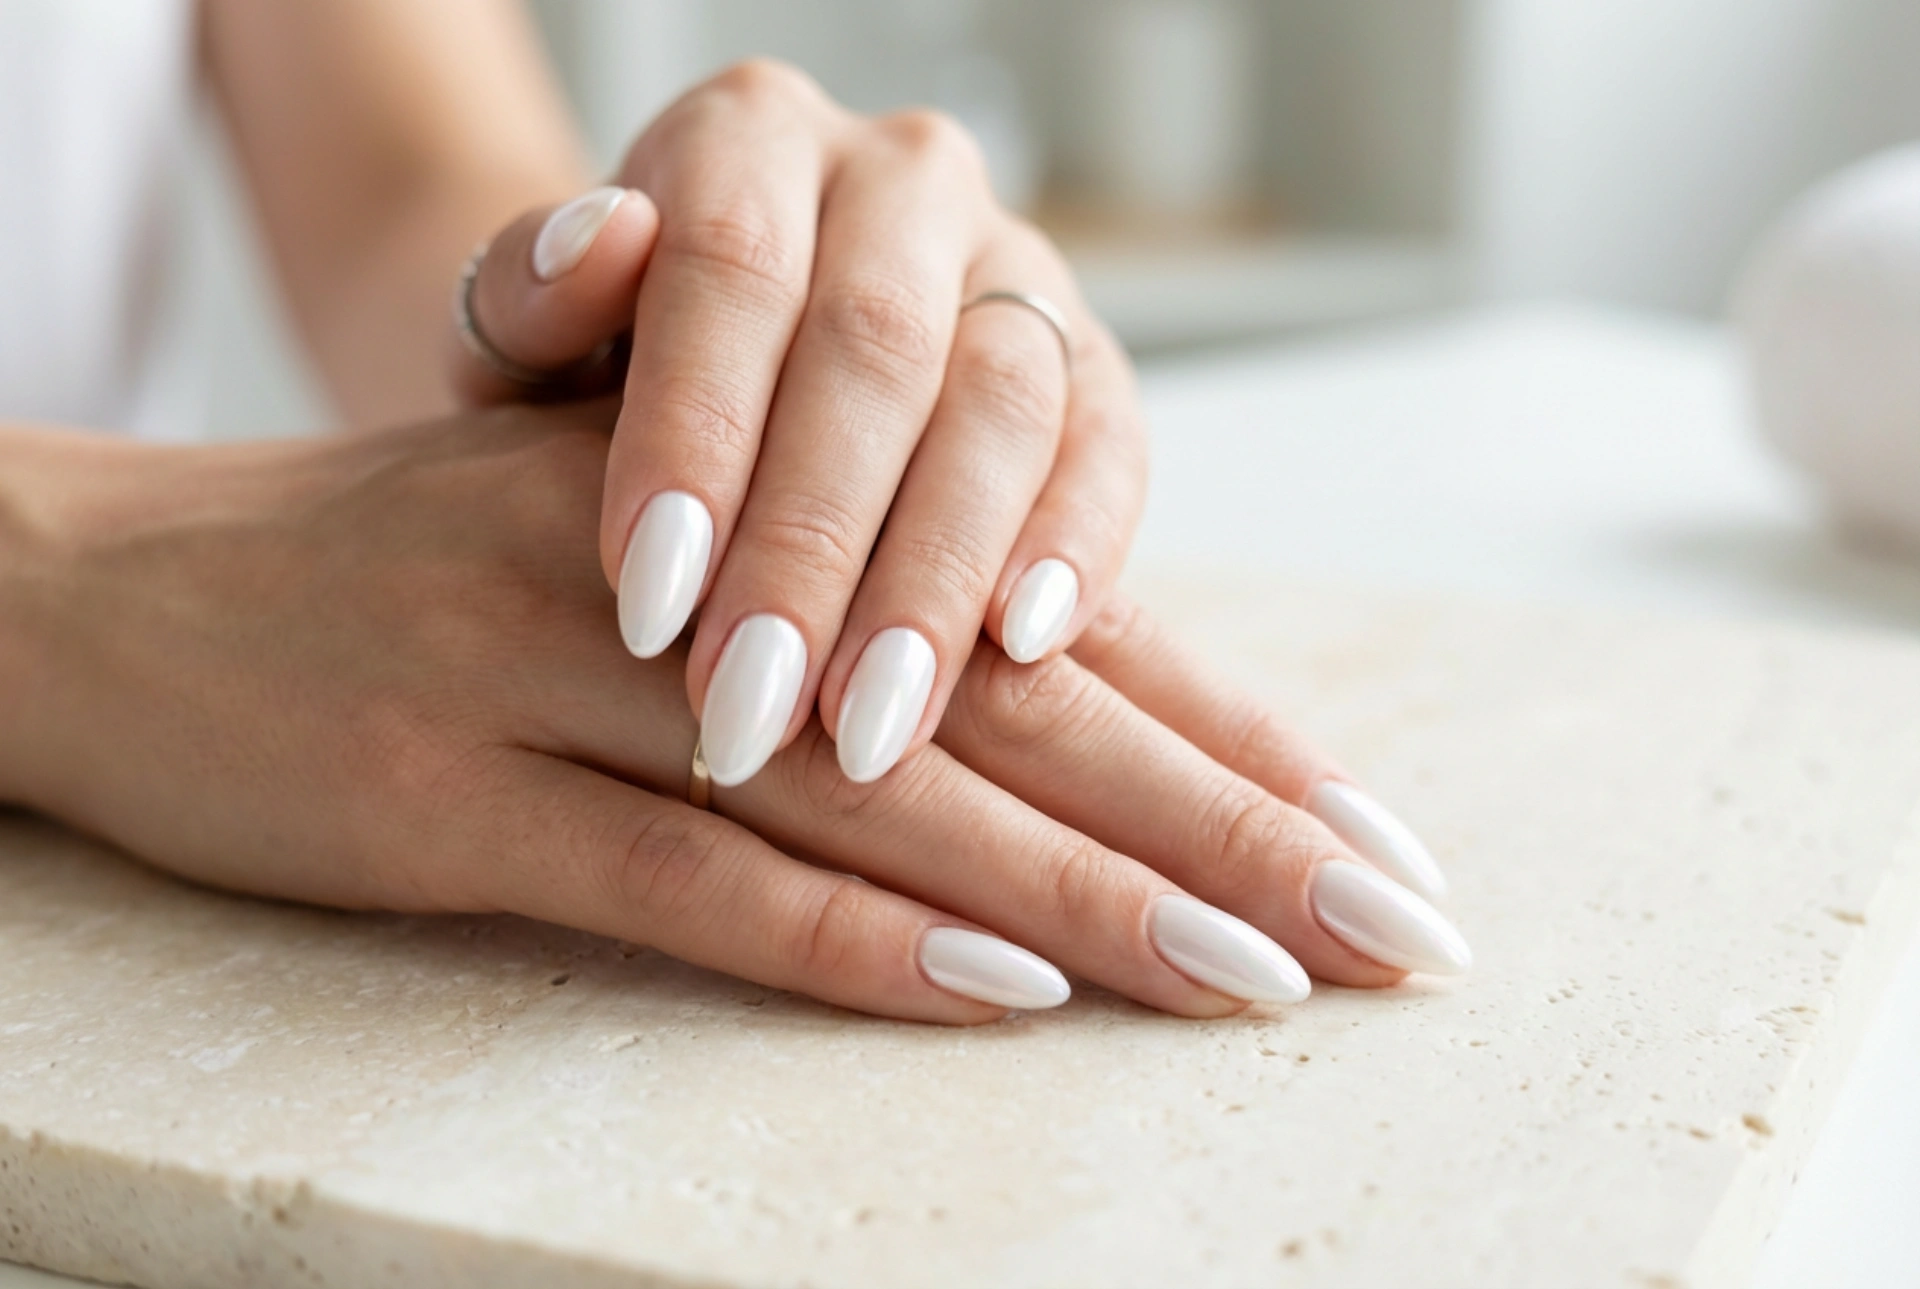


The trend for white pearl nails embodies a clean, modern, and radiant beauty, offering a look that is both sophisticated and versatile. This elegant manicure, characterised by its smooth, even surface and an iridescent glow, can elevate any style. Achieving this coveted pearly finish at home is entirely possible with the right techniques and a little patience. It's all about building delicate layers to create a luminous depth that catches the light beautifully. This guide will walk you through the steps to create your own perfect white pearl manicure.
Preparing Your Nails for a Perfect Pearl Finish
The foundation of any stunning manicure is impeccable preparation. The smooth, reflective surface of pearl nails will highlight any imperfections, so starting with a flawless canvas is crucial. Begin by thoroughly cleaning your nails to remove any old polish and oils. Gently push back your cuticles, but avoid cutting them to maintain the health of your nail bed. Next, file and shape your nails to your desired length and form—an oval or almond shape beautifully complements the softness of the pearl effect. Finally, lightly buff the surface of your nails. This creates a slightly textured base that helps the polish adhere better, ensuring a longer-lasting and smoother application.
The Art of Layering for a Luminous Effect
The secret to an authentic pearl finish lies not in a single polish, but in the skillful layering of different products. You will need a few key items to build the look. Start with a quality base coat to protect your natural nails and provide a smooth foundation. For the colour, choose a sheer, milky white or a very light, translucent off-white polish. A fully opaque white will be too harsh and will not allow the pearlescent layer to create the desired depth. The star of the show is the pearlescent element itself. This can be either a special chrome-effect powder with a pearly finish or a very sheer, iridescent top coat polish. Finally, a high-gloss, durable top coat is essential to seal the effect and provide that mirror-like shine.
Step-by-Step Guide to White Pearl Nails
Follow these steps carefully to build your elegant, iridescent manicure from scratch.
Step 1: Apply the Base Coat
Begin with one thin layer of a good-quality base coat on clean, buffed nails. This step is non-negotiable as it prevents staining, strengthens the nail, and gives the colour polish something to grip onto, extending the life of your manicure. Allow it to dry completely before moving on.
Step 2: Build the Milky White Base
Apply your sheer white or milky polish. The key here is to use thin, even coats. One coat might look too transparent, so it's best to apply two for the perfect milky depth. Let each coat dry thoroughly to avoid smudges and ensure a smooth surface. This translucent base is what gives the final look its soft, ethereal quality.
Step 3: Create the Pearlescent Sheen
This is where the magic happens. If you are using a pearlescent chrome powder, you will first need to apply a layer of a no-wipe gel top coat and cure it according to its instructions. Then, using a small sponge applicator, gently rub a tiny amount of the powder onto the nail surface until you achieve an even, pearly glow. If you are using an iridescent polish, simply apply one thin layer over your dry milky base. Be careful to apply it evenly to avoid streaks.
Step 4: Seal with a High-Gloss Top Coat
Regardless of the method used in the previous step, finishing with a high-gloss top coat is essential. It protects the delicate pearlescent layer from chipping and wear, and it amplifies the shine, giving your nails that liquid-like, radiant finish. Apply one or two thin coats, making sure to cap the free edge of the nail to prevent chipping. Allow it to dry completely.
Tips for a Long-Lasting Pearly Manicure
To keep your beautiful pearl nails looking flawless for as long as possible, a little aftercare goes a long way. Wear gloves when doing household chores, especially washing dishes, to protect your manicure from water and harsh chemicals. Apply cuticle oil daily to keep your nail beds and the skin around them hydrated and healthy. This also helps to prevent lifting and chipping at the base of the nail. For extra longevity, you can apply a fresh layer of your high-gloss top coat every two to three days. This will refresh the shine and add an extra layer of protection, keeping your pearly glow intact.


