


False eyelashes are a fantastic way to add drama and definition to your eyes, transforming your look in minutes. Whether you desire a subtle enhancement or full-on glamour, mastering the application of strip lashes is a key skill. The process, highlighted by the delicate tools of the trade like lashes, adhesive, and tweezers, can be simple and safe when done correctly. This guide will walk you through each step, ensuring a flawless and comfortable finish every time.
Choosing and Preparing Your Tools
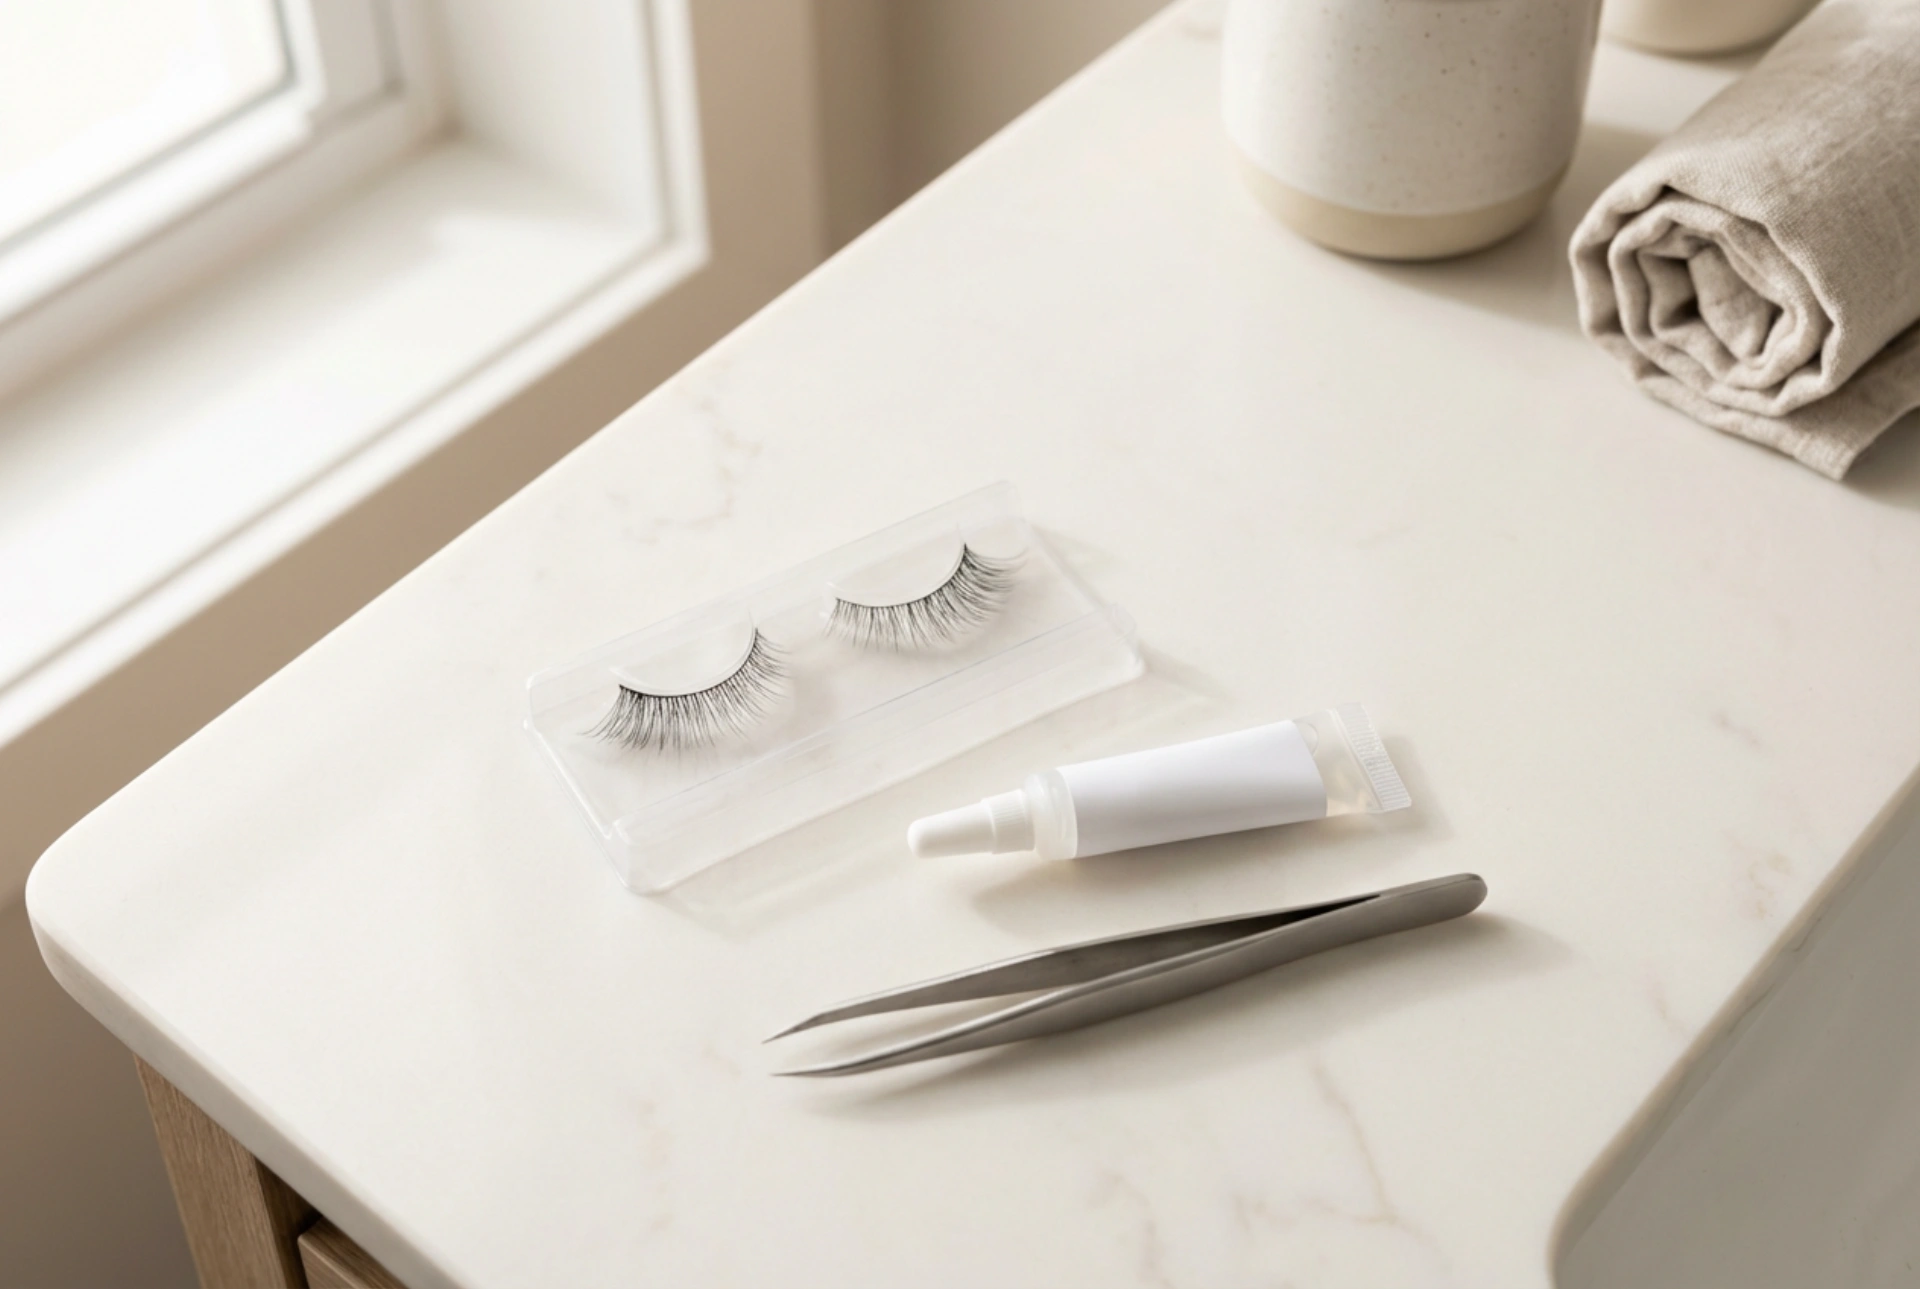
Before you begin, gathering the right tools is essential for a smooth application. You will need a pair of strip eyelashes that suit your desired look, a quality eyelash adhesive, a pair of small, sharp scissors for trimming, and tweezers for precise placement. When selecting lashes, consider the occasion. Lighter, more natural-looking styles are perfect for daytime, while denser, longer lashes can create a more dramatic evening look. Always choose a reputable adhesive and perform a patch test on your skin 24 hours before application to check for any potential sensitivity.
Step-by-Step Application Guide
Achieving a professional-looking result at home is all about preparation and technique. By following these steps carefully, you can ensure your lashes look seamless and stay in place.
1. Prepare Your Natural Lashes
Start with clean, dry eyelids free of any oil or makeup residue. If you wish, you can curl your natural lashes with an eyelash curler and apply a thin coat of mascara. This helps create a supportive base for the false lashes to rest on and assists in blending them together later. Applying mascara first also reduces the need to apply it over the false lashes, which can help to preserve them for reuse.
2. Measure and Trim the Lash Strip
This is a crucial step that many people skip. A lash strip that is too long for your eye shape can be uncomfortable and look unnatural. Rest the strip along your lash line to measure it. If it extends beyond your natural lash line, trim the excess from the outer edge using small scissors. Always trim from the outer corner, where the lashes are typically longer, to maintain the natural tapered shape of the inner corner.
3. Apply the Adhesive
Apply a thin, even line of eyelash adhesive along the band of the false lash. Be careful not to apply too much, as this can become messy and take longer to dry. A common mistake is applying the lash immediately after the glue. It's vital to wait for about 30-60 seconds, or until the glue becomes tacky and slightly transparent. This allows the adhesive to develop the necessary grip for a secure bond, preventing the lash strip from sliding around during placement.
4. Place the Lash
Using tweezers or your fingertips, look downwards into a mirror and place the lash strip as close to your natural lash line as possible. Start by pressing it down in the centre of your eyelid, then use the tweezers to secure the inner and outer corners. Gently press along the entire band to ensure it's firmly attached to your skin, not your natural lashes.
Final Touches and Safe Removal
Once the lash is in place and the glue has dried completely, you can blend it for a seamless look. Gently press your natural and false lashes together with your fingertips. If there is a visible gap between the lash band and your lash line, you can fill it in with a liquid or gel eyeliner. This trick helps to conceal the band and makes the lashes look more integrated. For removal, never pull or rip the lashes off. Soak a cotton pad or bud in an oil-free makeup remover and gently press it against your lash line for a few seconds to dissolve the adhesive. The lash strip should then peel away easily from the outer corner. To reuse your lashes, carefully peel off any remaining glue from the band and store them in their original case to maintain their shape.