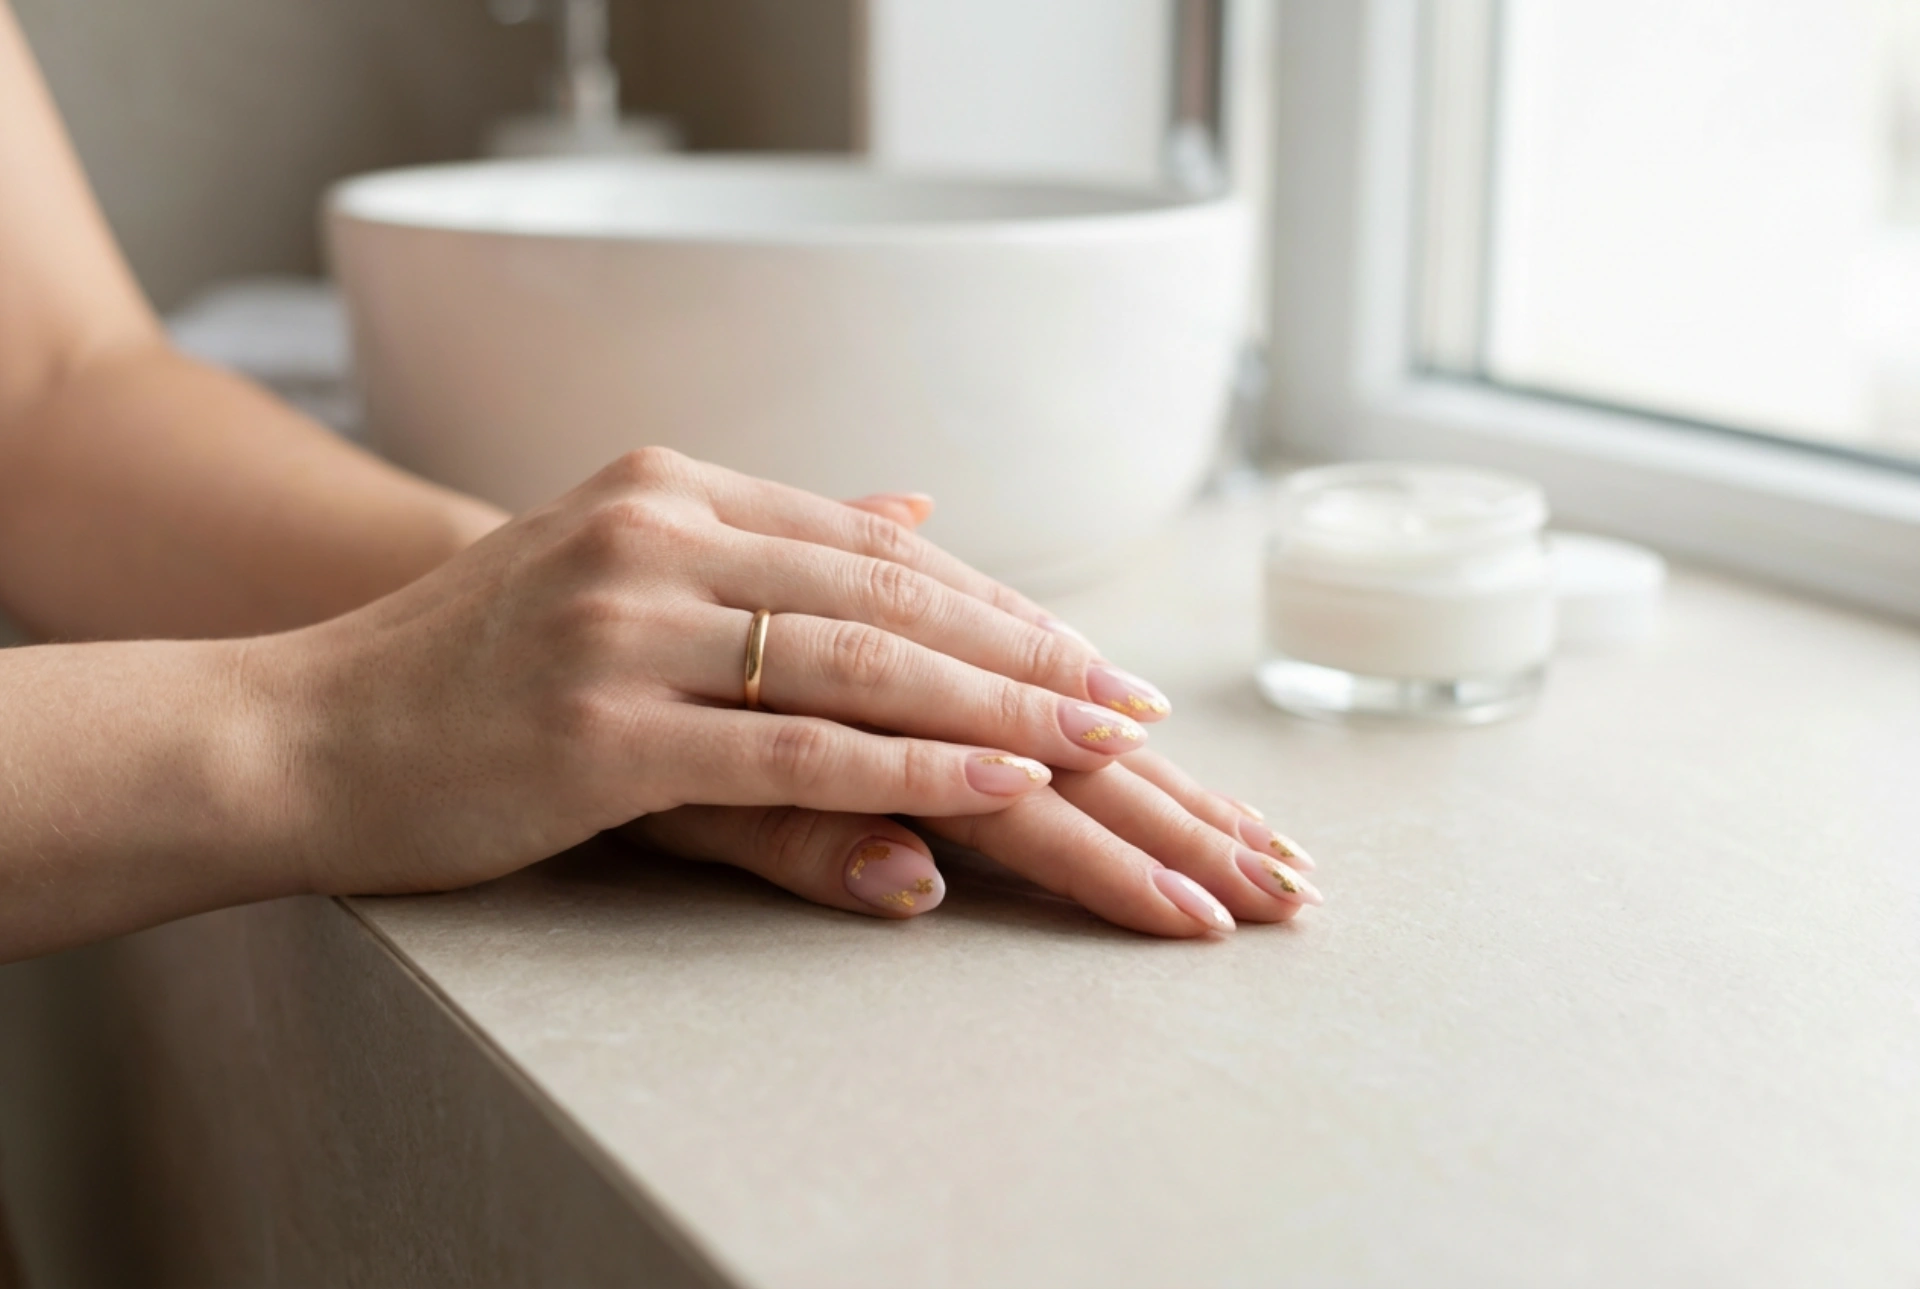


The combination of soft pink and shimmering gold creates a timelessly elegant manicure that suits any occasion. This classic pairing adds a touch of sophistication to your look, transforming simple nails into a statement of refined style. Achieving this beautiful design at home is easier than you might think. Follow our step-by-step guide to create your own stunning pink and gold nails, perfect for adding a little luxury to your everyday life or for a special event.
Preparation is Key: Getting Your Nails Ready
A beautiful manicure starts with well-prepared nails. A clean and smooth canvas ensures your nail varnish applies evenly and lasts longer. Begin by removing any old varnish completely using a gentle nail varnish remover. Next, focus on your cuticles. Instead of cutting them, which can lead to issues, gently push them back using a wooden or rubber-tipped cuticle pusher. You can soften them first by soaking your fingertips in warm water for a few minutes or by using a cuticle remover solution.
Once your cuticles are neat, shape your nails. Use a soft nail file to shape them into your desired form, whether that's square, oval, or almond. Always file in one direction to prevent splitting. Lightly buff the surface of your nails with a gentle buffer block to smooth out any ridges. Finally, wipe each nail with a cotton pad soaked in nail varnish remover to eliminate any dust and natural oils, creating the perfect surface for your base coat.
Applying the Base: The Perfect Pink Canvas
Never skip the base coat. This essential step protects your natural nails from staining and helps your manicure adhere better, significantly improving its longevity. Apply one thin layer of a clear base coat to each nail and allow it to dry completely. This usually takes one to two minutes.
Once the base coat is dry, it's time for the pink varnish. Choose a soft, delicate shade of pink that complements your skin tone. For a subtle, translucent look, one coat may be enough. For a more opaque and classic finish, apply two thin coats. The key is to keep the layers thin to ensure they dry properly and avoid smudging. Wait for the first coat to be completely dry to the touch before applying the second. Patience here will pay off with a smoother, more professional-looking result.
Adding the Gold Accents: A Touch of Luxury
This is the creative part where you add a touch of glamour. There are several simple ways to incorporate gold into your pink manicure. Choose the method that you feel most comfortable with.
Using Gold Foil Flakes
Gold foil flakes provide a beautifully textured and abstract effect. Here's how to apply them:
- Work on one nail at a time for the best results.
- Apply a small amount of nail art glue or a dab of wet top coat to the areas where you want the gold accent.
- Using tweezers or a damp toothpick, carefully pick up a small piece of gold foil and place it onto the wet area.
- Gently press the foil down with the tweezers or a silicone nail tool to ensure it lies flat against the nail. You can use single large flakes or break them into smaller, scattered pieces for a different effect.
Drawing with Gold Varnish
If you prefer a more precise design, using a metallic gold nail varnish is an excellent option. For this, you will need a very fine nail art brush or even the tip of a toothpick.
- Pour a small drop of gold varnish onto a piece of foil or a palette.
- Dip your fine brush into the varnish and create your design. Simple ideas include a thin line along the tip of the nail for a modern French manicure, a delicate curve at the base of the nail (a reverse French), or subtle dots and minimalist stripes.
- Keep your hand steady and work slowly. If you make a mistake, you can quickly clean it up with a small brush dipped in nail varnish remover before it dries.
Sealing the Deal: The Finishing Touches
Once you are happy with your gold accents and they have had a moment to set, it's crucial to seal your design with a top coat. This final layer protects your manicure from chipping, locks in the gold details, and provides a brilliant, high-gloss shine. Apply one even layer of a quick-drying, high-quality top coat over the entire nail. Be sure to 'cap' the free edge by swiping the brush along the tip of the nail. This creates a seal that helps prevent chips and extends the life of your manicure.
Maintaining Your Elegant Manicure
To keep your pink and gold nails looking flawless for as long as possible, a little aftercare goes a long way. Apply a nourishing cuticle oil daily to keep your cuticles and the skin around your nails hydrated. When doing household chores, especially those involving water or cleaning products, wear gloves to protect your manicure. To revive the shine and add an extra layer of protection, you can apply a fresh layer of top coat every two to three days. With these simple steps, you can enjoy your beautiful and sophisticated home manicure for up to a week.


