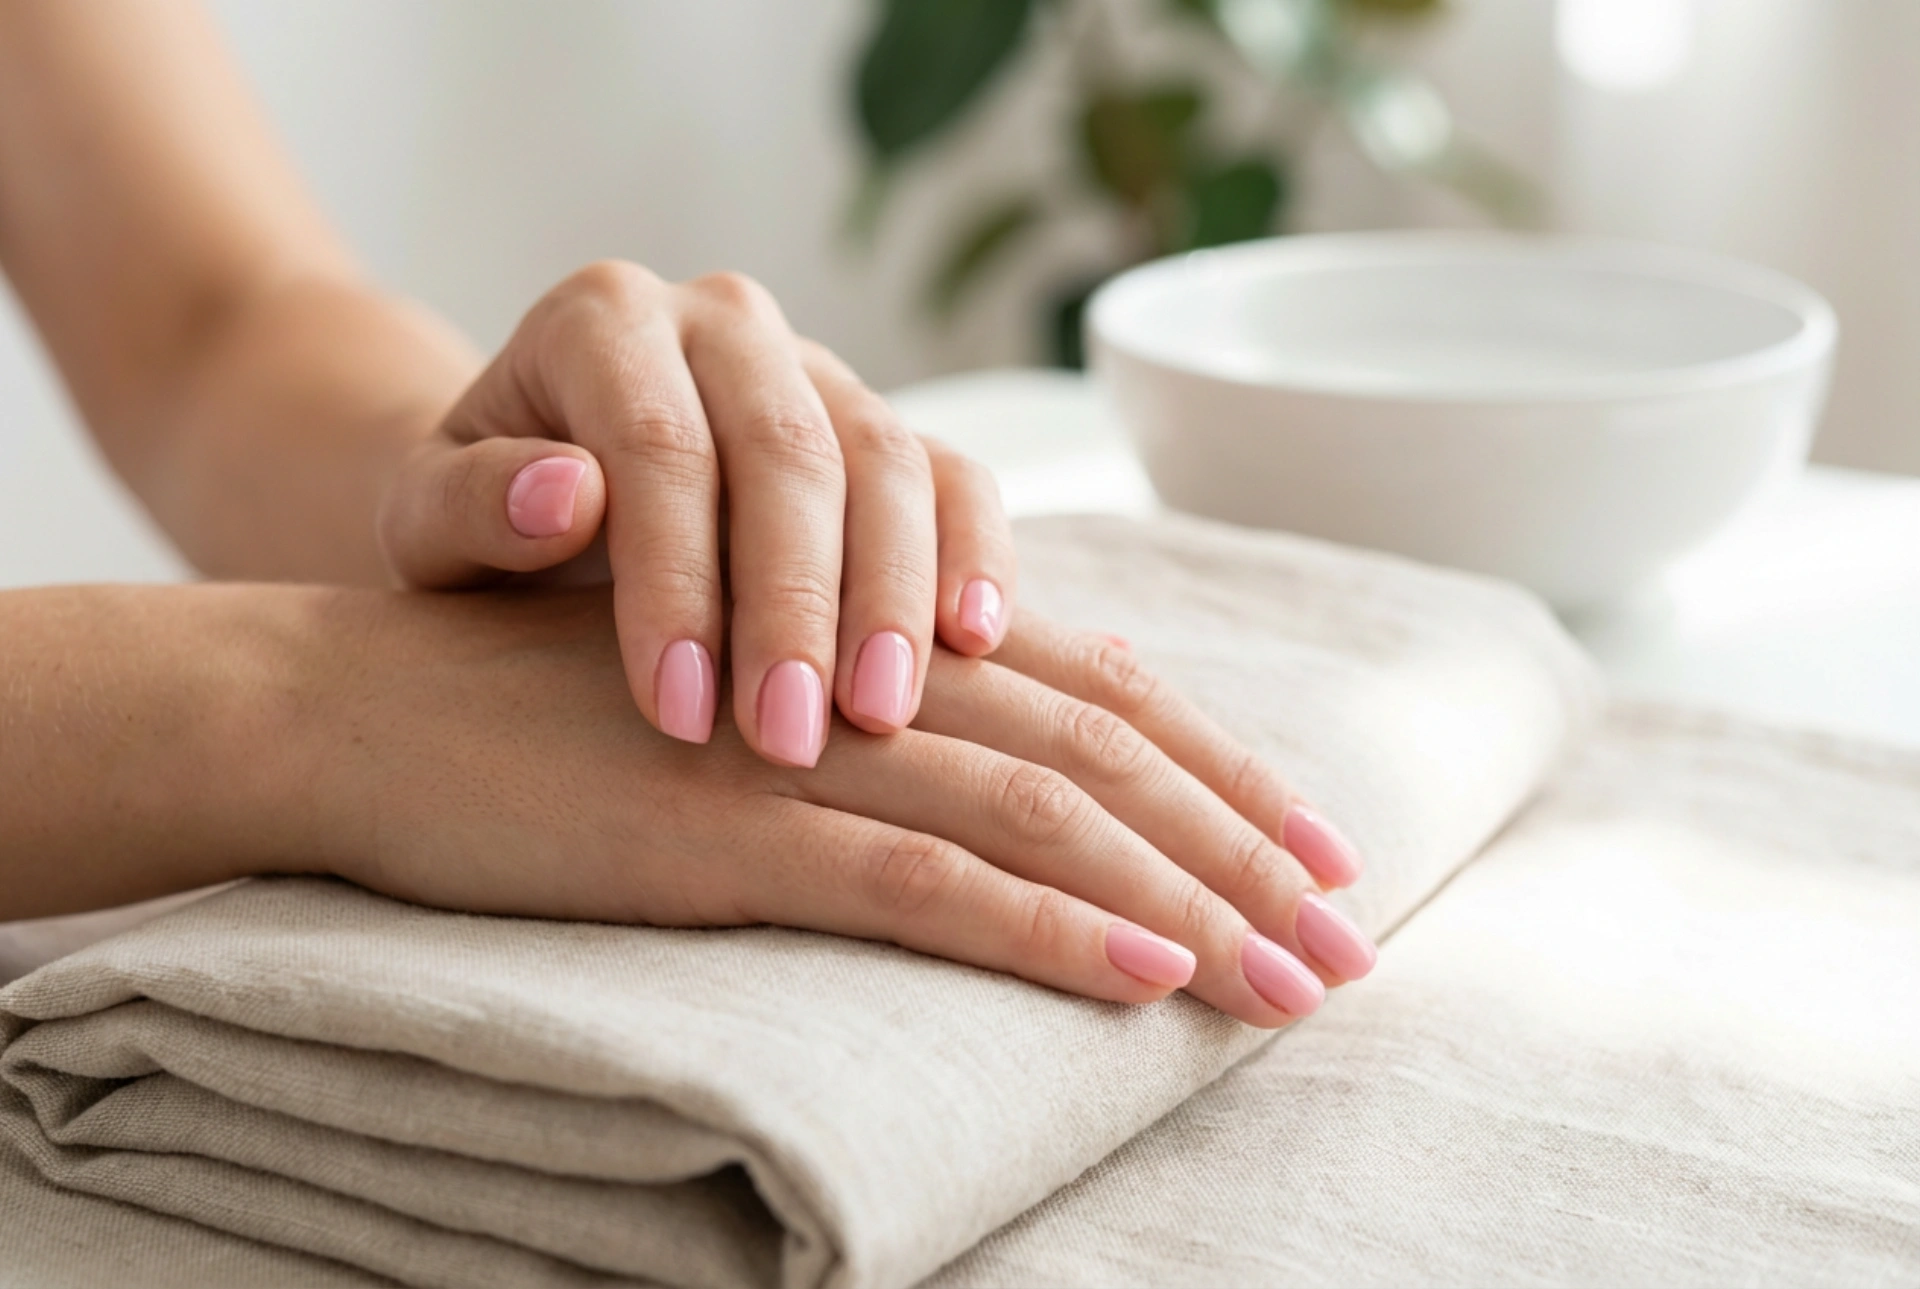


A flawless, glossy manicure that lasts for weeks is the dream of many beauty enthusiasts. Hybrid manicures offer just that: durability, shine, and an impeccable finish. Pink, in its countless shades, is a timeless choice that exudes elegance and sophistication, suitable for any occasion. Achieving this look at home is entirely possible with the right tools and technique. This guide will walk you through creating the perfect pink hybrid manicure, from preparation to the final glossy top coat, ensuring a professional-looking result that you can be proud of.
Preparing for Your Home Hybrid Manicure
Before you begin, gathering all the necessary equipment is crucial for a smooth and successful process. A well-organised workspace will make the application much easier. Ensure you have good lighting to see every detail of your work.
Essential Tools and Products:
- UV/LED Lamp: Essential for curing the hybrid polishes.
- Nail File: For shaping your nails. A 180/240 grit file is usually a good choice.
- Nail Buffer: To gently roughen the nail plate, which helps the polish adhere better.
- Cuticle Pusher or Wooden Stick: To gently push back the cuticles.
- Nail Cleaner/Degreaser: A solution to remove dust and natural oils from the nail plate.
- Lint-Free Wipes: For applying the cleaner without leaving any fluff behind.
- Acid-Free Primer: An optional but recommended step to enhance adhesion.
- Hybrid Base Coat: Protects the nail and provides a foundation for the colour.
- Pink Hybrid Colour Polish: Your chosen shade of pink.
- Hybrid Top Coat: To seal the colour, add shine, and provide protection.
- Cuticle Oil: To nourish the skin around your nails after the manicure is complete.
Step-by-Step Guide to Application
Patience and precision are key to achieving a salon-quality hybrid manicure at home. Work on one hand at a time, and don't rush the process. Following these steps carefully will help you avoid common mistakes and ensure a long-lasting result.
Step 1: Nail and Cuticle Preparation
Start with clean, dry hands. Use the nail file to shape your nails to your desired length and form. Gently push back your cuticles using a cuticle pusher. If you are experienced, you can carefully trim any excess, but be very cautious to avoid cutting the skin. Next, take the nail buffer and lightly buff the entire surface of the nail plate. The goal is to remove the natural shine, not to thin the nail. This creates a slightly rough surface for the polish to grip. Finally, use a lint-free wipe soaked in nail cleaner to thoroughly degrease each nail, removing all dust and oils.
Step 2: Primer and Base Coat
If you choose to use a primer, apply a very thin layer to the nail plate and let it air dry for about 60 seconds. This step is particularly helpful if you find that your manicures tend to lift. Next, apply a thin, even layer of the hybrid base coat. Be careful not to let it touch your skin or cuticles. 'Cap' the free edge of the nail by running the brush along the tip. This helps to prevent chipping. Cure the base coat under your UV/LED lamp according to the product's instructions (usually 30-60 seconds).
Step 3: Applying the Pink Colour
Now for the main event. Apply a very thin layer of your chosen pink hybrid polish. Thick layers cure poorly and can lead to wrinkling or peeling. Again, avoid touching the cuticles and be sure to cap the free edge. Cure this first layer under the lamp as per the instructions. The first coat may look a bit sheer; this is normal. Apply a second thin coat of the pink polish to achieve full opacity and rich colour. Cure the second layer under the lamp for the same amount of time.
Step 4: The Final Top Coat
To protect your colour and give it that signature high-gloss shine, apply a thin layer of the hybrid top coat. Ensure you cover the entire nail and cap the free edge once more. This final seal is vital for the manicure's longevity. Cure the top coat under the lamp, often for a slightly longer time (e.g., 60-90 seconds) to ensure it is fully hardened. Some top coats are 'no-wipe', meaning they are not sticky after curing. If yours is not, it will have a sticky 'inhibition layer'. Simply wipe this off with a lint-free wipe and some nail cleaner to reveal the smooth, glossy finish underneath.
Step 5: Nourish and Hydrate
Your manicure is now complete! As a final touch, apply a drop of cuticle oil to the skin around each nail and gently massage it in. This rehydrates the skin after the process and gives your manicure a polished, fresh-from-the-salon look.
Tips for a Long-Lasting Manicure
To keep your pink hybrid nails looking perfect for as long as possible, remember a few key points. Always wear gloves when doing household chores, especially those involving water and cleaning agents. Avoid using your nails as tools to open cans or scrape things. Regular application of cuticle oil will also keep the surrounding skin healthy and prevent your manicure from looking dry.
Safe Removal Process
Never peel or pick off your hybrid manicure, as this can severely damage your natural nails. To remove it safely, gently file off the shiny top coat. Then, soak a piece of a cotton pad in a special hybrid polish remover (acetone-based), place it on the nail, and wrap the fingertip in aluminium foil. Wait for 10-15 minutes. After this time, the polish should have softened and can be gently pushed off with a wooden stick or cuticle pusher. If any residue remains, you can gently buff it away. Finish by moisturising your nails and hands thoroughly.


