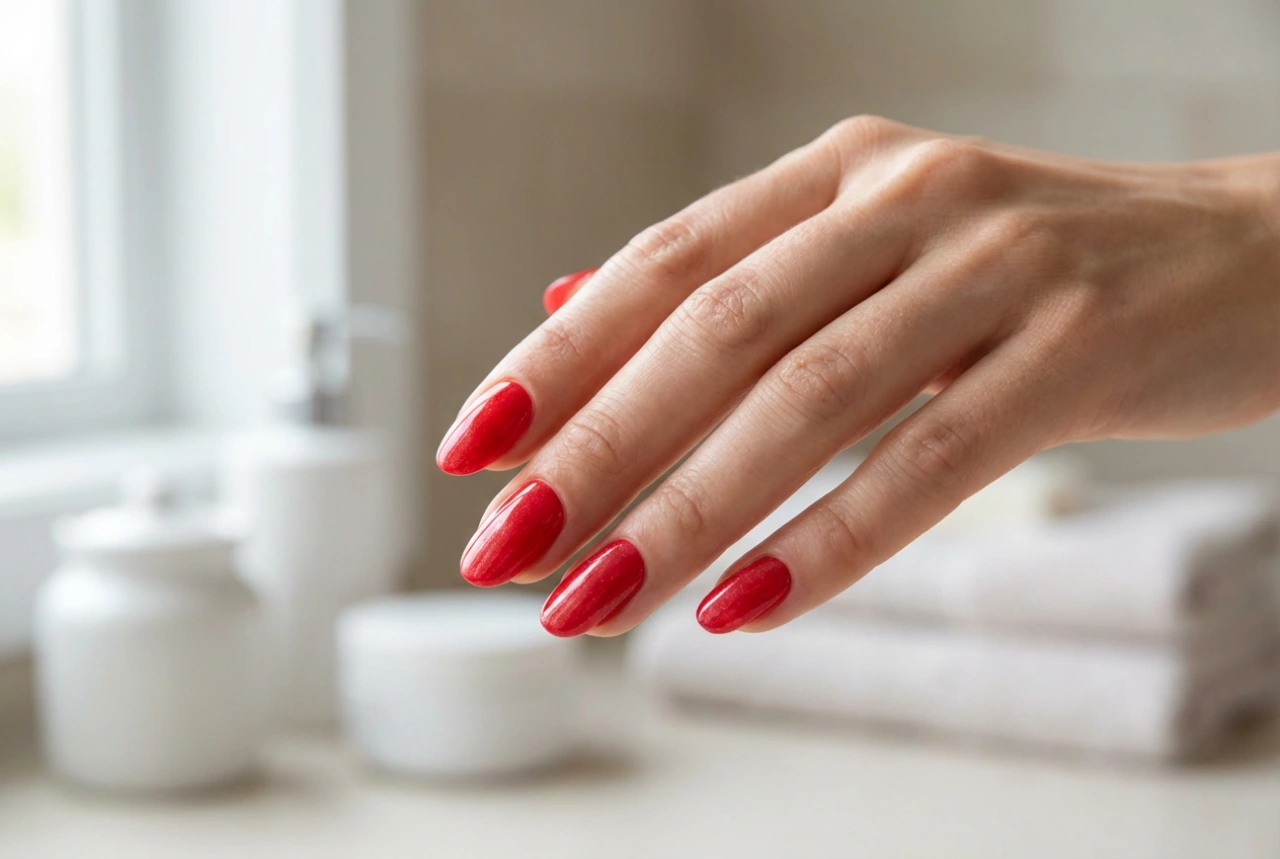


Achieving long, elegant nails is a goal for many beauty enthusiasts. While salon visits are an option, mastering the art of nail extensions at home can be a rewarding skill. The key to a successful and beautifully shaped extension lies in the correct application of nail forms, also known as sculpting stickers. These clever guides provide the foundation for building your desired nail length and shape with precision and control. Let's explore how to use them effectively for a flawless finish.
What Are Nail Extension Forms?
Nail extension forms are disposable, self-adhesive stickers, typically made of paper or foil with a vinyl coating. They are designed to be placed under the free edge of the natural nail, creating a temporary platform. This platform serves as a guide for applying and sculpting materials like hard gel, acrylic, or polygel. Most forms feature a grid system with lines and numbers, which helps you build extensions of a consistent length and shape across all fingers. Their flexibility allows them to be moulded to fit different nail shapes, ensuring a seamless connection between the natural nail and the extension.
Preparing the Natural Nail
Proper preparation is the most critical step for ensuring the longevity of your nail extensions. A clean and well-prepped surface prevents lifting and promotes adhesion. Follow these essential steps before applying any forms.
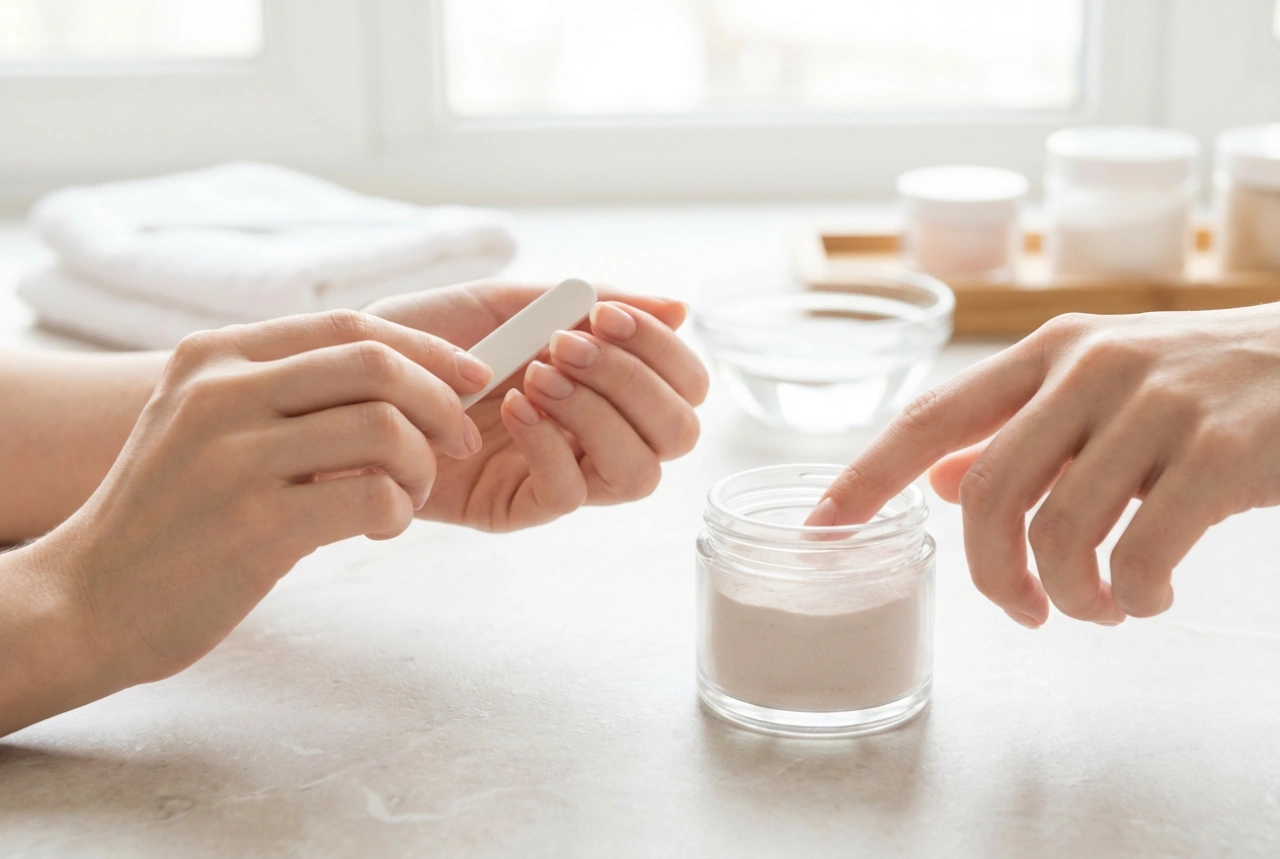
- Cleanse: Start by washing your hands and nails thoroughly. Use a nail brush to clean under the free edge. Sanitise your hands and nails with an alcohol-based solution.
- Cuticle Care: Gently push back your cuticles using a cuticle pusher. If necessary, carefully trim any non-living tissue with a cuticle nipper. Avoid cutting the living skin (the eponychium).
- Buff the Nail Plate: Using a fine-grit buffer, lightly buff the entire surface of the natural nail. This removes the natural shine and creates a slightly rough texture for the product to adhere to.
- Dehydrate and Prime: Wipe the nail with a lint-free wipe soaked in a nail dehydrator or cleanser to remove any dust and oils. For enhanced adhesion, apply a thin layer of primer to the natural nail and allow it to air dry according to the product's instructions.
- Apply Base Coat: If you are using a gel system, apply a thin layer of base coat and cure it under a UV/LED lamp. This creates the perfect foundation for the builder gel.
Step-by-Step Guide to Applying the Form
Applying the form correctly is a matter of precision. A well-fitted form prevents the sculpting product from seeping underneath and ensures the final extension is structurally sound. Take your time with this process.
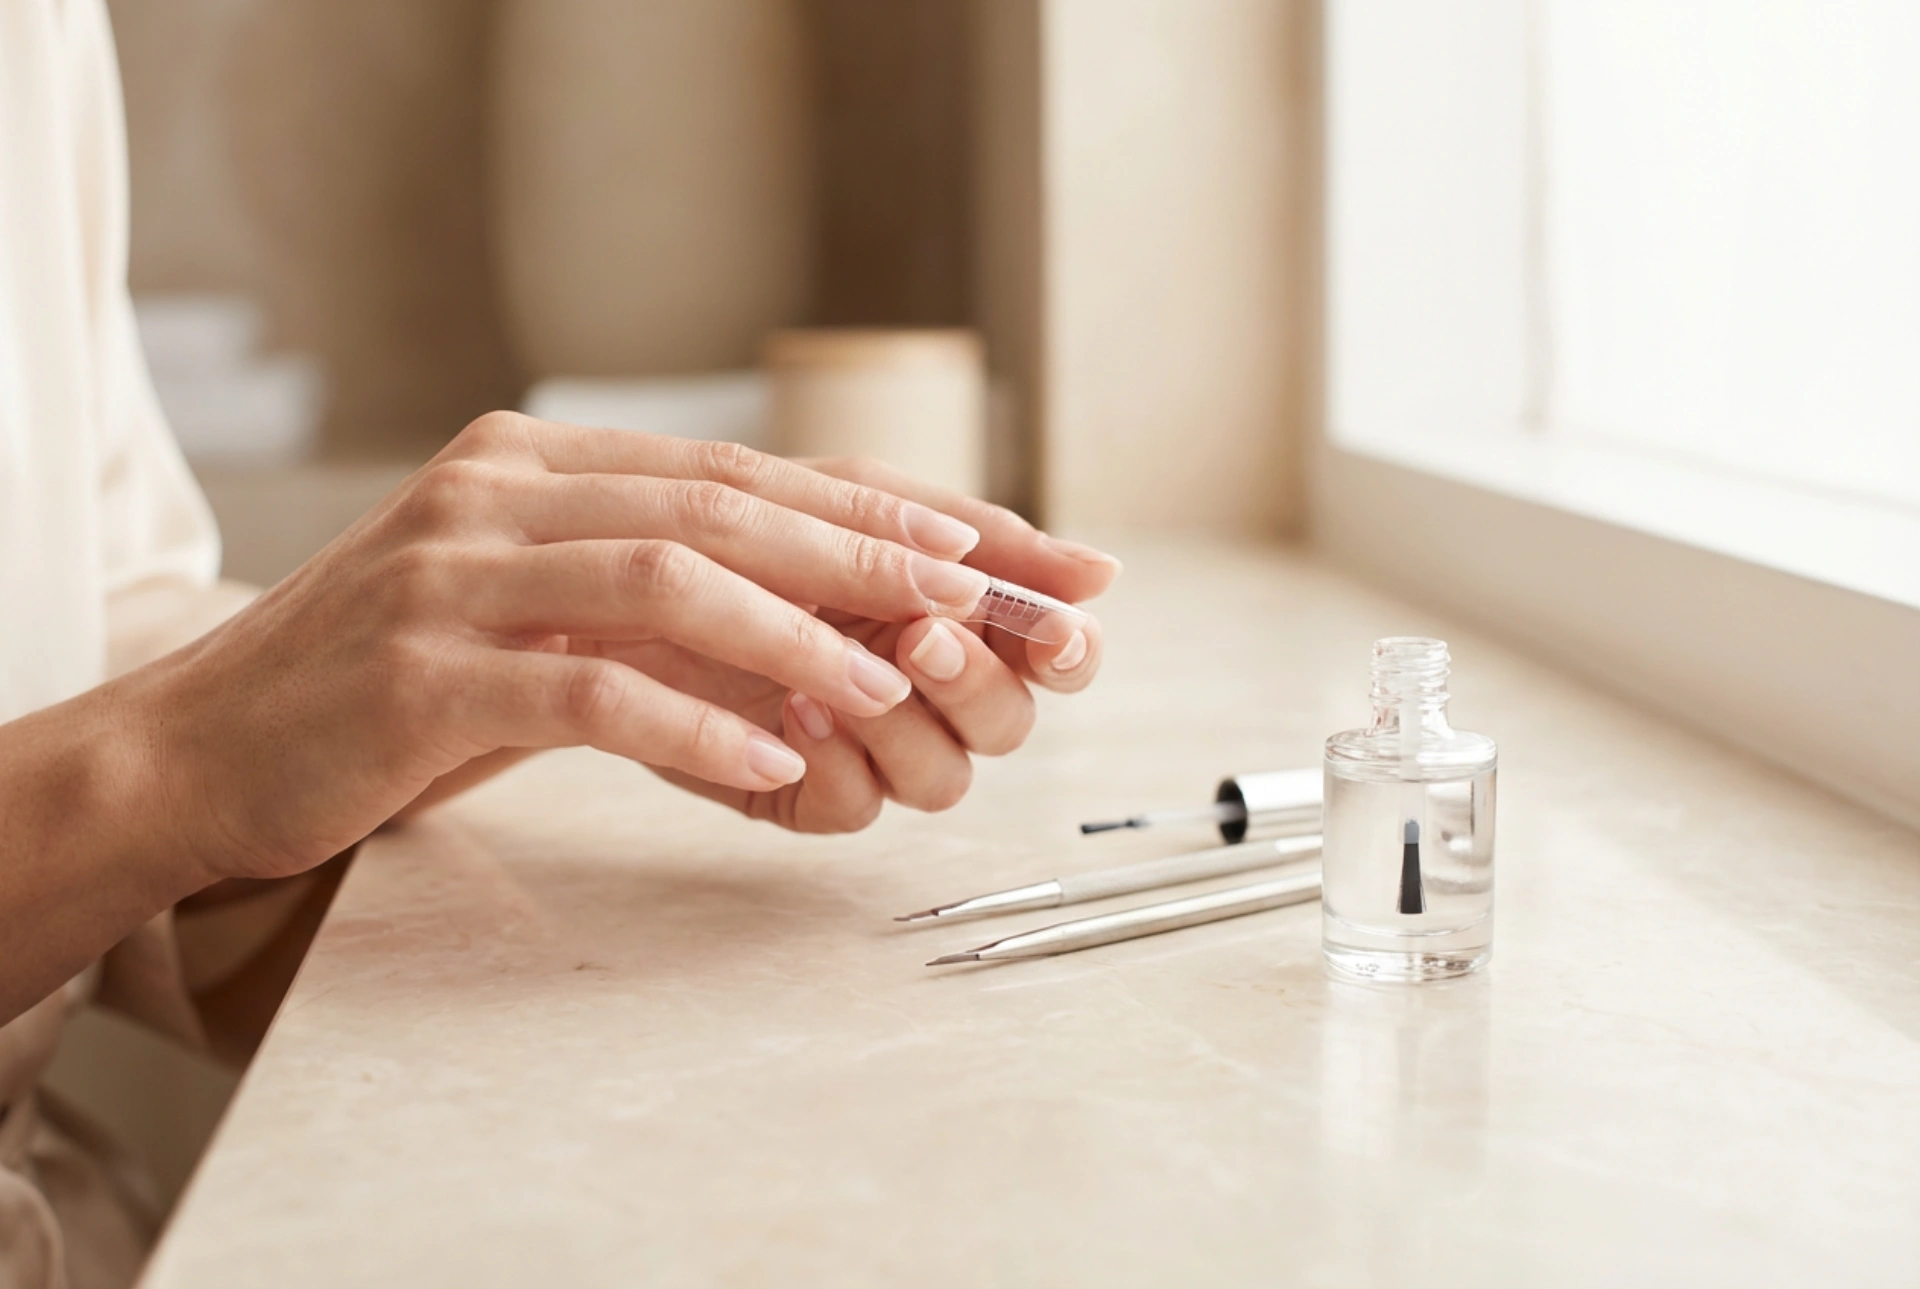
Positioning and Securing
First, peel a form from its backing paper. You can use the small, perforated centre circle to stick to the back of the form for added rigidity. Gently bend the form along its perforated lines to create a soft 'C' curve that will mimic the natural curve of a nail. Carefully slide the form under the free edge of your nail, ensuring it fits snugly against the fingertip. There should be no gaps between the form and the natural nail. Align the centre line of the form with the middle of your finger. Once you are happy with the placement, press the lower tabs (wings) of the form together underneath your finger to secure it firmly in place. Check the alignment from the side and front to ensure it extends straight out from your natural nail and isn't pointing up or down.
Building and Shaping the Extension
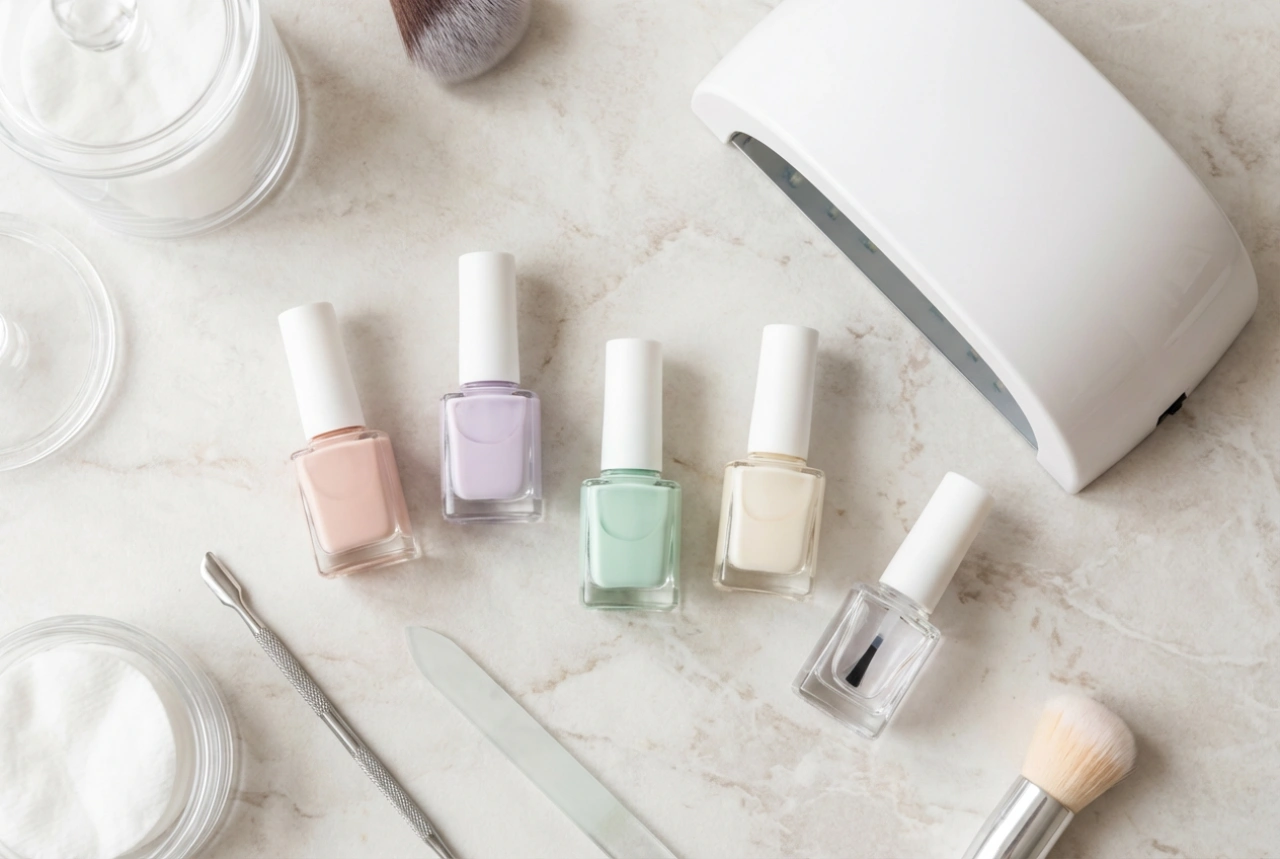
With the form securely in place, you can begin sculpting the nail. Using your chosen product (gel, acrylic, etc.), start by placing a bead near the free edge of your natural nail and gently guide it onto the form. Use the lines on the form as your guide to build out the length. For example, if you want a short extension, you might build up to the number 2. Ensure you create a smooth and even layer, connecting the product seamlessly with your natural nail. Build an 'apex'—a slightly thicker area in the stress zone of the nail (where the natural nail and extension meet)—to provide strength and durability. Once you are satisfied with the shape and length, cure the product according to its specific instructions (for gels) or let it air dry completely (for acrylics). After the product is fully hardened, gently pinch the sides of the form near the nail and slide it out from under the extension.
Finishing and Refining the Nail
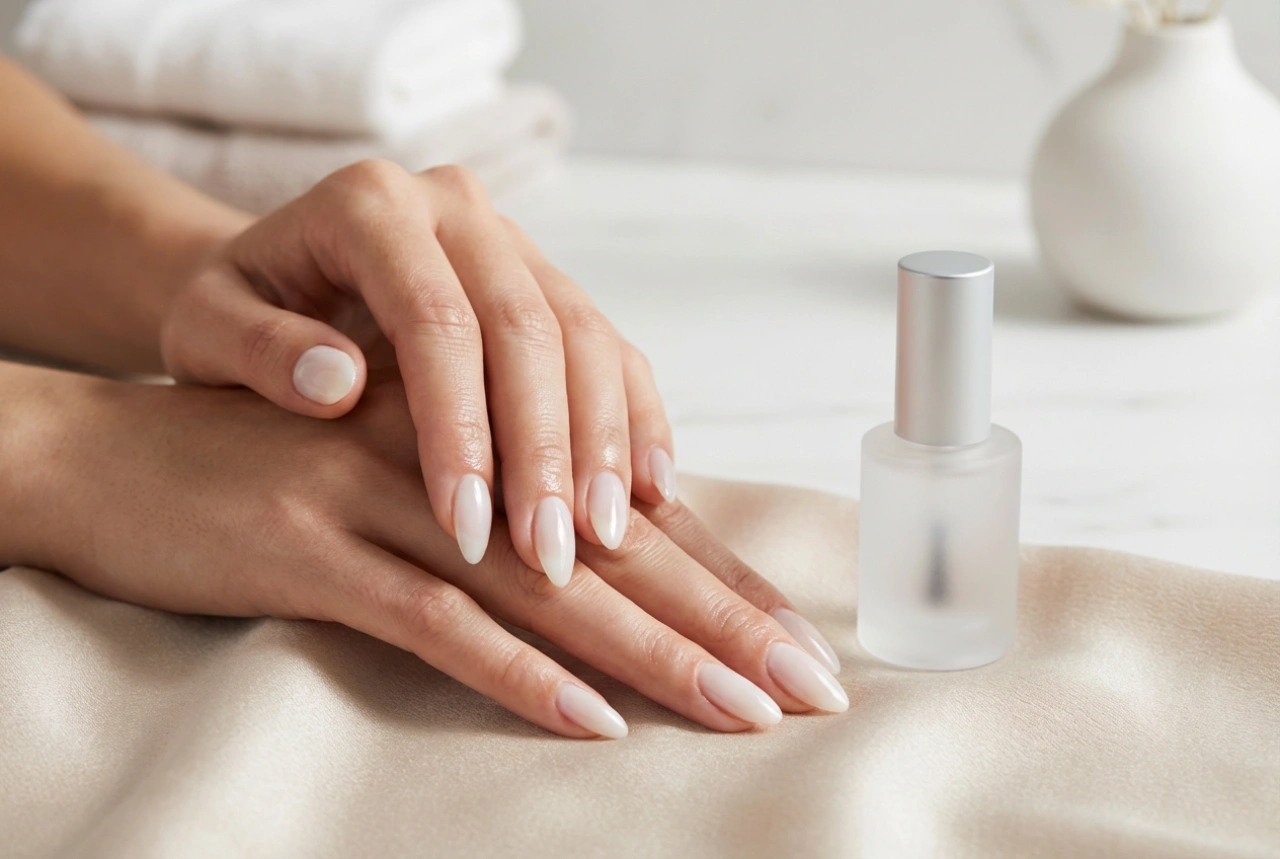
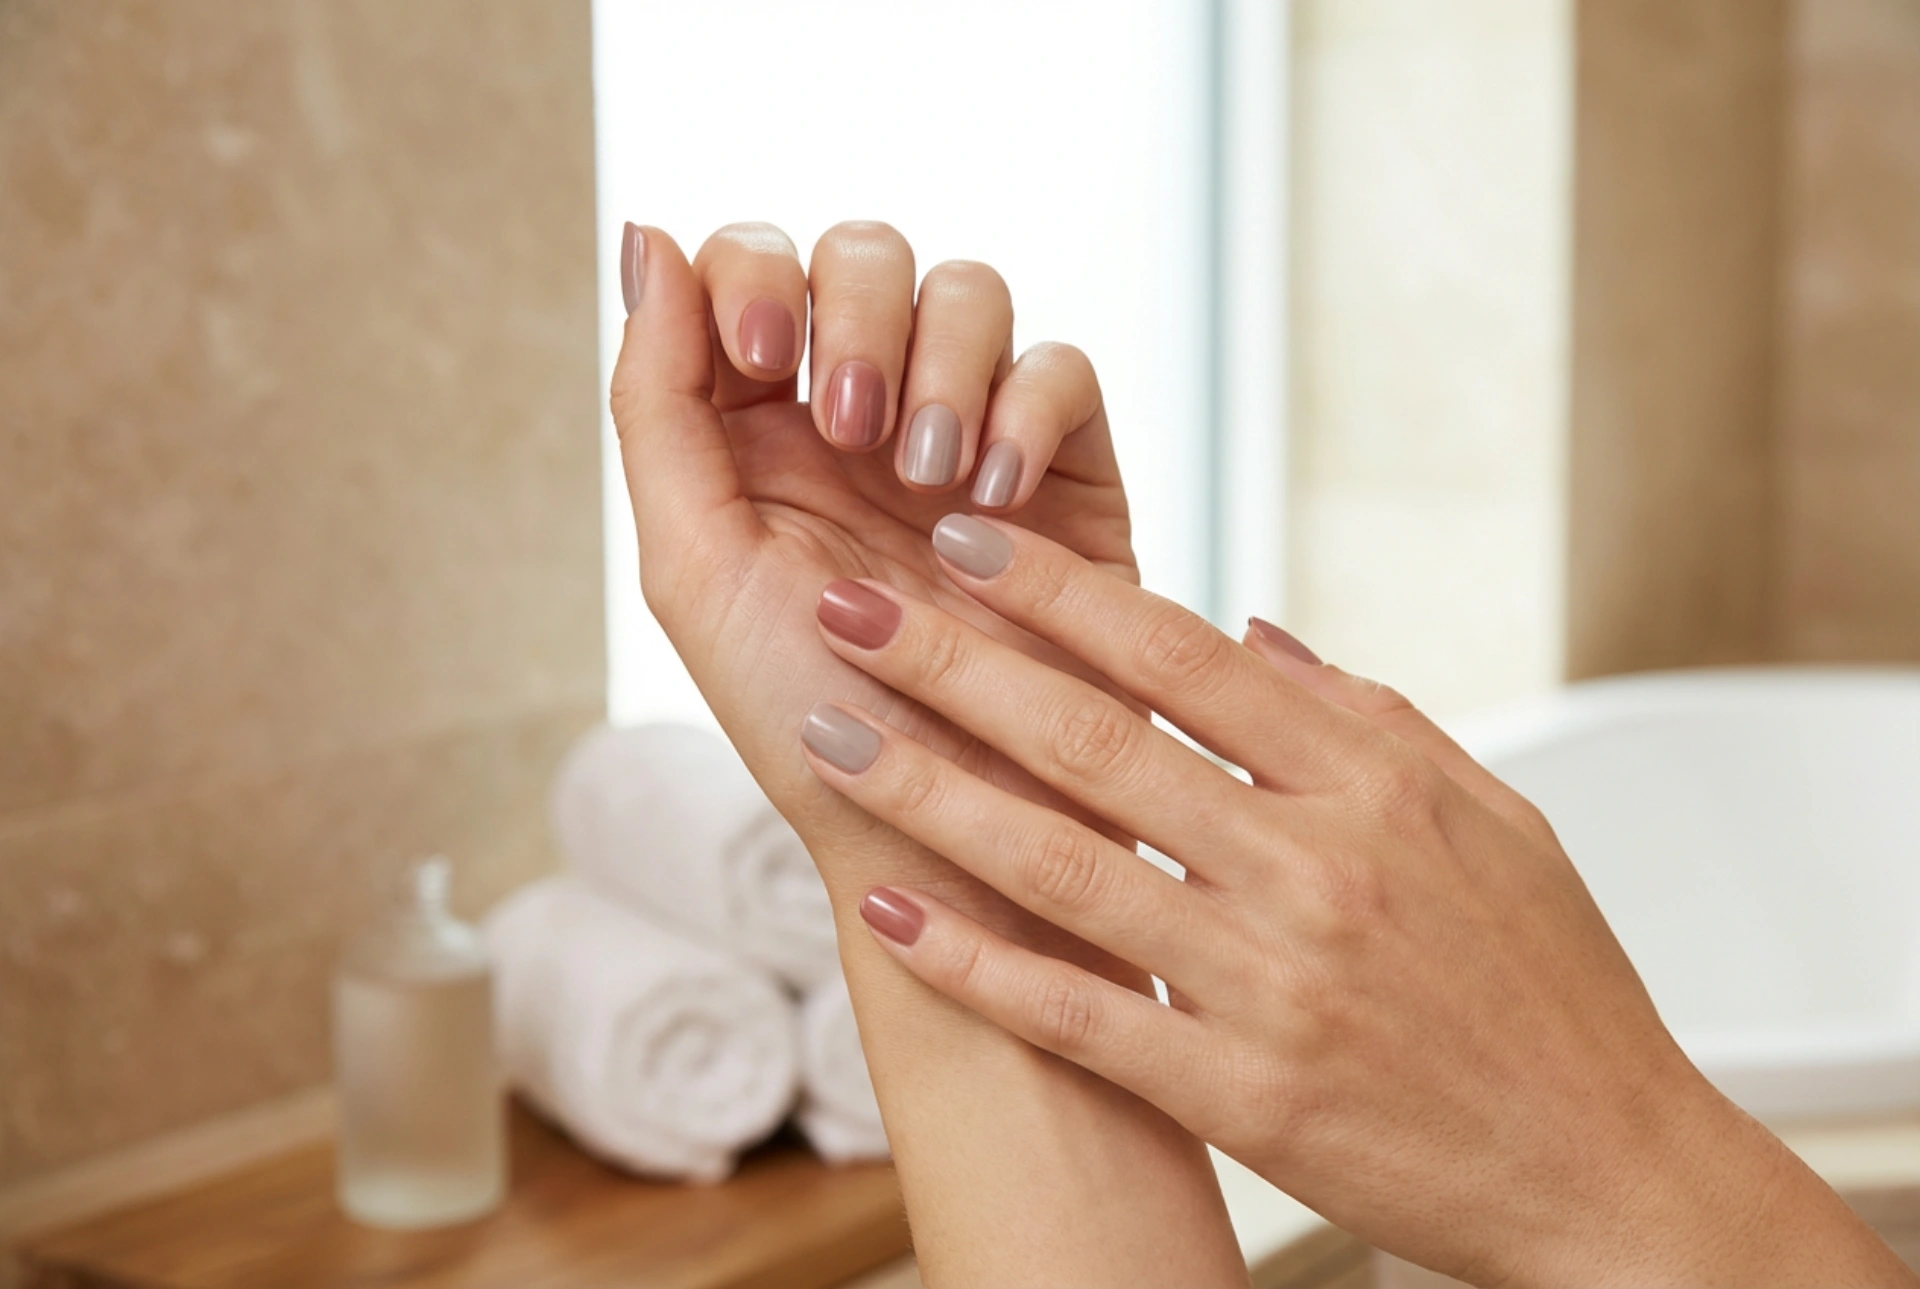
After removing the form, the extension will have its basic shape but will require refinement. Use a nail file to shape the side walls and the free edge into your desired look, whether it's square, almond, or stiletto. Be sure to file gently to avoid creating excess friction or heat. Next, use a buffer to smooth the surface of the entire extension, blending it seamlessly with the natural nail. After filing and buffing, cleanse the nail with an alcohol solution to remove all dust. To complete the manicure, apply a layer of top coat over the entire nail to add shine and protection, and cure it if required. Finally, apply a drop of cuticle oil to the skin around the nail and massage it in to rehydrate the area.