


Achieving a flawless, salon-quality manicure at home is possible with the right tools and techniques. A manicure drill, or e-file, can elevate your nail care routine, allowing for precise shaping, cuticle care, and smoothing. However, using it correctly is key to ensuring the health and beauty of your nails. This guide will walk you through selecting the appropriate accessories and mastering the step-by-step process for a safe and effective home manicure.
Choosing the Right Drill Bits
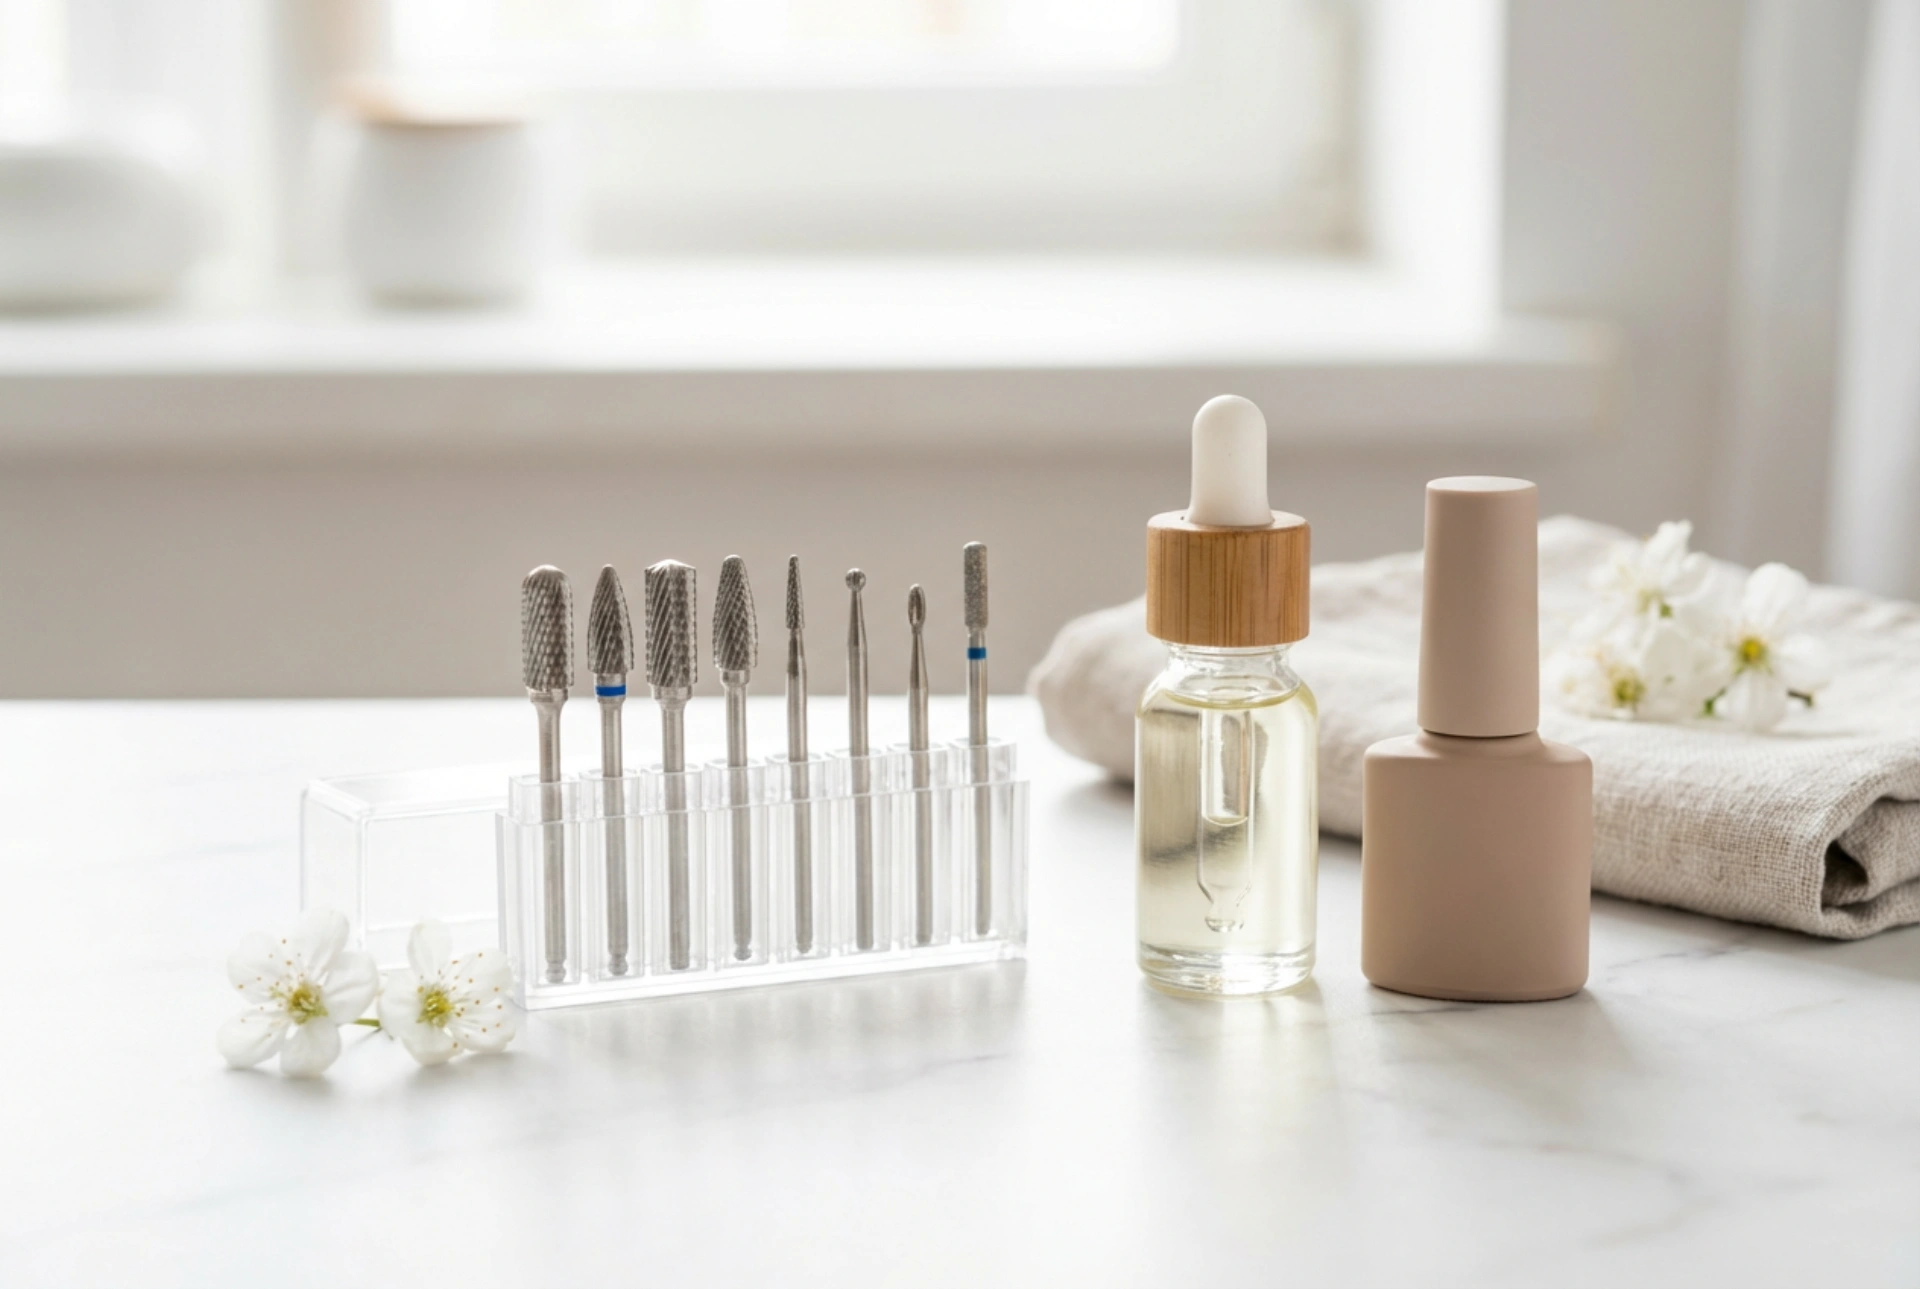
The effectiveness of a manicure drill lies in its interchangeable bits, each designed for a specific purpose. Understanding their functions is the first step towards a professional result. Generally, bits are categorized by material and shape.
Types of Materials:
- Ceramic bits: Known for their durability and heat resistance, they are excellent for removing gel polish or shaping acrylics, but can also be used gently on natural nails at low speeds.
- Carbide bits: These are very strong and long-lasting, ideal for shaping and shortening artificial nails. They are generally too aggressive for natural nails unless used by a very experienced individual at the lowest setting.
- Diamond bits: With fine particles of diamond, these bits are perfect for more delicate work, such as cuticle cleaning and preparing the natural nail plate. They offer precision and are a good choice for beginners.
- Felt or Cotton bits: These are used for buffing and polishing the nail surface to a high shine after all the shaping and cleaning work is done.
Common Shapes and Their Uses:
- Ball-shaped bit: Ideal for cleaning under the nails or precise cuticle work.
- Cone-shaped bit: Perfect for cleaning around the cuticle area, sidewalls, and under the nail.
- Barrel bit: Used for shaping the surface of the nail and shortening the free edge.
- Needle bit: A very fine bit used for detailed cuticle work and lifting non-living tissue.
Preparing Your Nails for the E-File
Proper preparation is crucial for a safe and lasting manicure. Before you even turn on the drill, follow these essential steps. First, ensure your hands and nails are completely clean and dry. Any moisture or oils can interfere with the process and affect the final result. Gently push back your cuticles using a wooden or metal pusher. This helps to clearly define the area you will be working on and prevents you from accidentally touching living skin with the drill bit. Avoid cutting the cuticles, as this can lead to irritation and damage.
A Step-by-Step Guide to Using a Manicure Drill
When using a manicure drill for the first time, always start with the lowest speed setting and practice on a nail tip or your own thumbnail with extreme care to get a feel for the tool.
Step 1: Cuticle Care
Select a fine-grit, small bit, such as a needle or cone shape. Set your drill to its lowest speed. Gently trace the bit around the cuticle line to lift and remove any non-living tissue from the nail plate. Keep the bit moving constantly and avoid applying any pressure – let the tool do the work. Never touch the bit to the live cuticle tissue (the eponychium).
Step 2: Shaping the Nail
To shape the free edge, you can use a fine-grit barrel or cone bit. Again, on a low speed, gently move the bit along the edge of your nail to achieve your desired shape, whether it's square, oval, or almond. Work from the side towards the centre on both sides to maintain symmetry and avoid weakening the nail structure.
Step 3: Smoothing the Nail Surface
If you have ridges or unevenness on your nail plate, you can use a soft buffer bit or a very fine-grit barrel bit to gently smooth the surface. Use light, sweeping motions across the nail plate. It is vital not to over-file the nail surface, as this can thin the nail and make it weak and sensitive. The goal is to smooth, not to remove layers of the nail.
Step 4: Finishing and Polishing
Once you are happy with the shape and smoothness, use a felt or cotton buffer bit to polish the nail to a natural shine. After this step, brush away all the dust with a soft nail brush. Your nails are now perfectly prepped for a nourishing nail oil or your favourite nail polish.
Safety and Best Practices
To ensure your nails remain healthy, always adhere to safety best practices. Incorrect use of a manicure drill can lead to nail damage, so caution is paramount.
- Always start with the lowest speed setting and only increase it slightly if necessary.
- Never apply pressure. Let the weight of the handpiece and the rotation of the bit do the work.
- Keep the drill bit in constant motion. Holding it in one spot for too long can create heat friction, causing a burning sensation and damaging the nail plate.
- Only work on clean, dry nails.
- Clean and disinfect your drill bits after every use to maintain hygiene.
- If you feel any pain or discomfort, stop immediately.
- Practice makes perfect. Don't be discouraged if your first attempt isn't flawless. With patience, you will master the technique.