


A beautiful and long-lasting hybrid manicure is a wonderful way to adorn your hands. Achieving a salon-quality effect at home requires precision, patience, and an understanding of the correct technique. As seen in the meticulous process of applying polish, every step matters, from preparing the nail plate to the final curing under a lamp. With the right knowledge, you can create a flawless look that lasts for weeks. This guide will walk you through the entire process, ensuring your home manicure is both stunning and durable.
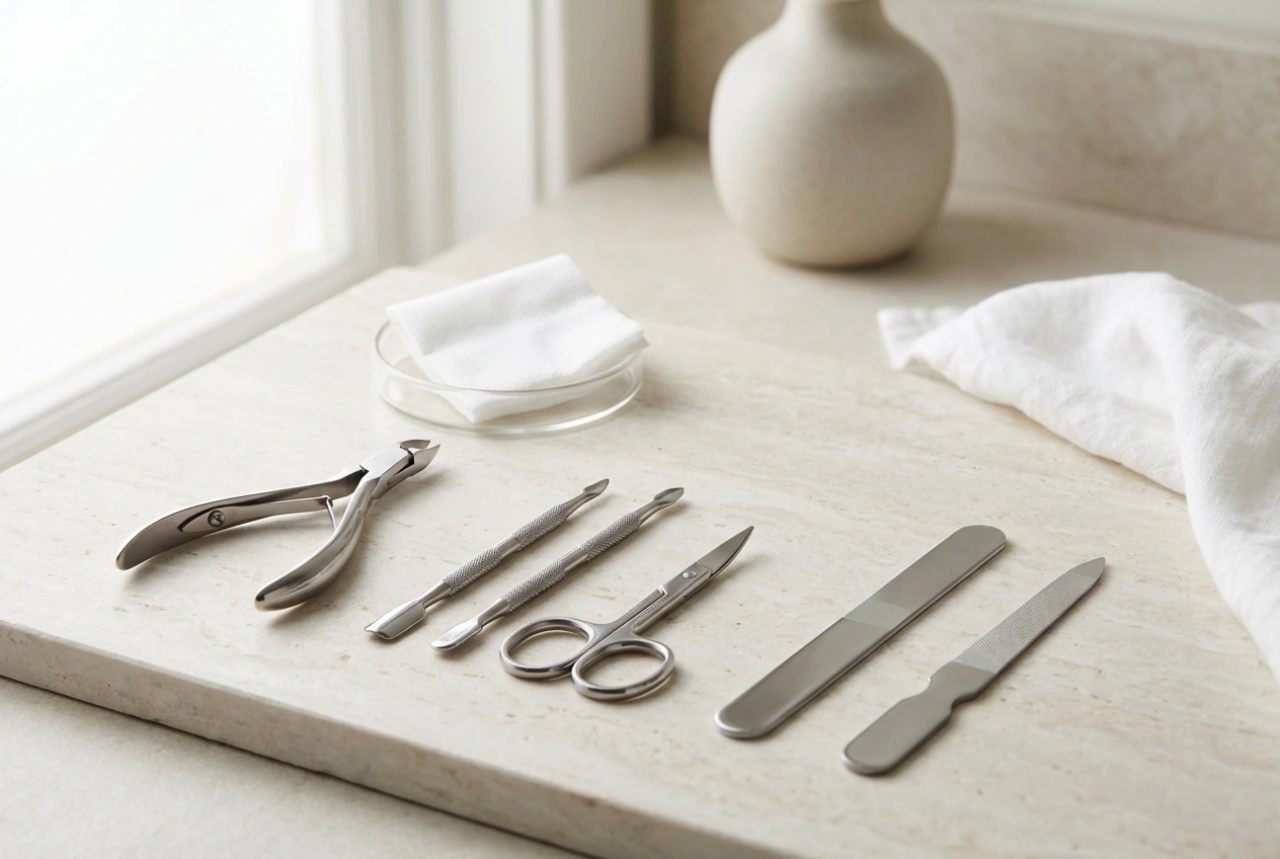
The Foundation: Proper Nail Preparation
Before you even reach for a bottle of polish, the most critical step is preparing your nails. This stage ensures the polish adheres correctly and the manicure lasts as long as possible. Neglecting preparation can lead to lifting and chipping.
- Shaping and Filing: Start by giving your nails the desired shape using a nail file. File in one direction to avoid splitting the nail. Ensure all nails are of a consistent length and shape.
- Cuticle Care: Gently push back your cuticles using a wooden stick or a cuticle pusher. Avoid cutting them, as this can lead to irritation. Well-tended cuticles create a clean canvas for the polish.
- Matting the Nail Plate: Use a gentle buffing block to lightly buff the entire surface of the nail plate. The goal is to remove the natural shine, not to thin the nail. This creates a slightly rough surface that the base coat can grip onto.
- Cleansing and Degreasing: After buffing, wipe each nail with a lint-free pad soaked in a nail cleaner or isopropyl alcohol. This removes any dust and natural oils, ensuring a perfectly clean and degreased surface for optimal adhesion.
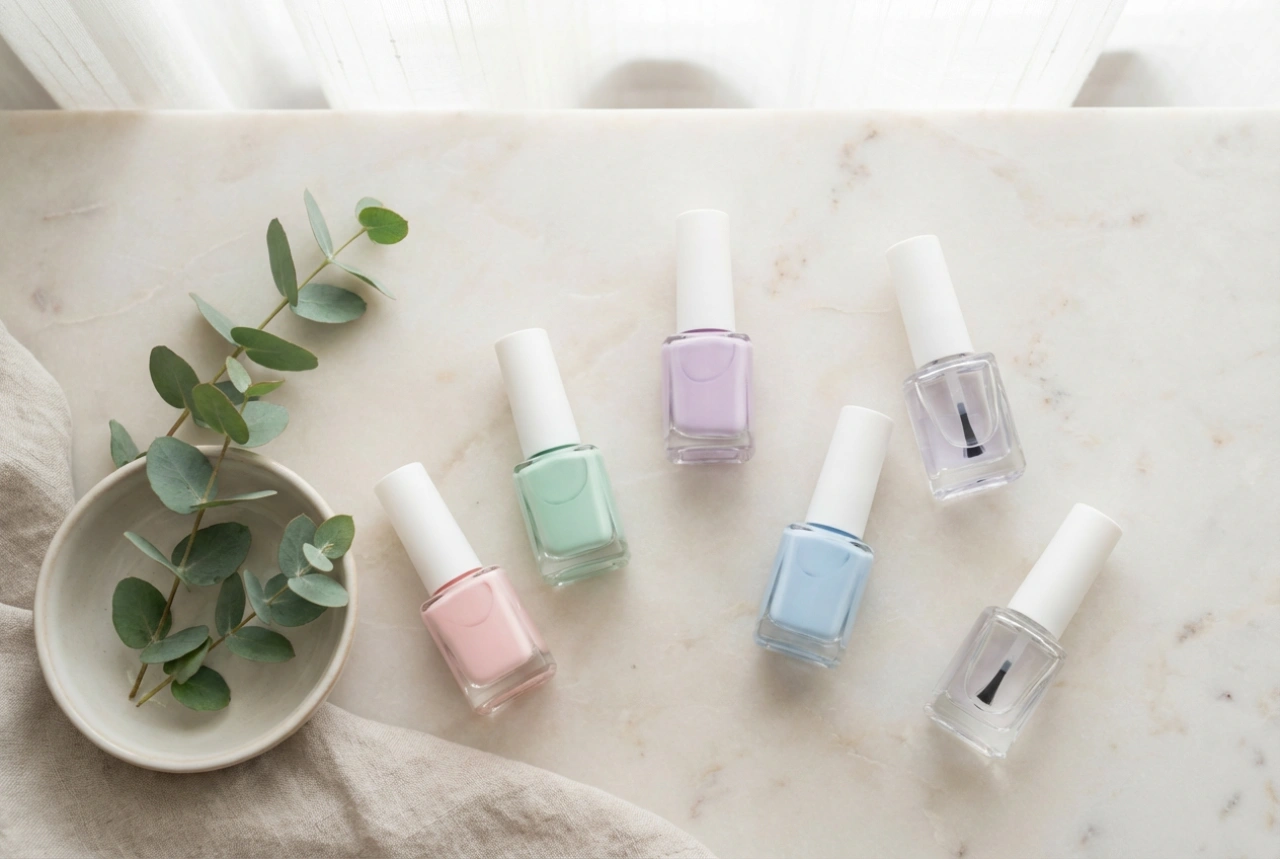
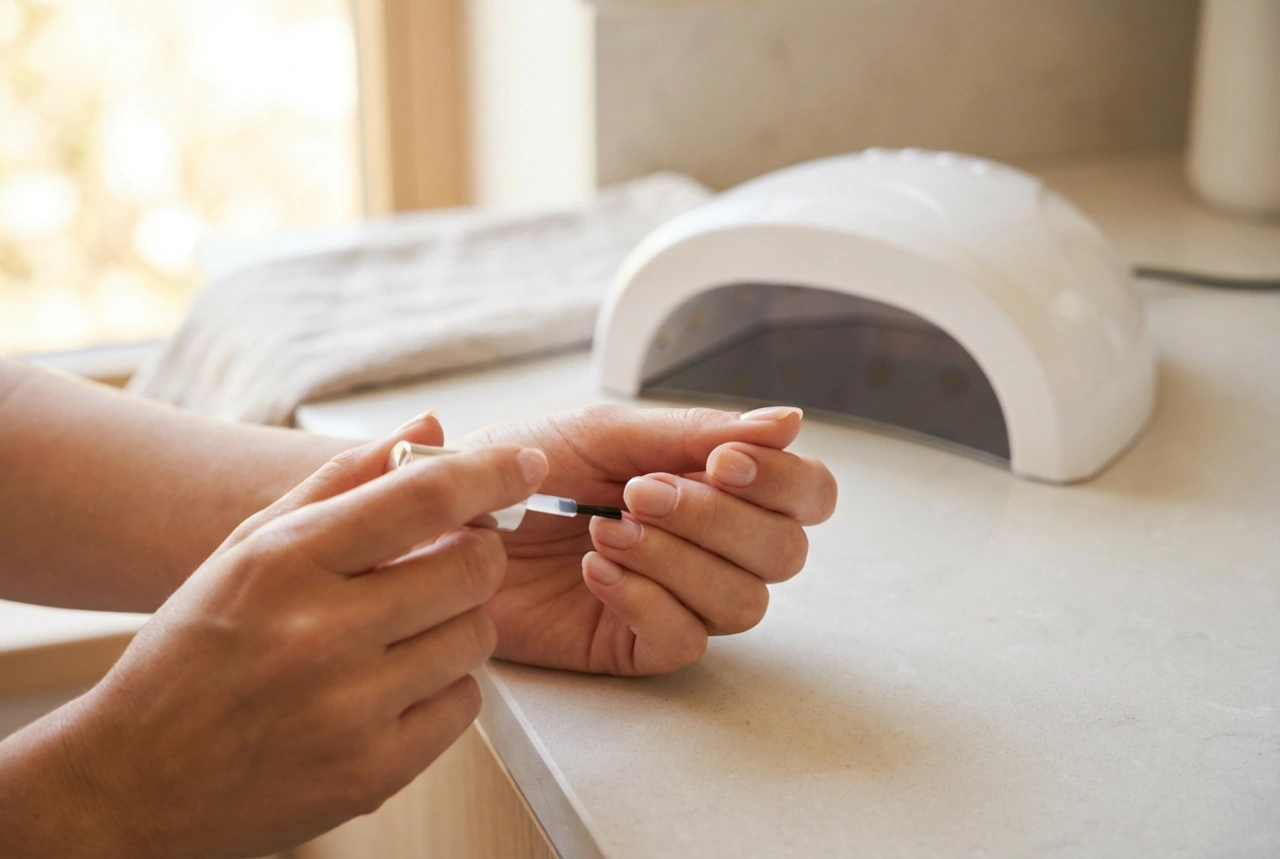
Step-by-Step Application: Base, Colour, and Top Coat
Applying the polish in thin, even layers is key to a professional finish and proper curing. Rushing this stage or applying thick coats can result in a lumpy, uneven manicure that doesn't last.
The Crucial Base Coat
The base coat serves two main purposes: it protects your natural nail from staining and provides an adhesive layer for the colour polish. Apply a very thin layer of the base coat over the entire nail, being careful not to touch the cuticles or surrounding skin. 'Capping' the free edge of the nail by running the brush along the tip can help prevent chipping. Cure the base coat under your LED or UV lamp according to the manufacturer's instructions.
Building the Colour
Once the base coat is cured, you can apply your chosen colour. The secret to vibrant, even colour is to apply it in at least two thin layers, rather than one thick one. A thick layer may not cure properly in the centre, leading to a weak manicure. Apply the first thin coat of colour, again avoiding the skin and capping the free edge. Cure it under the lamp. Then, apply a second thin coat to deepen the colour and ensure full coverage. Cure this second layer as well.
The Protective Top Coat
The final layer is the top coat, which seals in the colour, adds a brilliant shine, and protects your manicure from scratches and chipping. Apply a slightly more generous layer than the colour coats, ensuring you cover the entire nail and cap the free edge. Cure this final layer thoroughly under the lamp. Some top coats are 'no-wipe', meaning they are perfectly smooth and non-sticky after curing. Others leave a sticky 'dispersion layer', which is a normal part of the process.
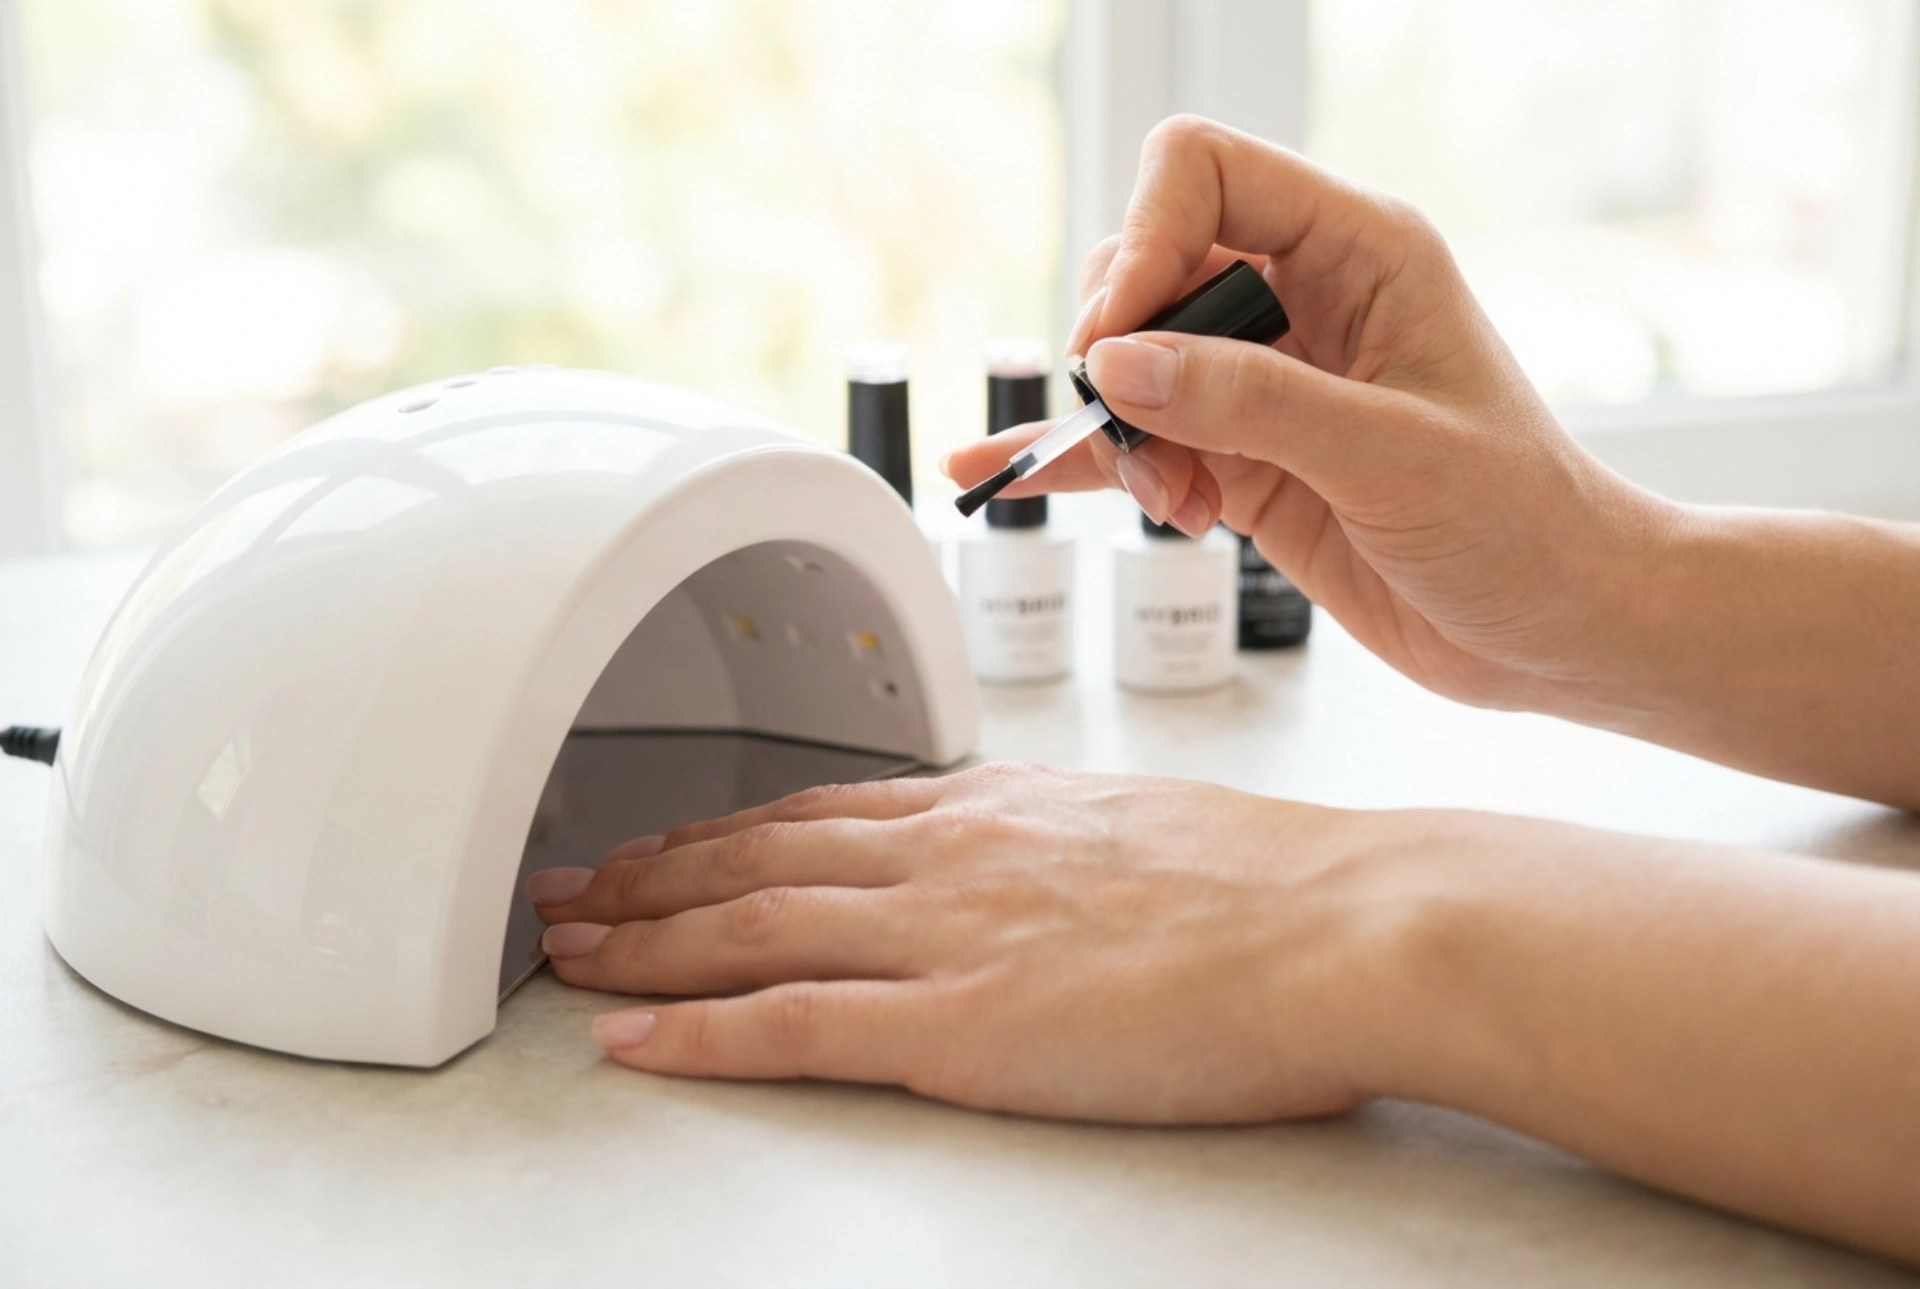
Curing and Finishing Touches
The curing process hardens the liquid polish into a durable, solid layer. It's an essential step that cannot be skipped. Most modern hybrid polishes are formulated for LED lamps, which cure each layer in 30-60 seconds. Older UV lamps may take up to 2 minutes per layer. Always follow the timing recommended by the polish brand for best results. Ensure you cure every single layer—base, colour(s), and top—for the specified duration.
Dealing with the Sticky Layer
If you used a standard top coat (not a 'no-wipe' version), you will need to remove the sticky dispersion layer after the final cure. To do this, take a fresh lint-free wipe, saturate it with a dedicated nail cleaner or isopropyl alcohol, and wipe firmly over each nail. This will reveal the hard, glossy finish underneath. Skipping this step will leave your nails feeling tacky and attract dust and lint.
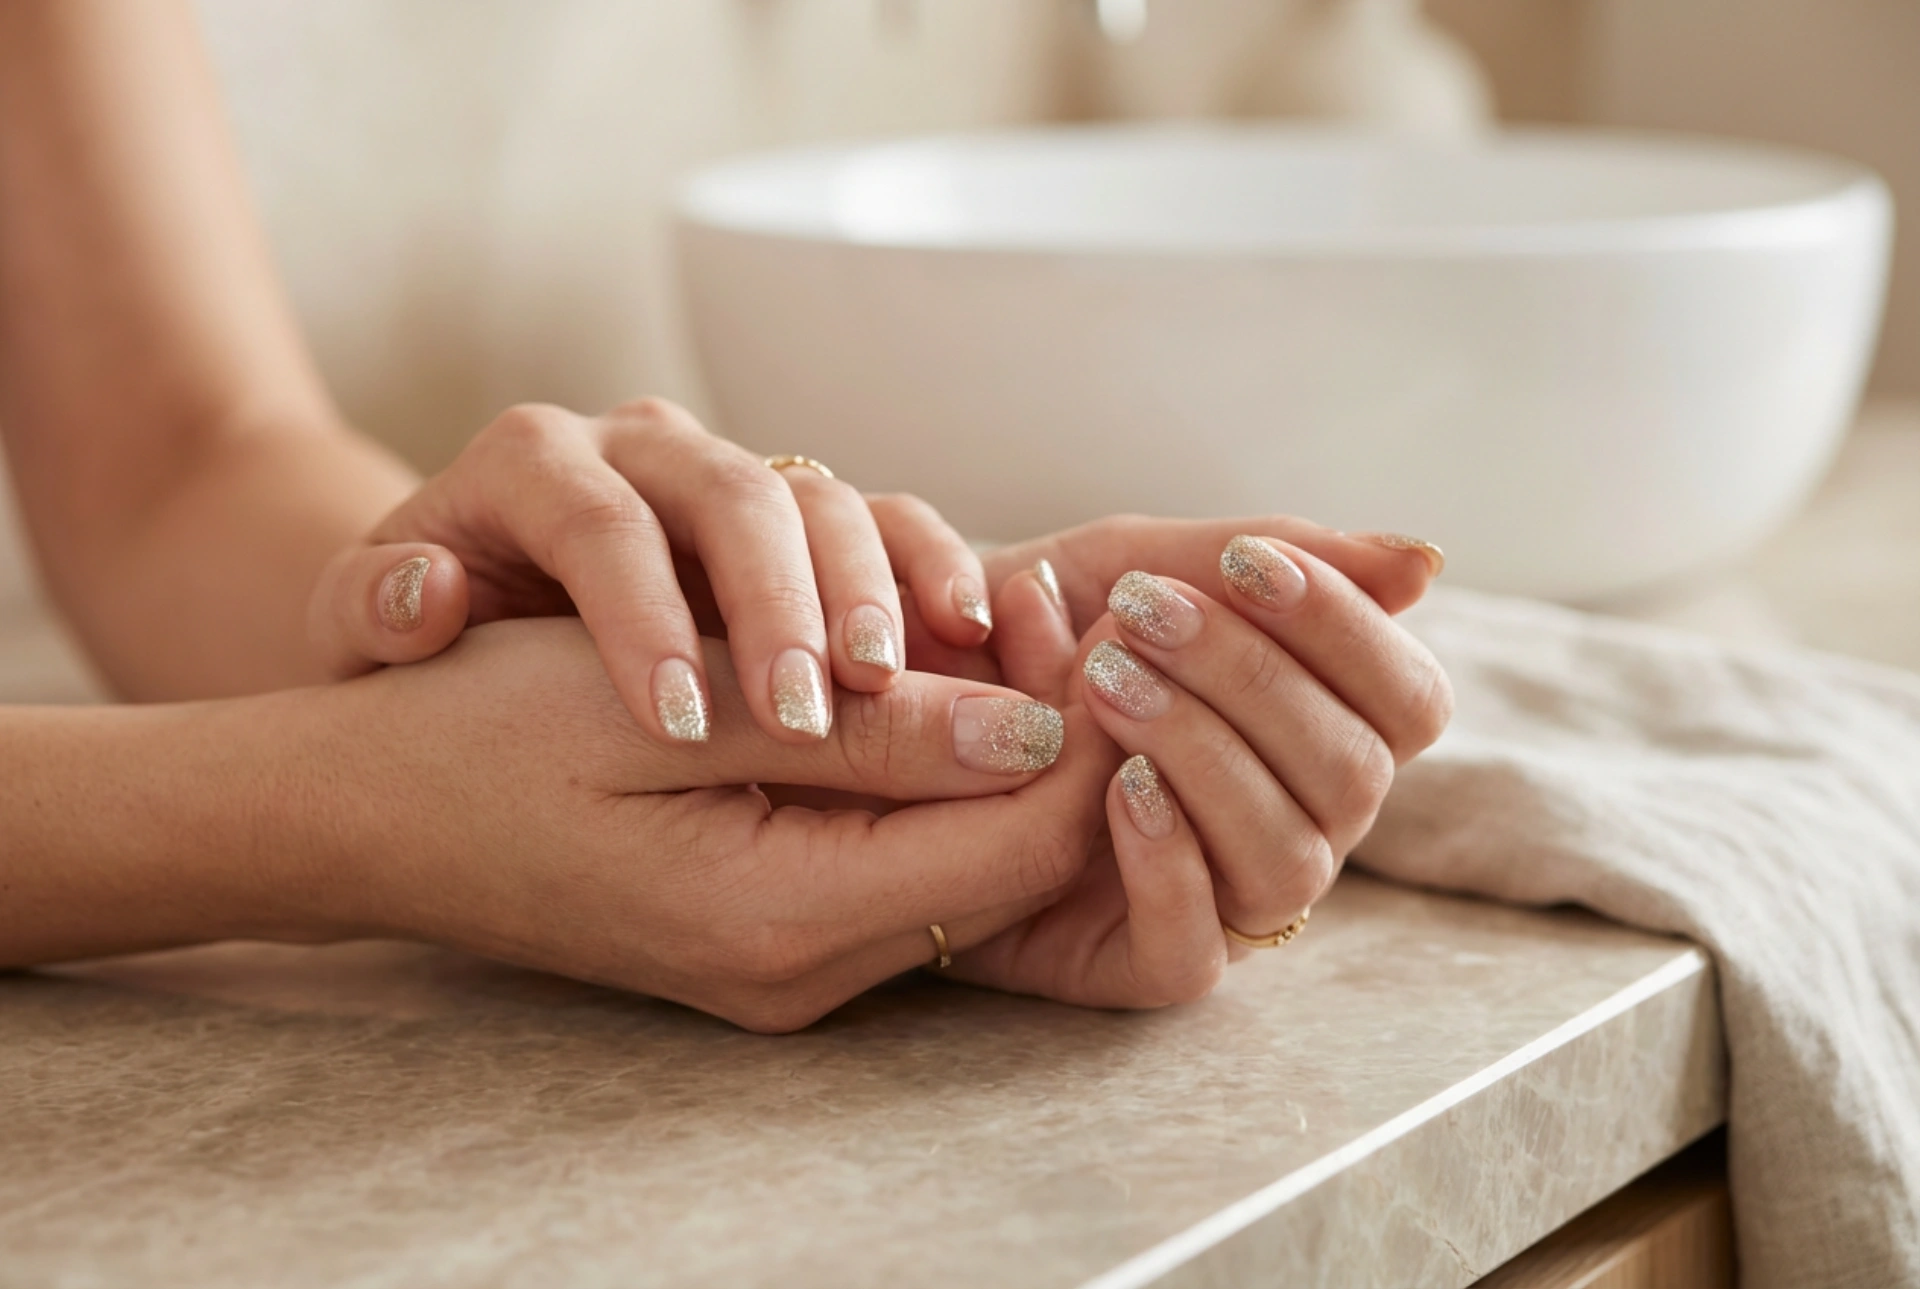
Aftercare for a Long-Lasting Manicure
Your beautiful manicure is complete, but a little aftercare can help it last even longer. Apply cuticle oil to the skin around your nails to rehydrate it after the process. In the days and weeks that follow, be mindful of your nails. Wear gloves when doing household chores involving water or harsh chemicals, and avoid using your nails as tools to open cans or scrape things. With proper care, your hybrid manicure can remain flawless for two to three weeks.