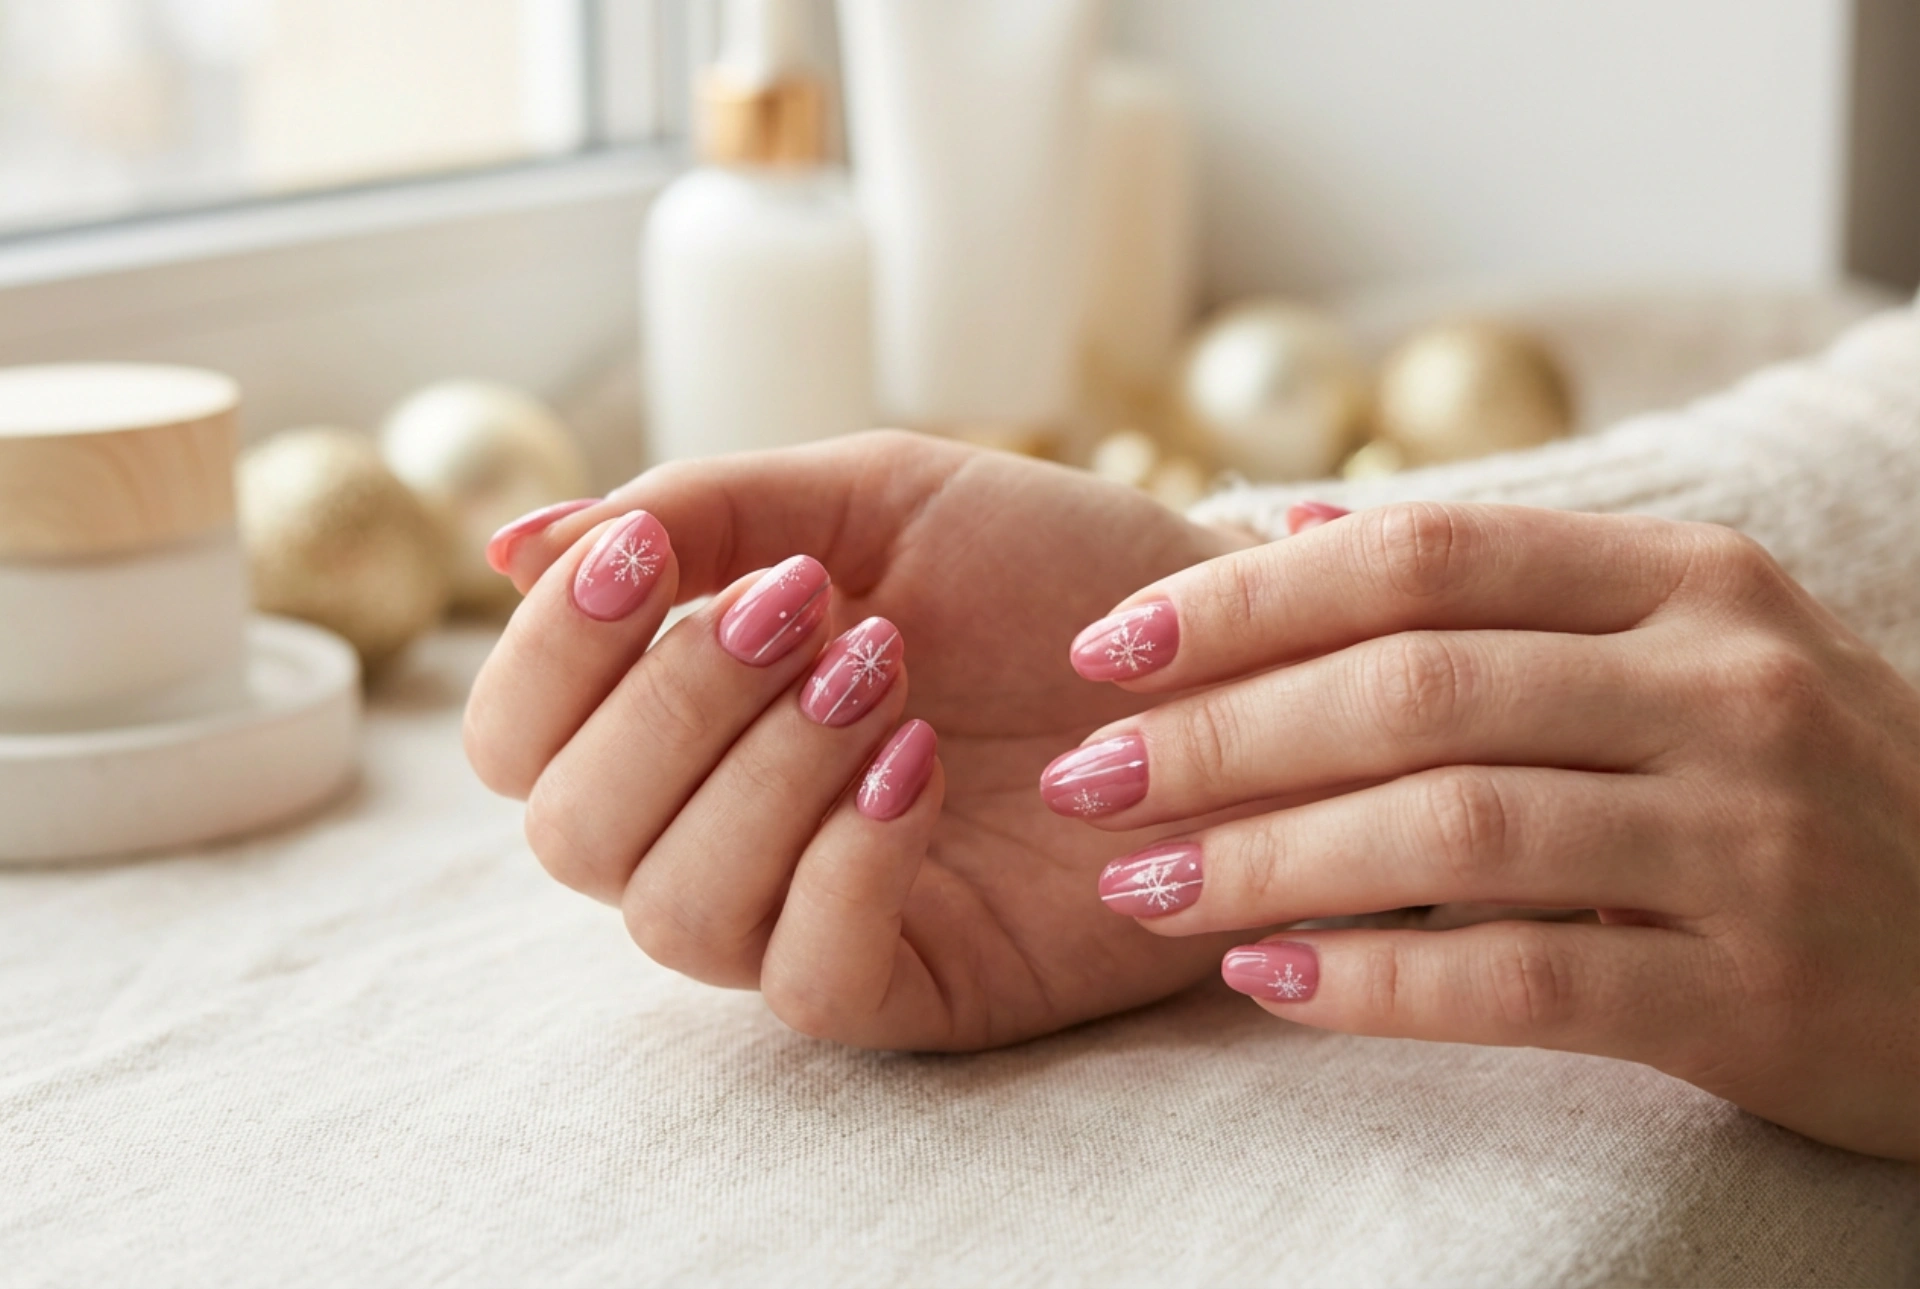


A beautifully executed manicure can elevate any look, and the glitter ombre effect remains a timeless choice for adding a touch of sophisticated sparkle. This style, characterised by a seamless transition from a solid base colour to a dazzling, glitter-concentrated tip, is both elegant and eye-catching. While it may look complex, achieving this professional-looking finish at home is entirely possible with the right techniques and an understanding of proportion. This guide will walk you through the steps to create flawless glitter ombre nails that last.
Preparing Your Canvas: Essential Nail Prep
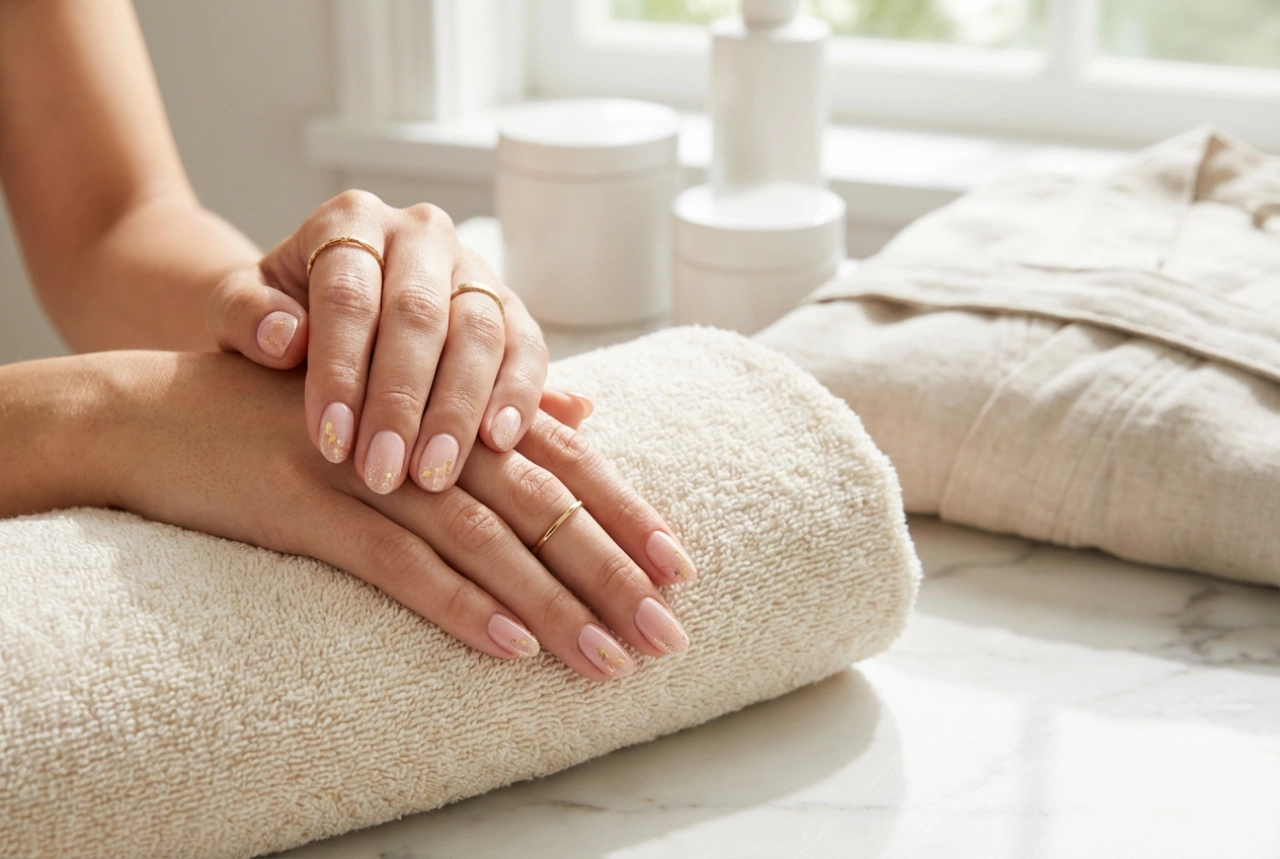
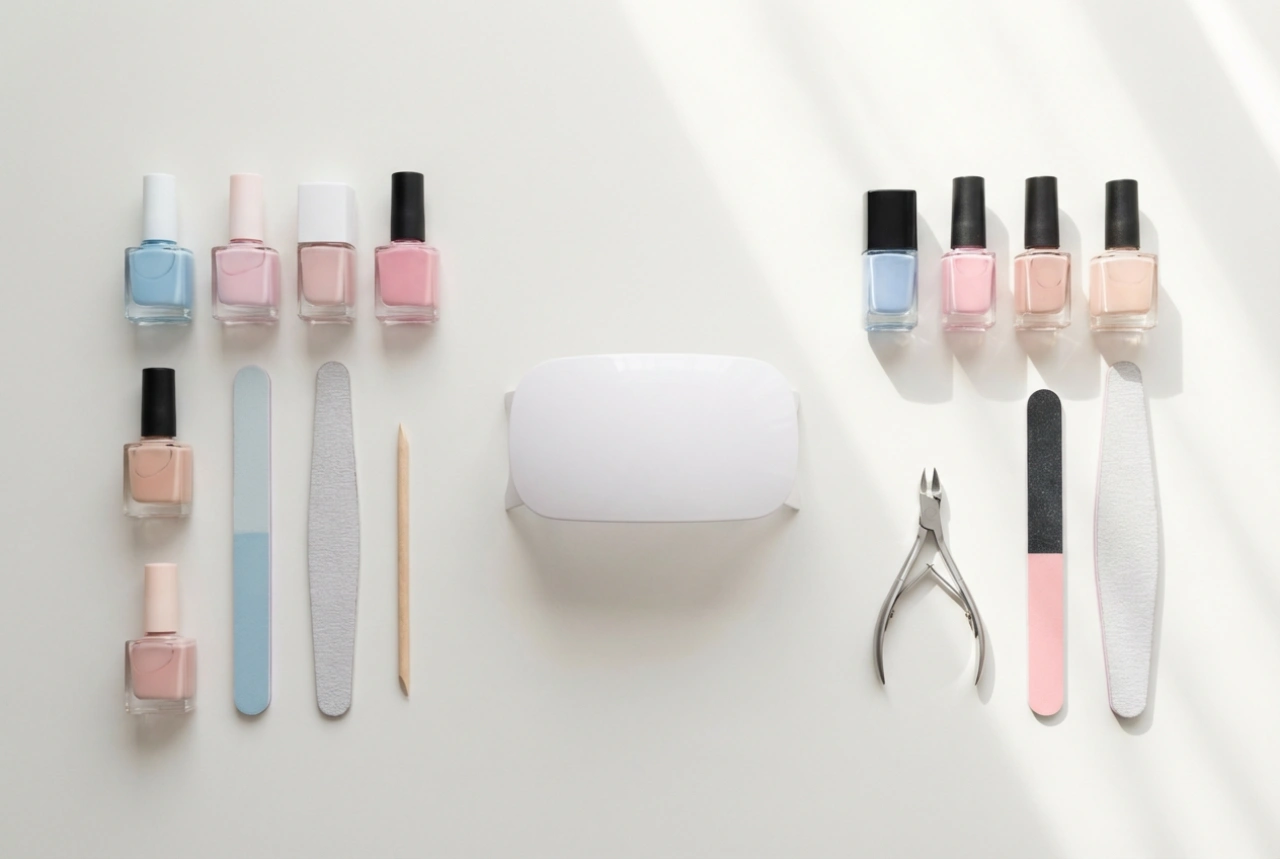
The foundation of any long-lasting manicure is meticulous preparation. Before you even think about glitter, you need to create a smooth and healthy base. Start by removing any old nail polish completely. Gently file your nails into your desired shape, ensuring all edges are smooth to prevent snagging. Next, address your cuticles. Use a cuticle remover and gently push them back with a wooden stick or a soft pusher. Avoid cutting your cuticles, as this can lead to irritation. Once your nails are shaped and clean, wash your hands and dry them thoroughly. The final and most crucial preparation step is applying a quality base coat. This not only protects your natural nails from staining but also creates an even surface for the polish to adhere to, significantly extending the life of your manicure.
Mastering the Glitter Gradient
The heart of this look lies in creating a smooth, believable fade. This requires careful application and the right choice of materials.
Choosing Your Base and Glitter
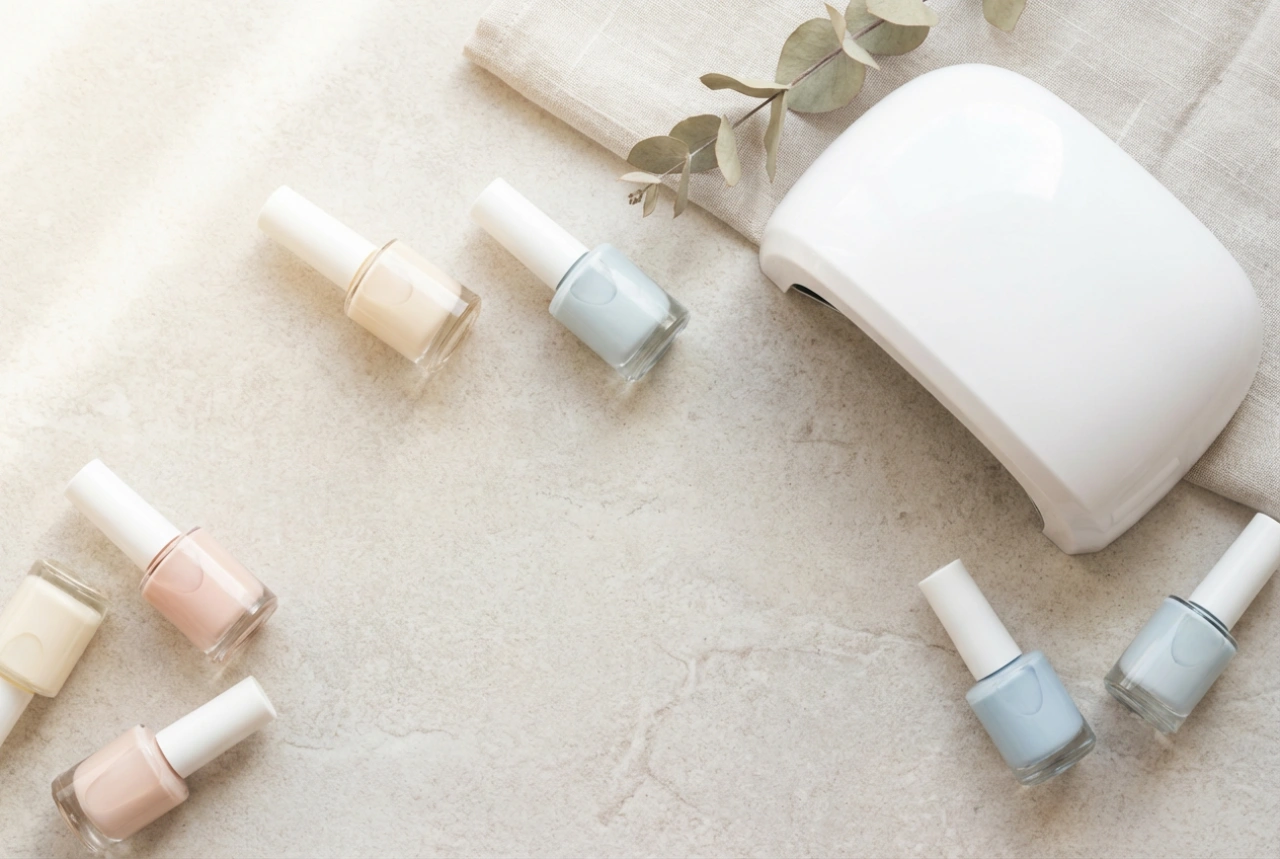
First, select your base colour. Nude, pale pink, or sheer polishes work wonderfully for a classic and elegant look, allowing the glitter to be the main feature. However, you can also opt for darker or more vibrant shades for a dramatic effect. Apply two thin coats of your chosen base colour, allowing each to dry almost completely. The polish should be slightly tacky, not wet, for the glitter to adhere properly. Next, choose your glitter. Fine cosmetic glitter will give you a more subtle, shimmery fade, while chunkier glitter provides a bolder, more textured statement. You can use loose glitter or a dedicated glitter polish for this step.
Application Techniques
There are several effective methods for applying the glitter. One popular technique involves a disposable makeup sponge. Apply a small amount of loose glitter or glitter polish onto the edge of the sponge. Then, gently dab the sponge onto the top third of your nail, concentrating the product at the tip. Lightly dab downwards towards the middle of the nail to create the fading effect. Another method is to use a small, soft brush, like a fan brush or a clean eyeshadow brush. Dip the brush into loose glitter, tap off the excess, and gently pat it onto the nail, starting with a dense application at the tip and feathering it out as you move towards the cuticle.
Achieving Perfect Proportions
The key to a sophisticated glitter ombre, as opposed to just glittery tips, is proportion. A well-balanced gradient looks intentional and chic. A good rule of thumb is to divide the nail into thirds. The top third, at the free edge, should have the highest concentration of glitter. The middle third should show the transition, with the glitter becoming increasingly sparse. The bottom third of the nail, near the cuticle, should be primarily the base colour with very few, if any, stray flecks of glitter. This creates a visual flow that elongates the nail. The length of your nails will also influence the gradient; longer nails allow for a more gradual and stretched-out fade, while on shorter nails, the transition will need to be more compact and subtle to maintain clarity.
Sealing the Sparkle for a Smooth Finish
Once you are happy with your glitter gradient, the final step is to seal it all in for a durable and glossy finish. Glitter creates a rough, textured surface, so a top coat is non-negotiable for achieving a smooth, professional feel. The application of the top coat is a delicate process. For the first layer, use a generous amount of a standard top coat. The trick is to 'float' the top coat over the nail; load your brush and glide it across the surface without letting the bristles drag and smudge the glitter. This initial coat will encapsulate the glitter particles. Let it dry completely. You will likely still feel some texture, so a second, and sometimes even a third, coat is necessary. This will build up a thick, clear layer that results in a perfectly smooth, glass-like surface. To maximise the longevity of your manicure, be sure to 'cap' the free edge of your nail with the top coat and consider reapplying a thin layer every two to three days to maintain the shine and prevent chipping.