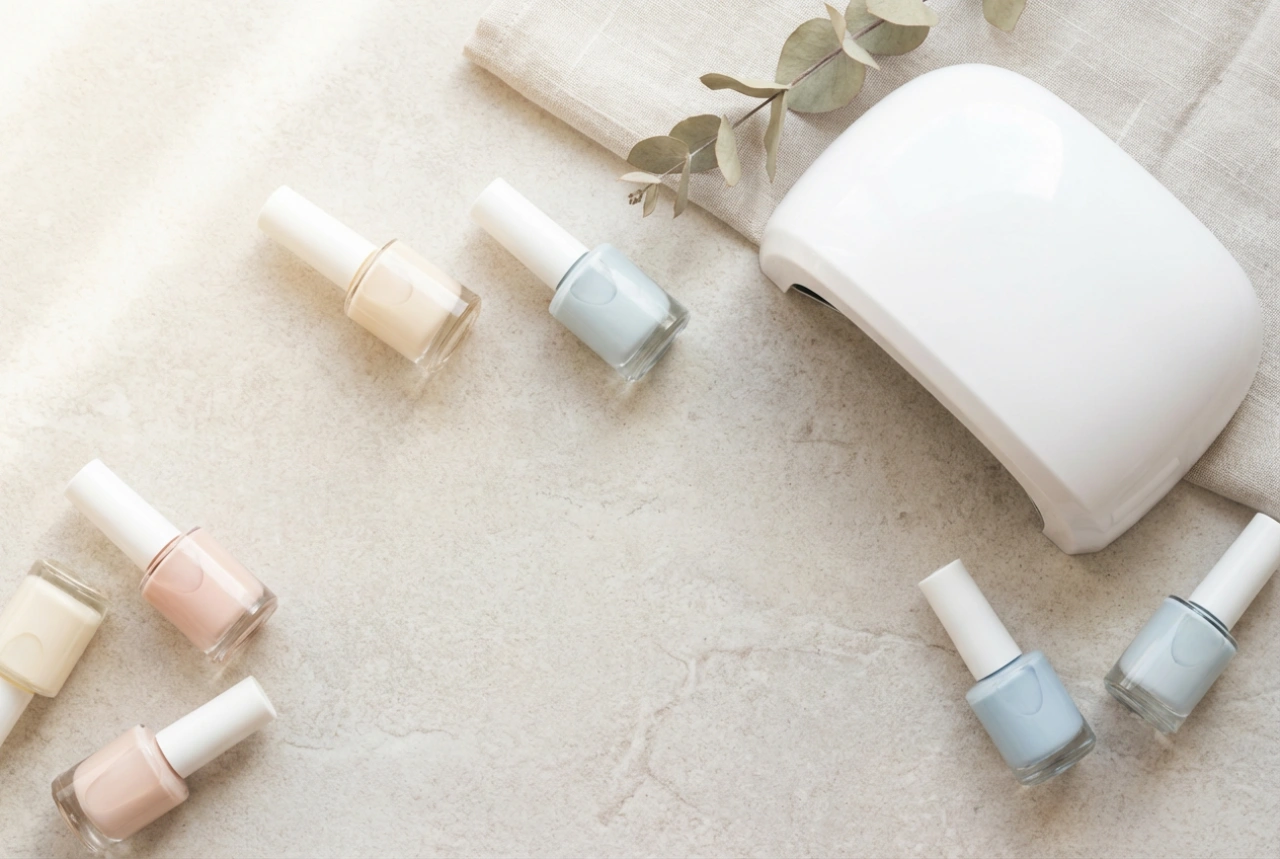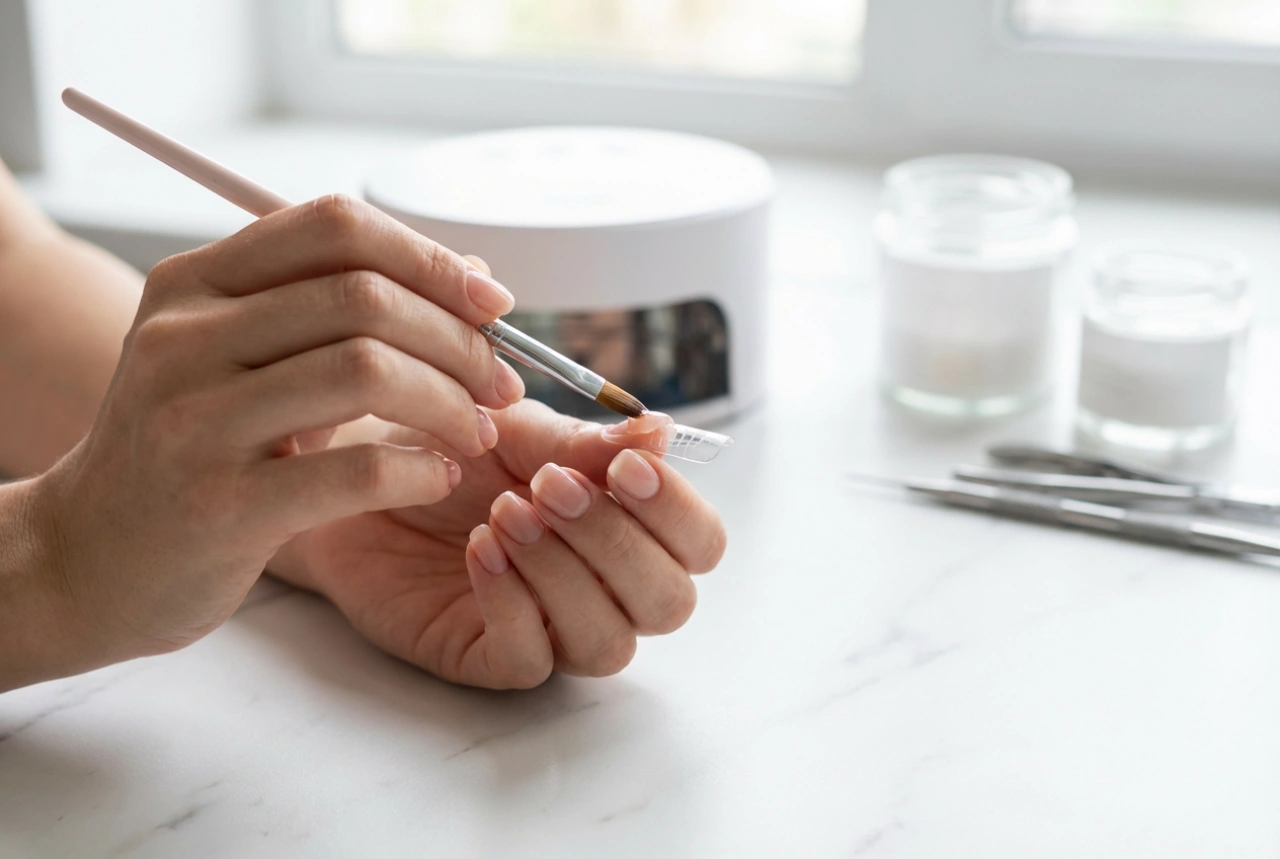


Creating a flawless, salon-quality manicure at home is not just about technique; it's also about having the right tools and a well-organised space. A meticulously arranged workstation, like the one pictured, can transform your nail care routine from a chore into a relaxing, creative ritual. Having everything you need at your fingertips ensures a smoother process and more professional-looking results. Let's explore how to build your own complete nail kit and set up the perfect at-home nail station.
Building Your Essential Nail Kit
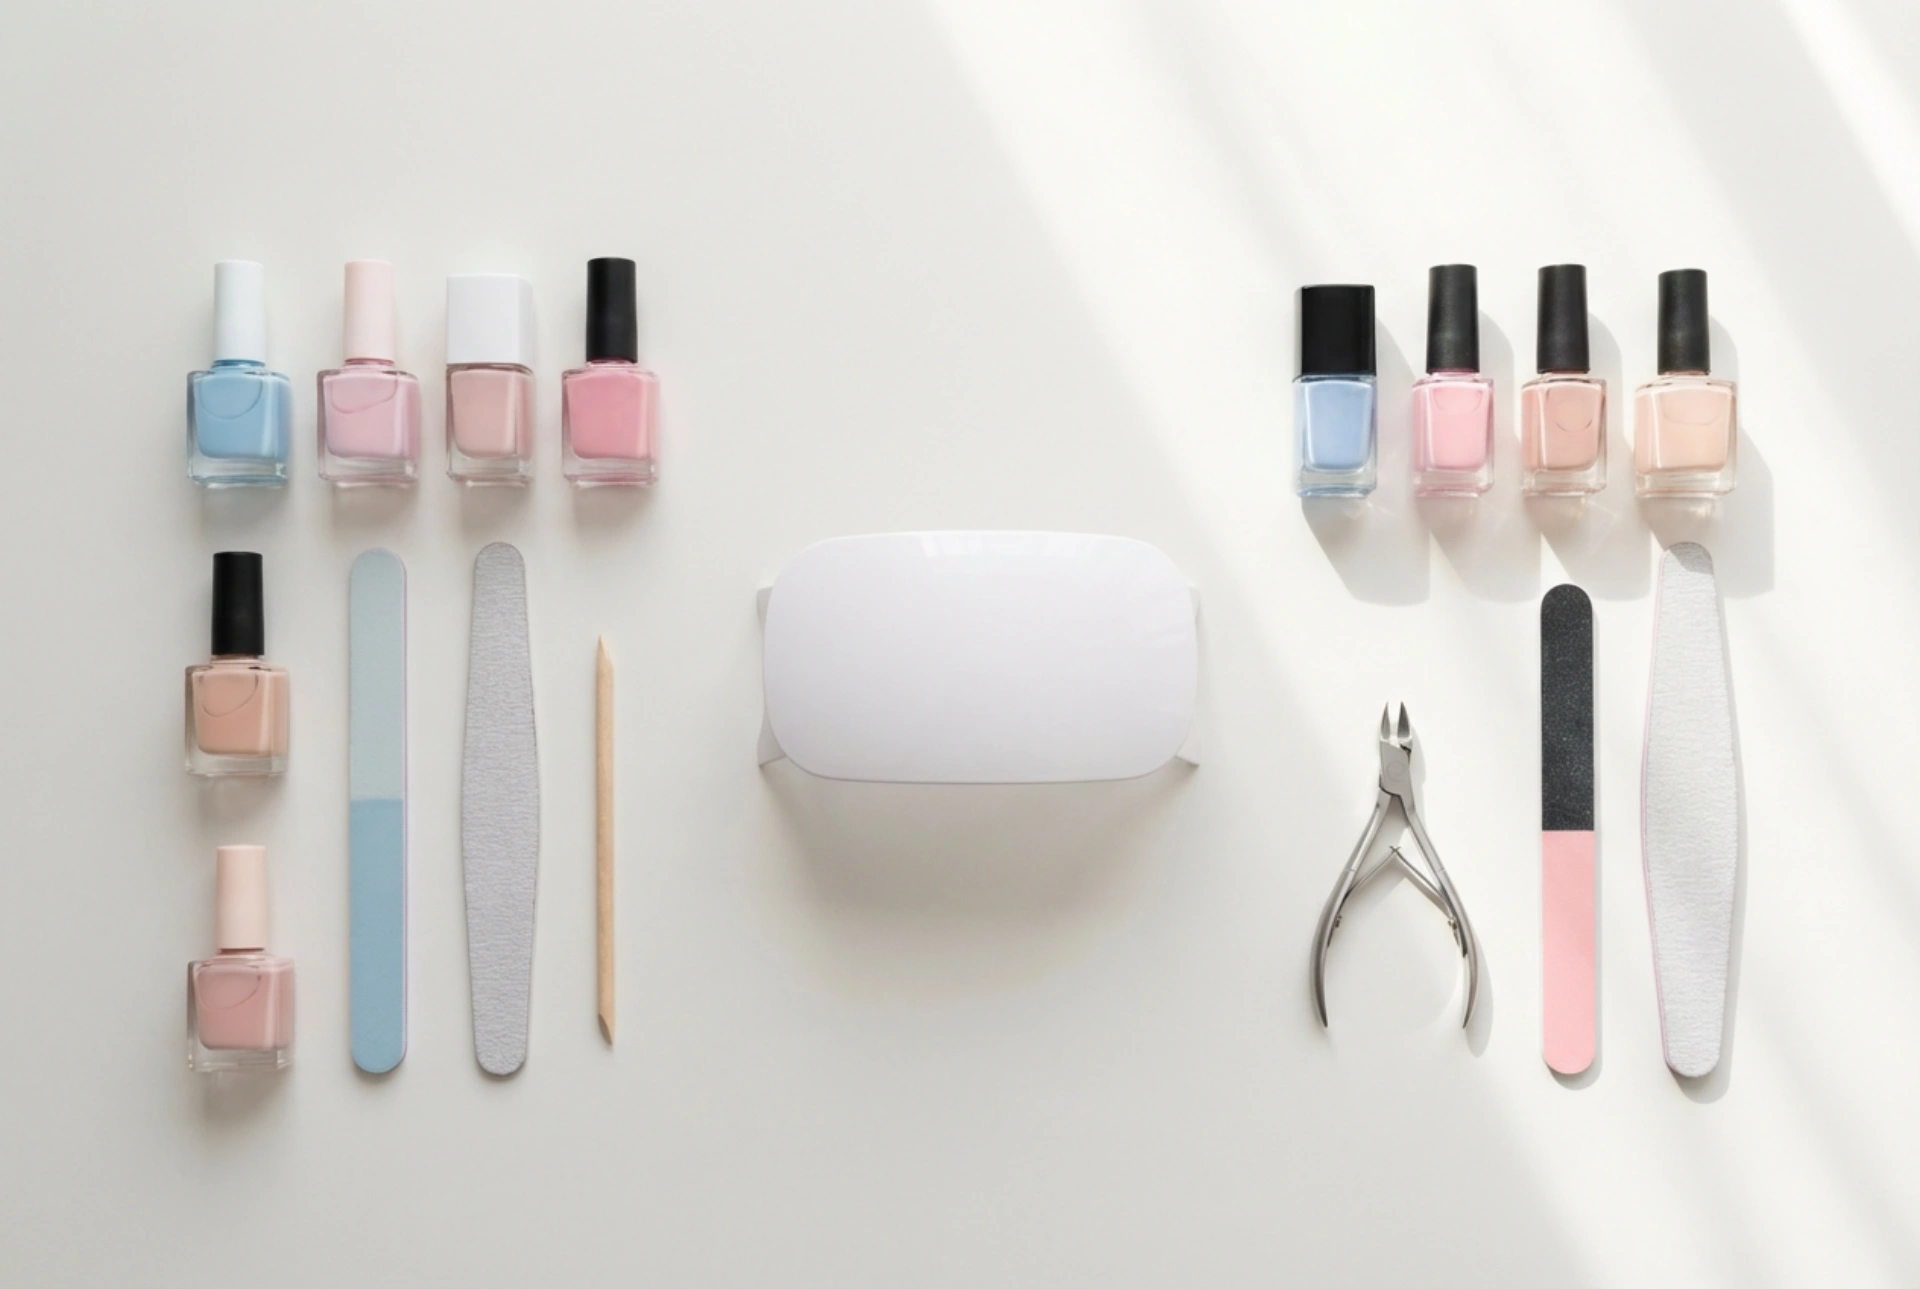
A comprehensive kit should include tools for preparation, application, and aftercare. Starting with the basics is key, and you can gradually add more specialised items as your skills grow. Think of it as creating a personal toolkit tailored to your nail care needs.
Phase 1: Nail Preparation Tools
Proper preparation is the foundation of a long-lasting manicure. Before you even think about colour, you need to shape, smooth, and clean your nails. Your prep kit should contain:
- Nail Clippers or Scissors: For trimming nails to your desired length. Choose the type that you find most comfortable to handle.
- Nail File: A glass or crystal file is gentle on natural nails, while emery boards are a classic choice. It's useful to have a couple with different grits – a coarser one for shaping and a finer one for smoothing edges.
- Buffer Block: A four-sided buffer can smooth ridges, create a subtle shine, and prepare the nail surface for polish application, helping it adhere better.
- Cuticle Pusher: A wooden stick or a metal pusher with a soft, rounded edge is essential for gently pushing back cuticles. Never cut your cuticles at home, as this can lead to irritation.
- Cuticle Remover Solution: A gentle chemical exfoliant that softens and dissolves excess dead skin around the nail, making it easy to push back.
Phase 2: Polish Application Essentials
Once your nails are prepped, it's time for the colour and shine. A seamless application relies on having these core products ready.
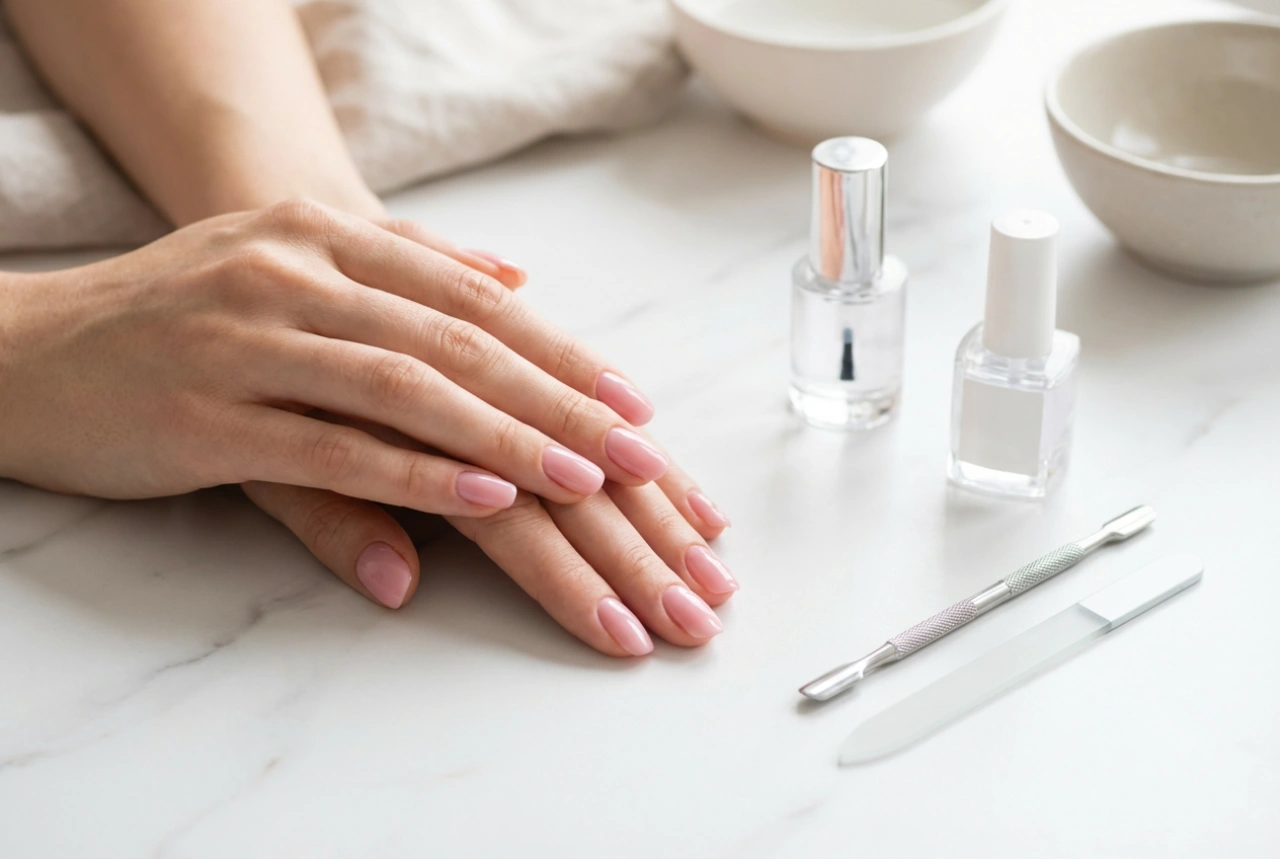
- Base Coat: This is a non-negotiable step. A good base coat protects your natural nails from staining, helps the polish adhere better, and extends the life of your manicure.
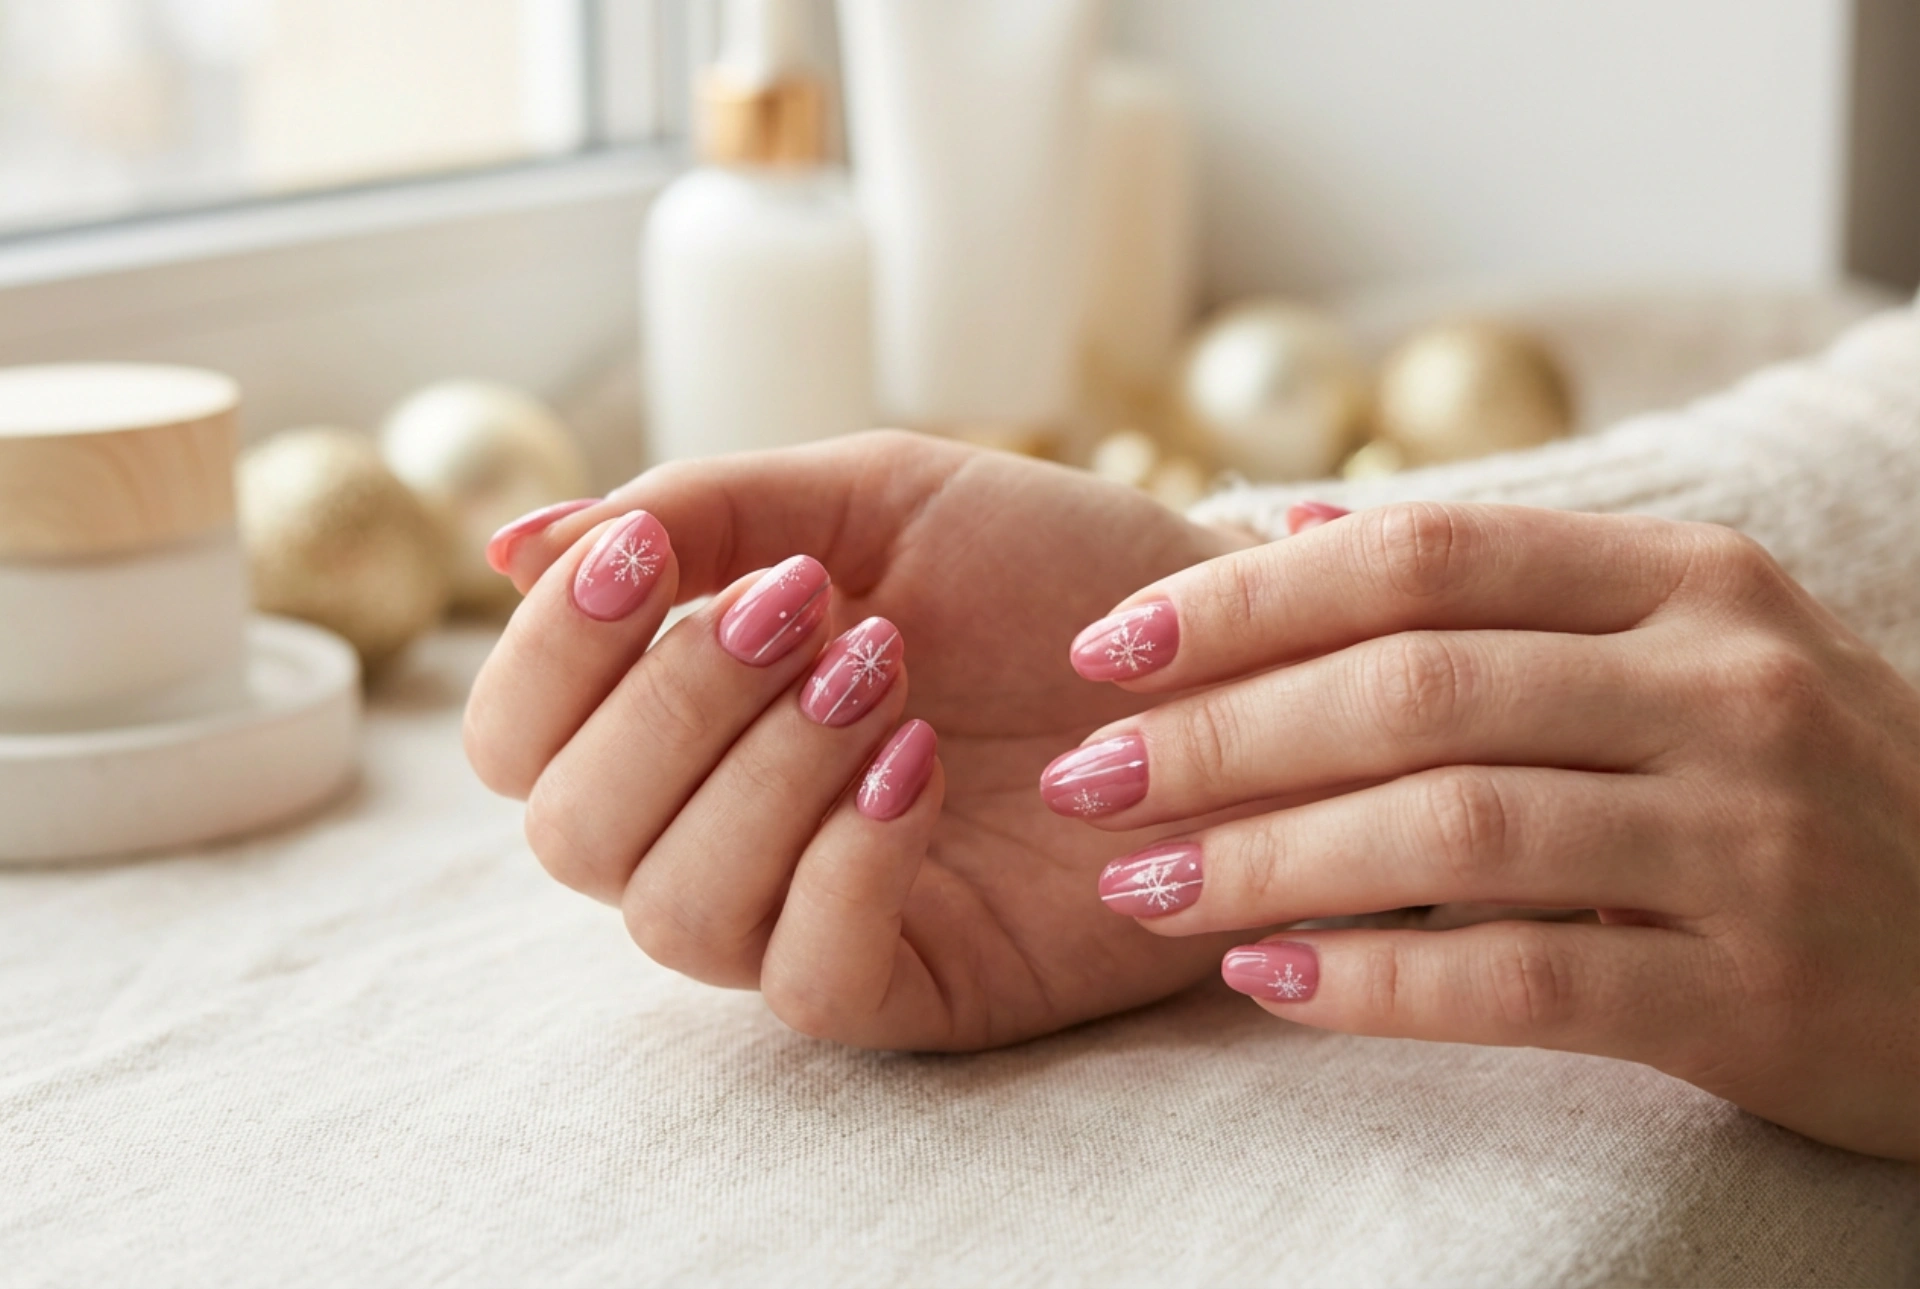
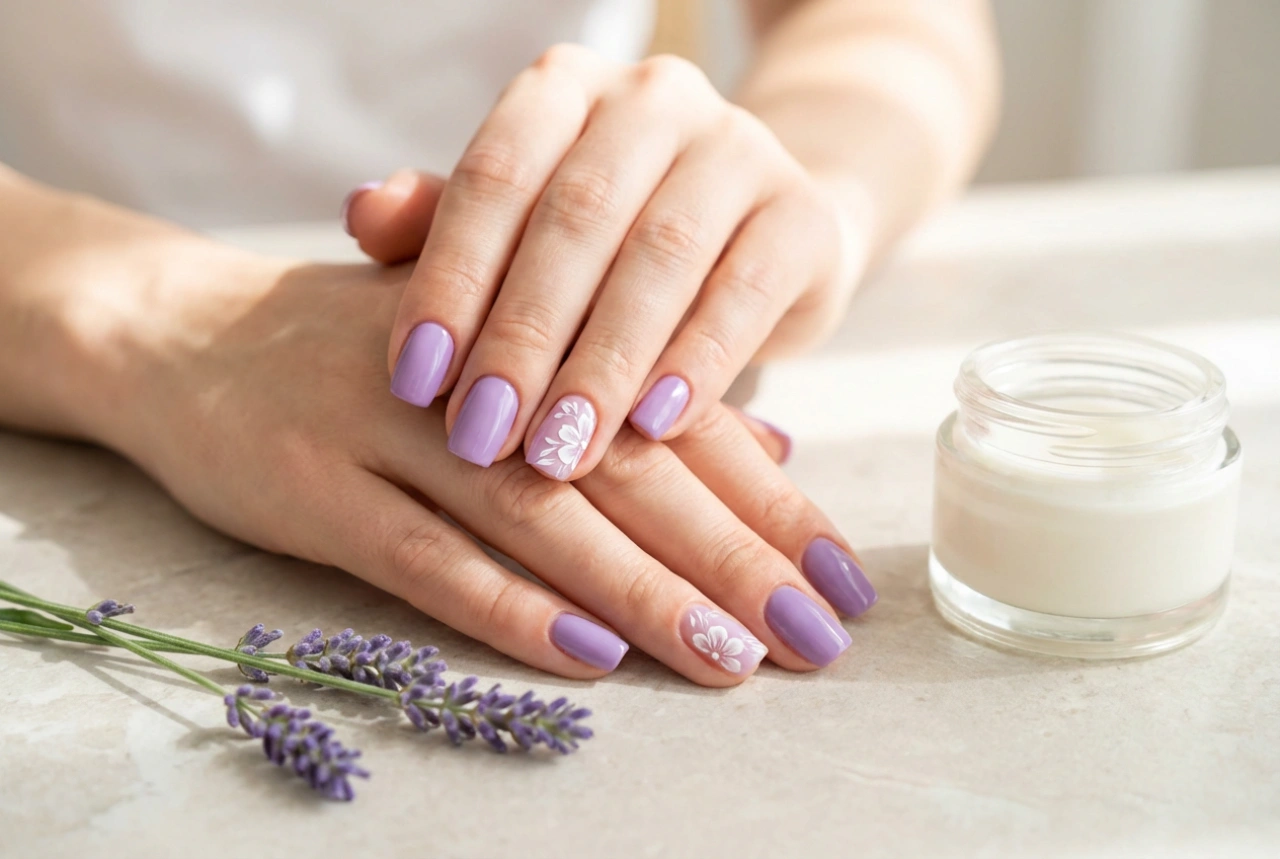
- Coloured Nail Polish: Build a collection that inspires you. Start with a few versatile shades – a classic red, a neutral nude, and perhaps a fun seasonal colour.
- Top Coat: This seals in your colour, adds a high-gloss or matte finish, and provides a protective layer against chipping and wear. Some top coats also offer quick-drying properties.
- Nail Polish Remover and Clean-Up Brush: A non-acetone remover is generally gentler on nails and skin. For precise clean-ups around the cuticle line, an old, thin makeup brush or a dedicated clean-up brush dipped in remover is invaluable.
Elevating Your Manicure with Advanced Tools
Once you have mastered the basics, you might want to explore more creative options. These tools can help you achieve more intricate designs and a gel-like finish without leaving your home.
- LED Lamp: A compact, home-use LED lamp is necessary if you wish to use gel-like polishes that require curing. These polishes offer exceptional durability and shine. Always follow the manufacturer's instructions for curing times.
- Nail Art Brushes: A set of fine-tipped brushes allows for creating lines, stripes, and detailed patterns.
- Dotting Tools: These simple tools with rounded tips in various sizes are perfect for creating polka dots, flowers, and other simple yet effective designs.
- Nail Embellishments: Items like fine glitter, foils, or tiny rhinestones can add a touch of glamour to your manicure for special occasions.
Organising Your At-Home Nail Station
An organised space saves time and makes the entire process more enjoyable. A tidy setup also contributes to better hygiene and prevents spills or accidents.
Find the Right Storage Solution
The key to organisation is containment. Look for storage that keeps your items visible and accessible. Clear acrylic drawers are perfect for seeing all your polish colours at a glance. Small pots or jars can hold tools like files and brushes upright. A portable caddy or a tiered stand can also work well, especially if you have limited space and need to pack everything away after use.
Create a Functional Layout
Arrange your workstation logically. Set up on a clean, flat surface with good lighting to avoid mistakes. Lay a protective mat or towel down to catch any drips. Arrange your tools in the order you will use them: prep tools on one side, polishes and application aids in the middle, and clean-up and aftercare items on the other. This assembly-line approach streamlines the process.
Prioritise Hygiene and Maintenance
Cleanliness is crucial for healthy nails. Wipe down your non-disposable tools, like metal cuticle pushers and nail clippers, with an appropriate disinfectant after each use. Regularly check your polishes; if they become thick or separated, it might be time to replace them. By maintaining a clean and orderly kit, you ensure every manicure is both beautiful and safe.