


Lavender nails are a symbol of elegance and subtlety, offering a serene and refined look for any occasion. This beautiful shade, reminiscent of fresh lavender sprigs, can be beautifully showcased with a flawless, even application and a glossy finish. Achieving this professional-looking result at home is entirely possible with the right preparation and technique. This guide will walk you through the steps to create the perfect lavender manicure, complete with ideas for delicate decorations that add a personal touch.
Preparing Your Nails for the Perfect Lavender Manicure
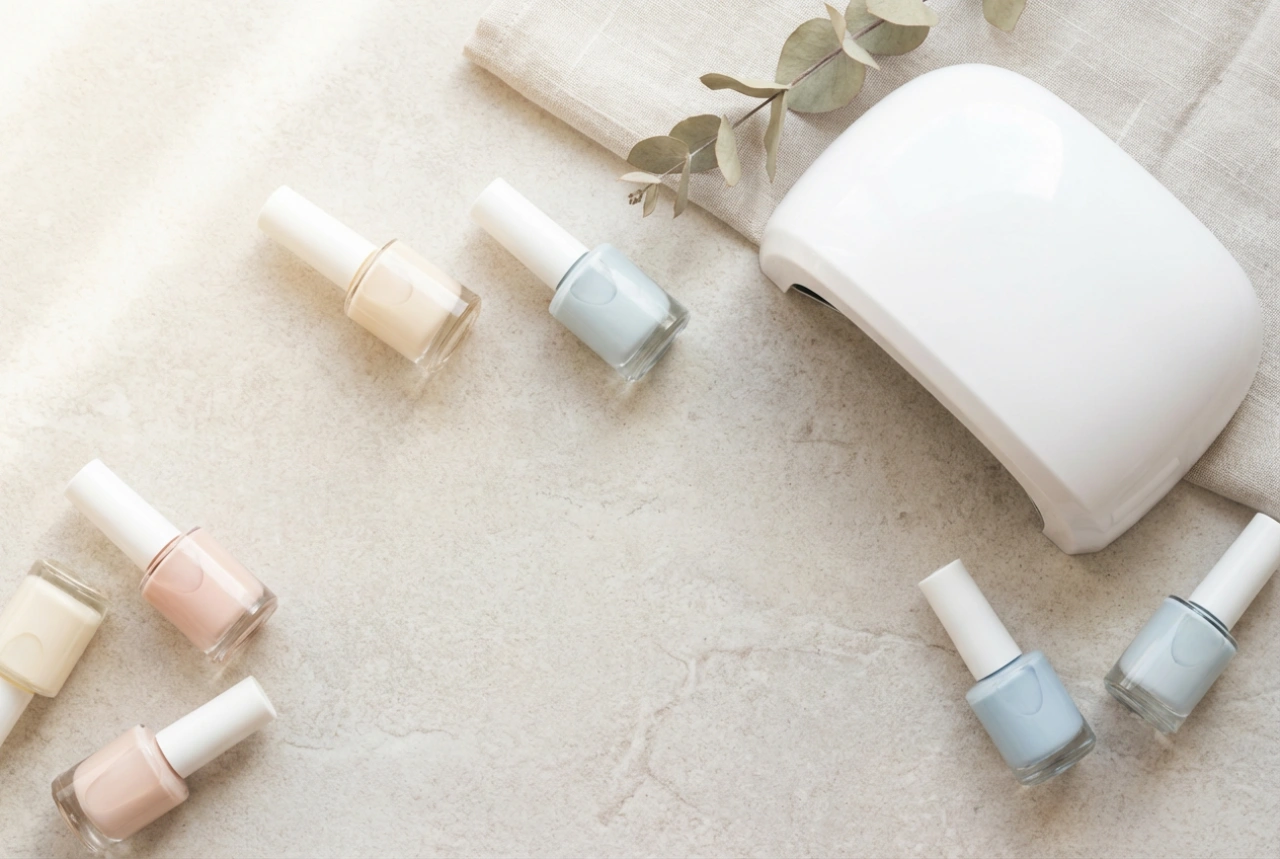
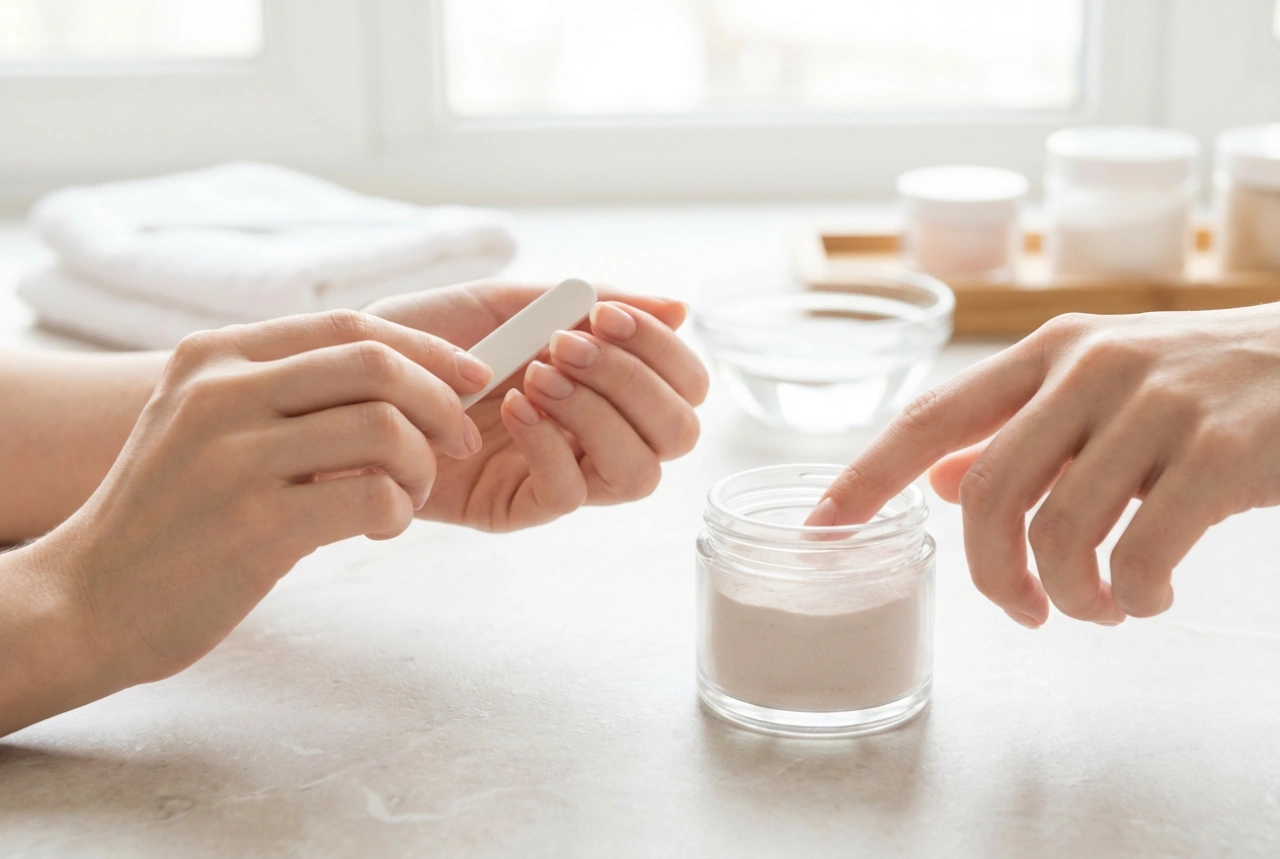
A beautiful manicure starts with healthy, well-prepared nails. Before you even think about opening the polish bottle, dedicate some time to nail care. This initial step is crucial for a smooth application and a longer-lasting result.
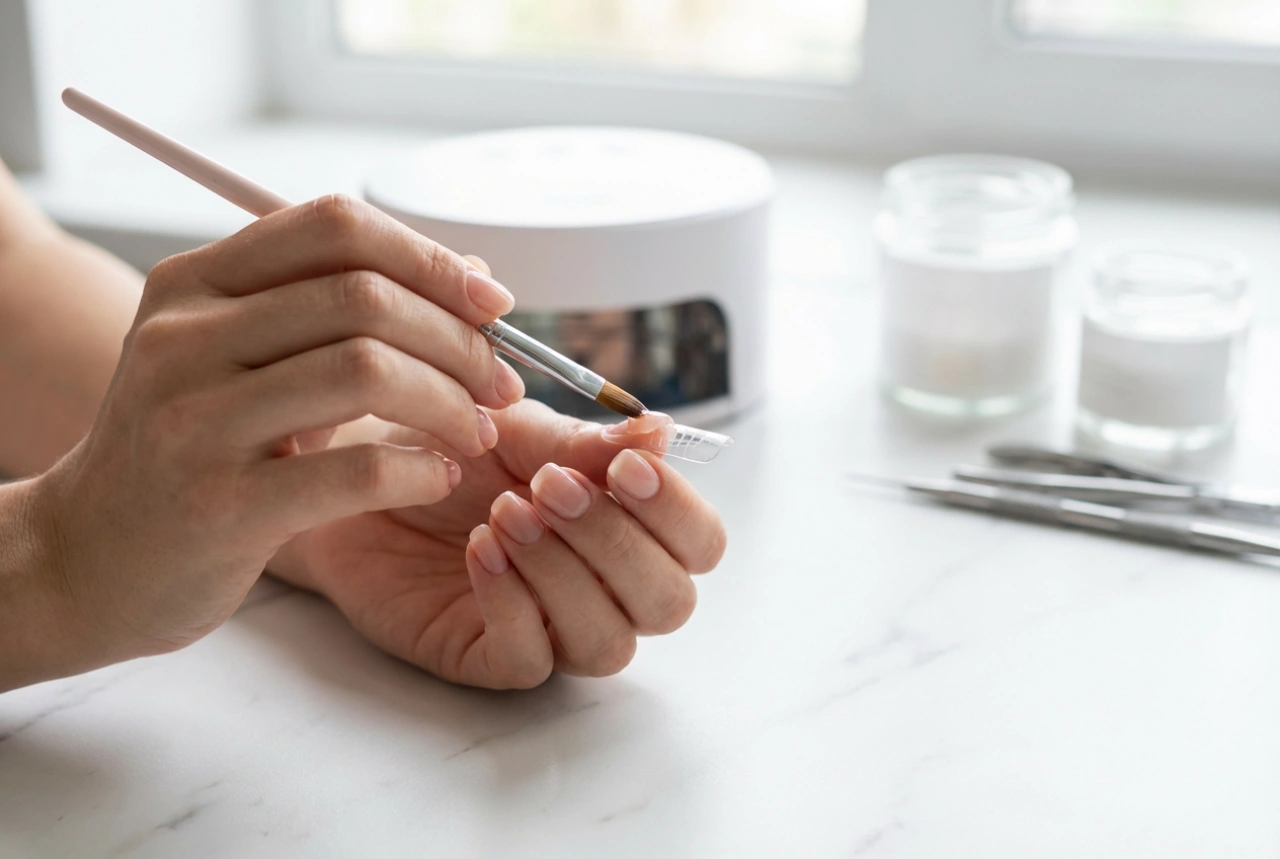
Step-by-Step Nail Preparation
Start by removing any old polish with a gentle remover. Next, shape your nails using a soft nail file, moving in one direction to prevent splitting. Once you are happy with the shape, soak your fingertips in warm water for a few minutes to soften the cuticles. Gently push them back with a cuticle pusher or an orange stick. Avoid cutting your cuticles, as they protect your nails from impurities. Lightly buff the surface of your nails to create a smooth canvas for the polish. Finally, wipe each nail with a nail cleanser or a cotton pad soaked in rubbing alcohol to remove any dust and natural oils. This ensures the polish adheres properly.
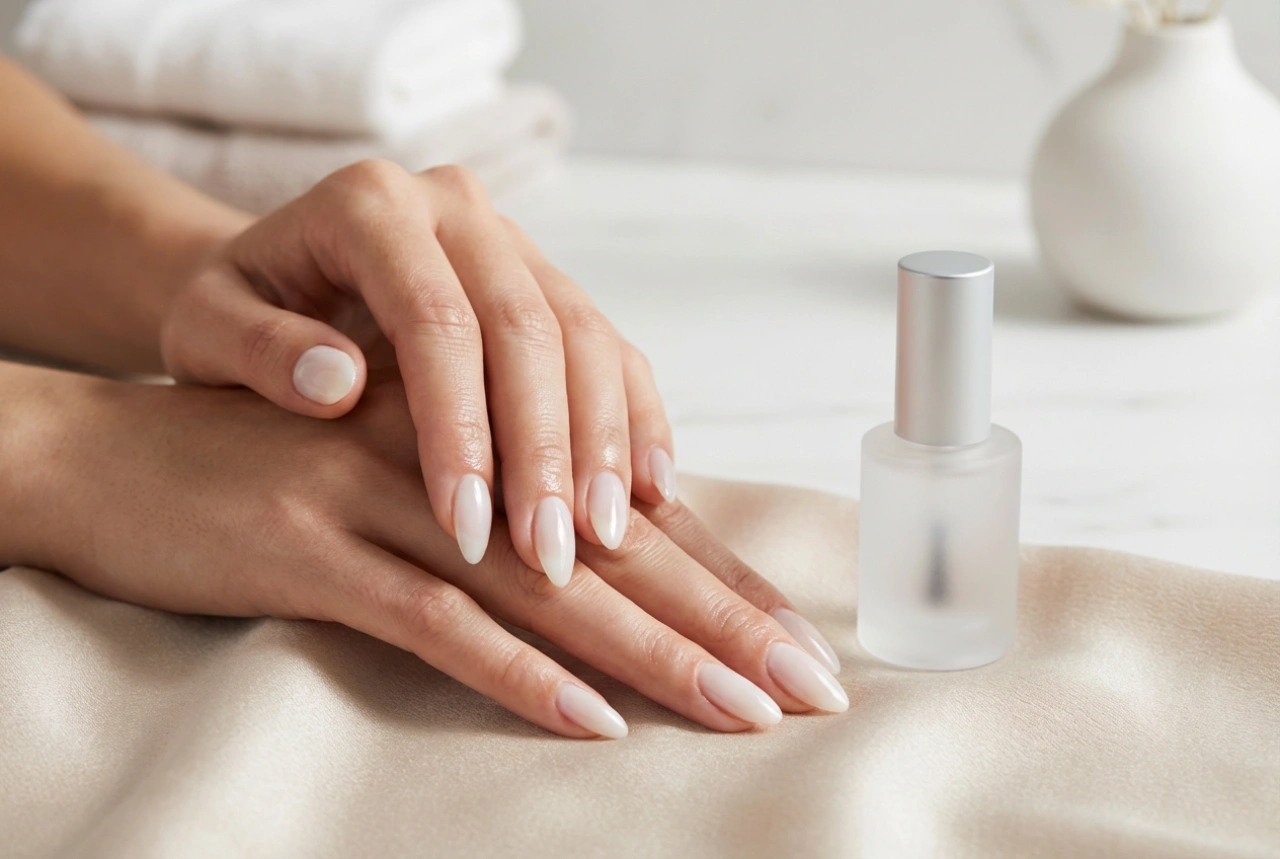
Achieving a Flawless, Even Lavender Colour
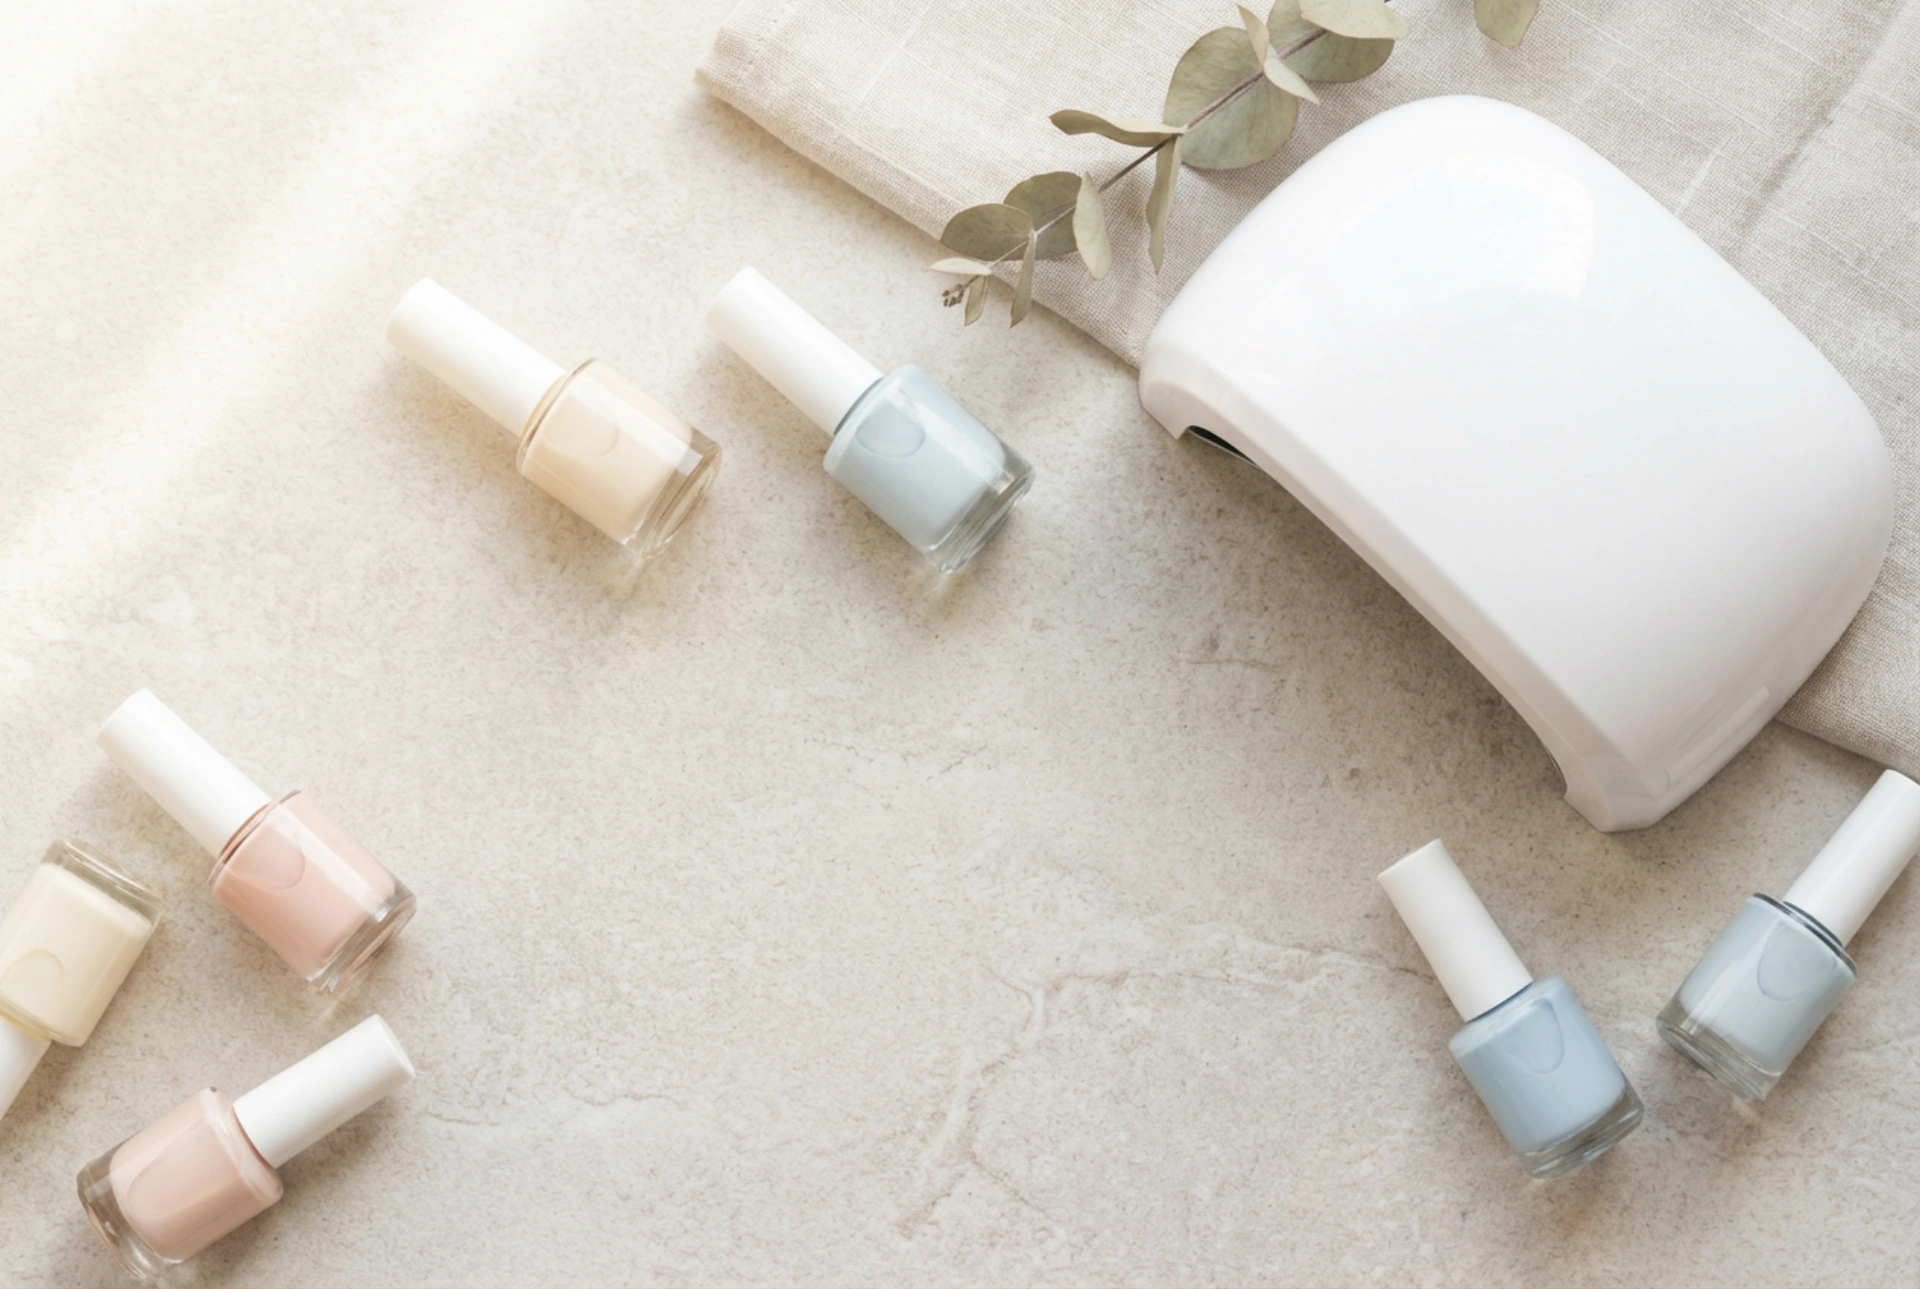
Pastel shades like lavender can sometimes be tricky to apply evenly. The key to avoiding streaks and achieving full, rich colour is patience and applying the polish in thin, deliberate layers.
Step 1: The Essential Base Coat
Never skip the base coat. It not only protects your natural nails from staining but also creates an ideal surface for the colour to grip onto. Apply one thin layer of a quality base coat and let it dry completely before proceeding.
Step 2: Applying the Lavender Polish
Shake the polish bottle well to mix the pigment. Wipe excess polish from one side of the brush on the bottle's neck. Apply the first coat in a very thin layer, starting from the base of the nail and sweeping up to the tip. Use three strokes: one down the centre, followed by one on each side. Don't worry if this first coat looks streaky or sheer; its purpose is to create a foundation. Let it dry thoroughly. Apply a second, slightly thicker coat using the same three-stroke technique. This should provide even coverage. For some lighter lavender shades, a third thin coat may be necessary for full opacity.
Step 3: The Protective Top Coat
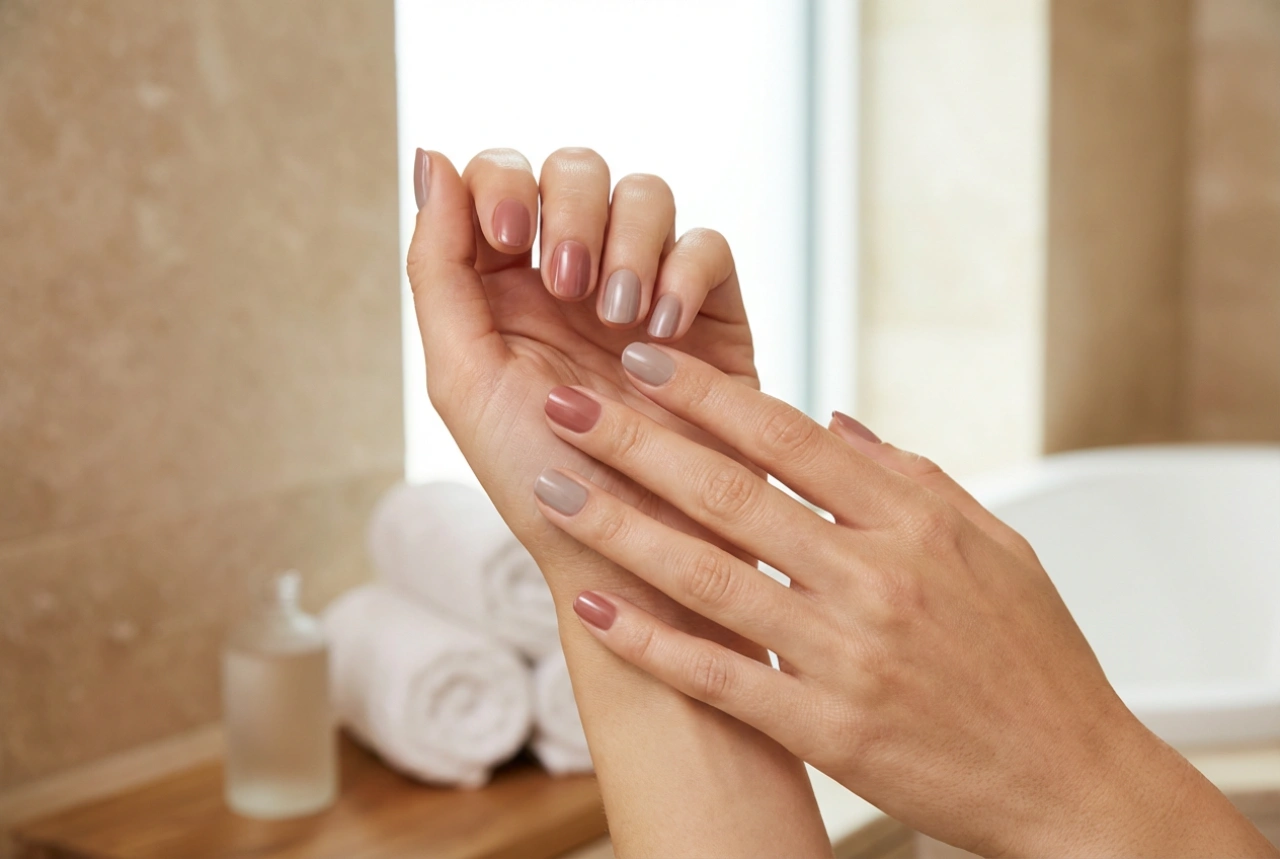
Once the final colour coat is touch-dry, apply a high-gloss top coat. This final layer seals in the colour, protects against chipping, and gives your nails that lustrous, salon-quality shine. Be sure to 'cap' the free edge of the nail by running the brush along the tip to provide extra protection against wear.
Ideas for Subtle Lavender Nail Decorations
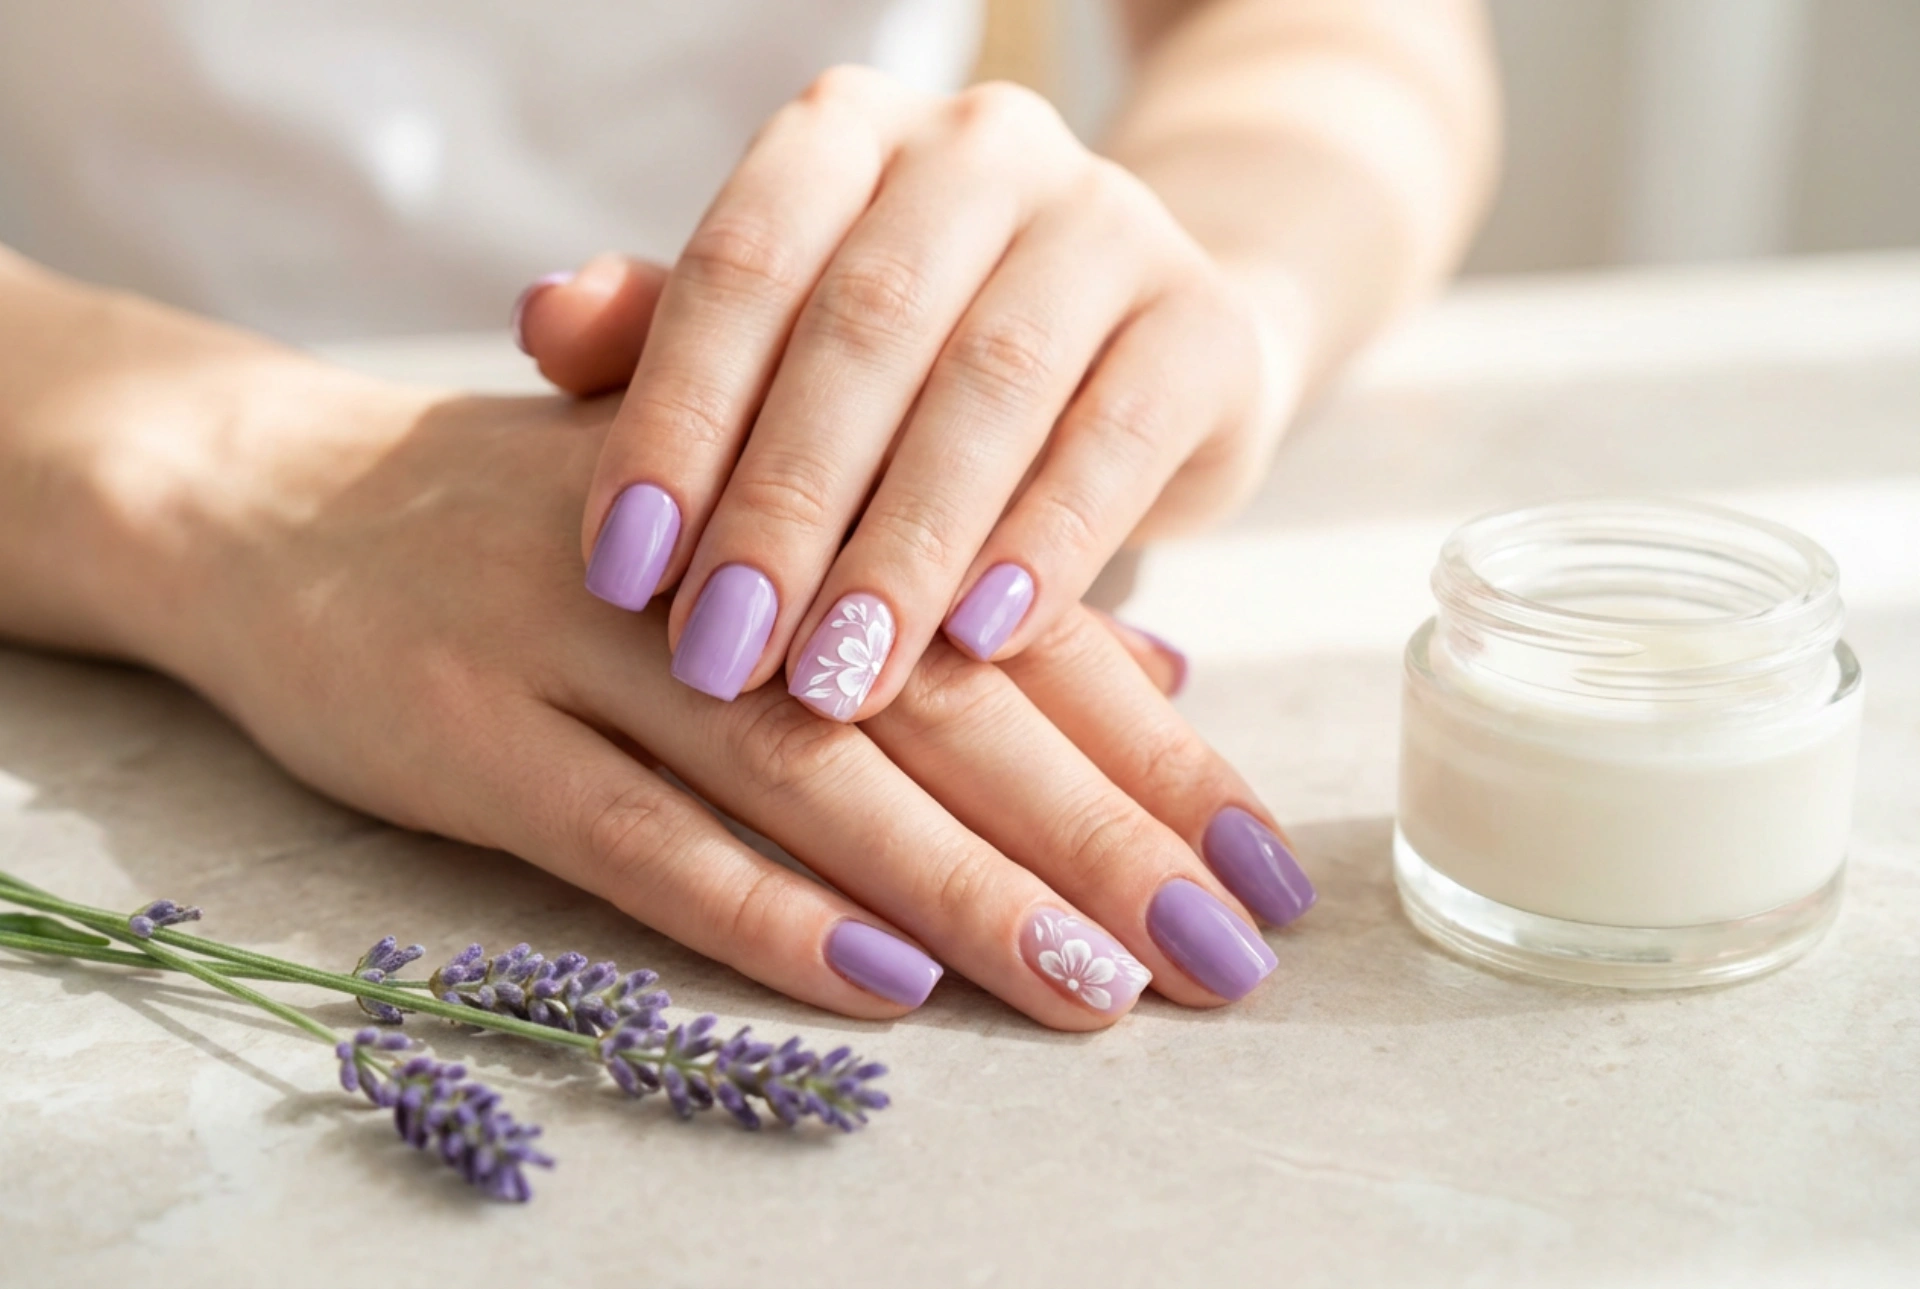
A solid lavender manicure is beautiful on its own, but a simple decoration can elevate it to something special. Subtlety is key to maintaining a refined aesthetic.
- Delicate Floral Accents: Using a fine nail art brush or a dotting tool, paint a tiny, simple white or silver flower on one accent nail per hand. A few simple dots arranged in a floral shape can be very effective.
- Minimalist Dots: A single, perfectly placed dot in a contrasting colour like white, silver, or a darker purple at the base of each nail offers a modern, chic look.
- Fine Lines: A thin vertical or horizontal line in a metallic or white shade adds a touch of geometric elegance. This can be done on all nails or just an accent nail.
- Subtle Glitter: For a hint of sparkle, choose an accent nail and apply a thin coat of fine glitter polish over the lavender base. Alternatively, create a gentle gradient by applying glitter to the nail tip and fading it towards the cuticle.
Maintaining Your Beautiful Lavender Manicure
To keep your nails looking flawless for as long as possible, a little maintenance goes a long way. With proper care, you can extend the life of your home manicure. Reapply a thin layer of your top coat every two to three days to refresh the shine and add an extra layer of protection. Always wear gloves when washing dishes or using cleaning products, as harsh chemicals and prolonged water exposure are the main culprits behind chipping. Lastly, keep the skin around your nails healthy by applying cuticle oil daily. This not only nourishes the cuticles but also helps to keep your manicure looking neat and tidy.