


Gel nail polishes have revolutionised home manicures, offering a durable, high-shine finish that was once only achievable in a salon. Paired with a UV or LED lamp, these polishes create a tough, resilient coating that can last for weeks without chipping. Understanding how they work and the correct curing process is key to achieving that flawless, long-lasting look seen in pristine beauty flat lays. This guide will walk you through the essentials of gel polishes and how to master their application.
What Makes Gel Nail Polish Unique?
Unlike traditional nail polish that air-dries through the evaporation of solvents, gel polish has a different chemical composition. It contains photoinitiators and oligomers that remain in a liquid state until they are exposed to specific wavelengths of ultraviolet (UV) or light-emitting diode (LED) light. This exposure triggers a process called polymerisation, where the molecules link together to form a hard, durable plastic-like layer. This fundamental difference is what gives gel polish its signature longevity and glossy finish.
Key Differences: Gel vs. Traditional Polish
Choosing between gel and traditional polish depends on your lifestyle, patience, and desired result. Understanding their main differences can help you decide which is right for your needs.
- Drying and Curing Time: Traditional polish requires significant drying time, often 20-30 minutes or more to be touch-dry, and can take hours to fully harden. Gel polish, on the other hand, cures in just 30-120 seconds under a lamp and is completely hard and smudge-proof immediately after the final cure.
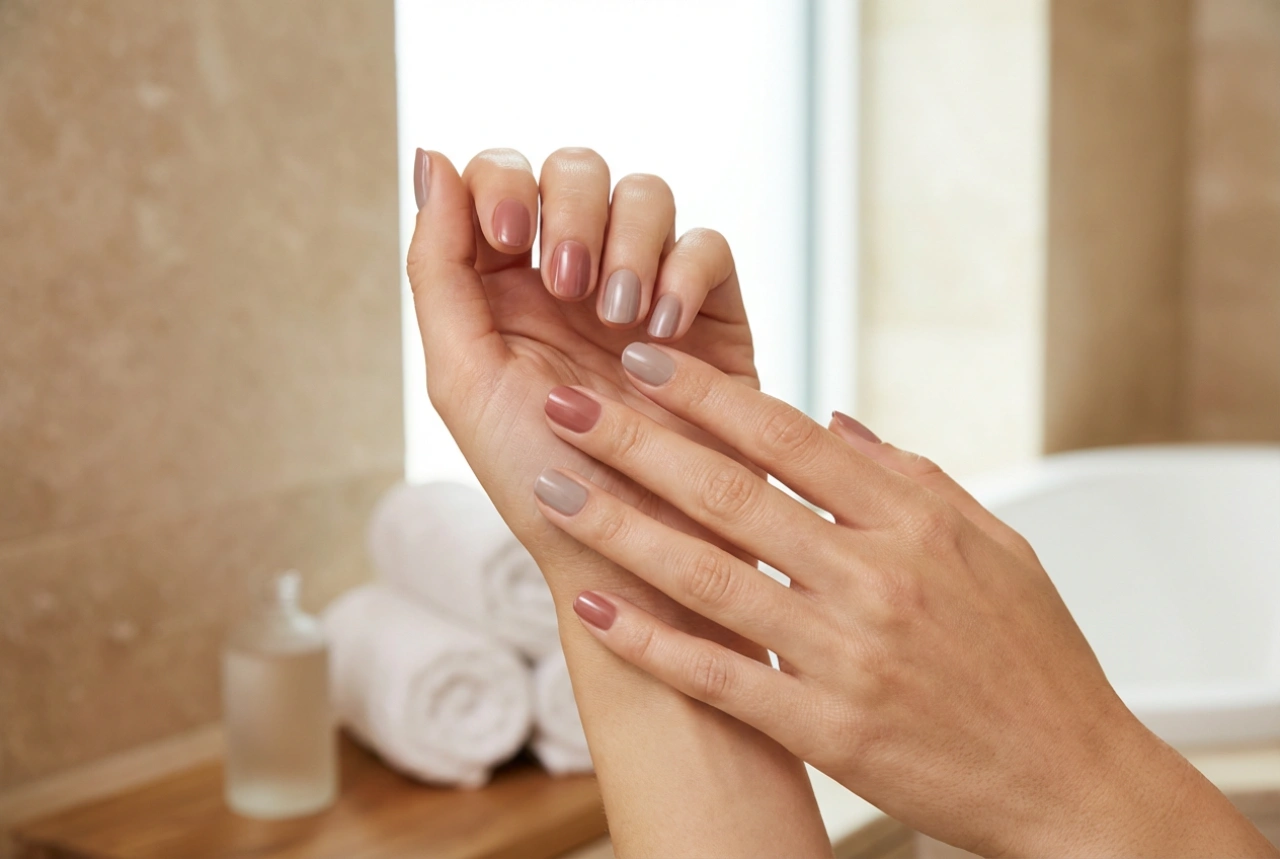
- Durability and Longevity: A standard manicure might last a few days before chipping. A properly applied gel manicure can last two to three weeks without any loss of shine or integrity.
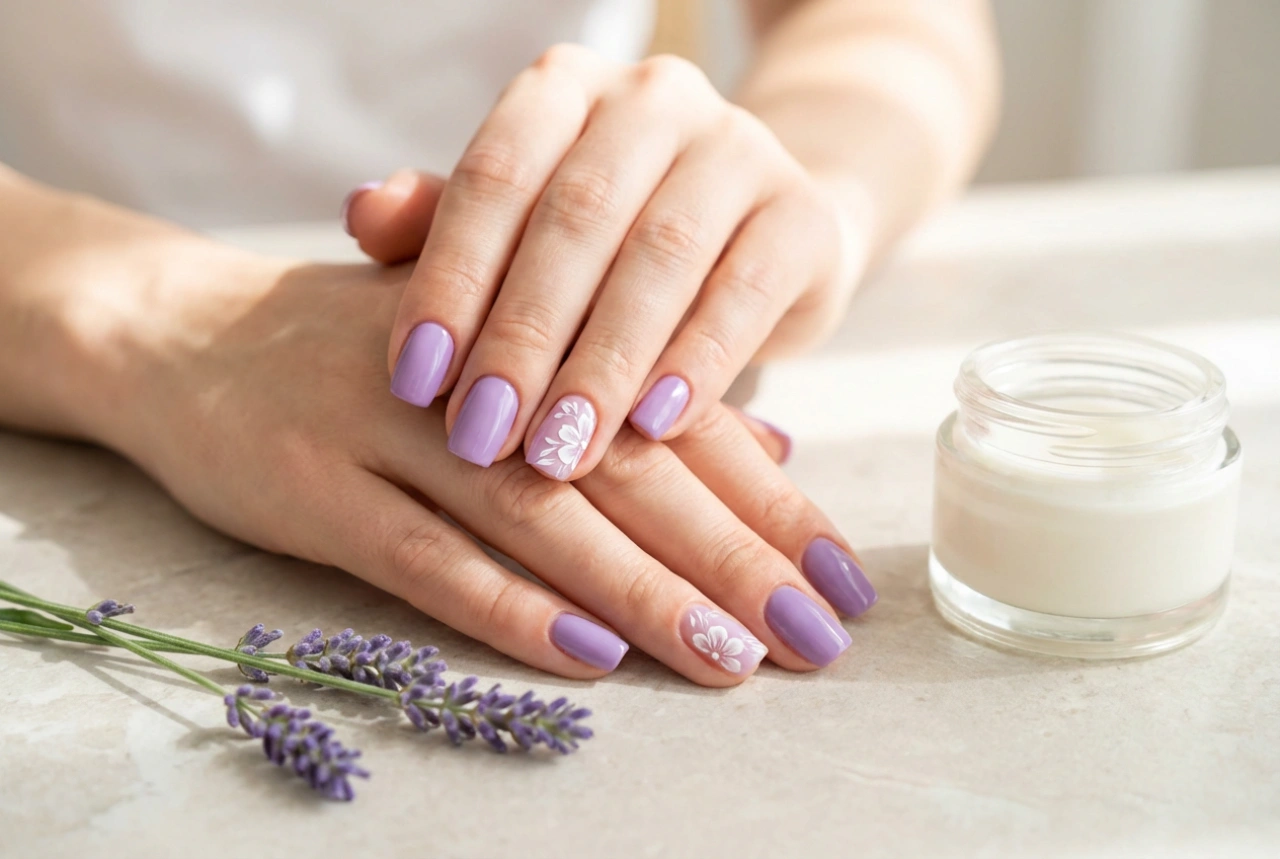
- Finish and Shine: While many traditional top coats offer a good shine, it often dulls after a few days. Gel polish maintains its high-gloss, 'wet-look' finish for the entire duration of its wear.
- Application Process: Applying gel polish is a multi-step process involving a base coat, colour coats, and a top coat, with each layer needing to be cured under a lamp. This is more involved than the simpler application of traditional polish.
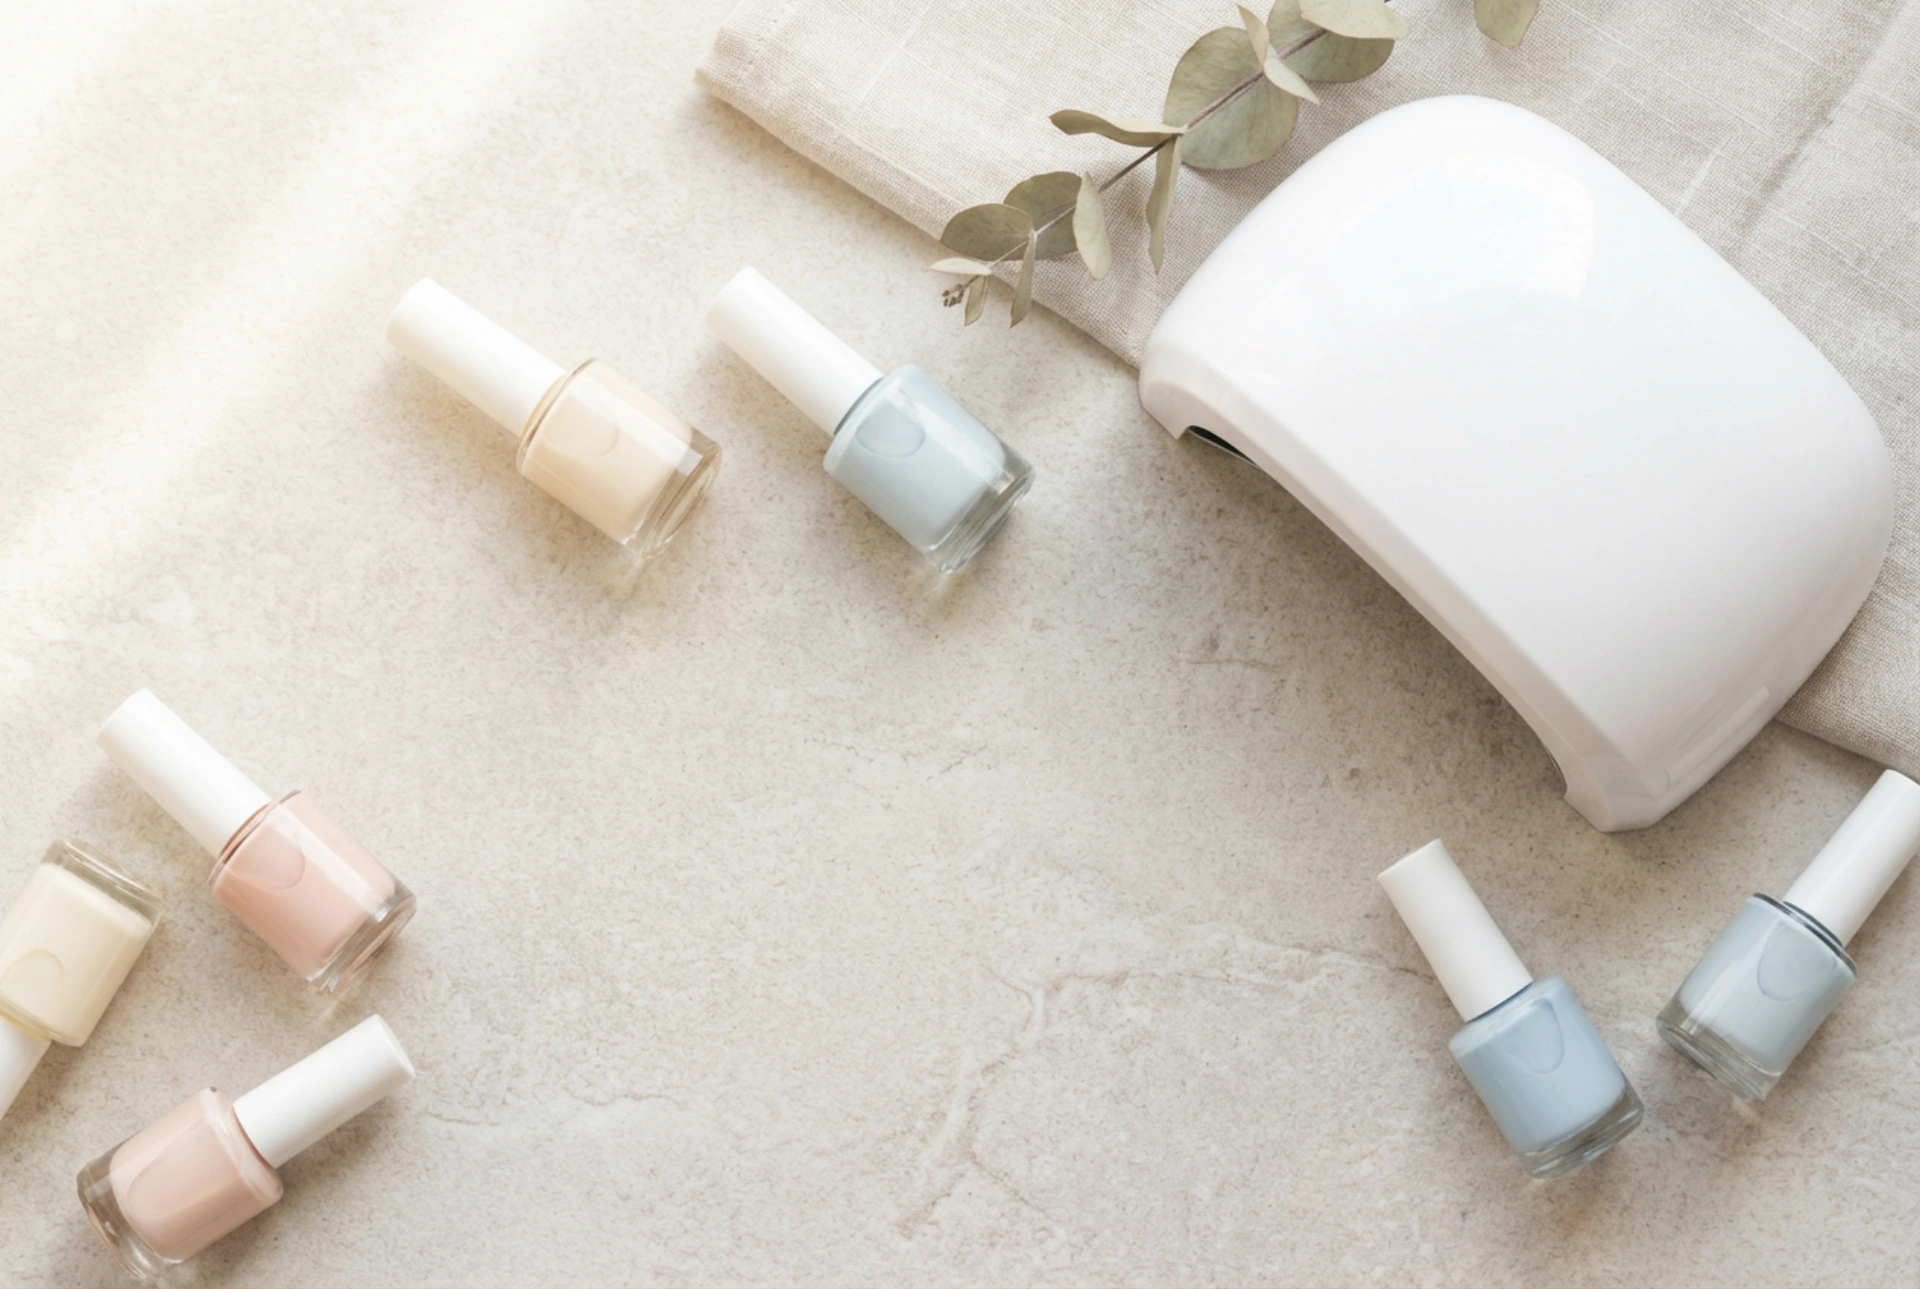
The Curing Process: The Role of the UV/LED Lamp
The curing lamp is not just an accessory; it is an essential tool for any gel manicure. Without it, the polish will never harden. The light emitted by the lamp activates the photoinitiators in the gel, starting the polymerisation chain reaction. There are two main types of lamps: UV lamps and LED lamps. LED lamps are generally considered more modern, as they cure the polish faster (typically 30-60 seconds) and the bulbs have a much longer lifespan. UV lamps take longer (around 90-120 seconds) and their bulbs may need replacing over time. Regardless of the type, using the lamp correctly is crucial for a successful manicure.
Step-by-Step Guide to Curing Gel Polish
Achieving a perfect gel manicure at home is all about precision and following the correct steps. Rushing the process or taking shortcuts can lead to a less-than-ideal result.
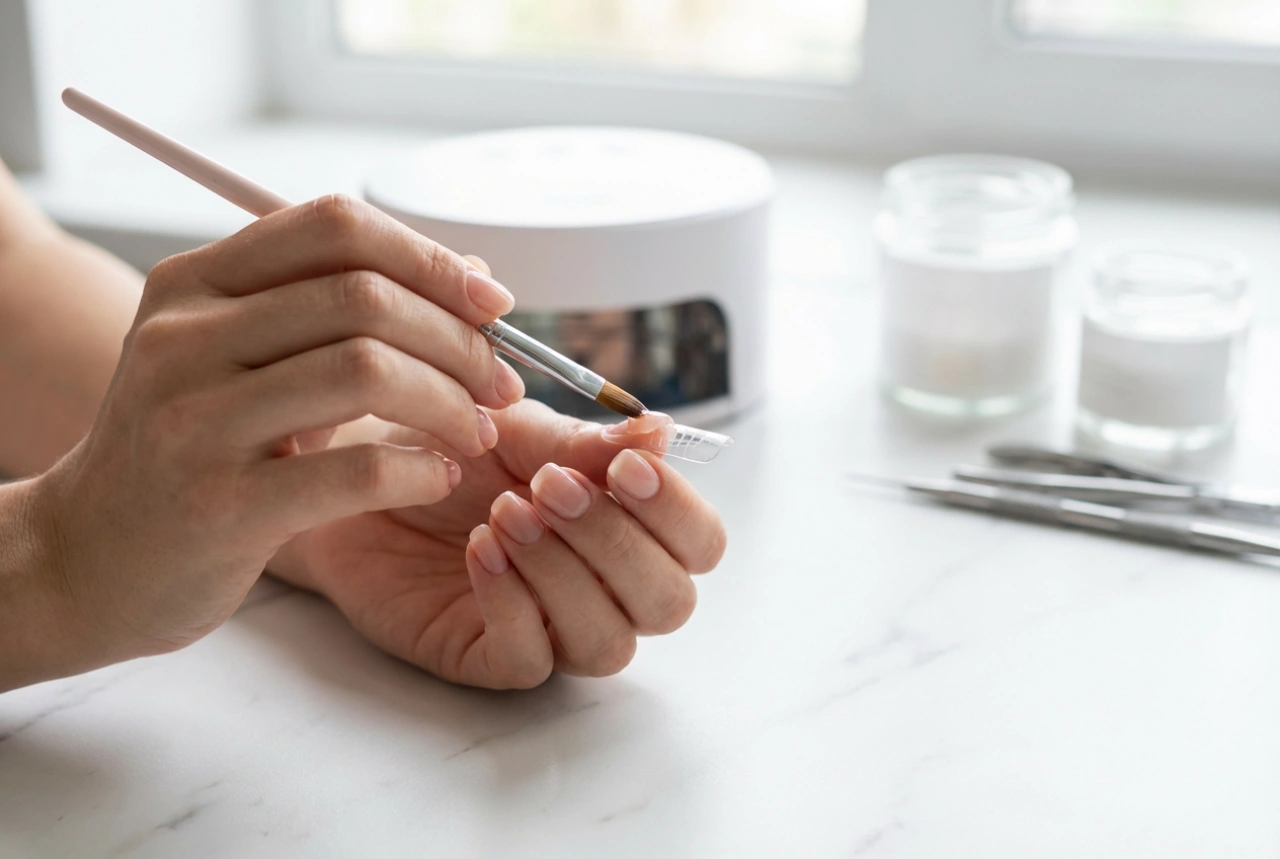
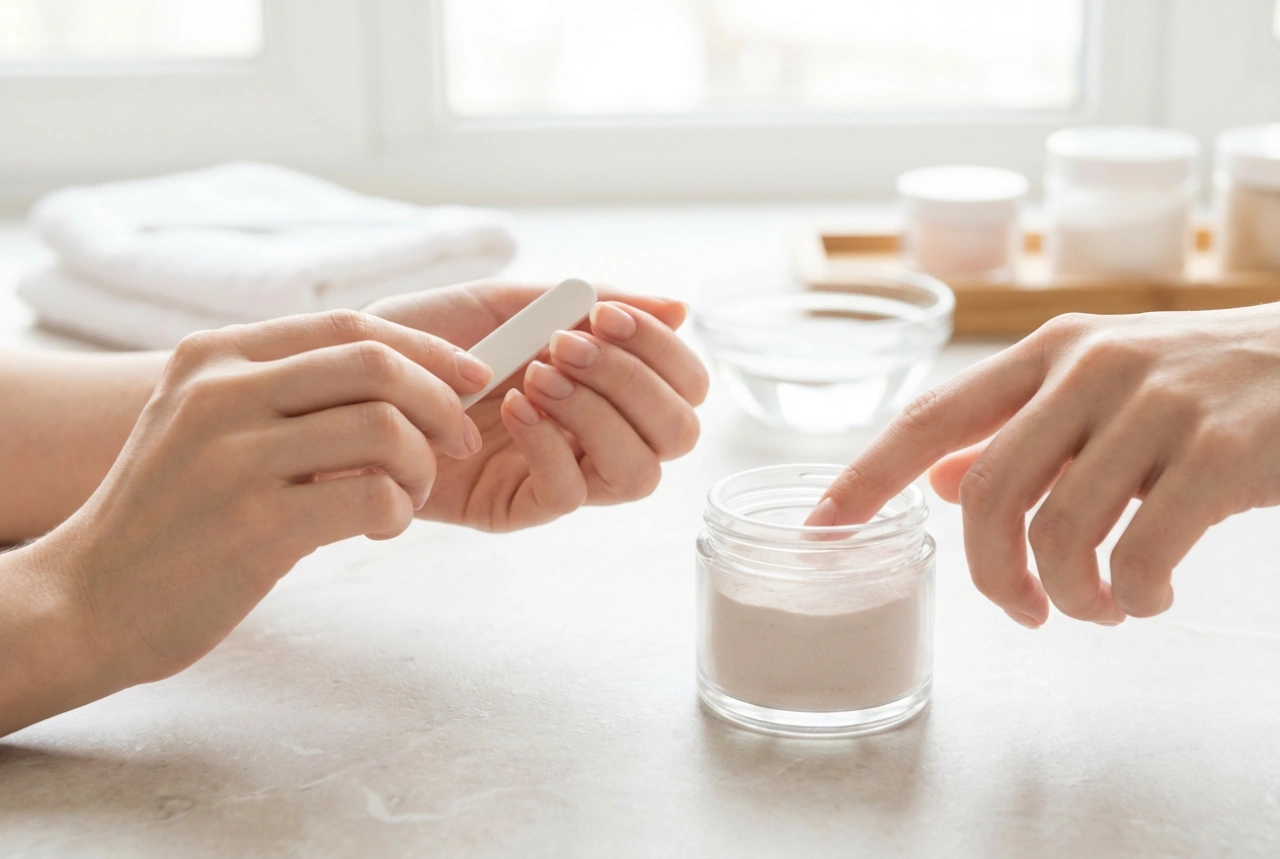
1. Nail Preparation
Start with clean, dry nails. Gently push back your cuticles and lightly buff the surface of your nails. This removes any natural oils and creates a slightly rough surface for the gel to adhere to. Wipe the nail with an alcohol-based cleanser to dehydrate it completely. Apply a thin layer of gel base coat, making sure to avoid touching your skin or cuticles. Cure the base coat under the lamp for the recommended time (e.g., 30-60 seconds).
2. Applying and Curing the Colour
Apply a very thin, even layer of your chosen gel colour. Thick layers are the primary cause of improper curing, leading to bubbling or peeling. If you get any polish on your skin, clean it up with a small brush dipped in cleanser before curing. Cure this layer under the lamp. Repeat with a second thin coat for full opacity, curing again. Some sheer colours may require a third coat.
3. The Final Top Coat
Finish with a thin layer of gel top coat. Be sure to 'cap' the free edge of your nail by running the brush along the tip. This seals the polish and prevents it from lifting. Cure the top coat for the time specified by the manufacturer, which is sometimes slightly longer than for the colour coats. After the final cure, many gel systems leave a sticky inhibition layer. This is normal. Simply wipe it away with a lint-free pad soaked in a special gel cleanser or isopropyl alcohol to reveal the hard, glossy finish underneath.
Common Mistakes to Avoid
For a durable, professional-looking finish, try to avoid these common errors:
- Applying layers too thickly: This prevents the light from penetrating fully, leading to under-cured polish that can peel or wrinkle.
- Flooding the cuticles: Gel polish that touches the skin will lift as the nail grows, causing the entire manicure to peel prematurely.
- Skipping the base or top coat: The base coat ensures adhesion, while the top coat provides protection and shine. Both are essential for longevity.
- Under-curing: Not leaving your nails in the lamp for the full recommended time will result in a soft, weak finish that won't last. Always follow the instructions for your specific polish and lamp.