


Achieving long, elegant nails is a desire for many, and nail extension gels offer a fantastic way to create durable and beautifully shaped enhancements from the comfort of your own home. Unlike press-on tips, gels allow for complete customisation of length and shape, resulting in a seamless and natural-looking finish. Mastering the technique requires patience and practice, but with the right knowledge, you can create a stunning set of nails. This guide will walk you through the types of gels, proper preparation, and the step-by-step process of application and curing.
Understanding Nail Extension Gels
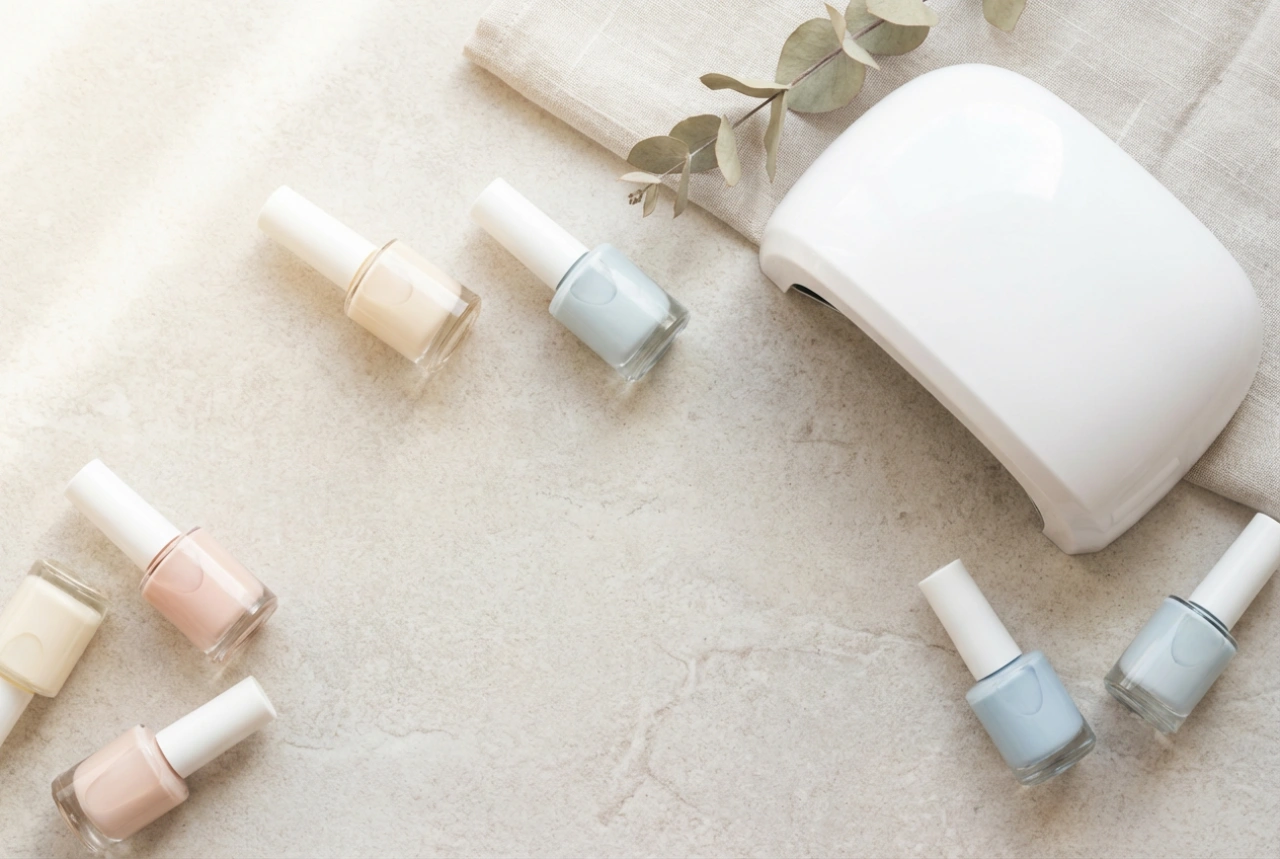
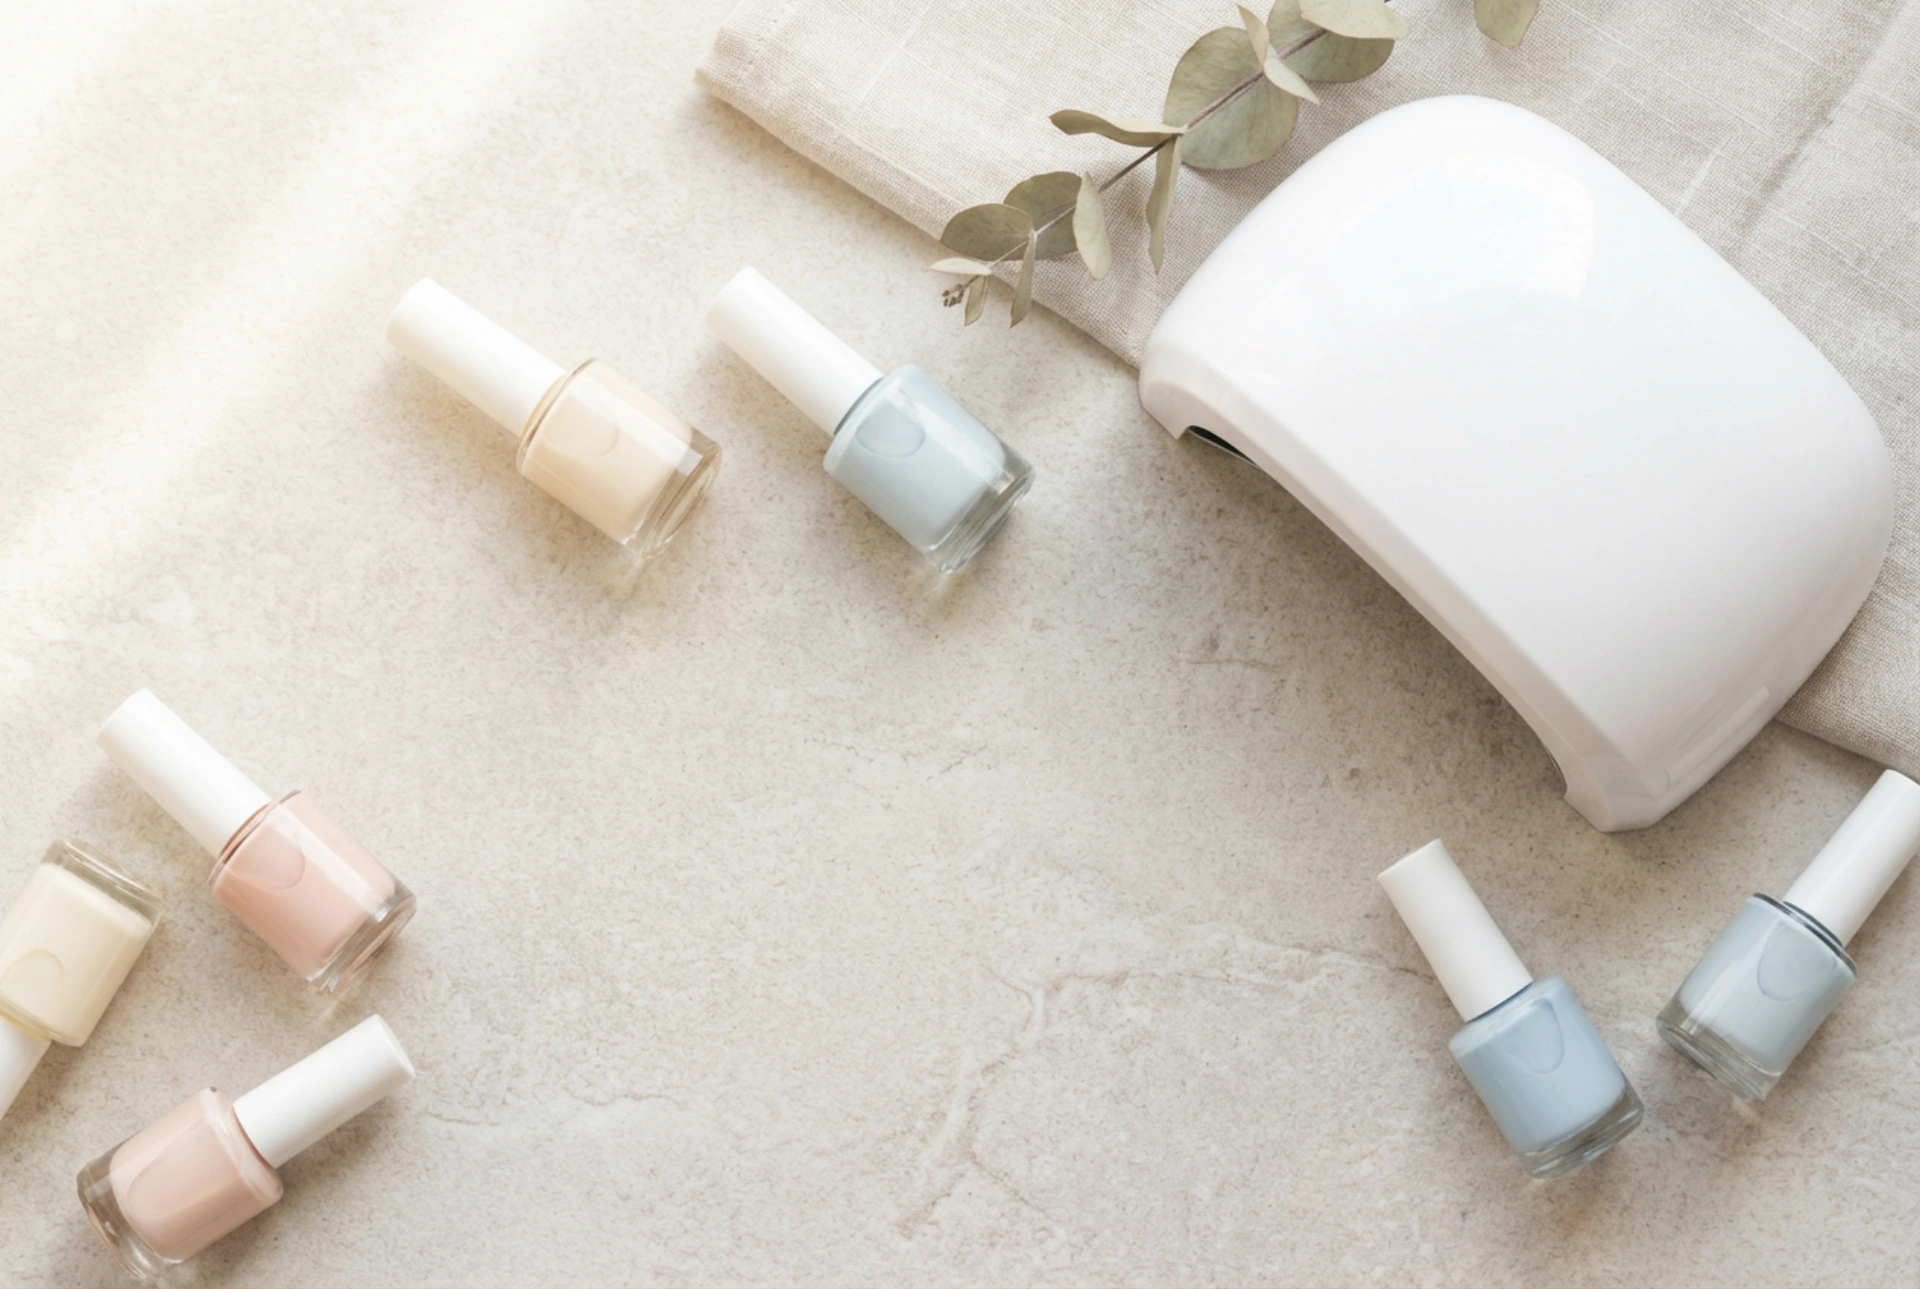
Nail extension gels are viscous, light-sensitive materials used to build length and structure onto the natural nail. They remain pliable until they are cured under a specific light source, typically a UV or LED lamp. This gives you ample time to shape the nail perfectly. There are several types of gels to consider:
- Single-Phase Gels: These are all-in-one products that function as the base, builder, and top coat. They are ideal for beginners due to their simplicity, as you only need one pot of gel for the entire process.
- Three-Phase Gels: This system involves three separate products: a base gel for adhesion, a thicker builder gel for creating the structure and length, and a glossy top coat for shine and protection. While it requires more steps, it can offer superior durability and a more tailored result.
- Gel Consistency: Gels also come in various thicknesses. Thinner, self-levelling gels are easier to apply and create a smooth surface with minimal filing. Thicker gels have less movement, making them perfect for sculpting the nail's apex (the highest point of the extension) and C-curve (the arch seen from the tip), which provide strength.
Essential Preparation for Gel Application
Proper preparation is the most critical step for ensuring your gel extensions last without lifting or breaking. Rushing this stage will compromise the final result. Follow these steps meticulously for a strong foundation.
Step-by-Step Nail Prep
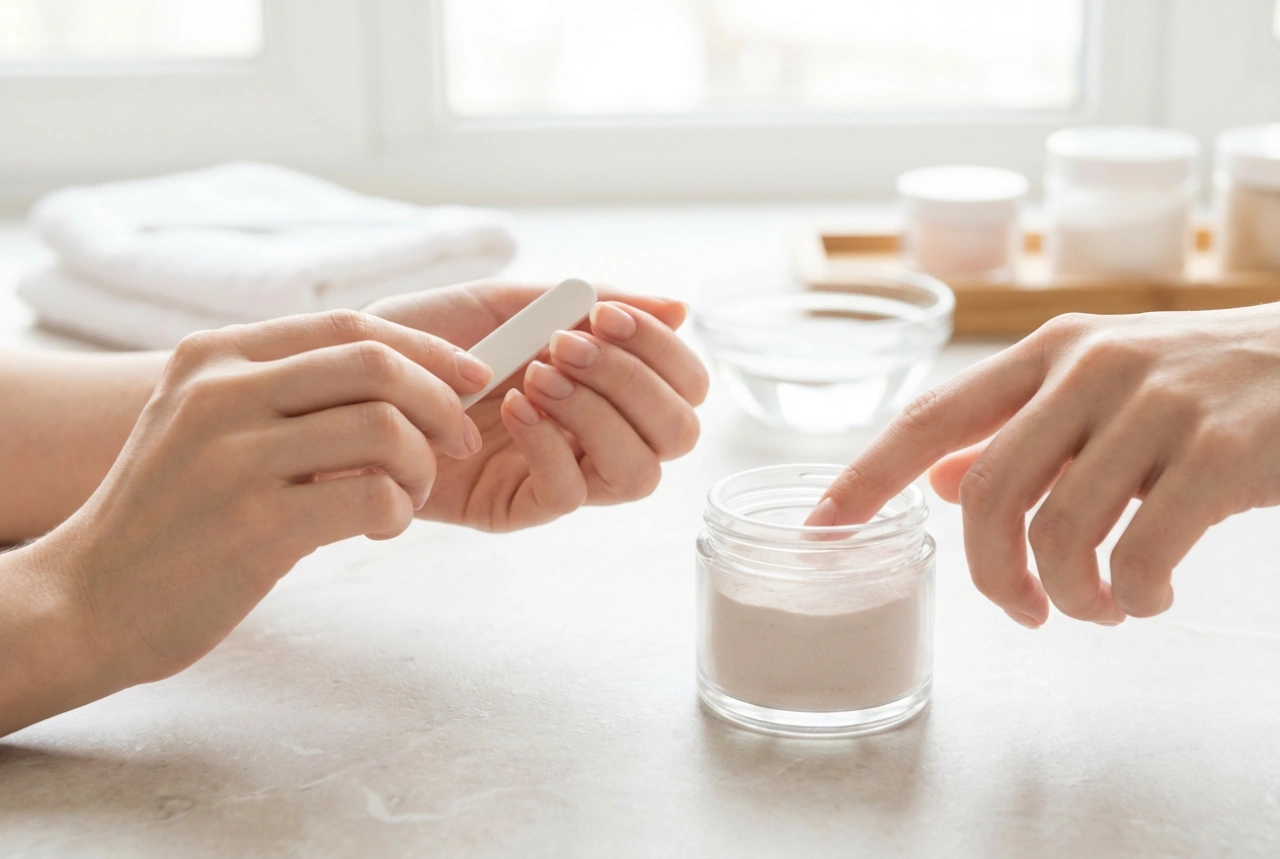
First, wash and dry your hands thoroughly. Gently push back your cuticles using a cuticle pusher. If necessary, carefully trim any excess non-living tissue, but avoid cutting the live cuticle. Next, using a fine-grit nail file or buffer, lightly buff the entire surface of the natural nail. The goal is only to remove the shine, not to thin the nail plate. This creates a slightly rough surface for the gel to adhere to. Afterwards, wipe each nail with a lint-free wipe soaked in a specialised nail cleanser or dehydrator. This removes any oils and debris. Finally, apply a thin layer of a nail primer or bonder specifically designed for gel systems. This product acts like double-sided tape, creating a strong bond between the natural nail and the gel. Allow it to air dry according to its instructions.
The Art of Application on a Form
Nail forms are stickers that are placed under the free edge of the natural nail, acting as a guide to build the extension upon. Correct placement is key to a well-shaped nail.
Applying the Gel
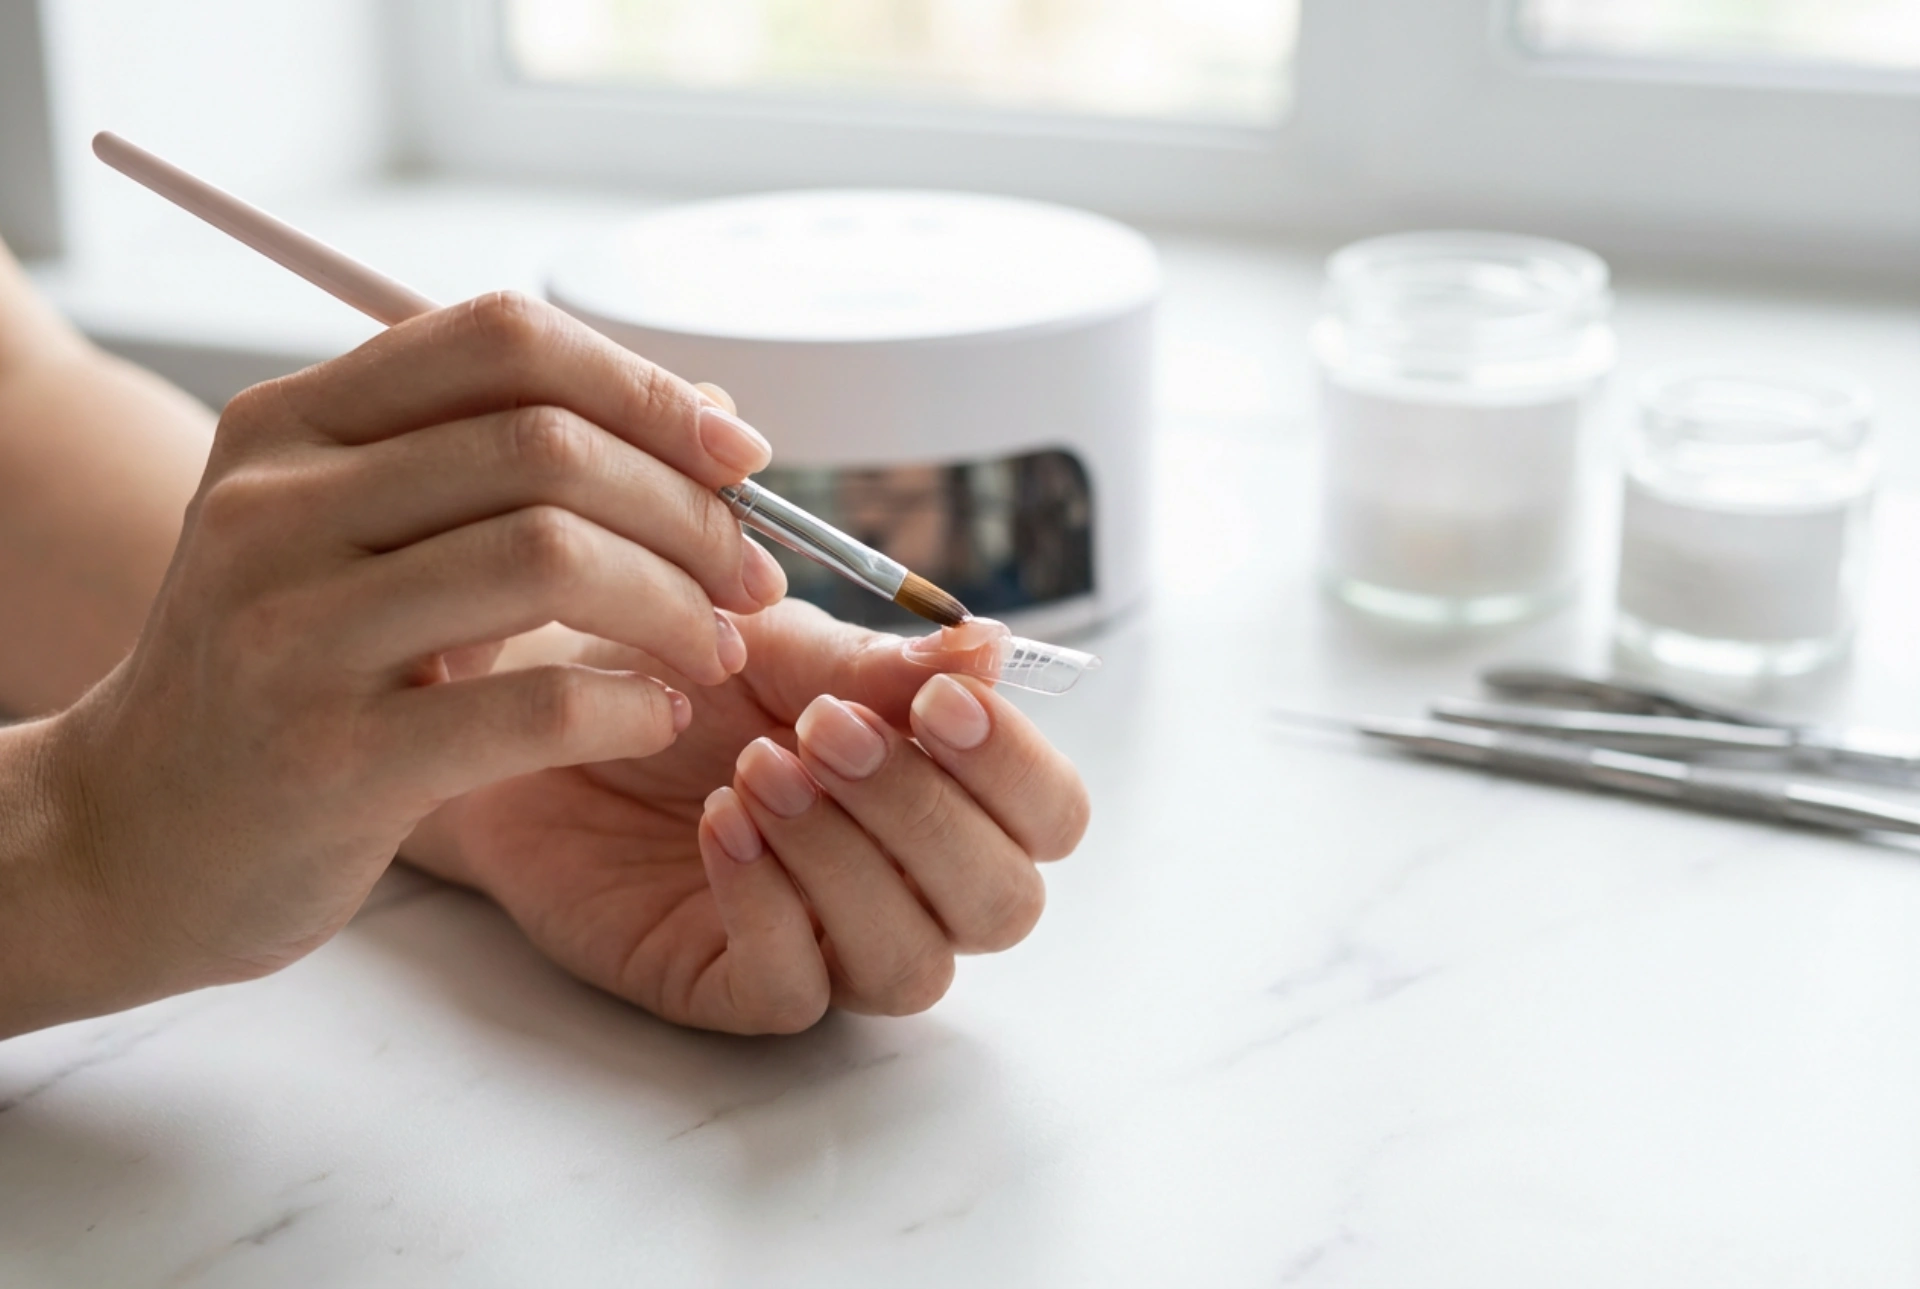
Peel a nail form from its backing and gently curve it to match the shape of your fingertip. Slide it underneath the free edge of your nail, ensuring there are no gaps between the form and the nail. The form should look like a natural continuation of your finger. Once secure, dip your gel brush into the gel. If using a three-phase system, start with a thin layer of base gel over the natural nail and cure it. For all systems, the next step is to create a 'slip layer' by brushing a very thin coat of builder gel over the nail and onto the form to your desired length. Do not cure this layer. Next, pick up a larger bead of builder gel and place it in the centre of the nail, near the stress area where the natural nail meets the extension. Gently guide the gel with your brush, 'floating' it over the surface to build the apex and structure. Avoid letting the gel touch your skin or cuticles. Work one nail at a time for the best control.
Curing, Filing, and Finishing
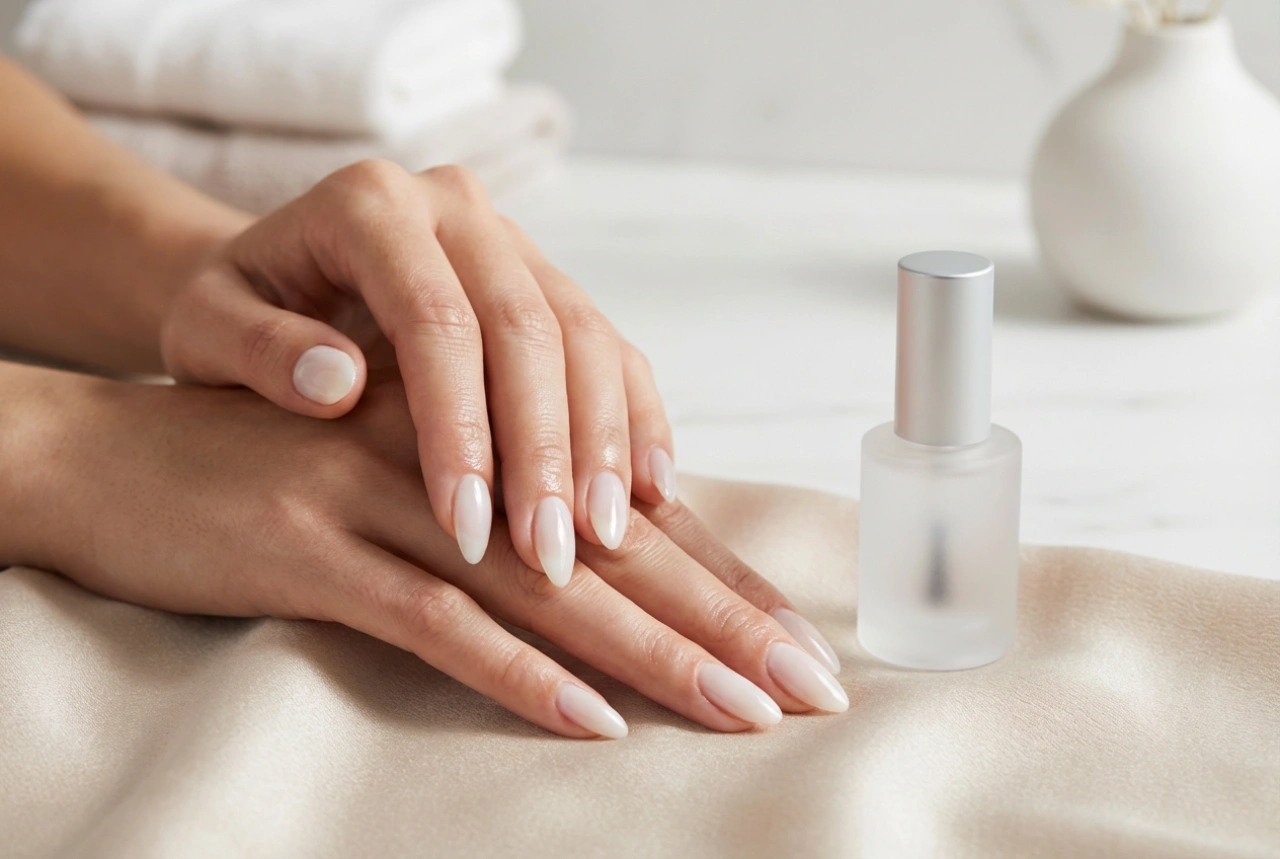
Once you are happy with the shape, it's time to solidify your work. Place your hand under your UV/LED lamp for the recommended curing time, which is typically between 60 and 120 seconds. Always check the instructions for your specific gel product, as times can vary. After curing, the gel will have a sticky or 'inhibition' layer on top. This is normal and helps subsequent layers adhere. Remove this sticky layer using a lint-free wipe and a gel cleanser. Now you can refine the shape. Use a nail file to shape the side walls and the free edge of your new extension. Use a buffer to smooth the surface and blend it seamlessly with your natural nail. After removing all the dust, apply a thin layer of a gel top coat over the entire nail, capping the free edge to seal it. Cure this final layer under the lamp. Once cured, and if your top coat has an inhibition layer, give it a final wipe with the cleanser. To finish, apply a nourishing cuticle oil to rehydrate the skin around your nails.