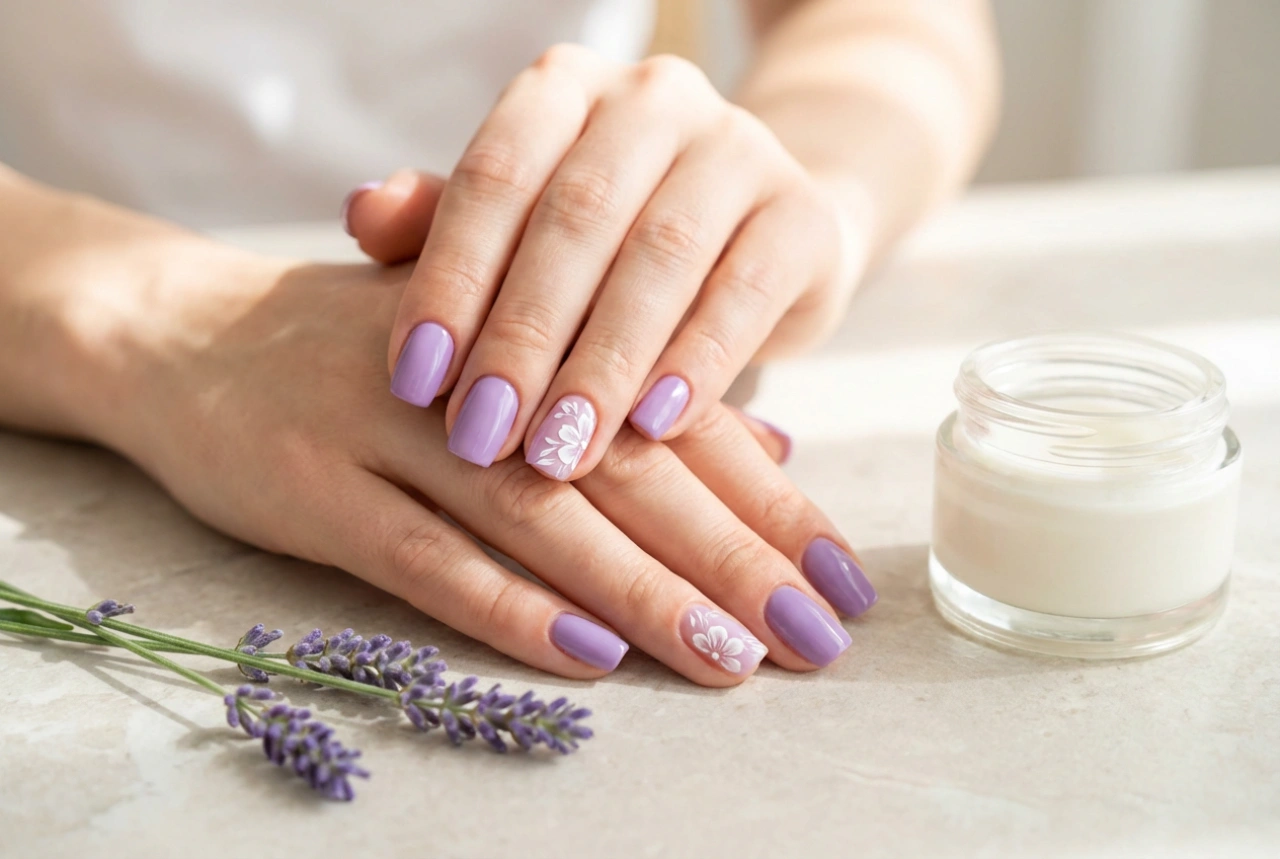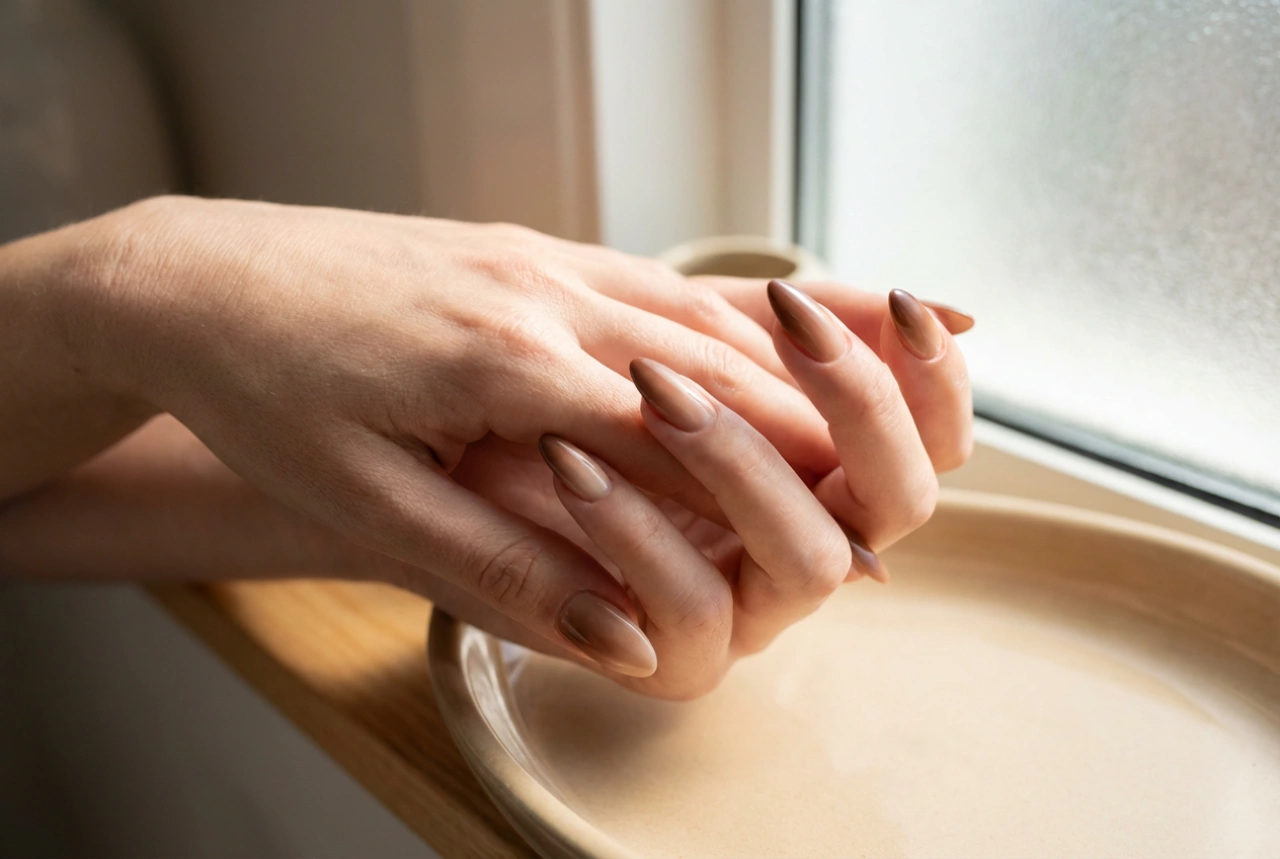


A flawless, glossy manicure that remains pristine for weeks is the hallmark of elegant, well-cared-for hands. While once the exclusive domain of professional salons, the beautiful and durable hybrid manicure is now something you can achieve in the comfort of your own home. With the right tools and a little patience, you can create a long-lasting, chip-resistant finish that rivals a salon treatment. This guide will walk you through every step, from initial preparation to the final glossy top coat, ensuring your nails look impeccable.
Preparation: The Foundation for a Perfect Manicure
Before you even think about opening a bottle of polish, proper preparation is key. A clean, organised workspace and meticulously prepared nails are the secret to a hybrid manicure that not only looks professional but also lasts. Rushing this stage is the most common reason for premature lifting or chipping.
Gather Your Tools and Prepare Your Space
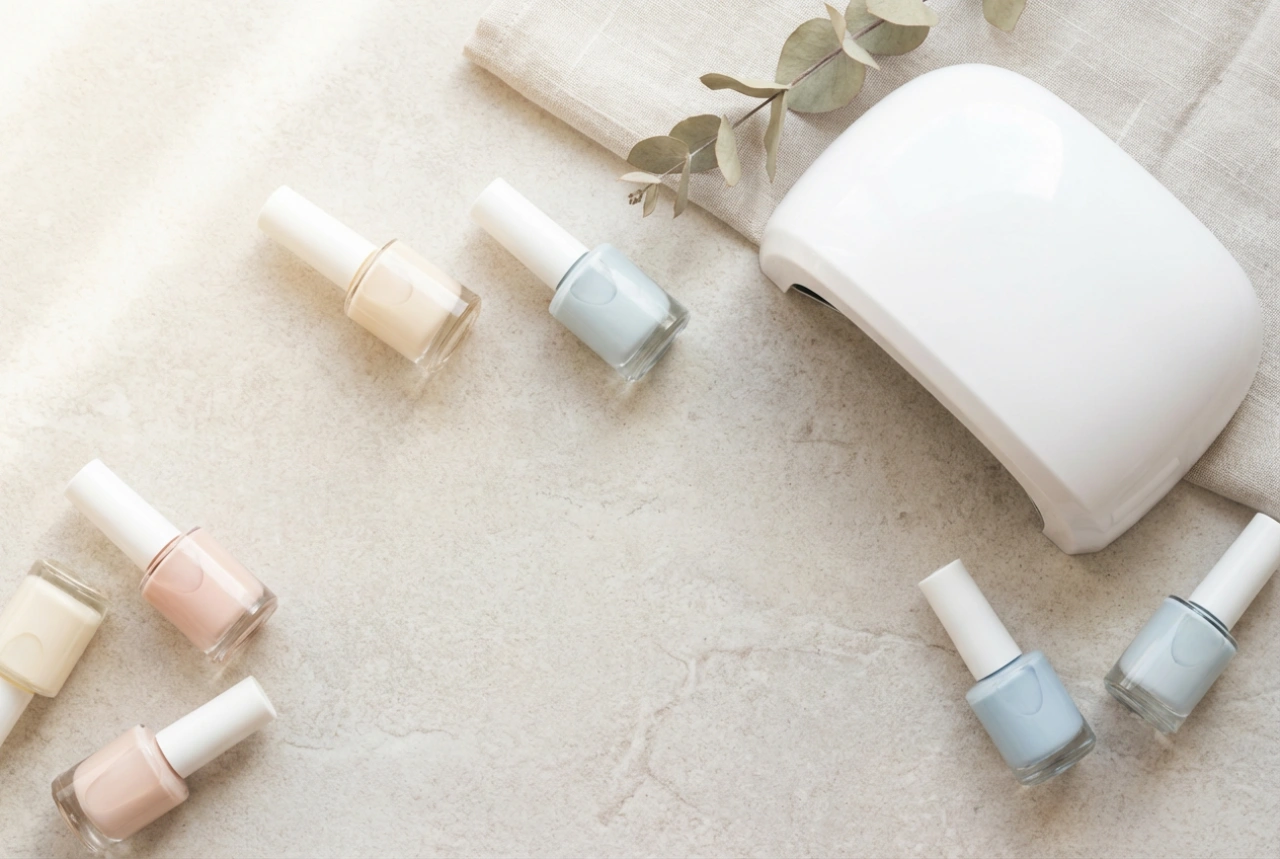
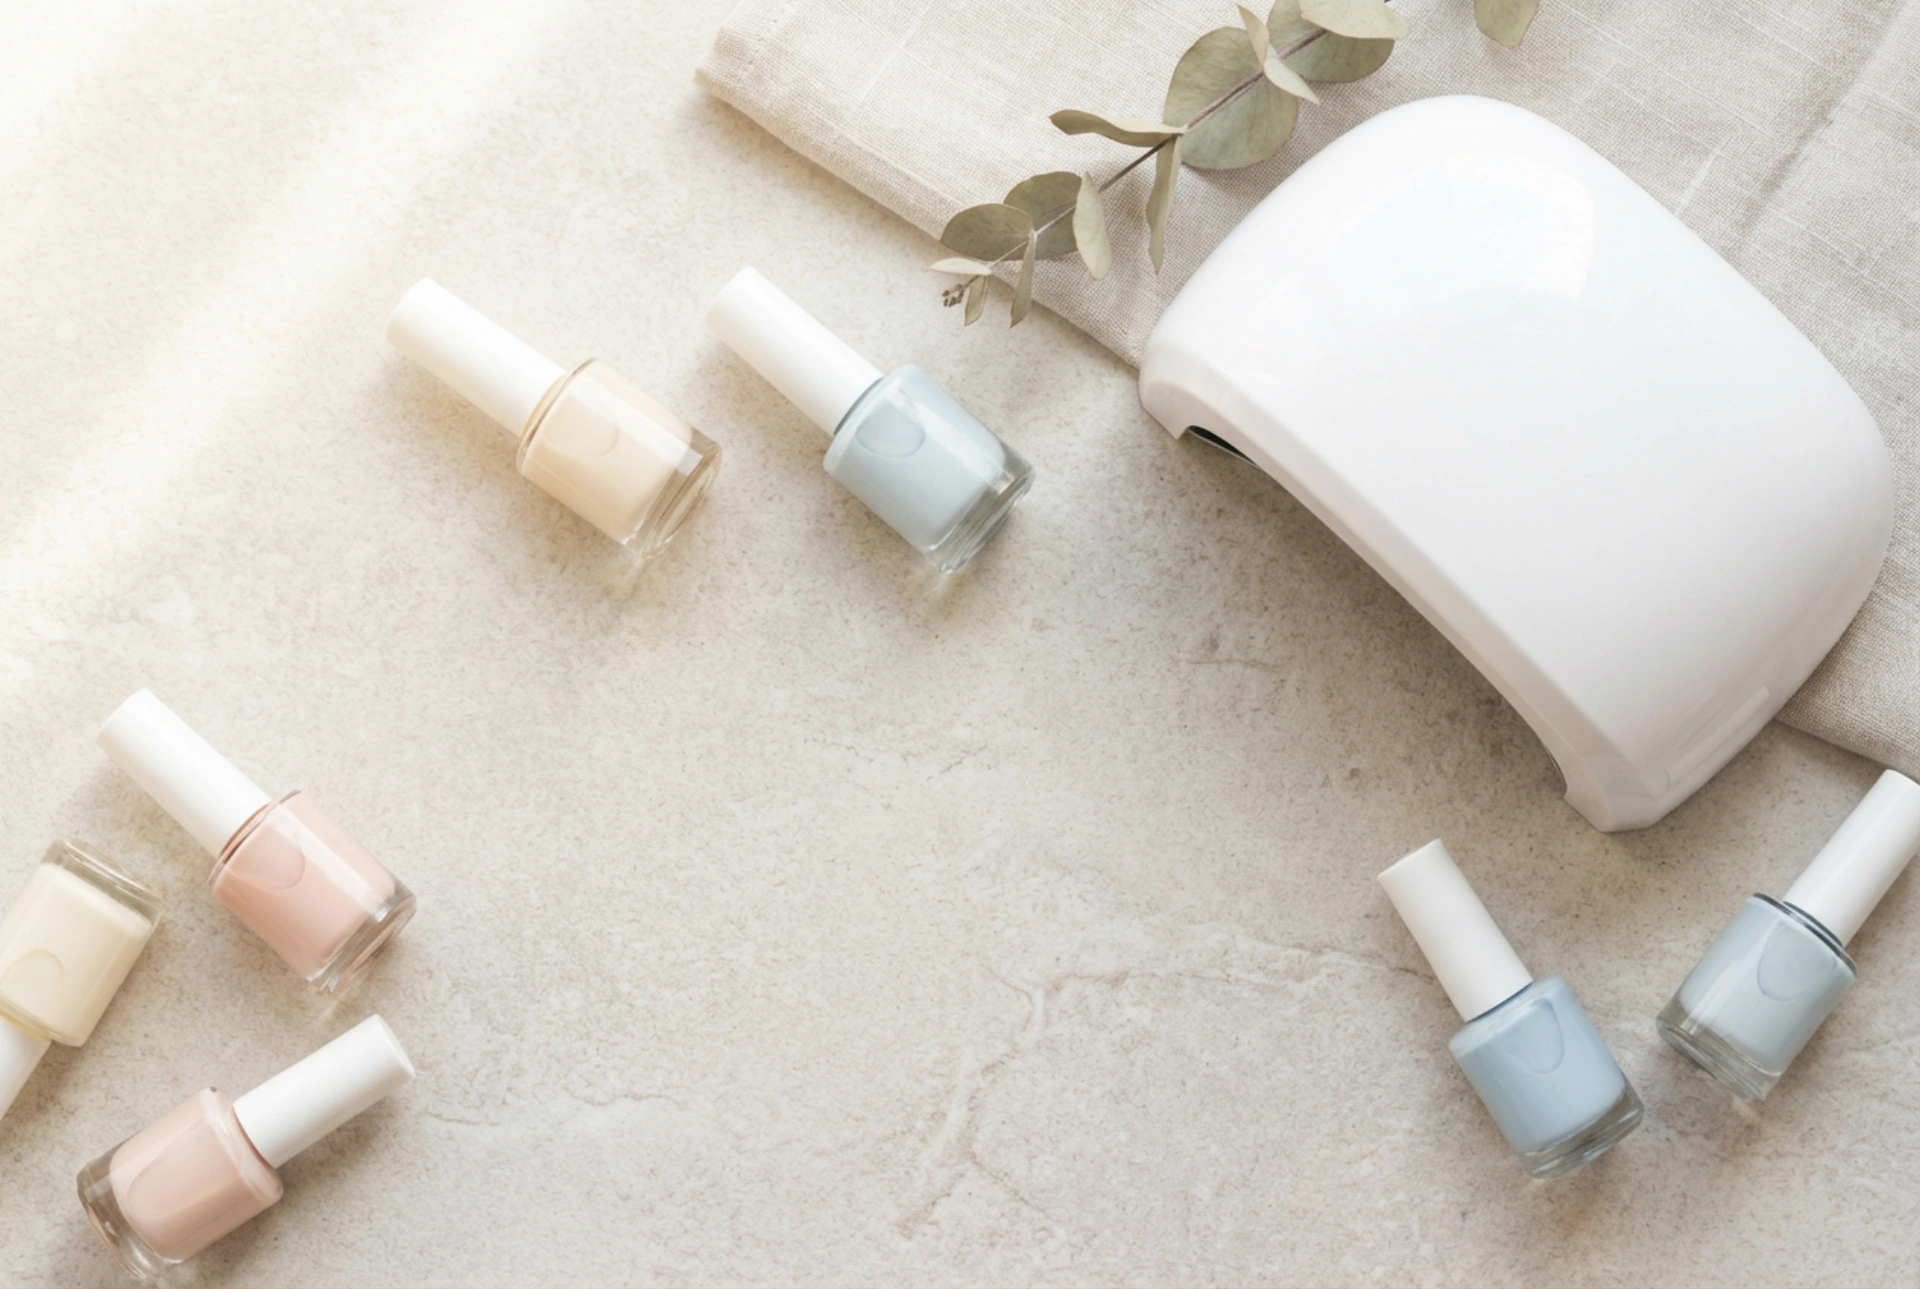
Set up in a well-lit, well-ventilated area on a flat, stable surface. Protect your surface with a towel. You will need the following items:
- A nail file (180/240 grit is a good choice)
- A buffer block
- A wooden or metal cuticle pusher
- Lint-free wipes
- Nail cleaner/degreaser solution
- A UV/LED lamp
- Hybrid base coat
- Your chosen hybrid colour polish
- Hybrid top coat (standard or 'no-wipe')
- Cuticle oil
Shaping and Preparing the Nail Plate
Start with clean, dry hands. First, gently file your nails to your desired shape, whether square, round, or almond. Always file in one direction rather than sawing back and forth, as this helps prevent the nail from splitting. Once you are happy with the shape, take your buffer block and very gently buff the entire surface of each nail. The goal is not to thin the nail, but simply to remove the natural shine. This creates a slightly rougher surface for the base coat to adhere to, which is crucial for longevity. After buffing, use a lint-free wipe soaked in nail cleaner to thoroughly wipe down each nail, removing all dust and natural oils.
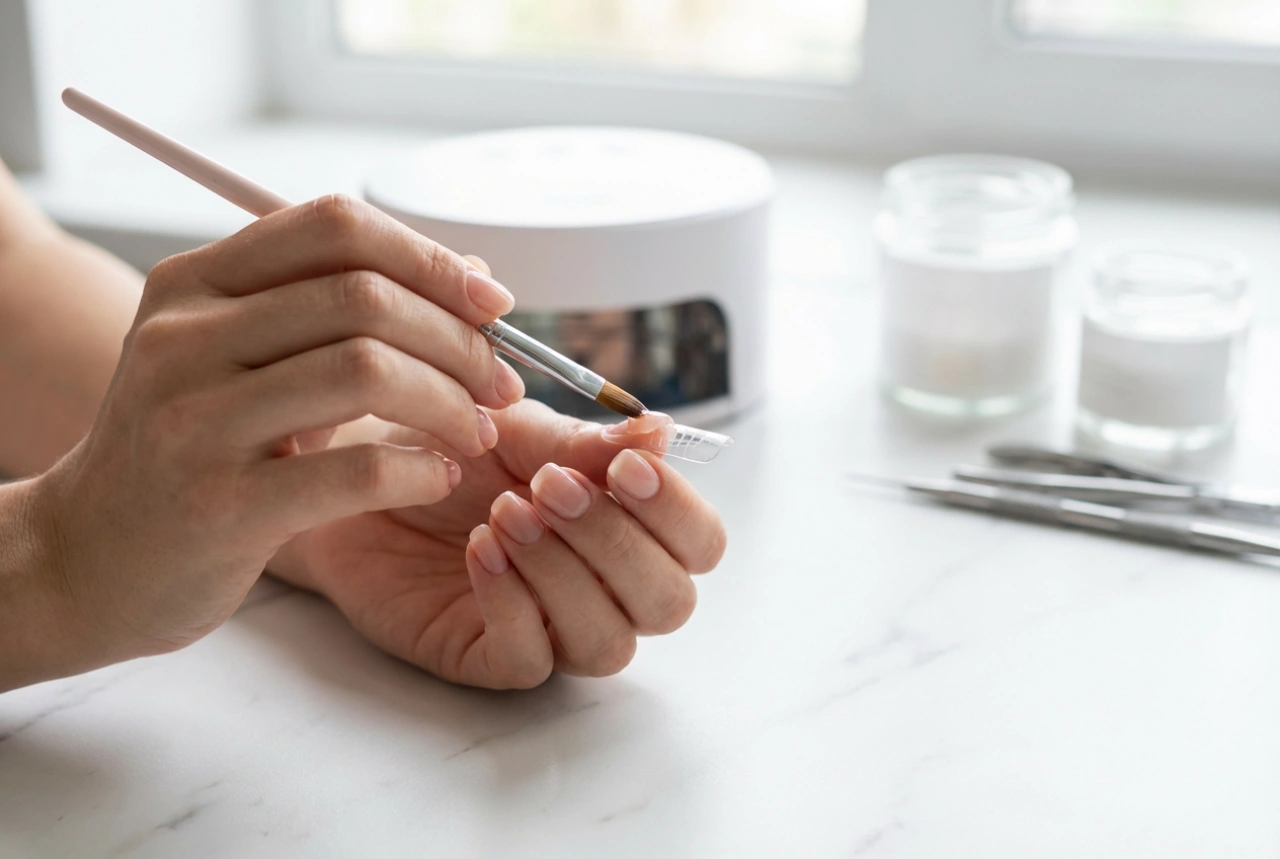
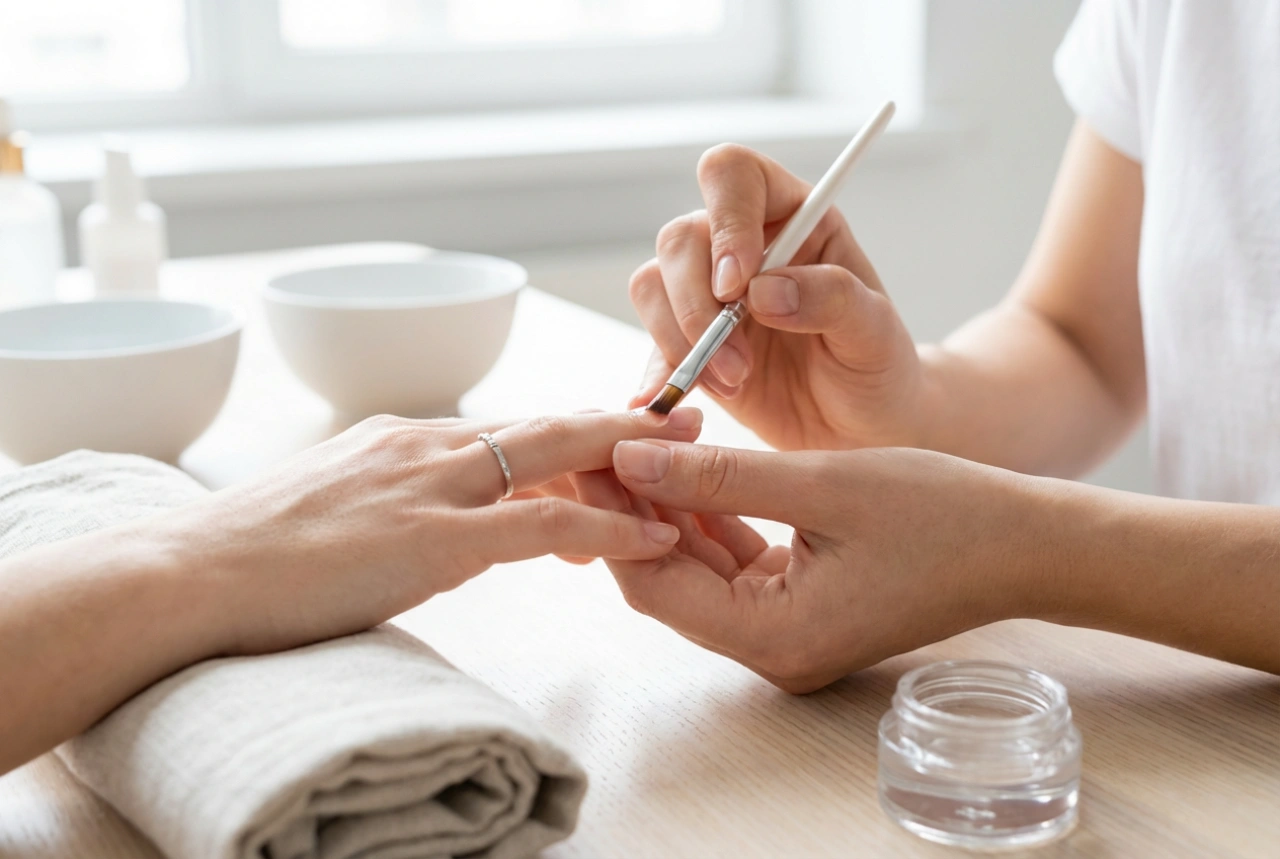
The Application Process: A Step-by-Step Guide
With your nails perfectly prepped, it's time for the application. The key here is to apply thin, even coats. Thick layers of hybrid polish do not cure properly and can lead to a wrinkled appearance and poor adhesion.
Step 1: The Essential Base Coat
Apply a very thin layer of the base coat to one hand. Be precise, ensuring you cover the entire nail plate but avoid touching your skin or cuticles. If you do get any on your skin, clean it off with a wooden stick or a small brush dipped in cleaner before curing. A critical technique is to 'cap the free edge' by running the brush along the very tip of your nail. This seals the polish and helps prevent chipping. Cure the hand under your UV/LED lamp according to the manufacturer's instructions (typically 30-60 seconds for LED or 2 minutes for UV).
Step 2: Applying the Colour
Now, apply your first thin coat of coloured hybrid polish, using the same technique as the base coat. Keep it thin and avoid the skin. Cap the free edge. Cure this layer under the lamp. The first coat may look a little sheer or streaky – this is completely normal. Apply a second thin coat of colour, which should provide full, even coverage. Again, be precise, cap the edge, and cure thoroughly. For some lighter or pastel shades, a third thin coat may be necessary for perfect opacity.
Step 3: Sealing with the Top Coat
The final layer is the top coat, which protects the colour and provides that signature high-gloss shine. Apply it just as you did the base and colour coats, ensuring an even layer that covers the entire nail and caps the free edge. Pay close attention to ensure it doesn't run into the cuticles. Cure this final layer for the recommended time, which is sometimes slightly longer than for the colour coats to ensure a hard, durable finish.
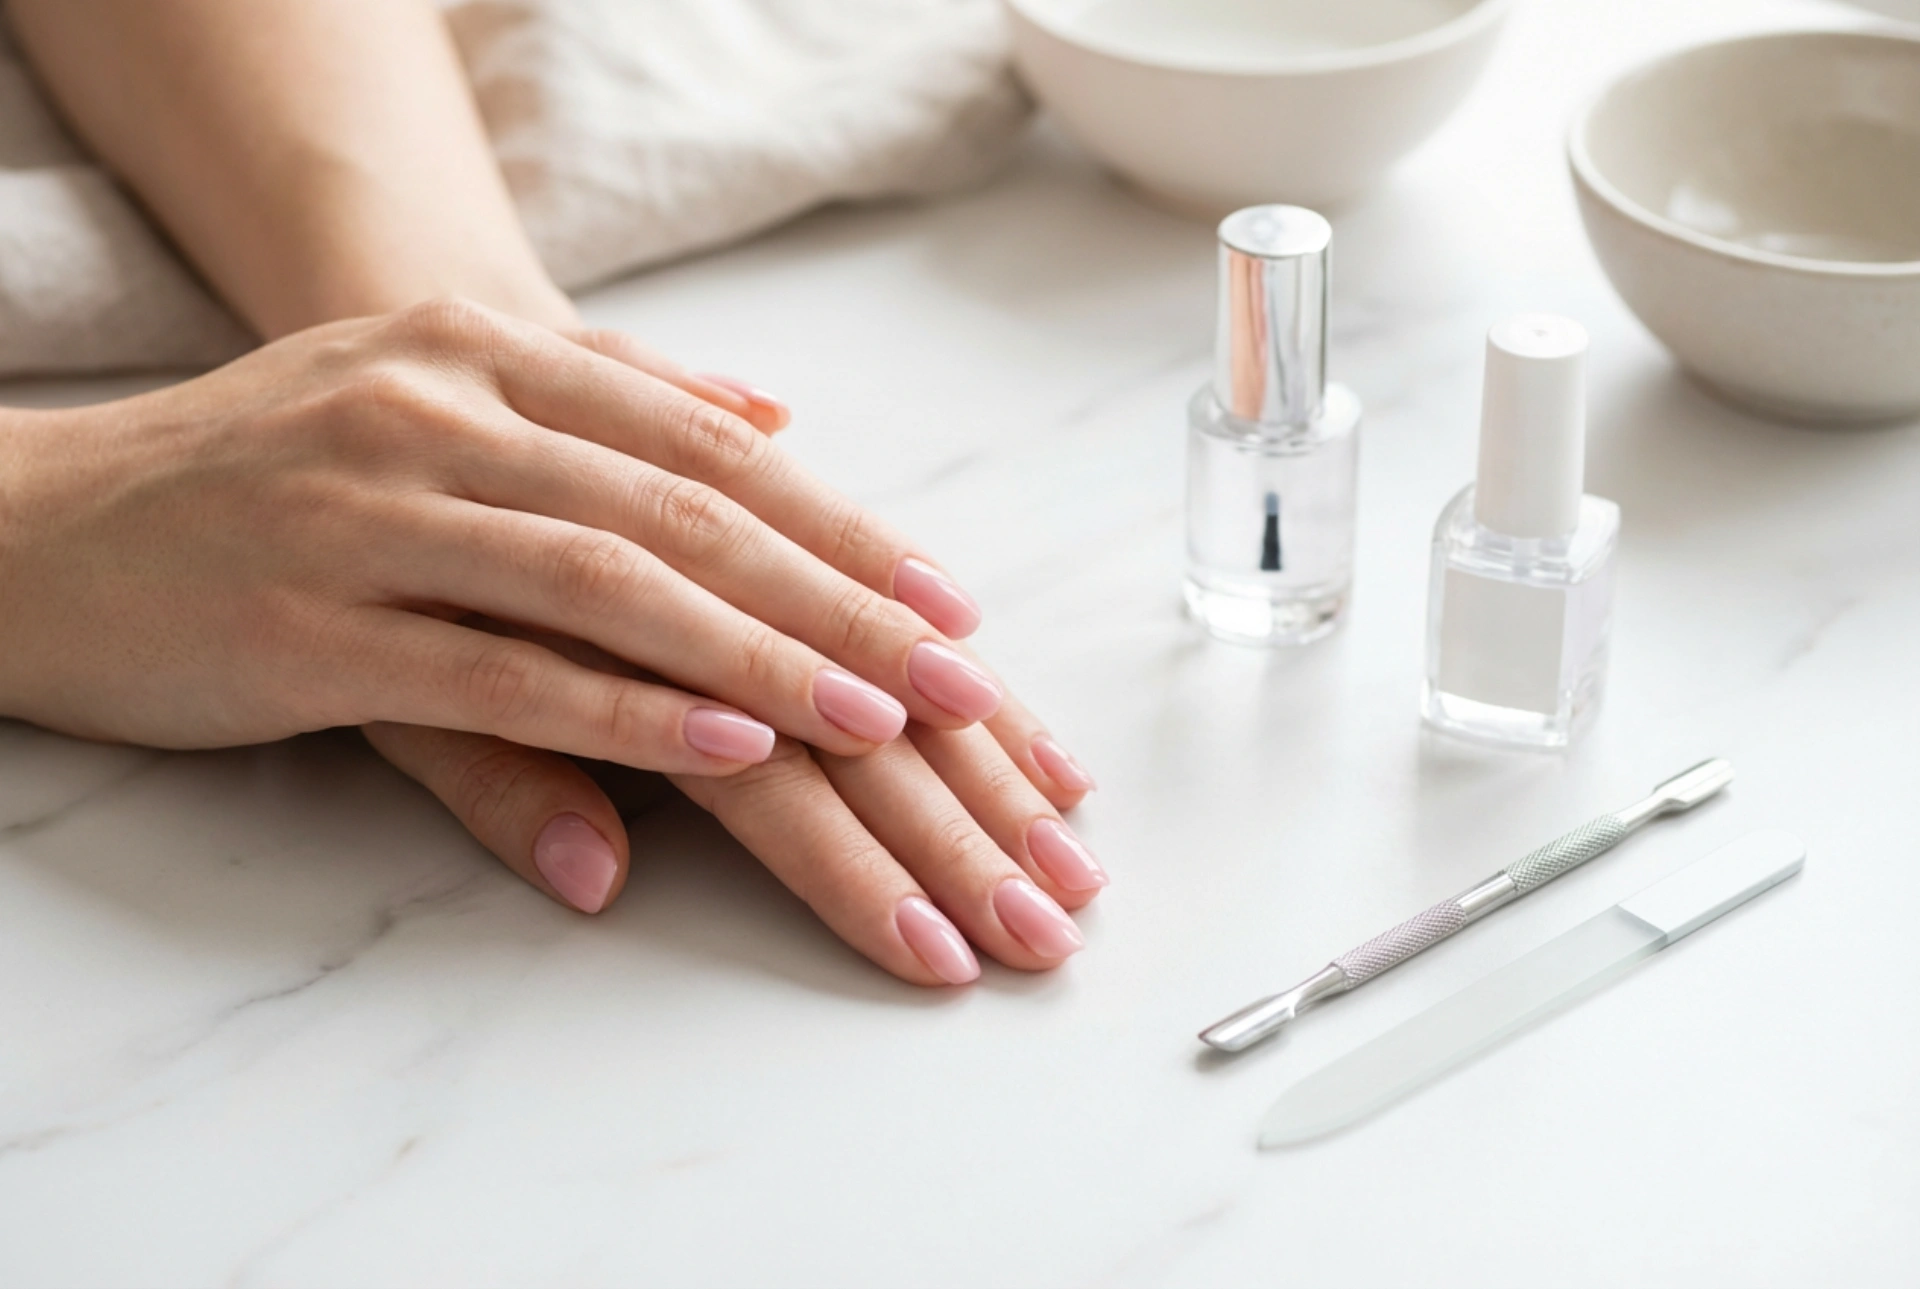
Finishing Touches and Aftercare
Once your top coat is cured, your manicure is almost complete. If you used a standard top coat, it will have a sticky 'inhibition layer'. Take a lint-free wipe with some nail cleaner and wipe each nail firmly to remove this sticky residue and reveal the shine. If you used a 'no-wipe' top coat, you can skip this step. To finish, apply a drop of cuticle oil to the skin around each nail and massage it in. This rehydrates the skin after the process and gives your manicure a professional, cared-for look. Follow up with a good hand cream.
Safe Removal for Healthy Nails
A hybrid manicure should never be peeled or picked off, as this can severely damage your natural nail plate. Proper removal is essential for maintaining nail health. The process is straightforward:
- Gently file the shiny surface of the top coat on each nail. This breaks the seal and allows the remover to penetrate.
- Soak a small piece of a cotton pad in a remover specifically designed for hybrid or gel polishes.
- Place the soaked cotton on the nail and wrap the fingertip securely in a small piece of aluminium foil.
- Wait for 10-15 minutes. You may feel a slight warming sensation.
- Unwrap one finger. The polish should look softened and lifted. Gently push it off with a wooden cuticle stick. If it doesn't come off easily, re-wrap and wait a few more minutes.
- Once all the polish is removed, lightly buff the nail surface and apply cuticle oil and hand cream to rehydrate.