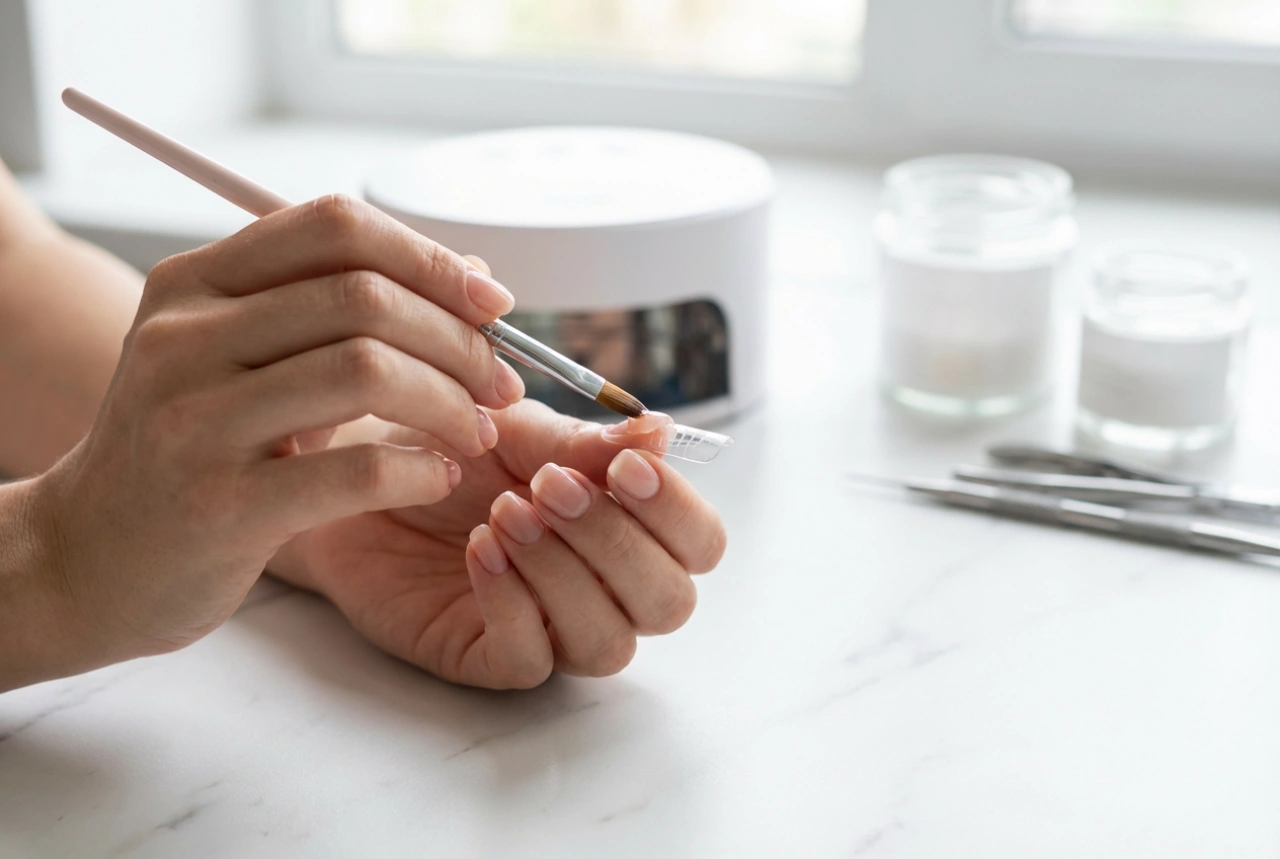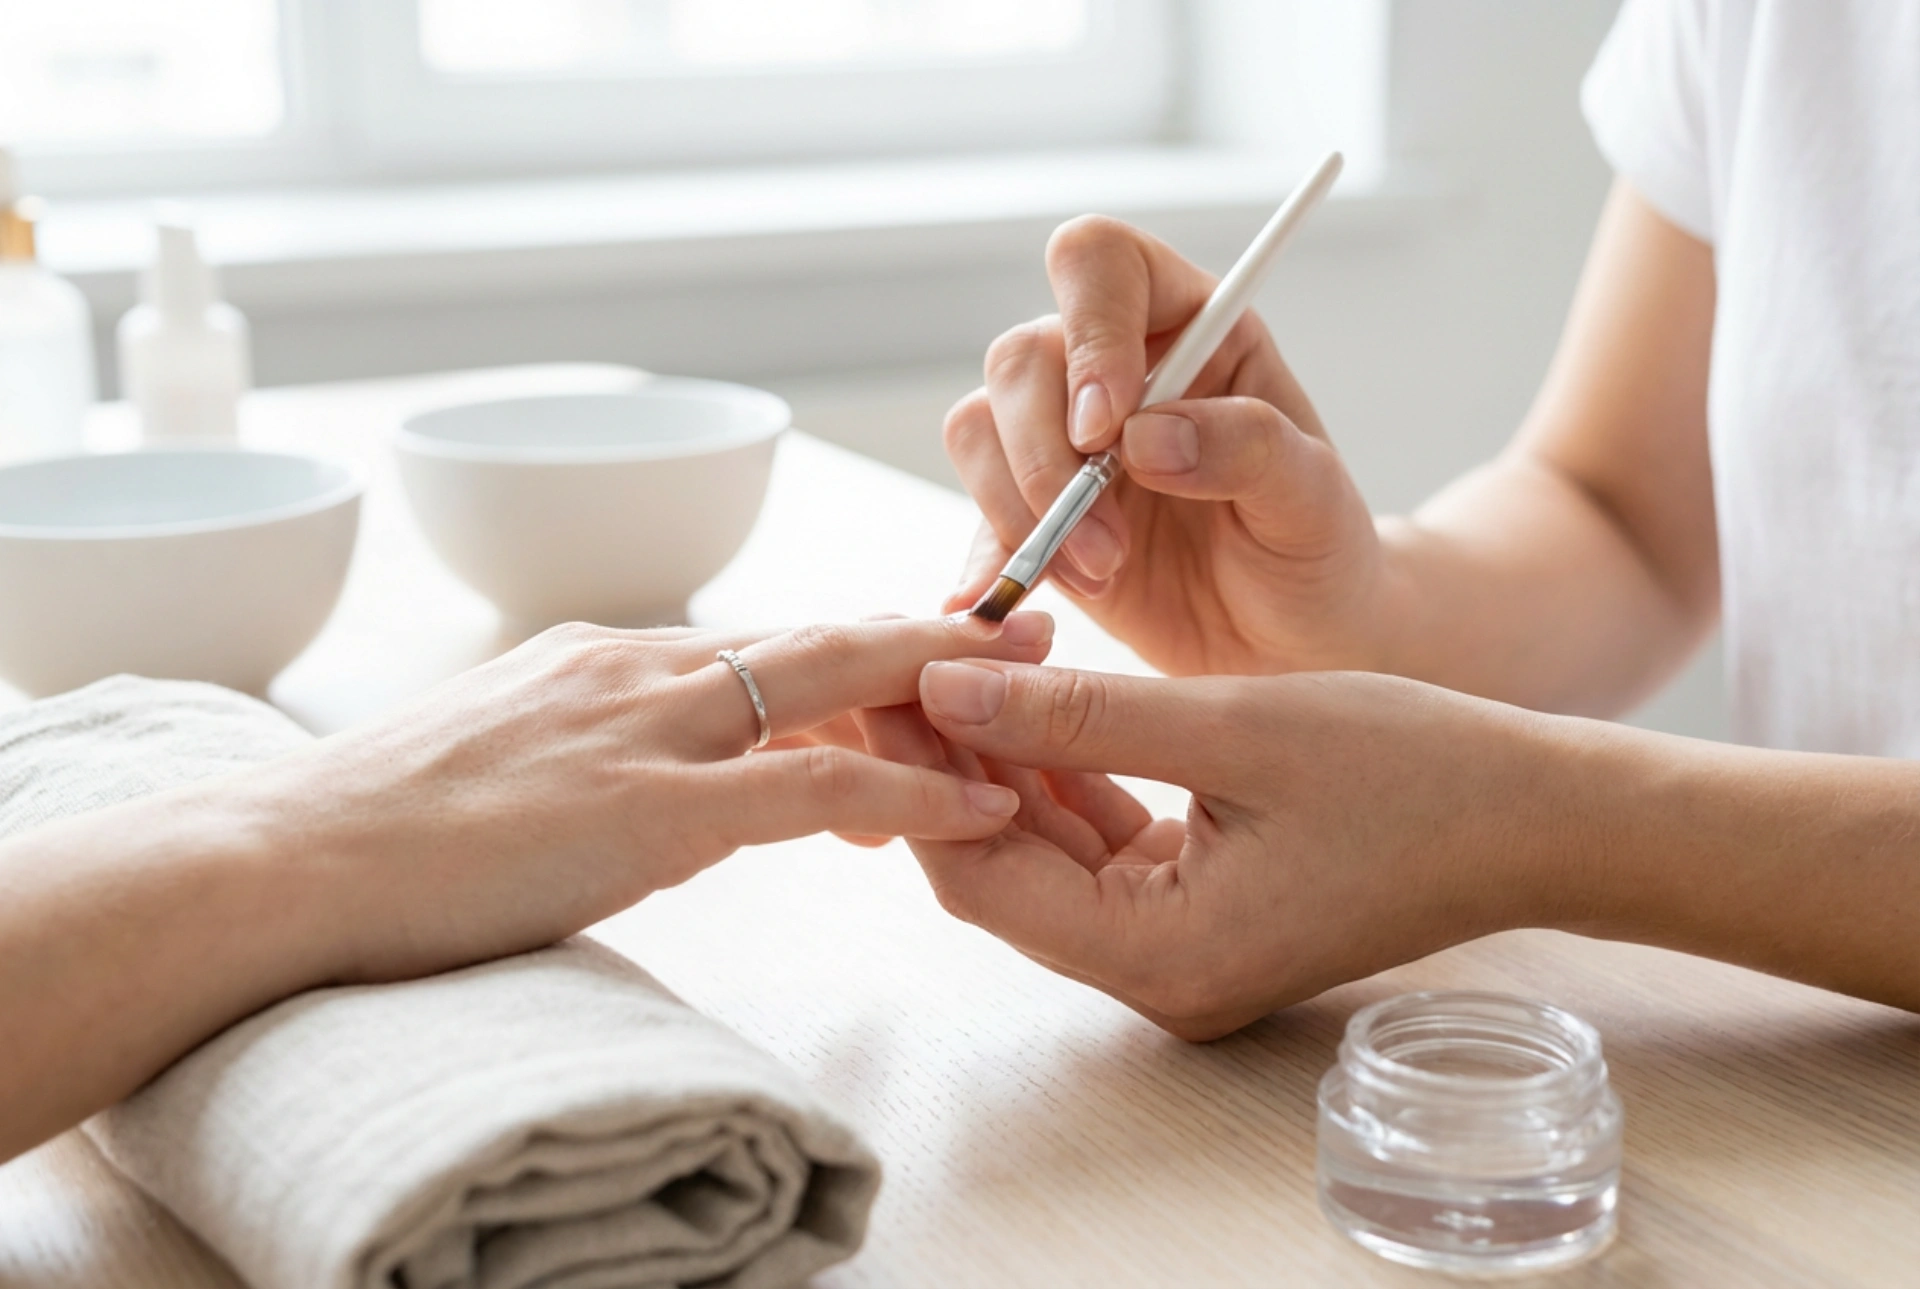


Working with a thick, viscous nail gel can be transformative for creating strong, structured nail enhancements. As seen in the delicate process of applying a clear, glossy bead of gel, control is paramount. Unlike thinner formulas that can run into the sidewalls, thicker gels stay where you put them, giving you more time to create the perfect shape. However, this high viscosity also presents a unique set of challenges. This guide will walk you through the essential techniques for mastering product control, building a durable nail structure, and filing to a flawless finish.
What Defines a Thick Builder Gel?
Thick builder gels are characterised by their high viscosity, meaning they have a honey-like or even thicker consistency. This texture prevents the gel from running, making it an excellent choice for several specialised applications. While thinner gels are often used for simple overlays or as base layers, thick gels are the go-to for adding strength and shape.
Primary Uses and Benefits
The main advantage of a high-viscosity gel is the control it offers. This makes it ideal for:
- Building an Apex: The apex is the highest point of the nail enhancement, located at the stress area. A properly built apex provides strength and durability, preventing breaks. Thick gel holds its shape, allowing you to build this crucial structural element with precision.
- Creating Extensions: When sculpting nails using forms, a thick gel is invaluable. It will not seep under the form or flatten out, enabling you to build a strong, even free edge.
- Reinforcing Natural Nails: For individuals with thin or weak natural nails, a structured overlay with a thick gel can provide significant reinforcement and protection.
The slower-moving nature of the gel gives you ample time to manipulate it, making it a good option for intricate work once you are comfortable with the application technique.
Techniques for Flawless Application
The key to success with thick gel is mastering how you pick up and place the product. It is less about 'painting' and more about 'guiding' the gel into position. Temperature also plays a role; a warmer room will make the gel slightly more fluid, while a cooler environment will increase its viscosity.
The 'Floating' Method
Instead of applying pressure with your brush, which can create streaks and an uneven surface, you should aim to 'float' the gel over the nail. This involves using the surface tension of the gel to guide it.
- Pick Up a Bead: Dip your brush into the pot and gently scoop up a bead of gel. The size of the bead will depend on the length of the nail you are working on. It is often better to work with two smaller beads than one large, unmanageable one.
- Place the Bead: Gently place the bead onto the centre of the nail, slightly away from the cuticle area.
- Guide the Gel: Using the very tip of your brush, gently nudge and guide the gel towards the cuticle line, leaving a tiny, clean margin. Then, pull the bulk of the product down towards the free edge. Let the gel do most of the work.
- Use Gravity: To help create a natural-looking apex and a smooth surface, you can turn the finger upside down for a few seconds before curing. Gravity will pull the gel into a perfect dome shape, centring the bulk of the product and reducing your filing time later.
Building a Strong and Elegant Nail Shape
Once you are comfortable with controlling the product, you can focus on building the nail's architecture. A beautiful nail enhancement is not just about colour; its underlying structure is what ensures it looks elegant and lasts well.
Focus on the Apex and C-Curve
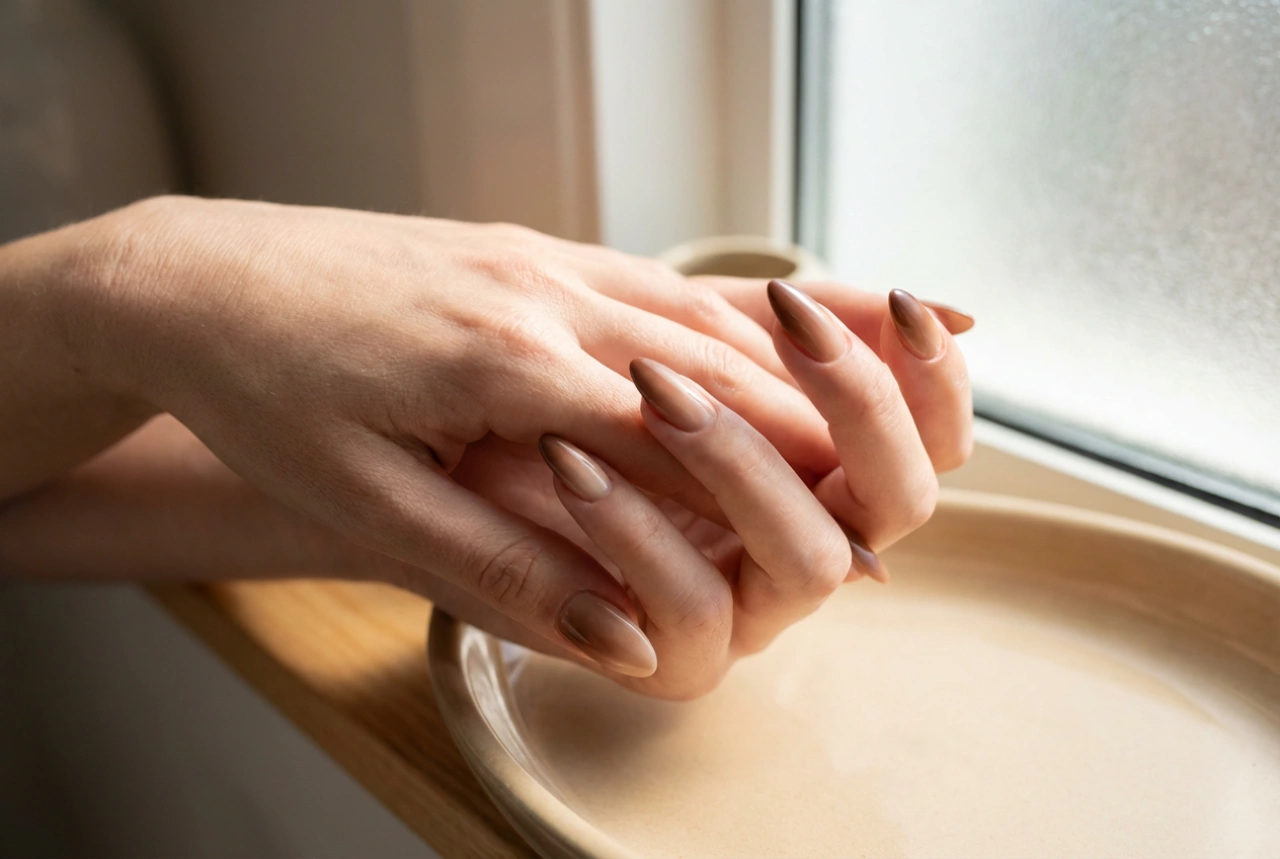
The apex is your nail's strength point. For most nail shapes, it should be located in the back third of the nail plate. When you look at the nail from the side, you should see a gentle, convex curve that tapers off towards the cuticle and the free edge. The 'C-Curve', visible when looking at the nail from the tip, adds to the structural integrity. Thick gel's ability to hold its shape is perfect for sculpting these two essential elements. When building the nail, apply the gel in a way that concentrates its thickness in the apex area while keeping the cuticle and side walls thin and refined.
Refining Your Work with a File
Even with a perfect application, some filing is usually necessary to refine the shape. Good application minimises filing time, but this final step is what brings the nail to perfection. After curing the gel, there will be a sticky or tacky 'inhibition layer'. This must be wiped away with a specialised cleanser before you begin filing.
A Systematic Approach to Filing
To avoid over-filing or creating an unbalanced shape, it helps to follow a system. Many technicians practise this sequence:
- Step 1: Sidewalls and Free Edge: First, perfect the overall shape. File the sidewalls to ensure they are straight and parallel. Then, shape the free edge (e.g., square, oval, almond).
- Step 2: The Upper Surface: Next, refine the surface of the nail. Use a file to smooth the area around the cuticle for a flush finish. Then, work on the main surface to ensure the curve of the apex is smooth and symmetrical.
- Step 3: Final Buffing: After the main shaping is complete, use a finer-grit buffer to smooth out any scratches left by the file. This creates a perfectly smooth canvas for your top coat or colour application.
Mastering the use of thick builder gel is a skill that takes practice, but the control and structural integrity it offers are well worth the effort. By focusing on precise product placement and strategic filing, you can create durable, beautifully shaped nails.