


A flawless, long-lasting manicure is a symbol of elegance and careful self-care. Achieving a salon-quality finish that withstands daily activities for weeks is possible at home, thanks to UV nail polishes. These special formulas offer incredible durability and shine, but their application requires specific knowledge and tools, like a dedicated lamp for curing. Understanding the process from start to finish is key to mastering the art of the perfect UV manicure.
What is UV Nail Polish and How Does It Work?
UV nail polish, often referred to as gel polish, is a type of nail lacquer that differs significantly from traditional air-drying polishes. Its unique formula contains photoinitiators, which are special molecules that react when exposed to ultraviolet (UV) or light-emitting diode (LED) light. When you place your nails under a specialised lamp, a chemical process called polymerisation occurs. The photoinitiators absorb the light energy and trigger the liquid components of the polish to link together, forming a strong, solid, and durable polymer network. This process, known as curing, is what gives UV polish its signature hardness, chip-resistance, and long-lasting glossy finish. Unlike regular polish that dries through evaporation, UV polish will remain wet until it is cured under the correct light source.
Preparing Your Nails for a UV Manicure
Proper preparation is the most critical step for ensuring the longevity and flawless appearance of your UV manicure. Rushing this stage can lead to lifting, chipping, and a shorter lifespan for your nail colour. Taking the time to prepare the nail plate correctly creates the perfect canvas for the polish to adhere to.
Nail Plate Preparation
Start by ensuring your nails are completely clean and dry. Remove any old polish thoroughly. Next, shape your nails to your desired length and form using a gentle file. Pay close attention to your cuticles; gently push them back using a cuticle pusher. It's important not to cut the living tissue, but you can carefully trim any non-living, loose skin. Finally, lightly and carefully buff the entire surface of the nail plate with a fine-grit buffer block. This removes the natural shine and creates a slightly textured surface, which significantly improves polish adhesion. After buffing, wipe away all dust with a lint-free wipe and a special nail cleanser solution to dehydrate and sanitise the nail plate.
Applying the Base Coat
The base coat is a non-negotiable step in a UV manicure. It serves two primary functions: it protects your natural nail from the colour pigments and, more importantly, it creates a strong adhesive bond between your nail and the colour polish. Apply a very thin, even layer of the UV base coat, making sure to cover the entire nail surface without touching the surrounding skin or cuticles. 'Capping' the free edge of the nail—running the brush along the tip—is a professional technique that helps to seal the polish and prevent chipping. Once applied, cure the base coat under your UV/LED lamp according to the manufacturer’s instructions, typically for 30-60 seconds.
Step-by-Step Application of UV Colour Polish
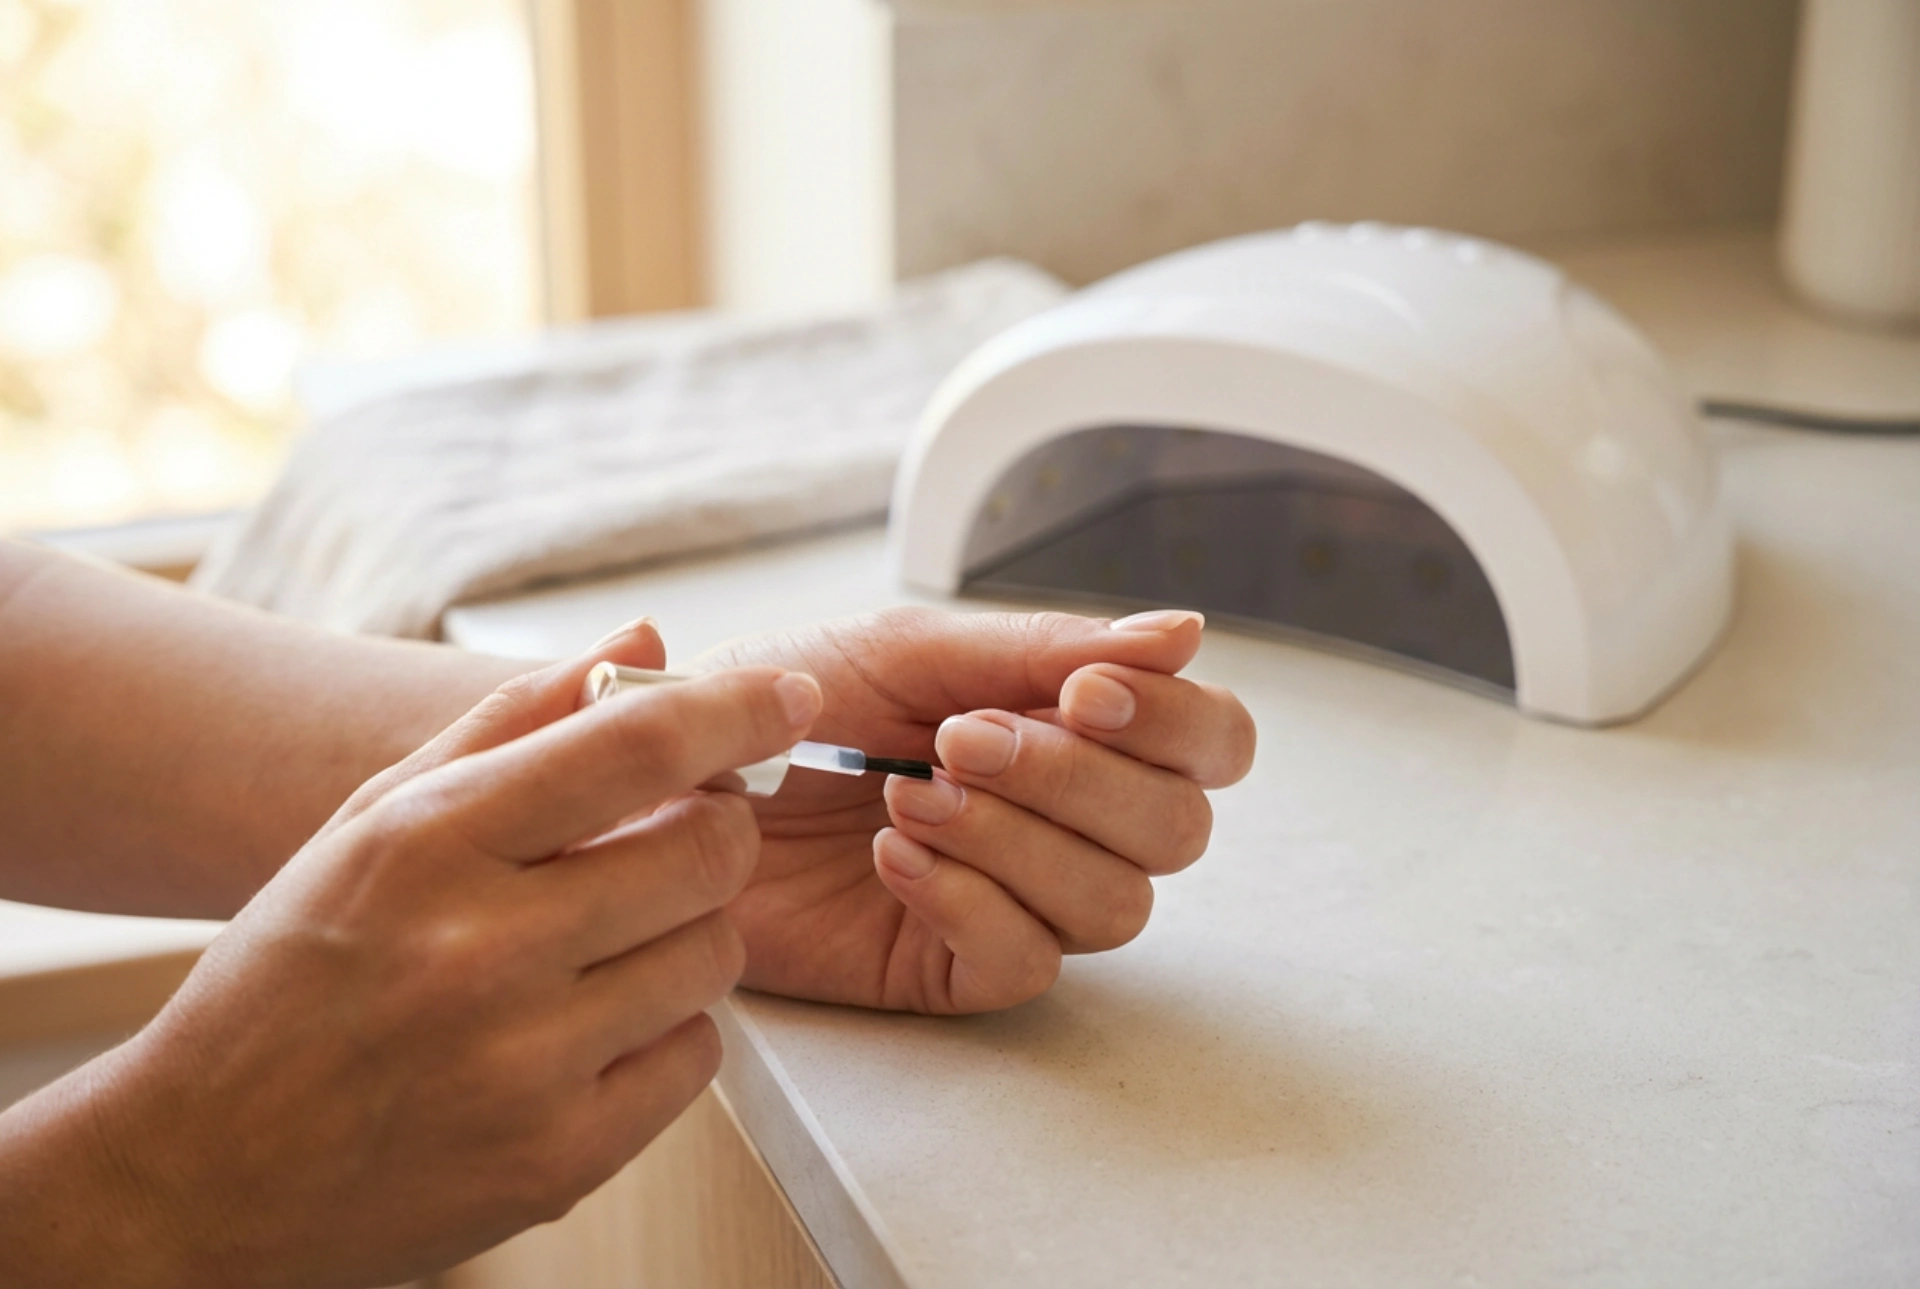
The key to applying UV colour polish is to work in thin, even layers. Thick layers do not cure properly, leading to a wrinkled appearance and a manicure that peels off easily. Apply the first thin coat of your chosen colour, starting near the cuticle and pulling the brush towards the tip of the nail. Be precise and avoid flooding the cuticle area or side walls of the nail. If you do get polish on your skin, clean it up with a small brush dipped in a cleanser solution before curing. Cure this first layer under the lamp for the recommended time. The polish will still feel slightly tacky after curing; this is the inhibition layer and is completely normal. It helps the next layer to adhere. Apply a second thin coat of colour for full opacity, repeating the same careful application and curing process.
The Final Touch: Applying and Curing the Top Coat
The top coat is what gives your manicure its stunning, high-gloss shine and robust protection against scratches and daily wear. After your final colour coat has been cured, apply a thin, even layer of a UV top coat. Just like with the base and colour coats, be sure to cover the entire nail and cap the free edge to seal everything in. Cure this final layer in the lamp, sometimes for a slightly longer duration than the colour coats, to ensure it is fully hardened. Most UV systems produce a sticky or tacky residue after the final cure. This inhibition layer should be removed by wiping the nail firmly with a lint-free pad soaked in a specialised surface cleanser. This final wipe reveals the smooth, hard, and brilliantly shiny finish underneath.
Tips for a Long-Lasting UV Manicure
To keep your manicure looking perfect for as long as possible, follow a few simple aftercare rules. Consistent care helps maintain the integrity of the polish and the health of your nails and cuticles.
- Always cap the free edge with every layer: base, colour, and top coat. This is the best defence against chipping.
- Apply cuticle oil daily. Hydrated cuticles not only look better but also help to prevent the polish from lifting around the edges.
- Avoid using your nails as tools to open cans, scrape things, or perform other harsh tasks. Treat them with care.
- Wear gloves when doing household chores, especially those involving prolonged water exposure or harsh cleaning chemicals.
- If you notice any minor lifting, do not pick or peel at it, as this can damage your natural nail. It's best to remove the polish correctly and reapply.


