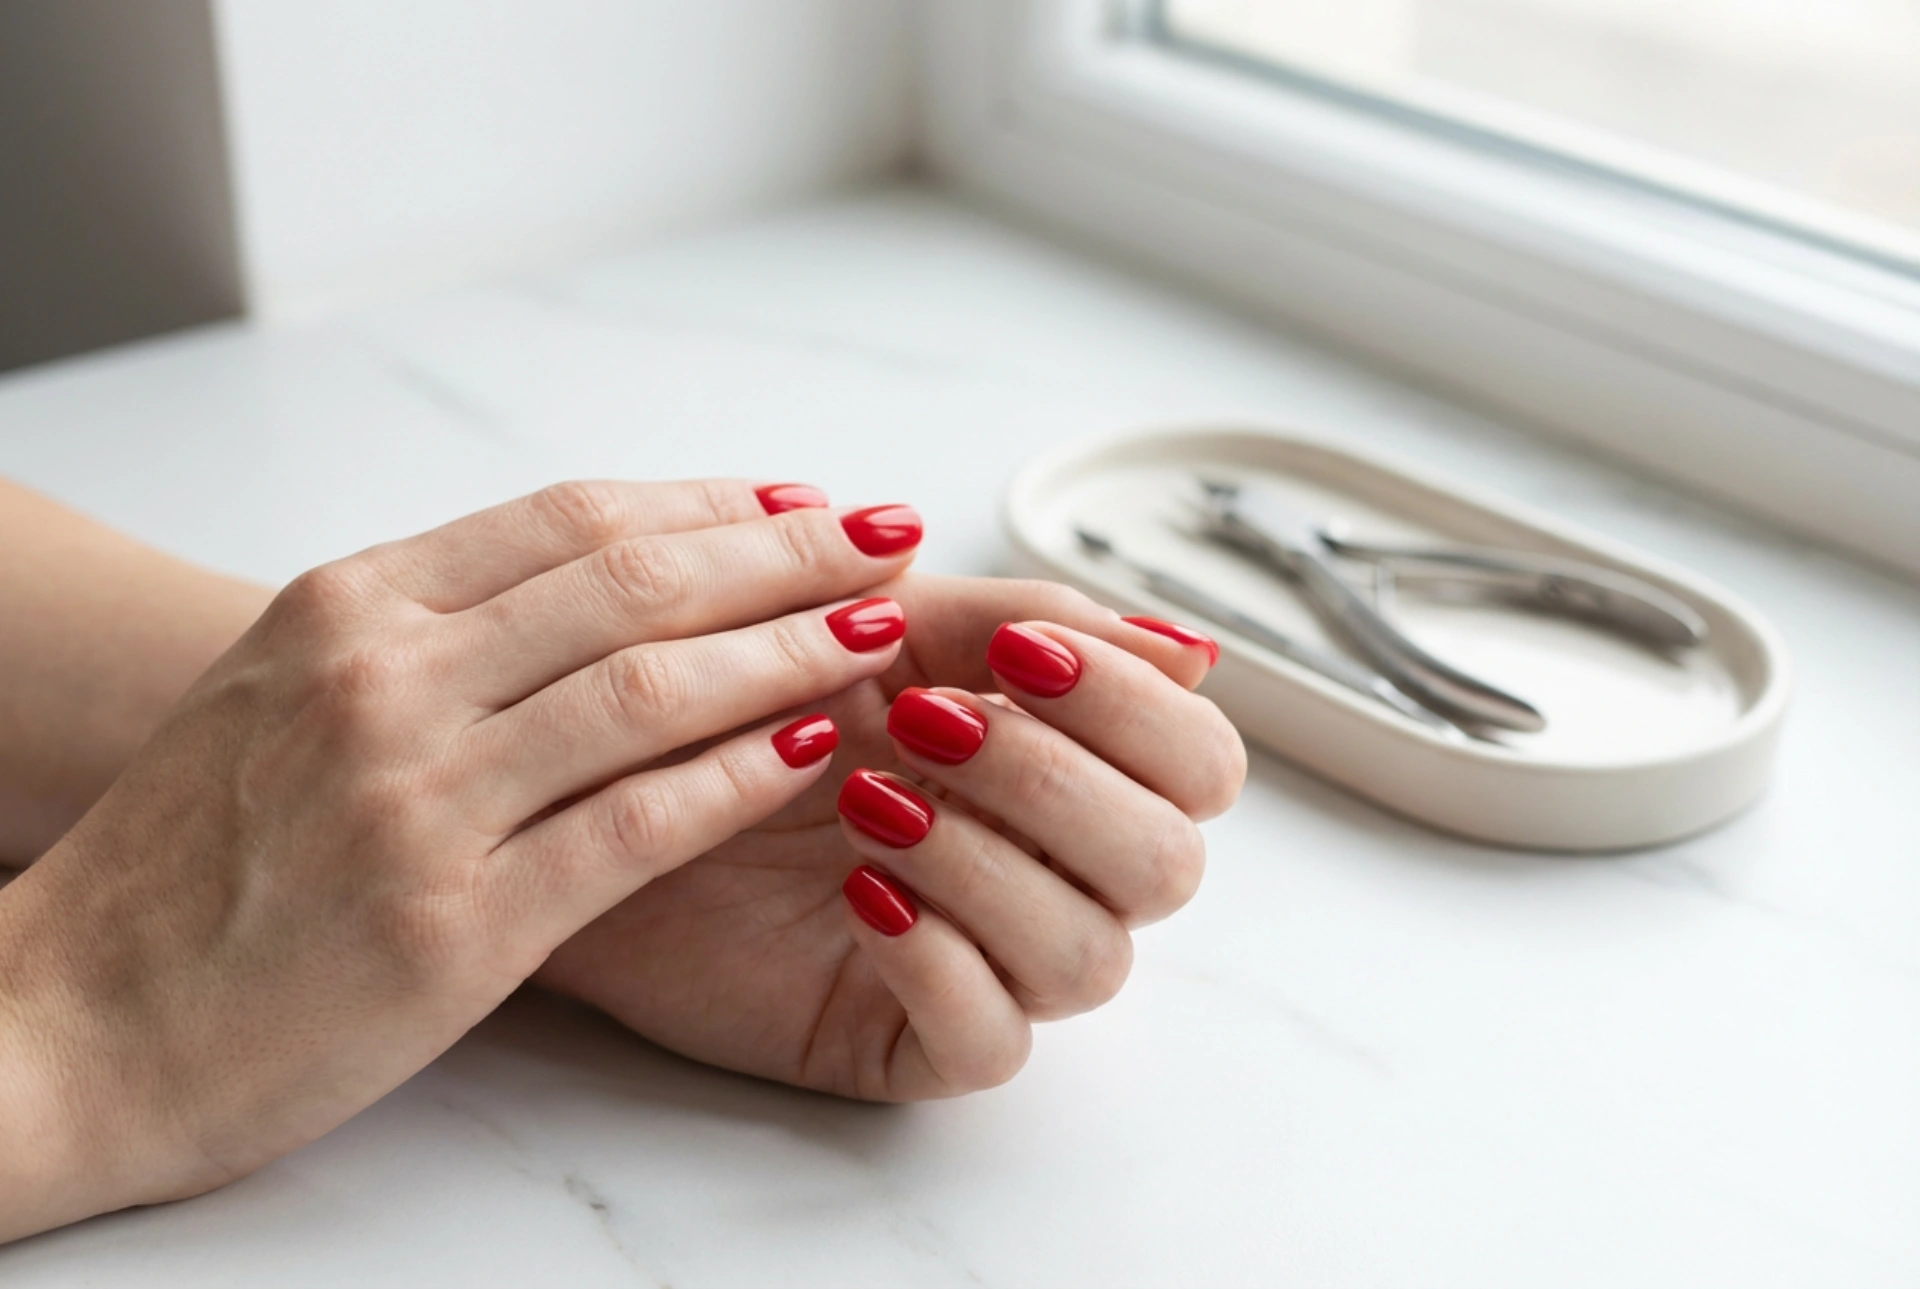


A classic red manicure is the epitome of elegance and confidence. The vibrant, glossy finish of red gel polish can make hands look chic and polished. However, achieving that perfect, salon-quality look at home comes with its challenges, chief among them being the dreaded flooded cuticles. A messy application not only looks unprofessional but also significantly shortens the life of your manicure. This guide will walk you through the essential steps to create a flawless and durable red gel manicure, ensuring your cuticles remain clean and your nails look impeccable.
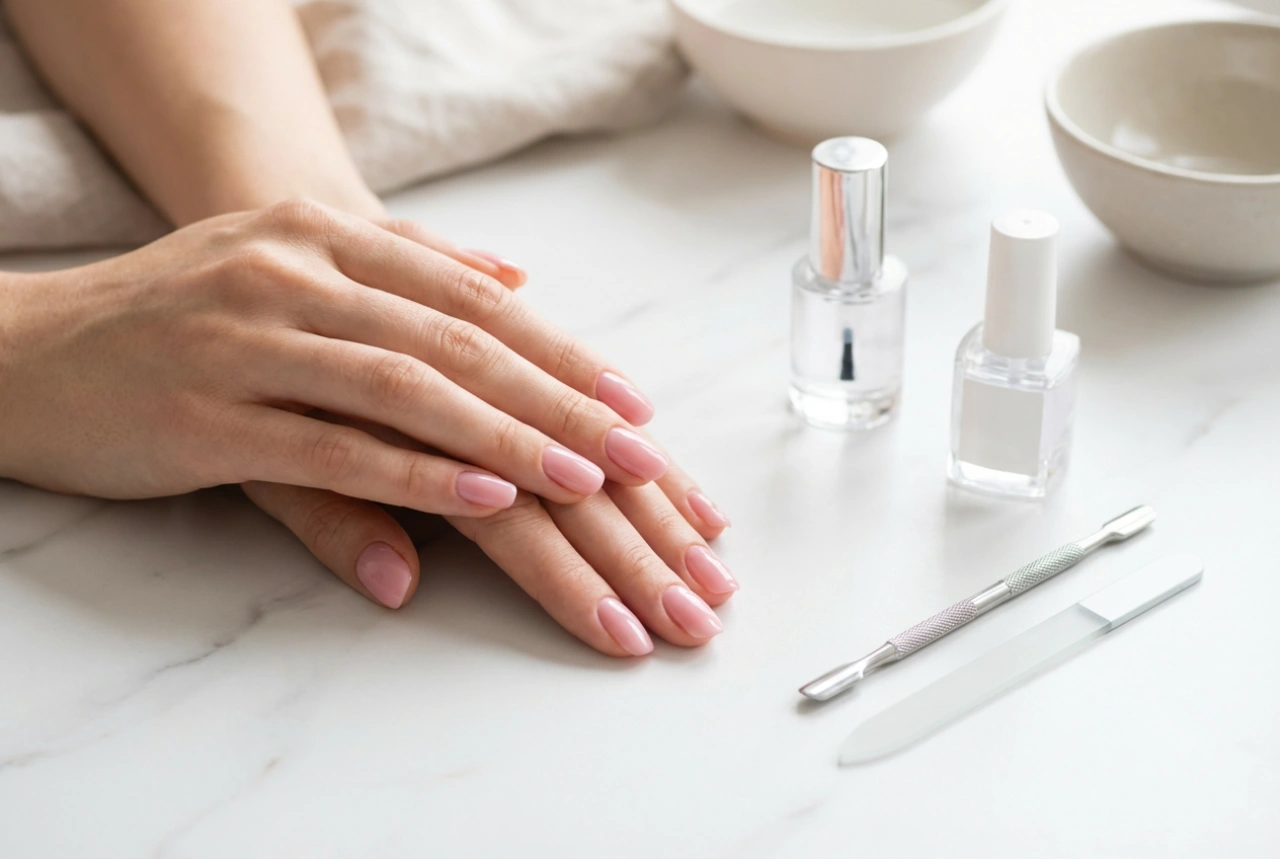
The Foundation: Preparing the Nail Plate and Cuticles
The secret to any long-lasting manicure lies in meticulous preparation. Before you even think about opening that bottle of red polish, you need to create the perfect canvas. Proper prep ensures the gel adheres correctly and prevents lifting.
Shaping and Cuticle Care
Start by gently shaping your nails with a file of appropriate grit. Whether you prefer a square, oval, or almond shape, aim for uniformity. Next, focus on the cuticles. It's crucial not to cut them, as this can lead to irritation. Instead, apply a cuticle remover solution and gently push them back using a wooden stick or a metal pusher. Carefully remove any non-living tissue from the nail plate. This step is vital because gel polish applied over cuticles will lift almost immediately.
Creating the Ideal Surface
Once your cuticles are neat, lightly buff the entire surface of each nail with a soft buffer block. The goal is not to thin the nail but to remove its natural shine. This creates a slightly rough texture that helps the base coat grip the nail plate. After buffing, it's essential to remove all dust and oils. Use a lint-free wipe soaked in a nail cleaner or isopropyl alcohol to thoroughly dehydrate and cleanse the nail plate. From this point on, avoid touching your nails with your fingers to prevent transferring oils back onto the surface.
The Secret to a Clean Application: Working Around the Cuticles
Applying a bold colour like red requires precision. The key is to work in thin, controlled layers and to maintain a tiny, almost invisible gap between the polish and the skin.
The Thin Layers Technique
Thick layers of gel polish are difficult to control, cure improperly, and are more likely to run into the cuticle area. Always apply the polish in very thin coats. The first layer of red may look sheer or even streaky – this is perfectly normal. It’s better to build up opacity with two or three thin coats than to apply one thick, unmanageable one. When applying, start your brush stroke a few millimetres away from the cuticle, gently push the colour up towards the cuticle line without touching it, and then pull the brush down towards the tip of the nail.
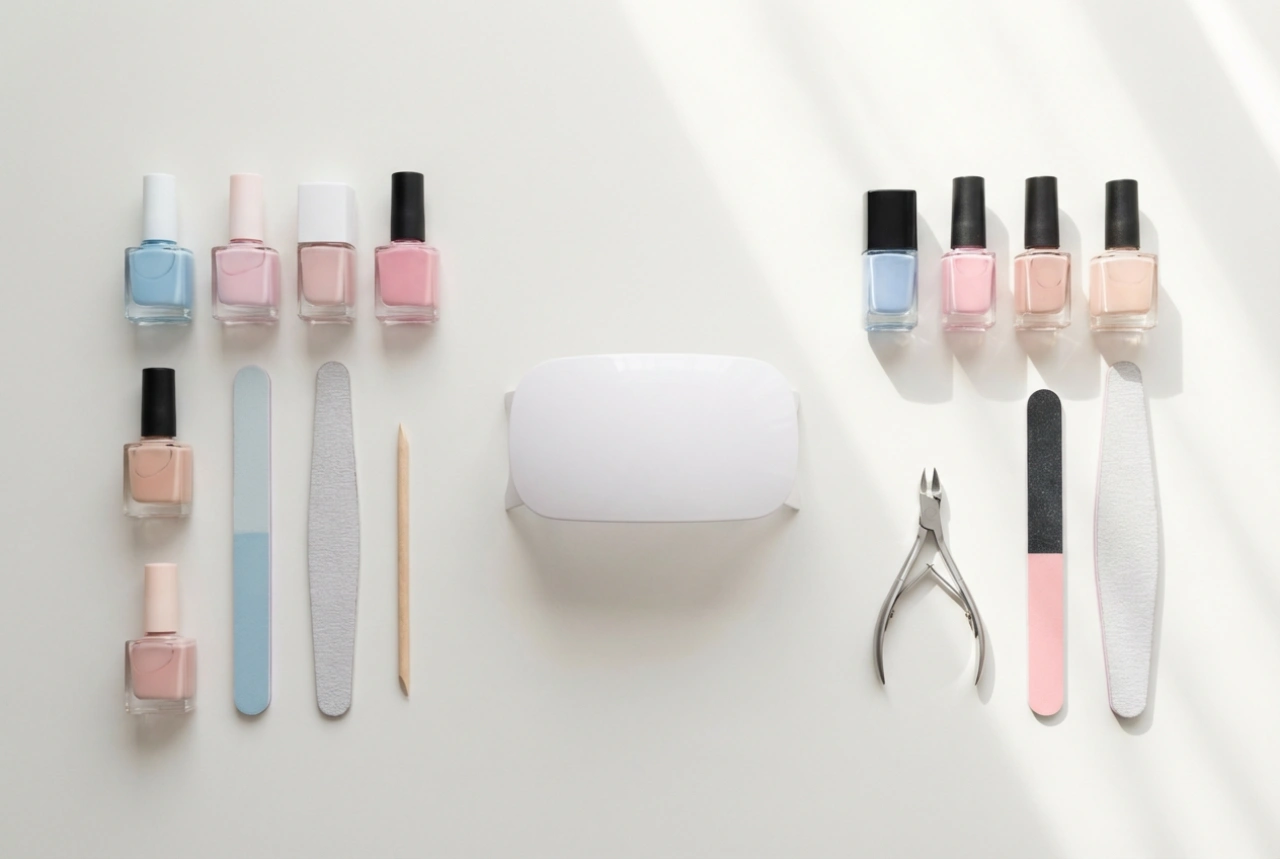
Using the Right Tools for Precision
While the brush that comes in the bottle can work, for ultimate precision around the cuticle, consider using a separate, ultra-thin nail art brush. You can place a small drop of polish on a palette and use the thin brush to outline the cuticle area perfectly before filling in the rest of the nail with the bottle brush. This gives you maximum control and helps create a clean, rounded line.
Step-by-Step Red Gel Manicure
Follow these steps for a perfect application from start to finish. Remember to cure each layer of gel under a UV/LED lamp according to the manufacturer's instructions.
- Step 1: Preparation. Complete all the prep steps: shape the nails, manage the cuticles, buff the nail plate, and cleanse with a cleaner.
- Step 2: Base Coat. Apply a very thin layer of gel base coat. Be sure to leave a tiny margin around the cuticles and side walls. Cap the free edge of the nail by running the brush along the tip. Cure.
- Step 3: First Colour Coat. Apply your first thin layer of red gel polish. Focus on creating a clean line near the cuticle. Don't worry about full opacity yet. Cure.
- Step 4: Second Colour Coat. Apply a second thin layer of red polish. This coat should provide full coverage and deepen the colour. Again, be precise around the cuticle area. Cure. If needed for full opacity, apply a third thin coat and cure.
- Step 5: Top Coat. Apply a layer of gel top coat to seal in the colour and provide a high-gloss shine. Make sure to cap the free edge to prevent chipping. Cure.
- Step 6: Final Cleanse. After the final cure, there will be a sticky inhibition layer on the nail. Wipe this off with a lint-free wipe and nail cleaner to reveal the hard, shiny finish.
What If You Do Flood the Cuticles? Quick Fixes
Mistakes happen, but the key is to correct them before curing. If you get any gel polish on your skin or cuticles, act immediately. Dip a clean, thin brush or a wooden cuticle stick in nail cleaner and carefully wipe away the excess polish. Ensure the line is clean and there is no product touching the skin. Never cure a nail if the gel is on the skin, as this will cause the manicure to lift and can cause skin sensitivities over time.
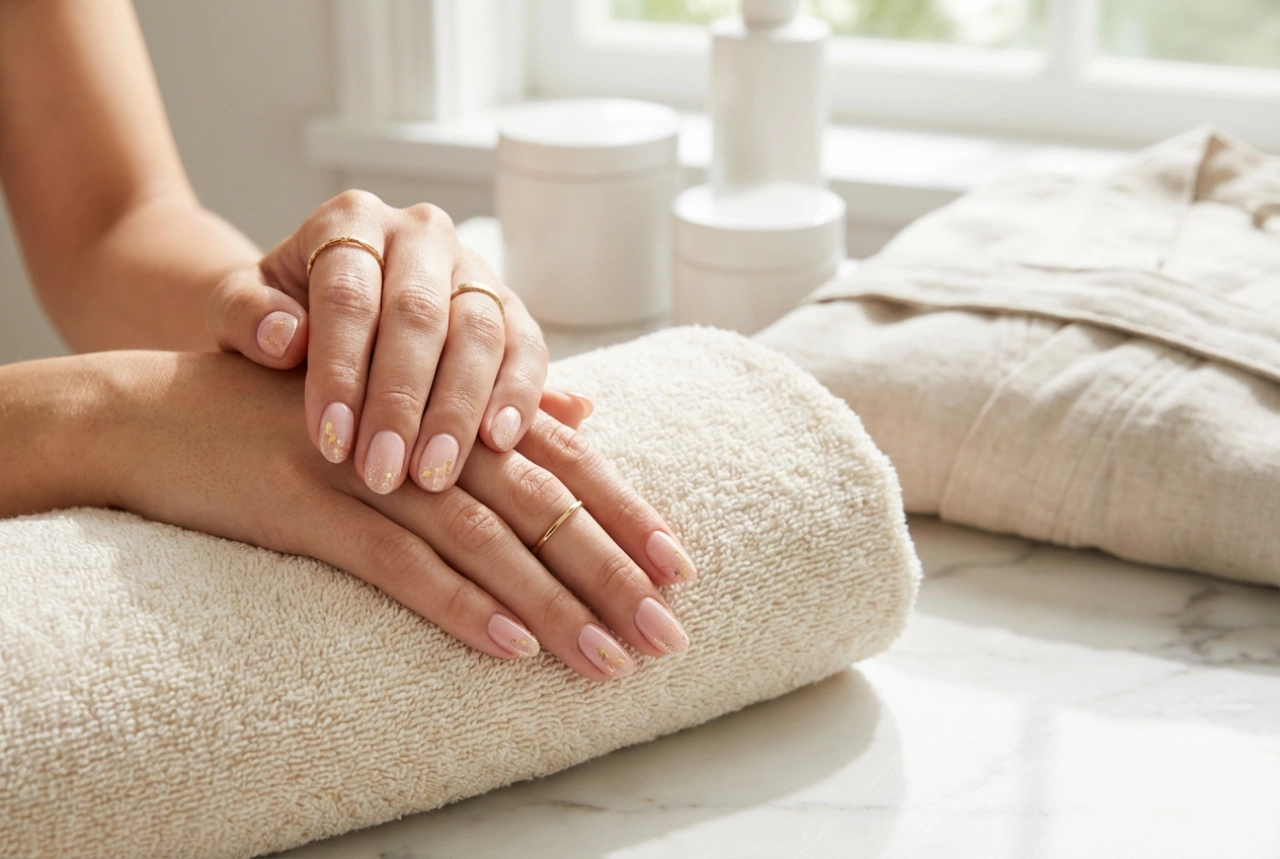
Finishing Touches for a Professional Look
Once your manicure is complete and the sticky layer has been removed, it's time for the final touch. Apply a nourishing cuticle oil to the skin around your nails. Gently massage it in. This not only rehydrates the skin after the use of cleansers but also gives your manicure a beautiful, healthy-looking frame. Regular use of cuticle oil and hand cream will keep your hands and nails in excellent condition, making your flawless red manicure stand out even more.