


Enhancing the eyes is a cornerstone of many beauty routines, and for decades, black false eyelashes have been the go-to choice for adding drama and definition. However, a softer, more understated option has been gaining popularity: brown false eyelashes. Perfect for those seeking a natural enhancement, brown lashes offer a subtle richness that beautifully defines the eyes without the intensity of black. They are an ideal choice for daytime wear, for individuals with fair hair and skin, or for anyone aiming for a sophisticated, 'less is more' approach to their makeup.
Why Choose Brown False Eyelashes?
The decision to switch from classic black to brown lashes can transform your entire makeup look. Brown lashes provide a gentler frame for the eyes, which can be particularly flattering. They blend more seamlessly with natural lashes, especially if yours are not naturally jet-black. This creates a fuller, longer look that appears incredibly authentic.
- A More Natural Appearance: The primary benefit is the subtlety. Brown lashes mimic the colour of many people's natural hairs more closely, avoiding the stark contrast that black can sometimes create.
- Ideal for Fair Complexions: Individuals with blonde, red, or light brown hair and fair skin often find that black lashes can look too harsh. Brown offers a harmonious alternative that complements their colouring beautifully.
- Perfect for Daytime and Minimalist Looks: For an everyday office look or a 'no-makeup' makeup style, brown lashes provide just enough definition to make the eyes pop without appearing overly done.
- Enhances Eye Colour: The warm tones in brown lashes can bring out the flecks of gold, green, and blue in the iris, making your natural eye colour appear more vibrant.
Choosing the Right Shade and Style
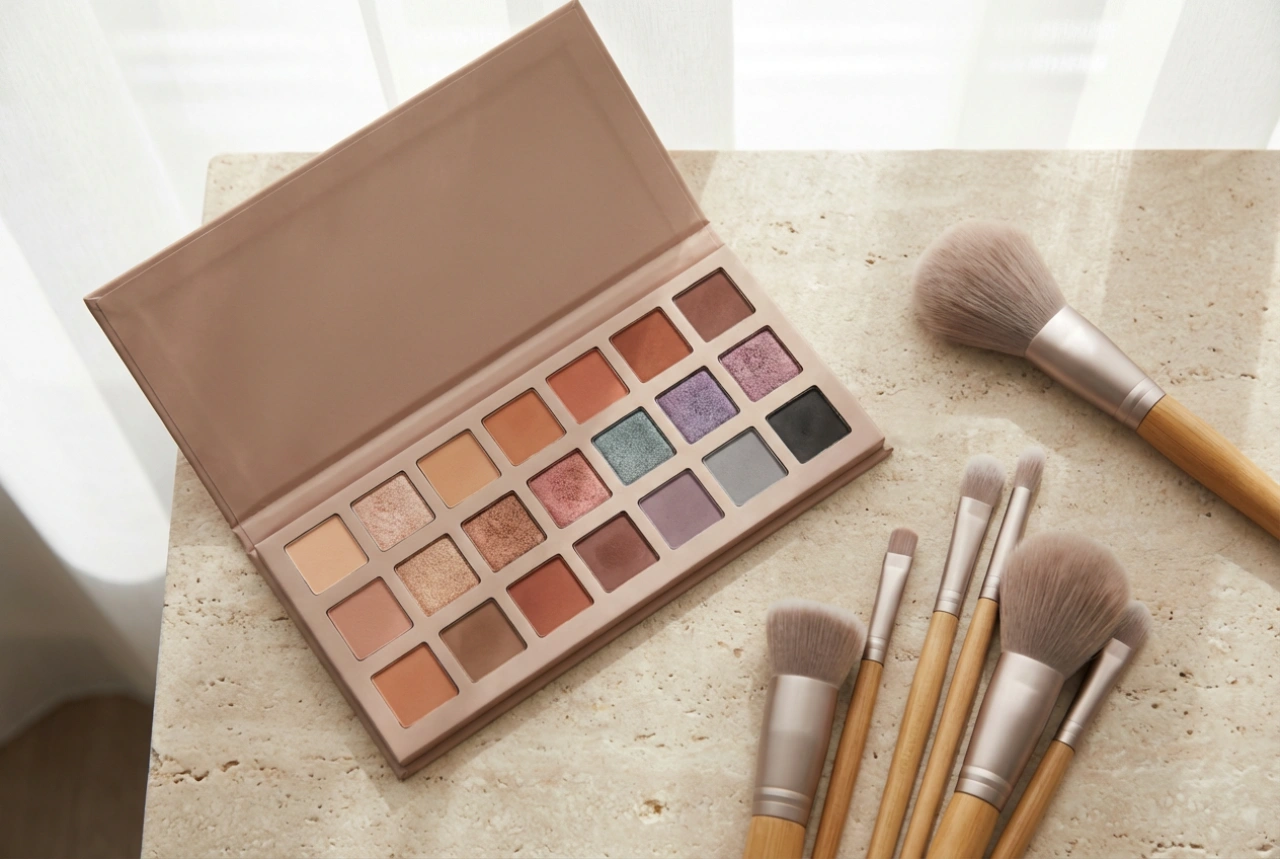
Not all brown lashes are created equal. They come in various shades and styles, allowing you to customise your look. Shades can range from a light, tawny brown to a deep, chocolatey hue. Lighter browns work well for the most natural effect, especially on very fair individuals, while darker browns offer more definition, acting as a bridge between light brown and black. When selecting a style, consider the occasion and your desired outcome. Wispy, separated lash styles provide a delicate, feathery effect, while denser strip lashes offer more volume. Individual or cluster lashes can be used to fill in sparse areas for a truly customised look.
Matching Lashes to You
To find your perfect pair, hold the lash strip near your eye in natural light. Consider your hair colour and eyebrow shade. The goal is to choose a shade that is either a close match or slightly darker than your natural hair for a cohesive look. For a more defined but still soft look, you could opt for a dark brown that's almost black. The length and curl pattern are also important; a shorter, less curled lash will look more natural, while a longer, C-curl or D-curl lash will provide a more noticeable lift.
A Step-by-Step Application Guide
Applying false eyelashes can seem intimidating, but with a little practice, it becomes a quick and easy process. Following these steps will help you achieve a seamless and long-lasting application.
Step 1: Preparation is Key
Start with clean, dry eyelids and lashes. If you plan to wear eyeshadow, apply it before the lashes. Take an eyelash curler and gently curl your natural lashes. This helps them blend with the false ones. You may apply a very thin coat of mascara to your natural lashes, which gives the false lashes a better 'shelf' to sit on.
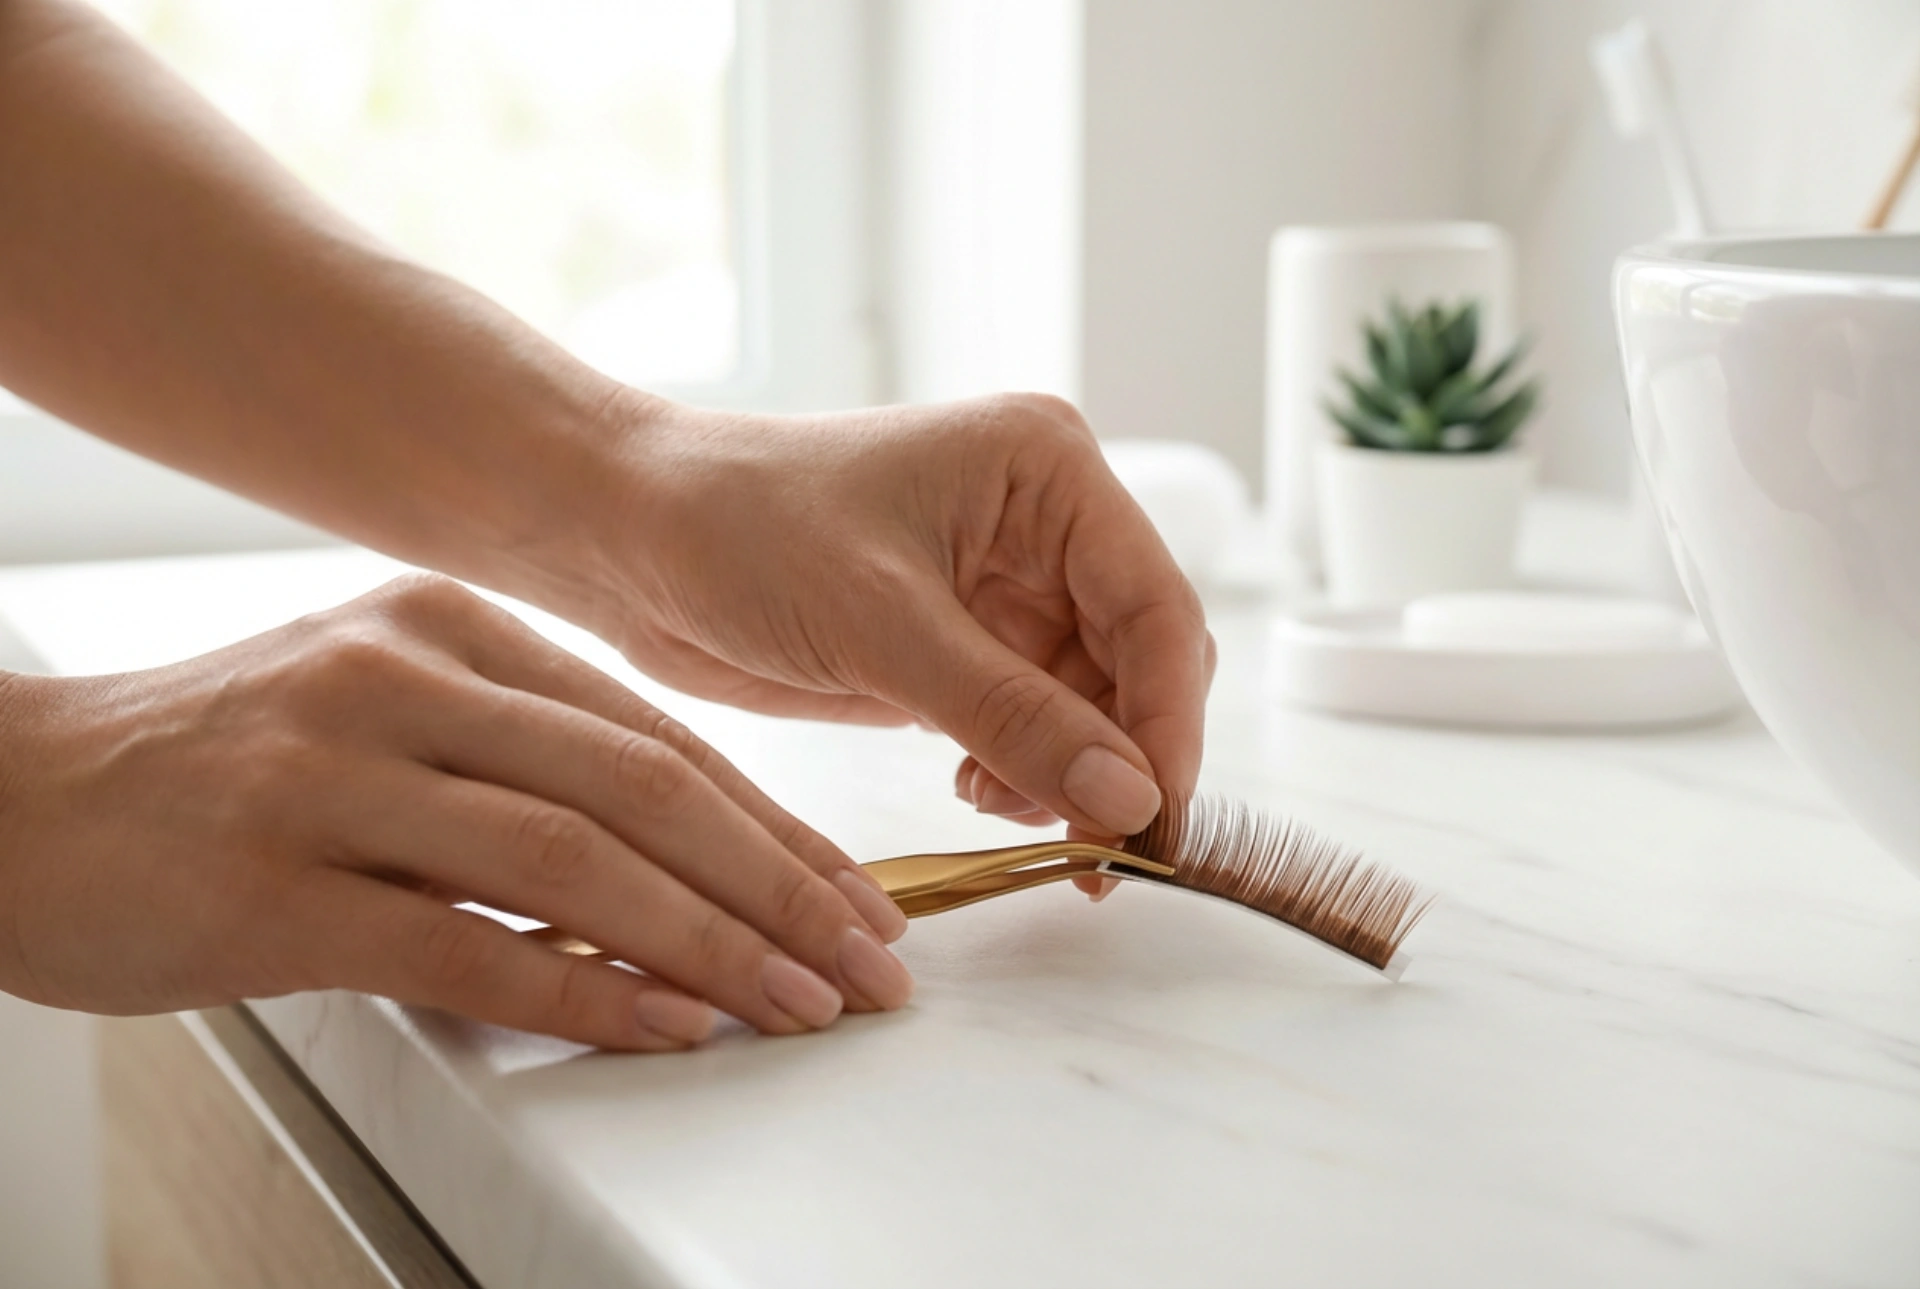
Step 2: Measure and Trim
Before applying any glue, you must ensure the lash strip fits your eye shape. Hold the strip up to your eyelid, aligning the inner edge with where your natural lashes begin. If the strip extends beyond the outer corner of your eye, it needs to be trimmed. Always trim from the outer edge, as the inner lashes are typically shorter and designed to look more natural. Cut a small amount at a time until you reach the perfect length.
Step 3: Apply the Adhesive
Apply a thin, even line of eyelash adhesive along the band of the false lash. Avoid applying too much, as this can get messy and take longer to dry. Many people find it helpful to dot the glue on with a toothpick or the end of a thin makeup brush for better control. Wait for about 30 seconds for the glue to become tacky. This is a crucial step; applying the lash when the glue is still wet will cause it to slide around.
Step 4: Position and Secure
Using tweezers, an eyelash applicator, or your fingers, carefully place the lash strip as close to your natural lash line as possible. Start by placing the centre of the strip in the middle of your eyelid, then gently press down the inner and outer corners. Once in place, use the applicator or your fingertip to press the false lash band securely against your lash line.
Step 5: Blend and Finalise
After the glue has fully dried, you can blend your natural and false lashes together. You can gently press them together with your fingers or use a clean spoolie brush to comb through them. To conceal the lash band, you can apply a thin line of brown liquid or gel eyeliner along your upper lash line. This creates a flawless, seamless finish.
Care, Removal, and Reuse
With proper care, a good quality pair of false eyelashes can be worn multiple times. The key is gentle removal and cleaning.
How to Remove Your Lashes
Never pull or rip off your false eyelashes, as this can damage both the false lashes and your natural ones. Dip a cotton bud in an oil-free makeup remover and run it along the lash band to dissolve the adhesive. Once the glue has loosened, gently peel the lash strip away from your eyelid, starting from the outer corner and moving inwards.
Cleaning for Future Use
After removal, carefully peel off any remaining adhesive from the lash band with tweezers. To clean the lashes themselves, place them on a paper towel and gently wipe them with a cotton pad soaked in makeup remover or a mild soap and water solution. Avoid soaking the entire lash. Once clean, allow them to air dry completely. To help them maintain their curved shape, store them in their original packaging until their next use.